
Vault of the Incarnates is the first raid in World of Warcraft: Dragonflight. It came out on December 12, 2023, and is still a great place to get cool items like transmogs, mounts, and collectibles. The raid is located in eastern Thaldraszus and has eight bosses, including Raszageth. Each boss drops unique armor, weapons, and achievements.

- Vault of the Incarnates location
- Bosses and their rewards
- Available mounts, weapons, and transmogs
- Achievements you can earn
- Can you solo Vault of the Incarnates?
If you’re looking to upgrade your gear with powerful BiS items, earn exclusive achievements, collect rare mounts, and dominate the latest raid content, our Vault of the Incarnates carry services are your best option. You’ll conquer the raid alongside our top-tier players, who have mastered every boss and mechanic across Normal, Heroic, and Mythic difficulties.

Vault of the Incarnates Entrance and Subregions
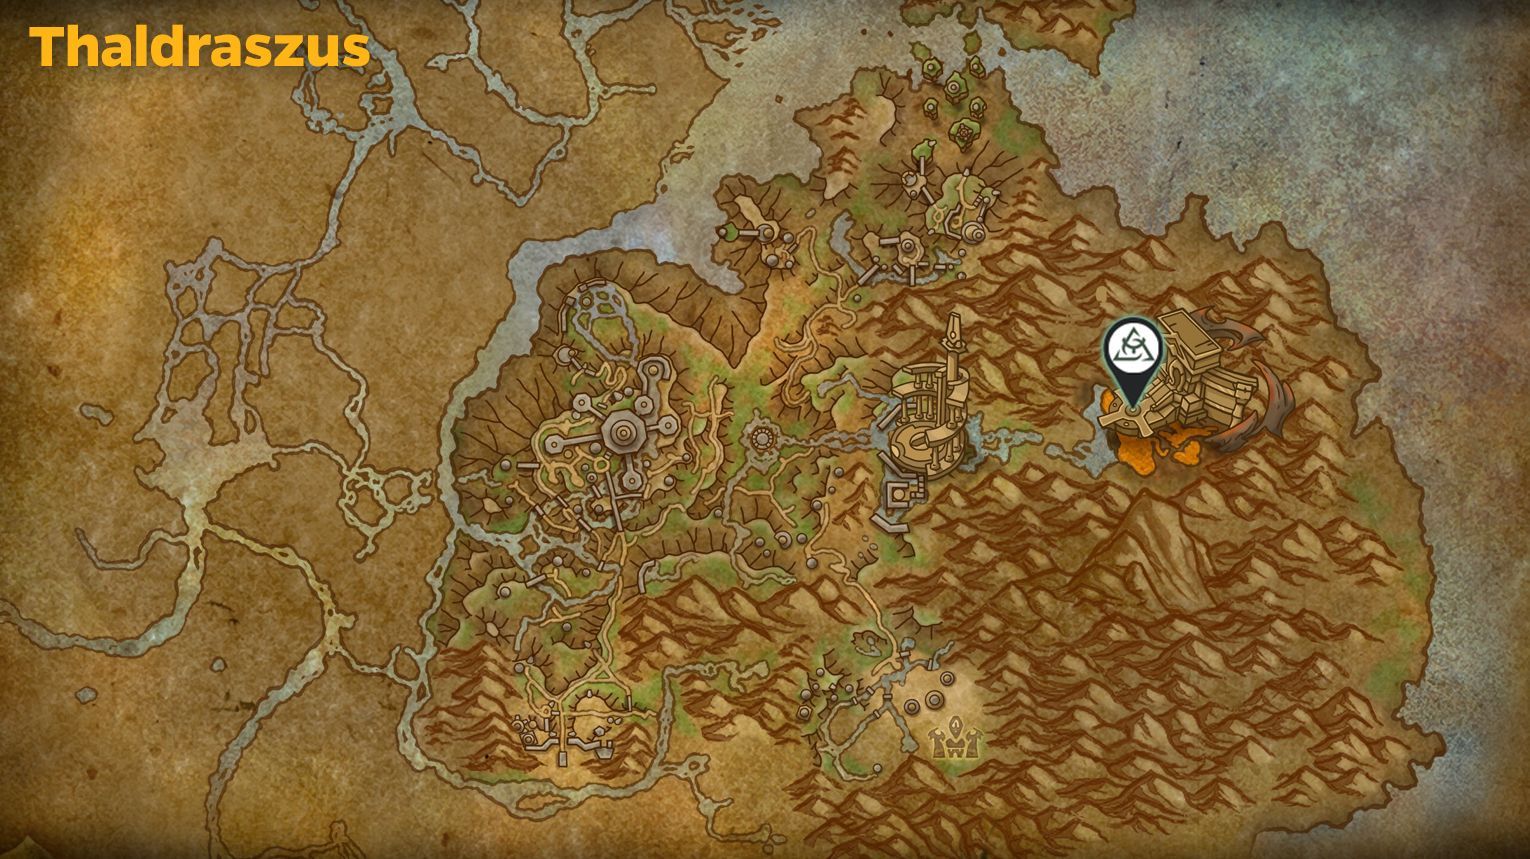
Vault of the Incarnates is found in the eastern region of Thaldraszus in Dragonflight. To get there, fly to Thaldraszus and use the flight path to the raid entrance, located at coordinates 73.14, 55.60, close to a flight point.
When you arrive, go to the large fortress and walk through the main gates. Inside, you’ll explore different zones as you battle your way to the last boss, Raszageth.

- The Primal Bulwark,
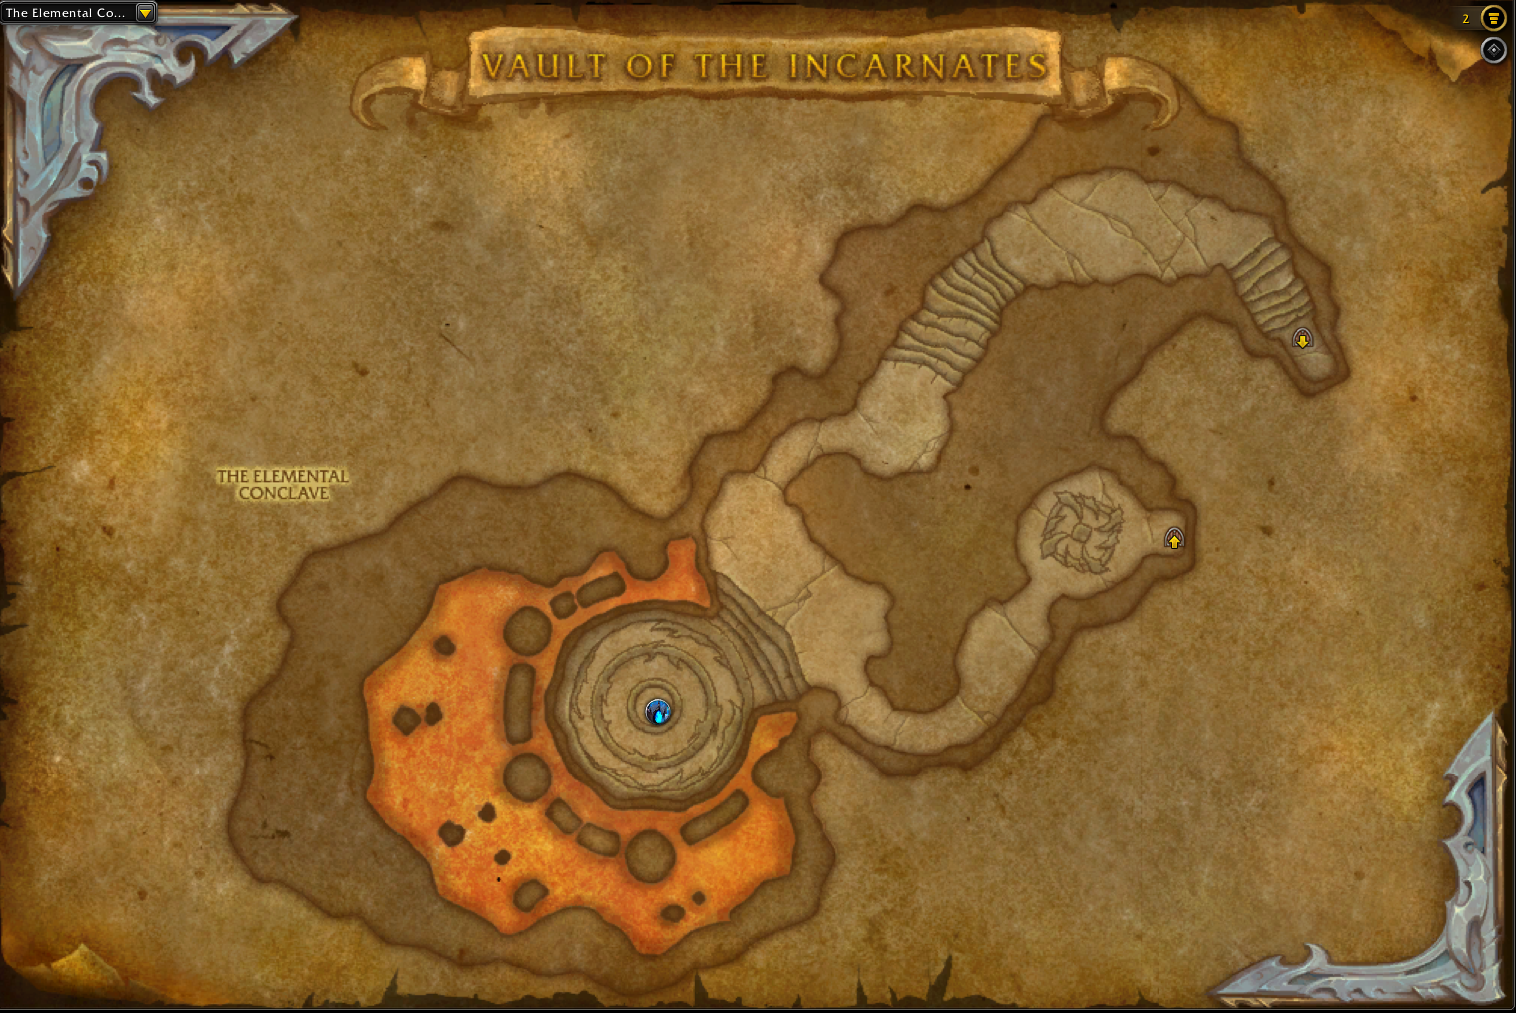
- The Elemental Conclave,
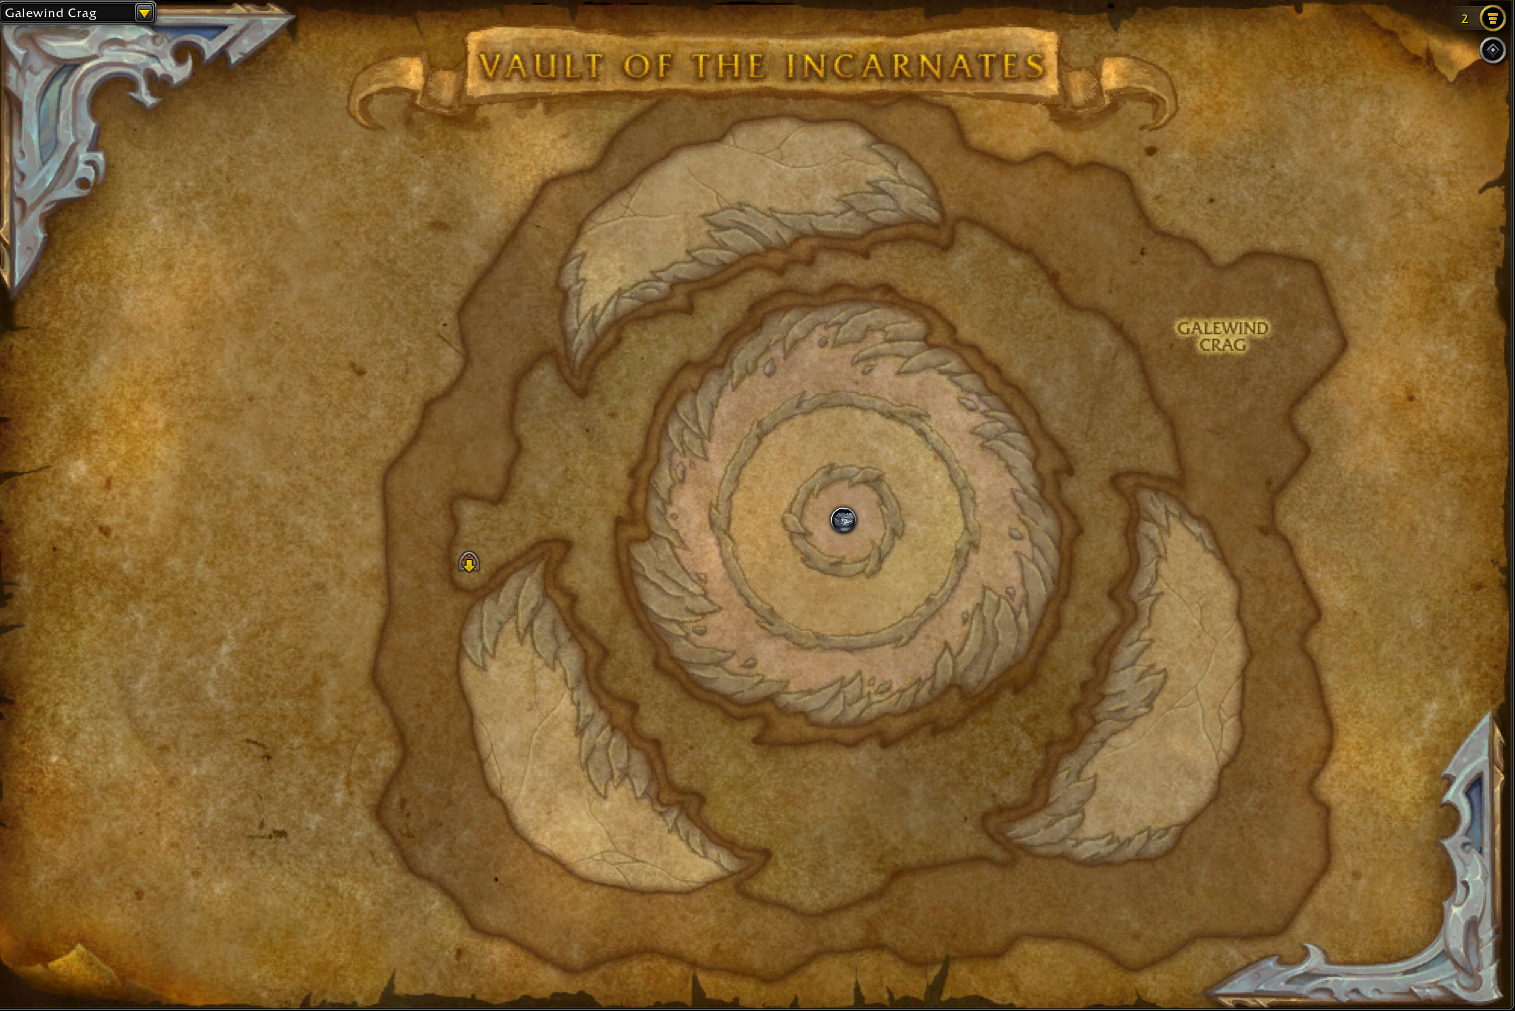
- Galewind Crag,
- The Vault Approach,
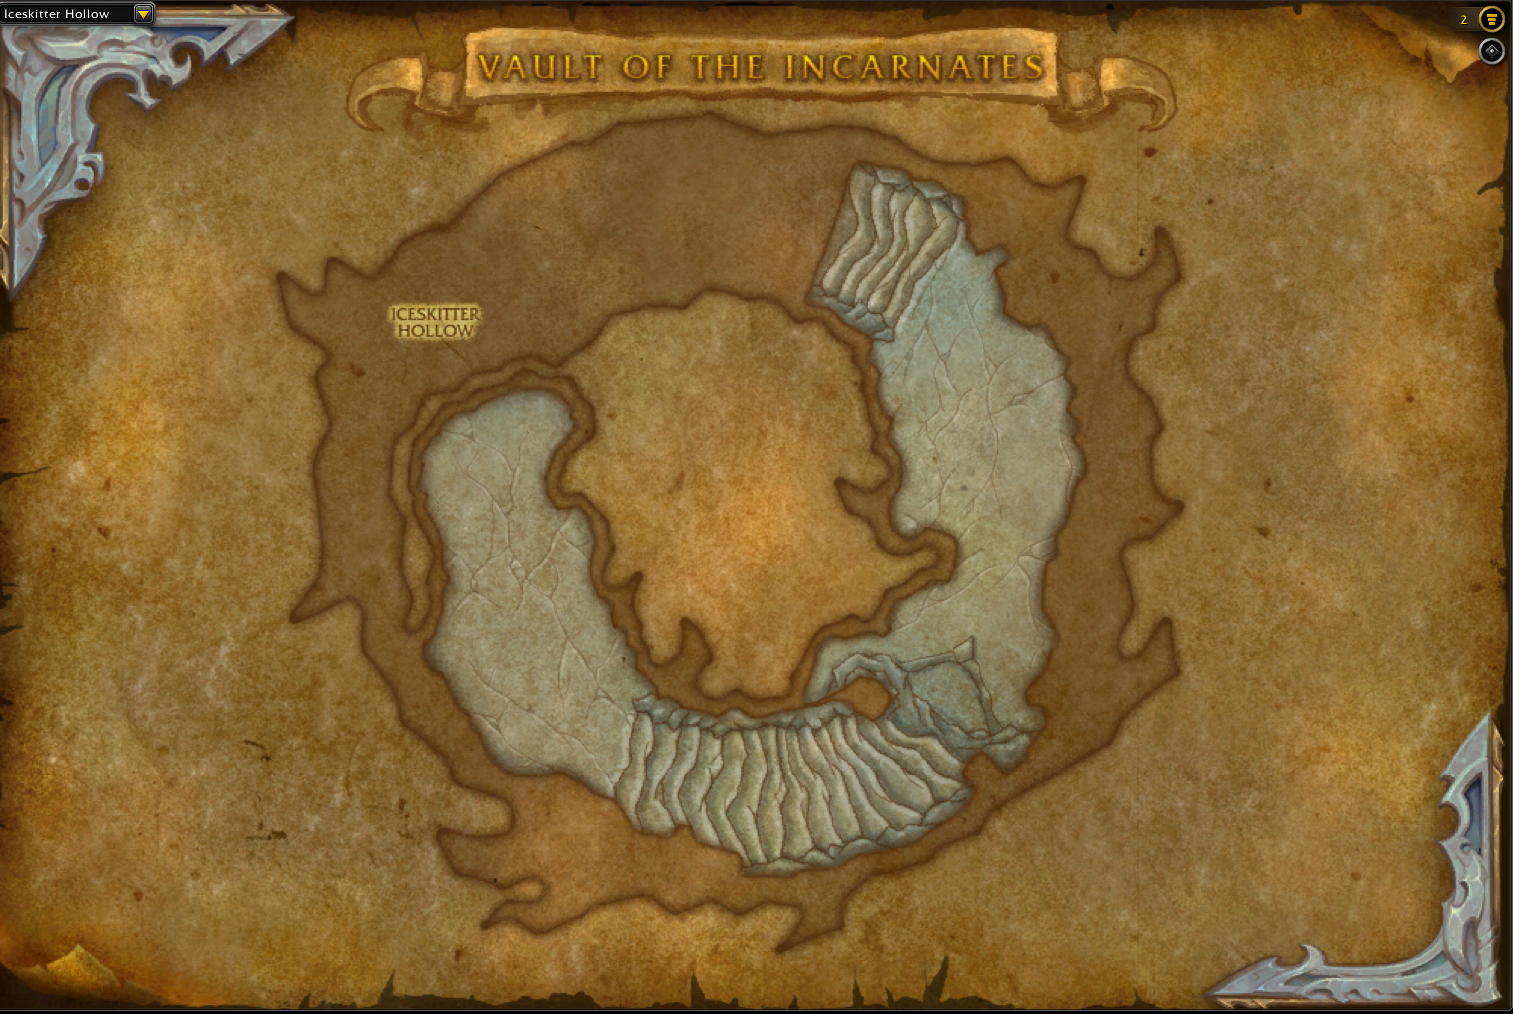
- Iceskitter Hollow,
- The Clutchwarren,
- The Primal Convergence,
- Vault of the Incarnates.

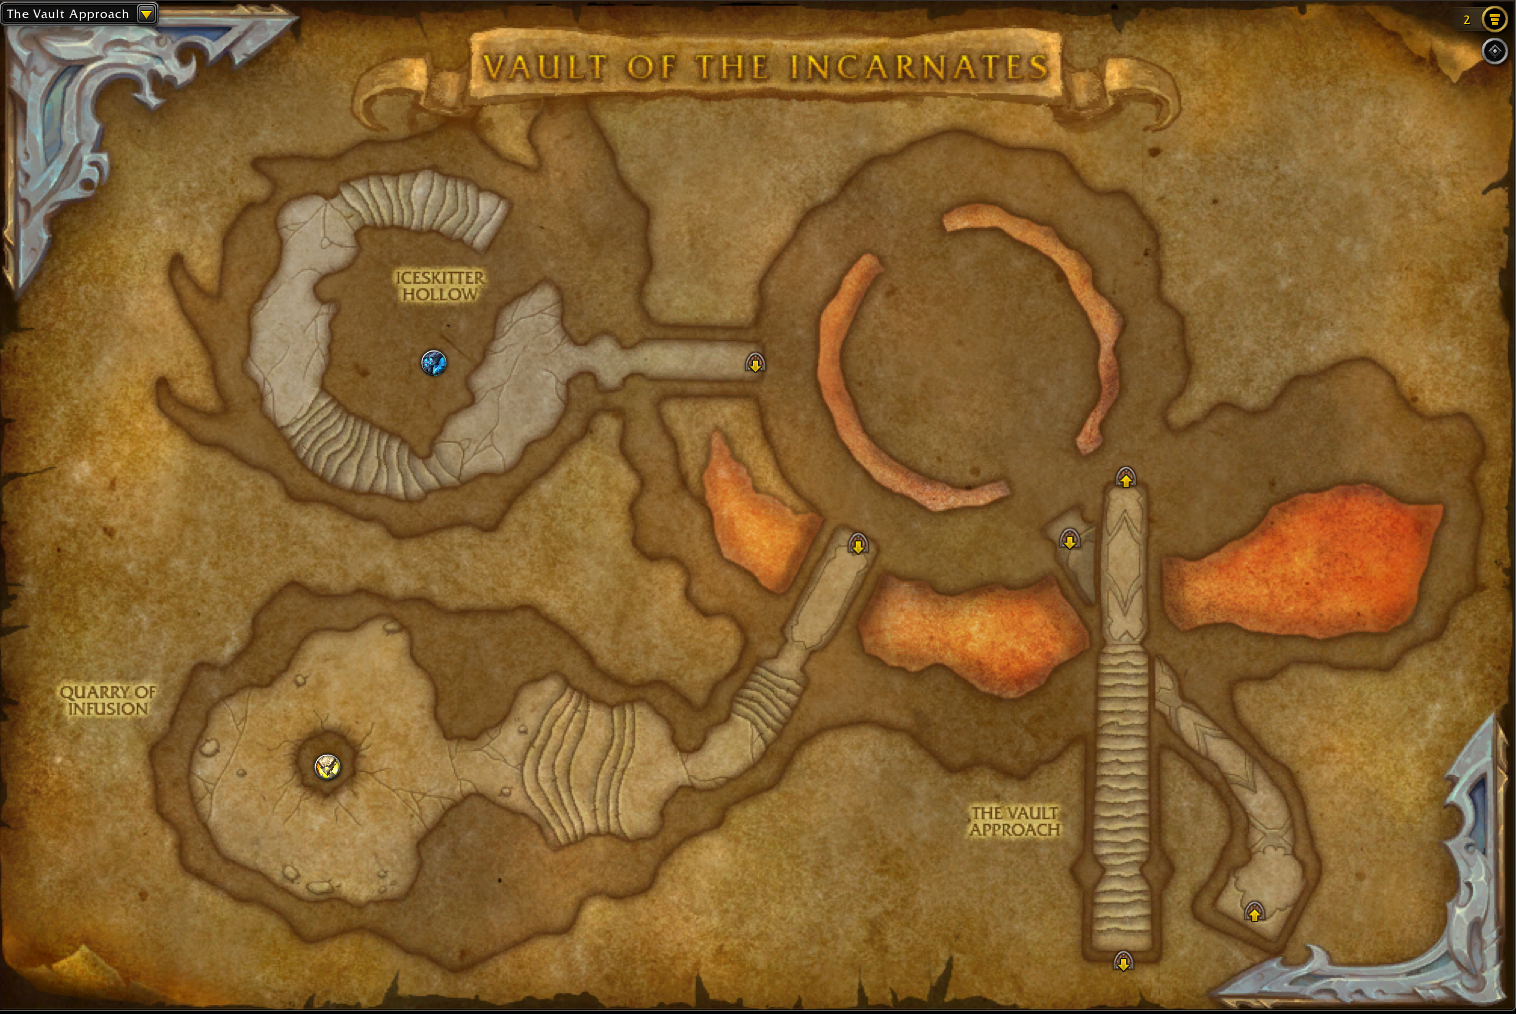


Each zone has its own challenges and bosses, which we’ll summarize next.
Vault of the Incarnates Collectibles: Mounts, Pets, Transmogs
| Collectible | Source (% drop rate) | Obtainable / Not Obtainable |
| Vault of the Incarnates Tier Sets | ||
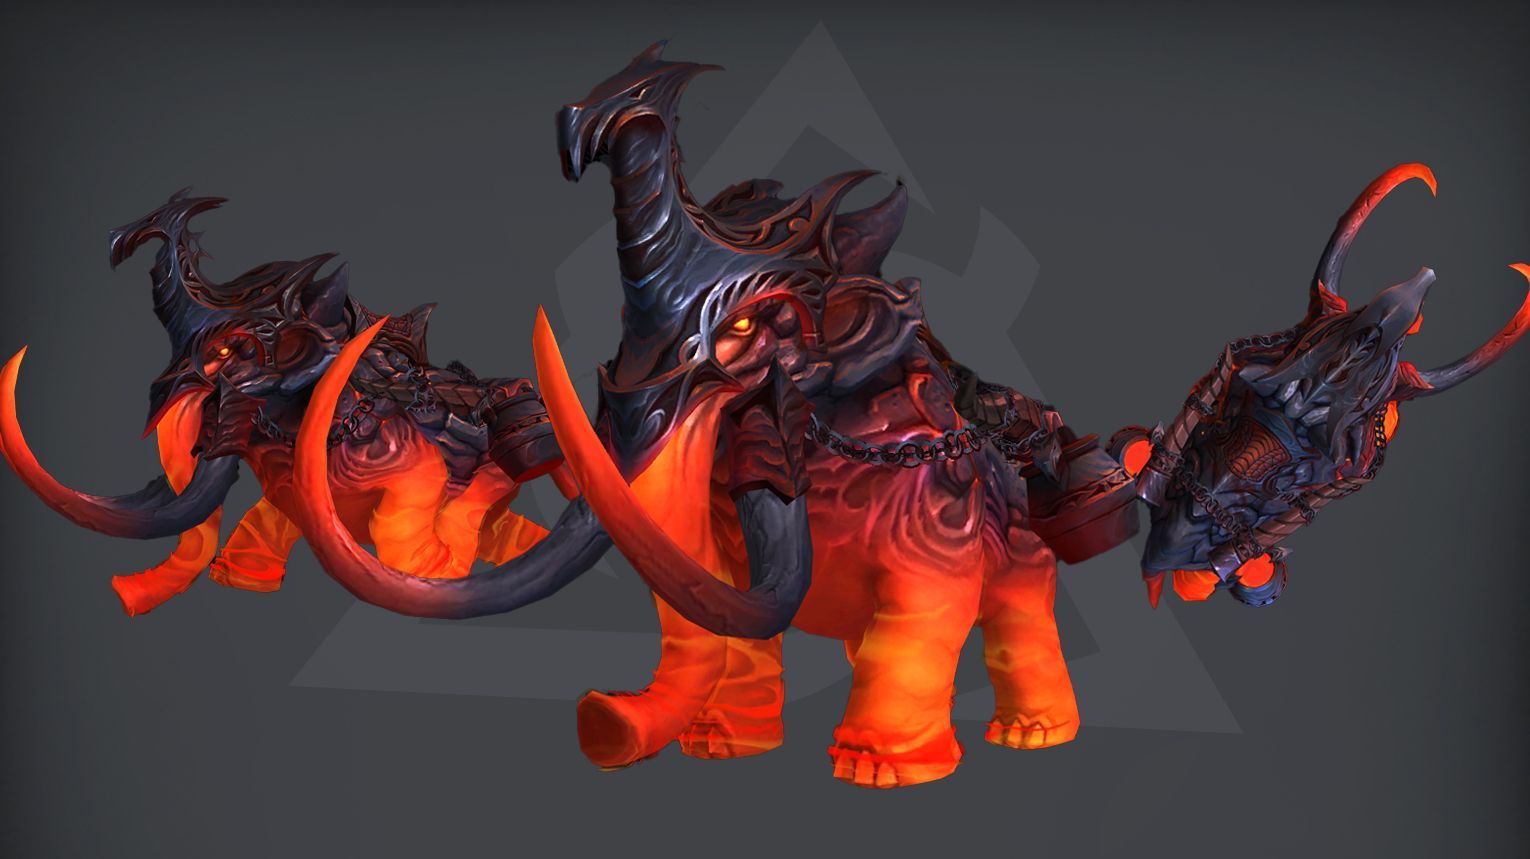
| Raging Magmammoth | Glory of the Vault Raider | Yes |
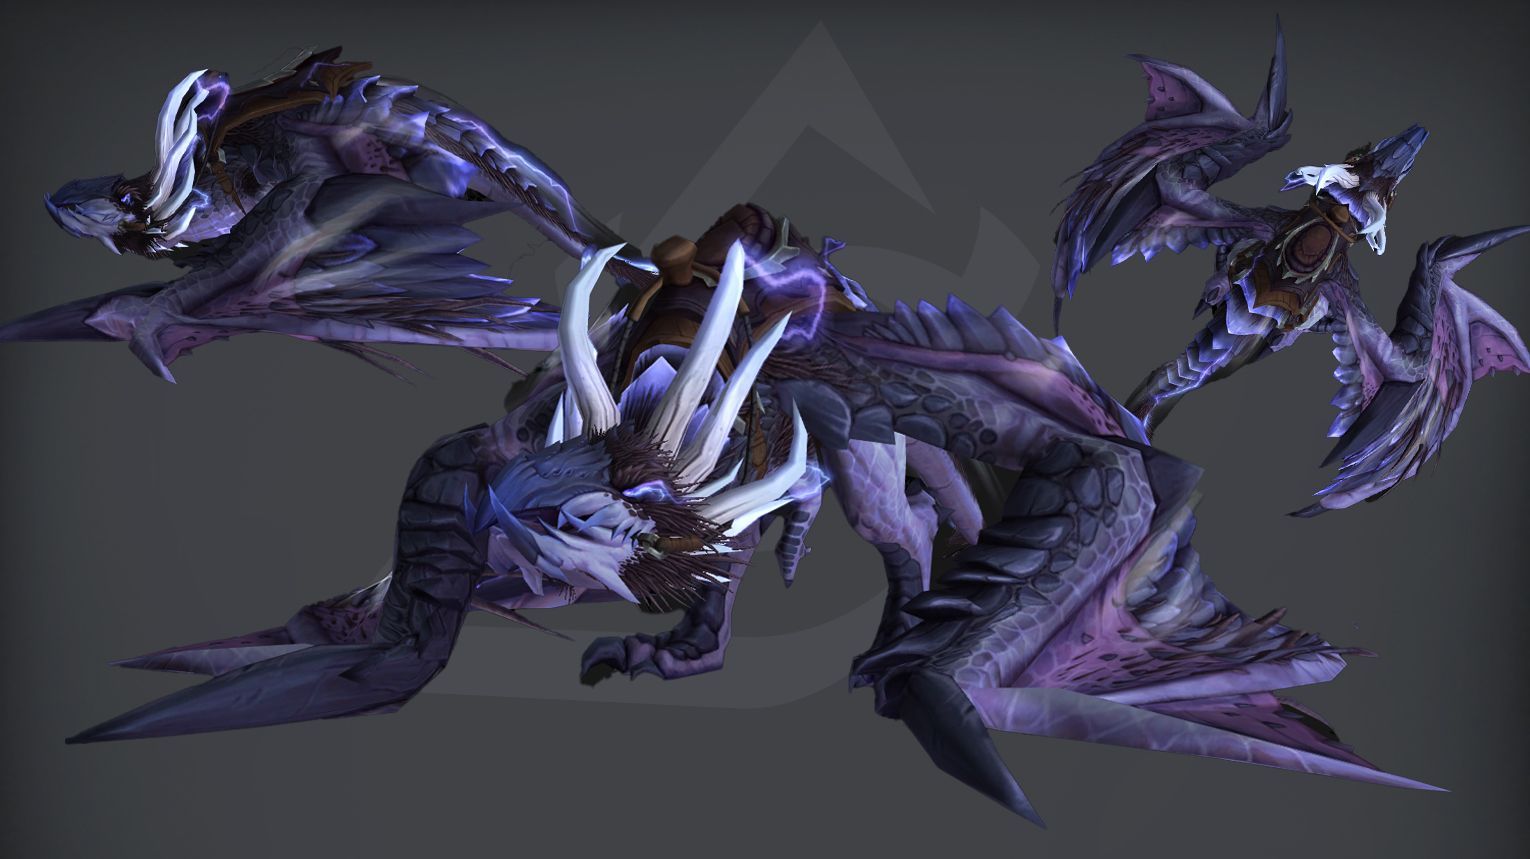
| Renewed Proto-Drake: Embodiment of the Storm-Eater | Raszageth the Storm-Eater | Yes |
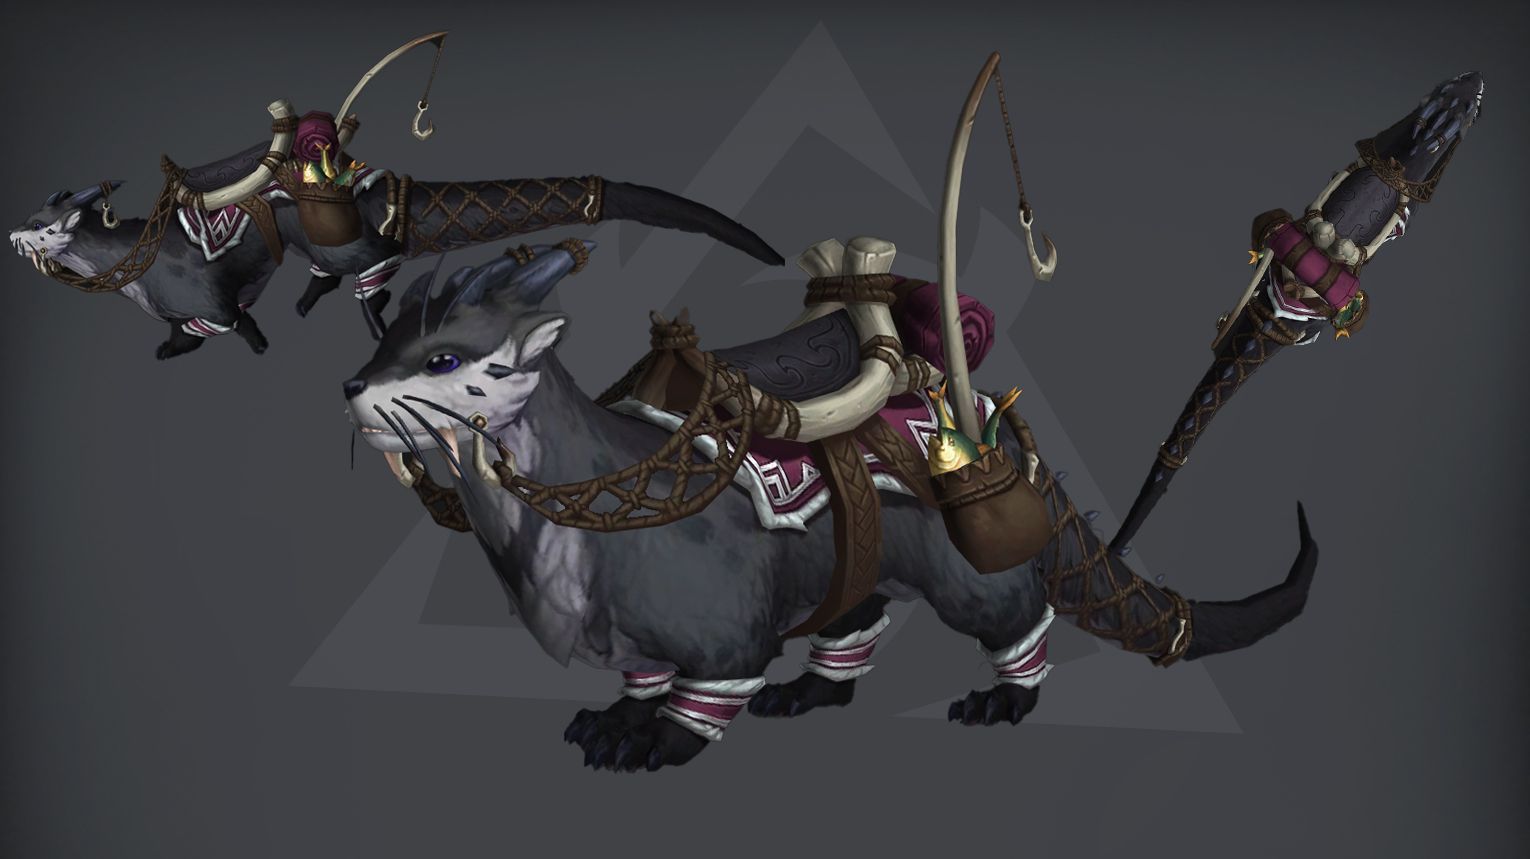
| Iskaara Trader’s Ottuk | Terros’s Captive Core from Terros (2%) Eye of the Vengeful Hurricane from Dathea, Ascended (2%) |
Yes |
Vault of the Incarnates Bosses Overview
Vault of the Incarnates is a primal-focused raid in World of Warcraft: Dragonflight. Players take on Raszageth and her army in Thaldraszus. The raid features eight bosses, each connected to elemental themes. You’ll start with Eranog, a fierce commander, and end with Raszageth, who controls storms and lightning. The fights vary from teamwork-heavy battles like The Primal Council to high-damage challenges against Terros, a massive earth elemental. The final fight with Raszageth is a fast-paced clash where players must survive her storm powers and stop her ritual to prevent disaster for Azeroth.
Can You Solo Vault of the Incarnates in The War Within?

Right now, soloing Vault of the Incarnates in World of Warcraft: The War Within is not realistic. This raid was introduced in Dragonflight and was designed for a full group of players. While older raids eventually become soloable as your item level increases, Vault of the Incarnates is still too difficult to farm alone, even at level 80 with high-end gear from The War Within.
Here’s why:
- Boss mechanics still require multiple players. Some fights have mechanics that need multiple people to handle them (you will find brief boss fight tactics, including explanations when to use the Bloodlust or Feral Hide Drums below).
- Health and damage scaling make it too difficult. While you might be able to kill some early bosses with strong gear (especially on LFR/Normal difficulties), later encounters—especially Razageth—will likely be impossible alone.
- No legacy damage buffs yet. Blizzard usually applies scaling buffs to older raids after a couple of expansions. Since Dragonflight is still recent, this hasn’t happened yet.
If you want to farm transmogs or experience the raid, your best bet is to find a small group in the Group Finder. A handful of level 80 players with TWW gear should be able to clear it without much trouble. However, until power scaling makes a difference, soloing is not an option for now.
Eranog

Eranog is the first boss in Vault of the Incarnates, featuring a repeating Phase 1 and Intermission every 90 seconds. In Phase 1, tanks must manage Burning Wound stacks, while the raid handles Flamerift and Molten Spikes. During Intermission, focus on killing a Primal Flame to create a safe gap in the Army of Flame. Use Bloodlust/Drums during Intermission or the final burn phase for optimal damage. Heroic is mechanically identical but with higher damage and health.

- Tanks: Classes with strong mitigation and self-healing (e.g.,


- Healers: Classes with strong raid-wide healing and dispels (e.g.,


- DPS: Classes with strong cleave/AOE damage (e.g.,


![]() Tips:
Tips:
- Positioning:
- Tank Eranog halfway between the center and edge of the platform.
- Move the boss counter-clockwise after each Flamerift cast.
- Keep the raid loosely spread to avoid Molten Cleave and Lava Flow damage.
- Intermission:
- Focus on killing a marked Primal Flame to create a gap in the Army of Flame.
- Avoid fire chains connecting Primal Flames.
- Debuff Management:
- Use Mass Dispel (Priest) to clear Incinerating Roar debuffs from melee.
- Tanks should taunt swap at 4-8 stacks of Burning Wound (adjust based on gear level).

- Phase 1:
- Handle Flamerift by stacking debuffed players behind the raid.
- Avoid Molten Spikes and kite Flamescale Taraseks through the boss for cleave damage.
- Spread out to minimize Molten Cleave hits.
- Intermission:
- Focus on killing a single Primal Flame to create a safe path.
- Healers should prioritize raid-wide healing during Pulsing Flames.
- Heroic Difficulty: Mechanically identical to Normal, but with increased damage and health pools.


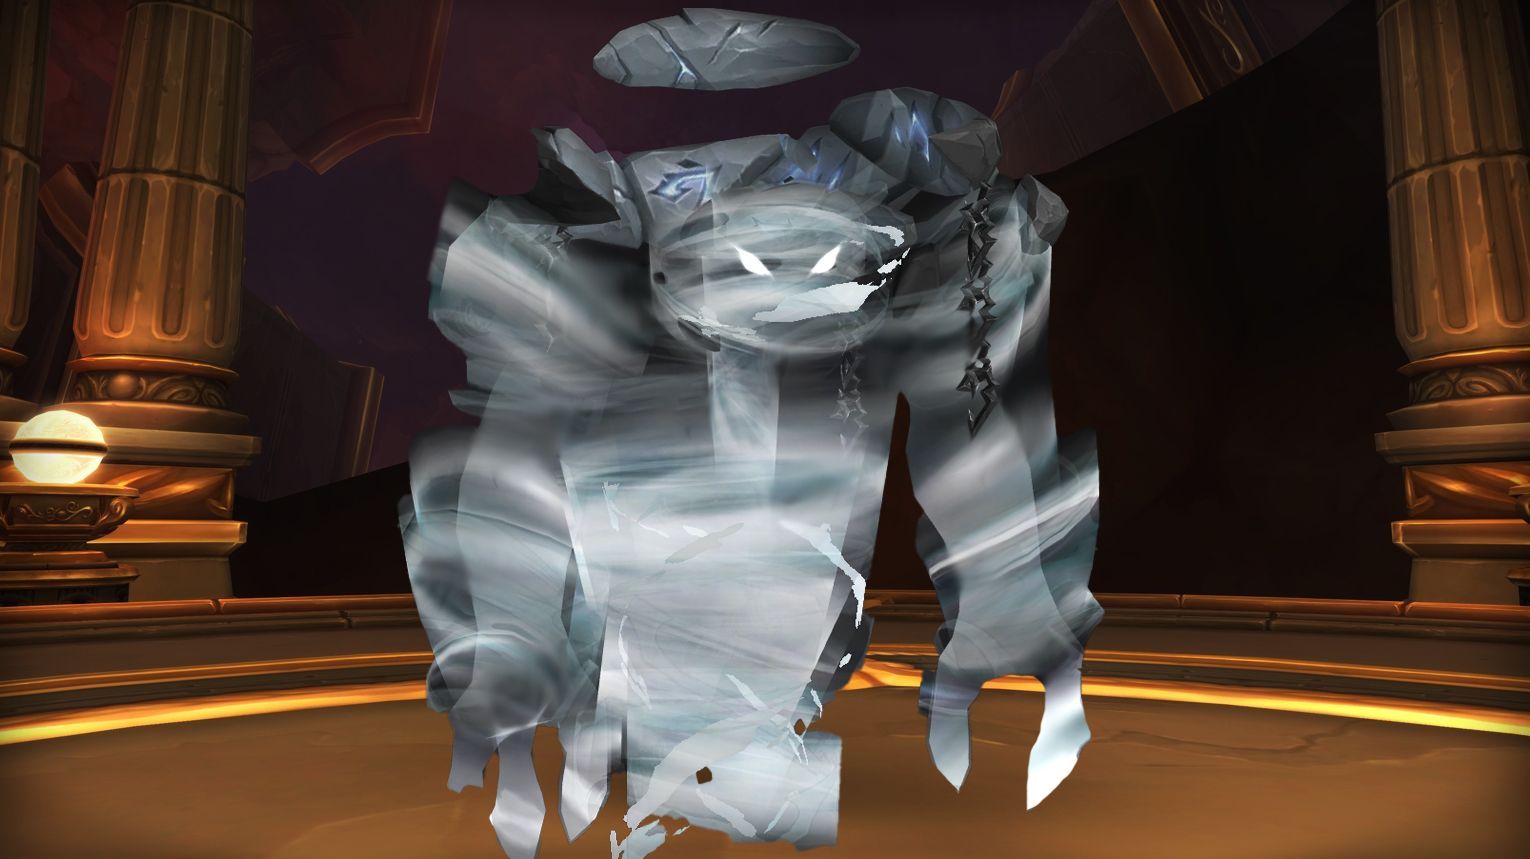
Terros
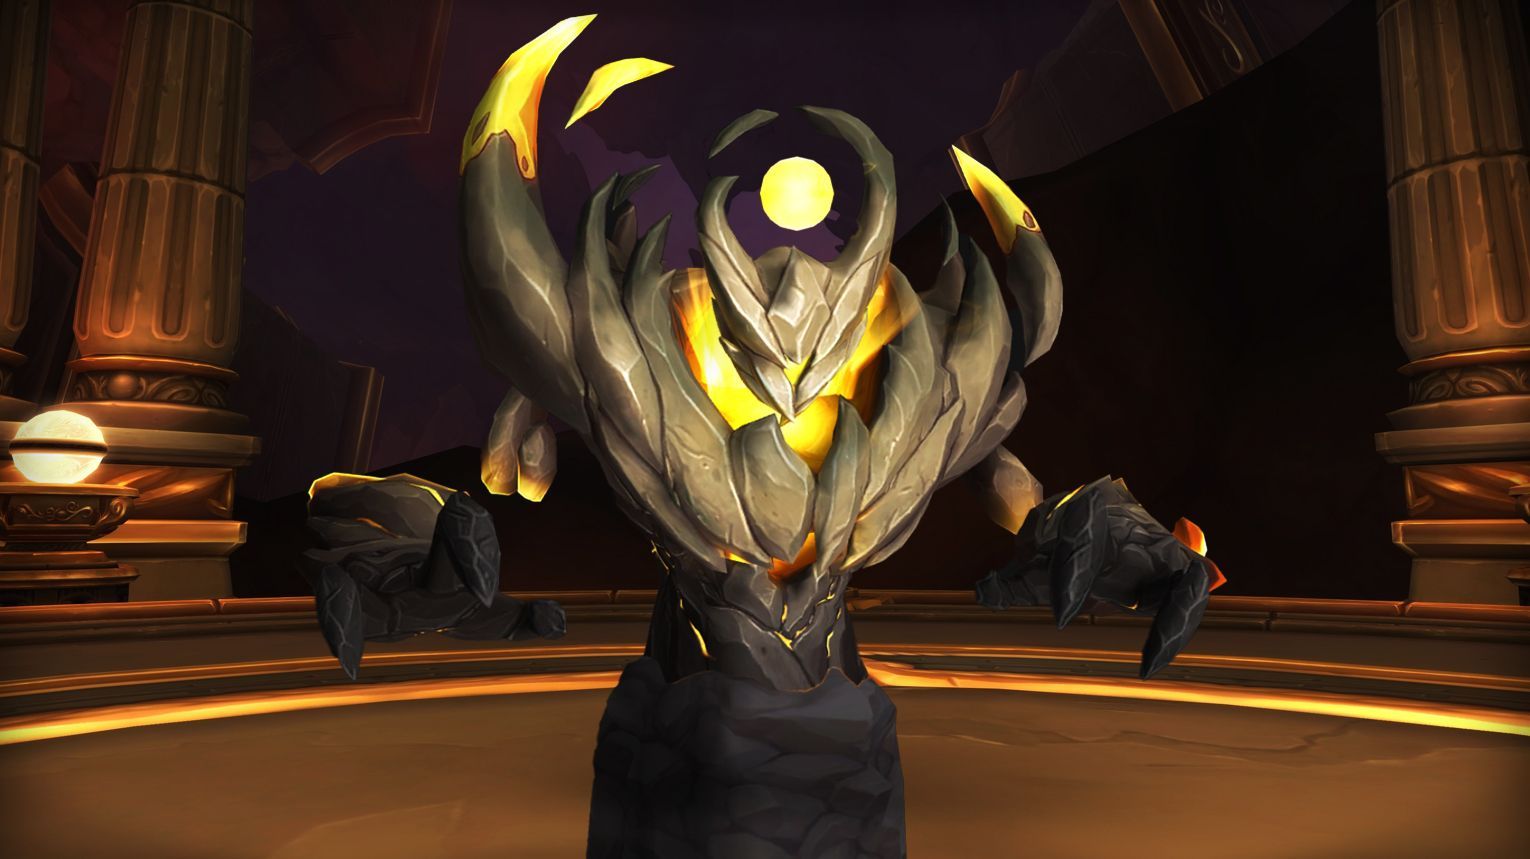
Terros is the second boss in Vault of the Incarnates, a stationary encounter with mechanics like Rock Blast (requires raid soaking), Awakened Earth (pillars to destroy), and Resonating Annihilation (limits room space over time). The raid must move clockwise/counterclockwise after each Resonating Annihilation cast to avoid being cut off. Use Bloodlust/Drums early or during the final phase for maximum damage. Heroic adds Fractured Rubble, further restricting space, but the core strategy remains the same.
- Tanks: Classes with strong mitigation and mobility (e.g.,

- Healers: Classes with strong AoE healing and cooldowns (e.g.,
- DPS: Classes with strong Burst damage and mobility (e.g.,
![]() Tips:
Tips:
- Positioning:
- Stay stacked as a raid to make soaking Rock Blast easier.
- Move clockwise or counterclockwise after each Resonating Annihilation cast.
- Avoid moving into a new quadrant too early, as it can cause Terros to skip a quadrant.
- Rock Blast:
- At least half the raid should help soak the damage.
- Players targeted by Awakened Earth should still help soak but avoid cleaving others.
- Awakened Earth:
- Group pillars together for efficient destruction with Concussive Slam.
- Use healing cooldowns when pillars are shattered.
- Resonating Annihilation:
- Use movement abilities (e.g., Demonic Gateway, Stampeding Roar) to avoid the cast.
- Ensure the raid moves to the next quadrant immediately after the cast.
- Tanks:
- Always stay in melee range to prevent Tectonic Barrage.
- Use Concussive Slam to destroy Awakened Earth pillars.
- Healers:
- Focus on healing through Rock Blast and Awakened Earth shatter damage.
- Use cooldowns during high-damage phases.
- DPS:
- Prioritize destroying Awakened Earth pillars.
- Maximize damage output while managing movement.
| Type of Armor | Item | Loot type |
| Cloth | Compressed Cultist’s Frock | Chest |
| Leather | Fused Shale Waistband | Waist |
| Faultline Mantle | Shoulder | |
| Plate | Gaze of the Living Quarry | Head |
| Any | Terros’s Captive Core | Amulet |
| Enduring Shard of Terros | Dagger | |
| Awakened Planar Pillar | Staff | |
| Quake-Detecting Seismostaff | Staff | |
| Rumbling Ruby | Trinket |
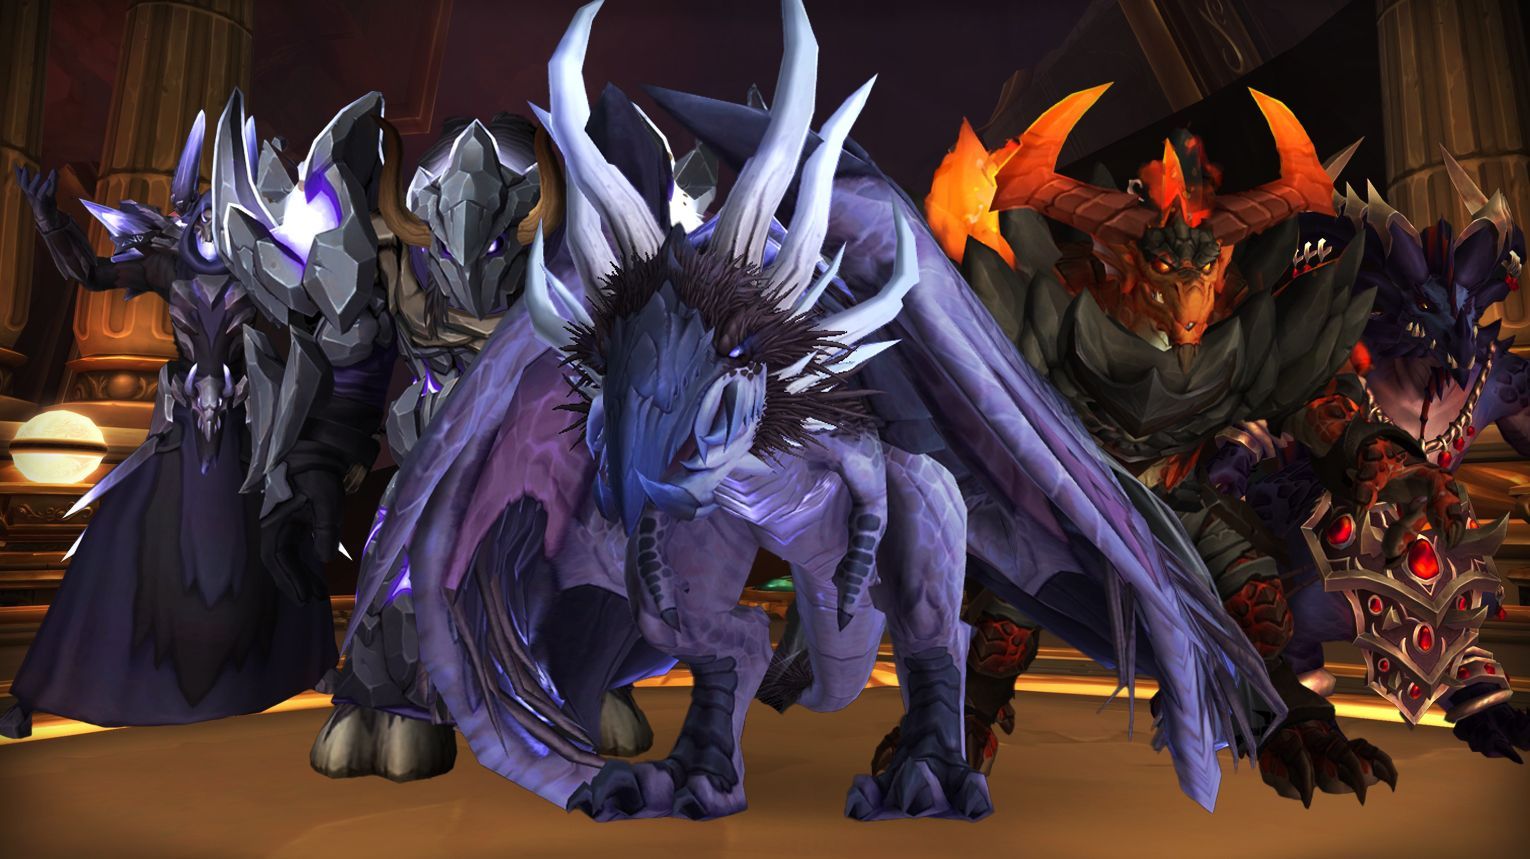
The Primal Council
The Primal Council in Vault of the Incarnates is a four-boss encounter where each boss represents an element (Earth, Fire, Ice, Electricity). Key mechanics involve using boss abilities to counter each other, such as clearing Conductive Mark with Earthen Pillars or dousing Scorched Ground with Primal Blizzard. Tanks must stack bosses for cleave damage, while the raid spreads to handle mechanics like Meteor Axes and Primal Blizzard. Use Bloodlust/Drums at the start or during the final phase when bosses begin dying and Convocation ramps up damage.
- Tanks: Two tanks are required. One tank should handle Opalfang (Earth) and Embar Firepath (Fire), while the other takes Kadros Icewrath (Ice) and Dathea Stormlash (Electricity).
- DPS: Classes with strong cleave/AoE damage are ideal due to the need to damage multiple bosses simultaneously.
- Healers: Healers must manage high raid-wide damage, especially during overlapping mechanics like Meteor Axes and Primal Blizzard.
![]() Tips:
Tips:
- Positioning:
- Keep the bosses stacked for cleave damage.
- Spread the raid loosely to avoid overlapping mechanics.
- Boss Ability Interactions:
- Use Earthen Pillars (Earth) to clear Conductive Mark (Electricity).
- Destroy Earthen Pillars with Meteor Axes (Fire) to create Scorched Ground.
- Clear Scorched Ground by standing in Primal Blizzard (Ice).
- Heroic Changes:
- Meteor Axes cannot overlap, increasing damage taken.
- Earthen Pillars pulse damage, requiring quick destruction.
- Encounter Cadence:
- Follow the ability rotation: Earthen Pillar > Conductive Mark > Meteor Axes > Primal Blizzard.
- Adjust positioning dynamically based on mechanics.
- Tanking:
- Tanks must face Embar Firepath consistently to avoid Slashing Blaze.
- Perform taunt swaps on Opalfang and Embar Firepath after Crush casts.
- DPS Focus:
- Keep boss health even to avoid triggering Convocation (ramping damage when one boss dies).
- Healing:
- Prioritize healing during high-damage phases like Meteor Axes and Primal Blizzard.
| Type of Armor | Item | Loot type |
| Cloth | Councilor’s Terrormask | Head |
| Leather | Twisted Loam Spaulders | Shoulder |
| Embar’s Ashen Hauberk | Chest | |
| Plate | Opalfang’s Earthbound Legguards | Legs |
| Any | Icewrath’s Channeling Conduit | Off-hand |
| Maul of the Earthshaper | 1H Mace | |
| Conjured Chillglobe | Trinket | |
| Whispering Incarnate Icon | Trinket | |
| Imbued Qalashi Crusher | 2H Mace |
Sennarth, the Cold Breath
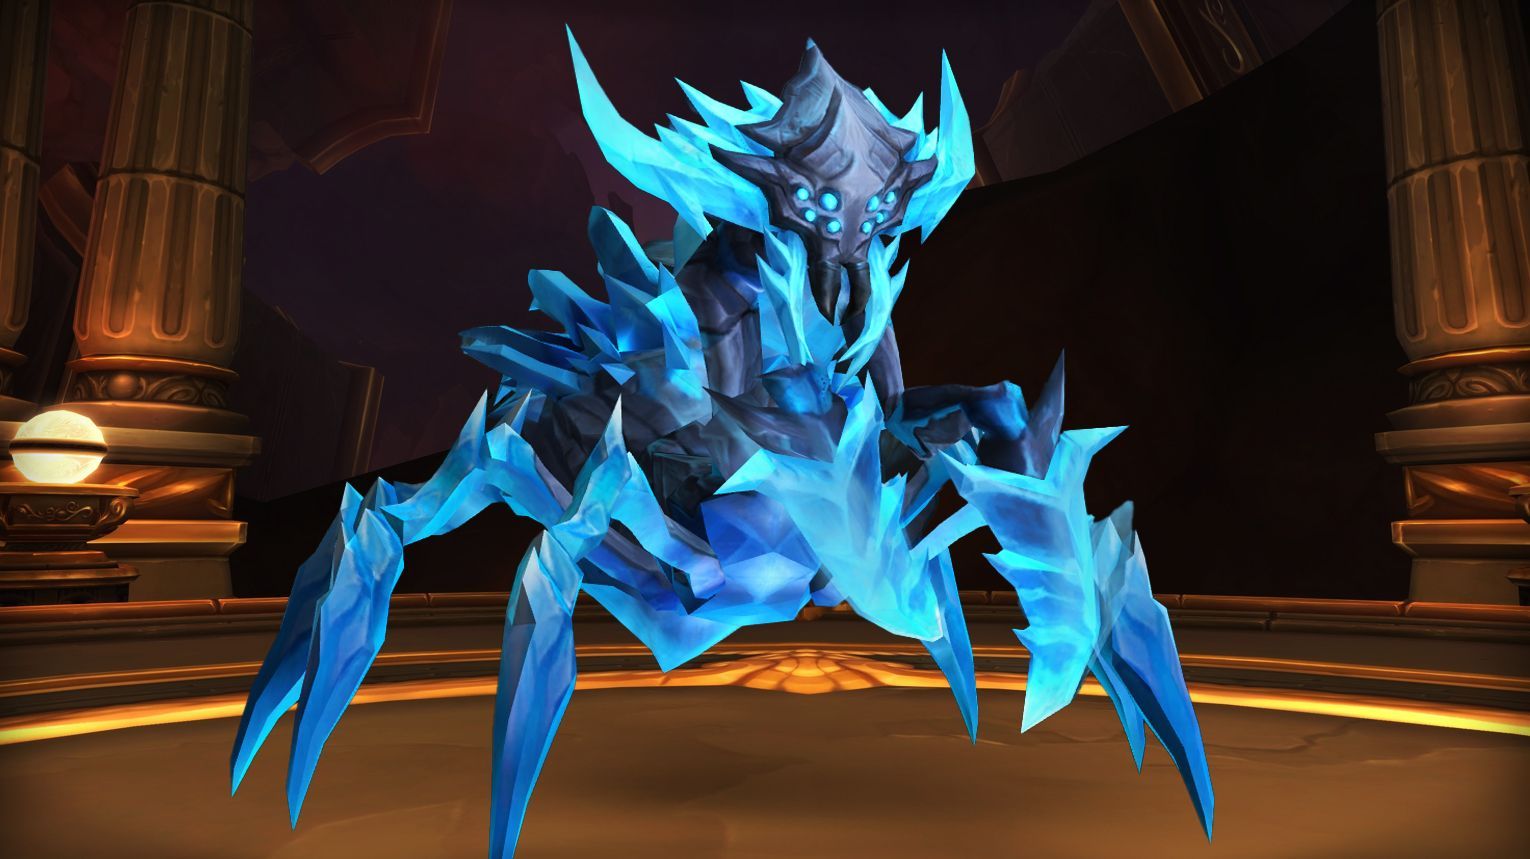
Sennarth, the Cold Breath is the 4th boss in Vault of the Incarnates, focusing on surviving her ledge-pulling and web-encasing mechanics while ascending platforms. Key mechanics include spreading for Chilling Blast, using Sticky Webbing to counter Gossamer Burst, and managing adds like the Frostbreath Arachnid. In Phase 2, interrupt Apex of Ice, drop Glacial Plumes at the edges, and use Caustic Spiderlings to free webbed players.
- Tanks: Classes with strong mobility and survivability (e.g.,
- Healers: Classes with strong AoE healing and dispels (e.g.,

- DPS: Ranged DPS are preferred due to mechanics like Chilling Blast and Gossamer Burst, but melee DPS can also perform well with proper positioning.
![]() Tips:
Tips:
- Positioning:
- Spread out to avoid cleaving Chilling Blast.
- Use Sticky Webbing puddles to negate Gossamer Burst pull.
- Stand near the rock at the top of each ramp to avoid being pulled off.
- Add Management:
- Keep the Frostbreath Arachnid (add) on the right side of the boss, facing away from the raid.
- Phase Transition:
- Be prepared for overlapping mechanics (Chilling Blast + Gossamer Burst) when Sennarth moves to a new platform.
- Heroic Difficulty:
- Wrapped in Webs stuns players for 30 seconds instead of slowing them. Ensure Caustic Spiderlings are killed on top of webbed players to free them.
- Phase 1: Platform Ascension
- Chilling Blast: Spread out to avoid cleaving.
- Gossamer Burst: Use Sticky Webbing or the rock at the top of the ramp to avoid being pulled off.
- Enveloping Webs: Drop puddles strategically to counter Gossamer Burst.
- Move left as Icy Ground covers more area.
- Use movement abilities to navigate icy ramps safely.
- Phase 2: Final Platform
- Apex of Ice: Interrupt Sennarth once the raid is on the final platform.
- Glacial Plume: Drop debuffs near the edges to create a safe lane in the center.
- Suffocating Webs: Targeted players should stand near the tank to avoid being knocked off.
- Caustic Spiderlings: Use them to free webbed players.
| Type of Armor | Item | Loot type |
| Cloth | Chilled Silken Restraints | Back |
| Leather | Ice-Climber’s Cleats | Wrist |
| Unnatural Dripstone Cinch | Waist | |
| Plate | Diamond-Etched Gauntlets | Hands |
| Any | Elemental Codex of Ultimate Power | Alchemy Recipe |
| Recipe: Potion Absorption Inhibitor | Alchemy Recipe | |
| Plans: Allied Wristguard of Companionship | Blacksmithing Plans | |
| Acid-Proof Webbing | Cloak | |
| Schematic: Ol’ Smoky | Engineering Schematic | |
| Design: Choker of Shielding | Jewelcrafting Design | |
| Pattern: String of Spiritual Knick-Knacks | Leatherworking Pattern | |
| Pattern: Wind Spirit’s Lasso | Leatherworking Pattern | |
| Pattern: Old Spirit’s Wristwraps | Leatherworking Pattern | |
| Frostbreath Thumper | 1H Mace | |
| Caustic Coldsteel Slicer | 1H Sword | |
| Pattern: Allied Wristguards of Time Dilation | Tailoring Pattern | |
| Pattern: Blue Dragon Soles | Tailoring Pattern | |
| Pattern: Bronzed Grip Wrappings | Tailoring Pattern | |
| Iceblood Deathsnare | Trinket |
Dathea, Ascended
Dathea, the fifth boss in Vault of the Incarnates, is a master of storms, utilizing winds, tornadoes, and knockbacks. This boss drops Tier Set tokens for hands and the Eye of the Vengeful Hurricane. The fight involves managing Conductive Mark spread damage, avoiding Raging Tempests, and handling Cyclone knockbacks, with specific strategies for Heroic difficulty, such as splitting the raid to deal with Thunder Callers on a separate platform.
- Tanks:


- Healers: Classes with strong AoE healing (e.g.,
- DPS: Ranged DPS preferred for easier positioning; melee must be cautious of Raging Tempests and Cyclone.
![]() Tips:
Tips:
- Spread Positioning: Stay loosely spread to avoid chaining Conductive Mark.
- Raging Tempests: Watch for their paths and avoid standing in their way to prevent knockbacks.
- Cyclone: Stay out of melee range during this ability to avoid being knocked into the air.
- Volatile Infusers: Kill one quickly, position near it for Blowback, then repeat for the second.
- Heroic Difficulty: Split the raid to handle Thunder Callers on a separate platform.
- Phase 1 (First 80 Seconds):
- Spread out to avoid Conductive Mark chains.
- Dodge Raging Tempests and manage Cyclone knockbacks.
- Phase 2 (Volatile Infusers):
- Tank and interrupt Diverted Essence.
- Kill one Infuser, use Blowback to reposition, then kill the second.
- Heroic Changes:
- Split raid to handle Thunder Callers on a side platform.
- Use Blowback to move between platforms.
| Type of Armor | Item | Loot type |
| Cloth | Ascended Squallspires | Shoulder |
| Leather | Windborne Hatsuburi | Head |
| Daring Chasm-Leapers | Feet | |
| Plate | Dathea’s Cyclonic Cage | Chest |
| Any | Elemental Codex of Ultimate Power | Alchemy Recipe |
| Recipe: Potion Absorption Inhibitor | Alchemy Recipe | |
| Eye of the Vengeful Hurricane | Amulet | |
| Plans: Allied Wristguard of Companionship | Blacksmithing Plans | |
| Schematic: Ol’ Smoky | Engineering Schematic | |
| Design: Choker of Shielding | Jewelcrafting Design | |
| Pattern: Old Spirit’s Wristwraps | Leatherworking Pattern | |
| Pattern: Wind Spirit’s Lasso | Leatherworking Pattern | |
| Pattern: String of Spiritual Knick-Knacks | Leatherworking Pattern | |
| Pattern: Scale Rein Grips | Leatherworking Pattern | |
| Scepter of Drastic Measures | 1H Mace | |
| Pattern: Allied Wristguards of Time Dilation | Tailoring Pattern | |
| Pattern: Blue Dragon Soles | Tailoring Pattern | |
| Pattern: Bronzed Grip Wrappings | Tailoring Pattern | |
| Storm-Eater’s Boon | Trinket | |
| Infused Stormglaives | Warglaive |
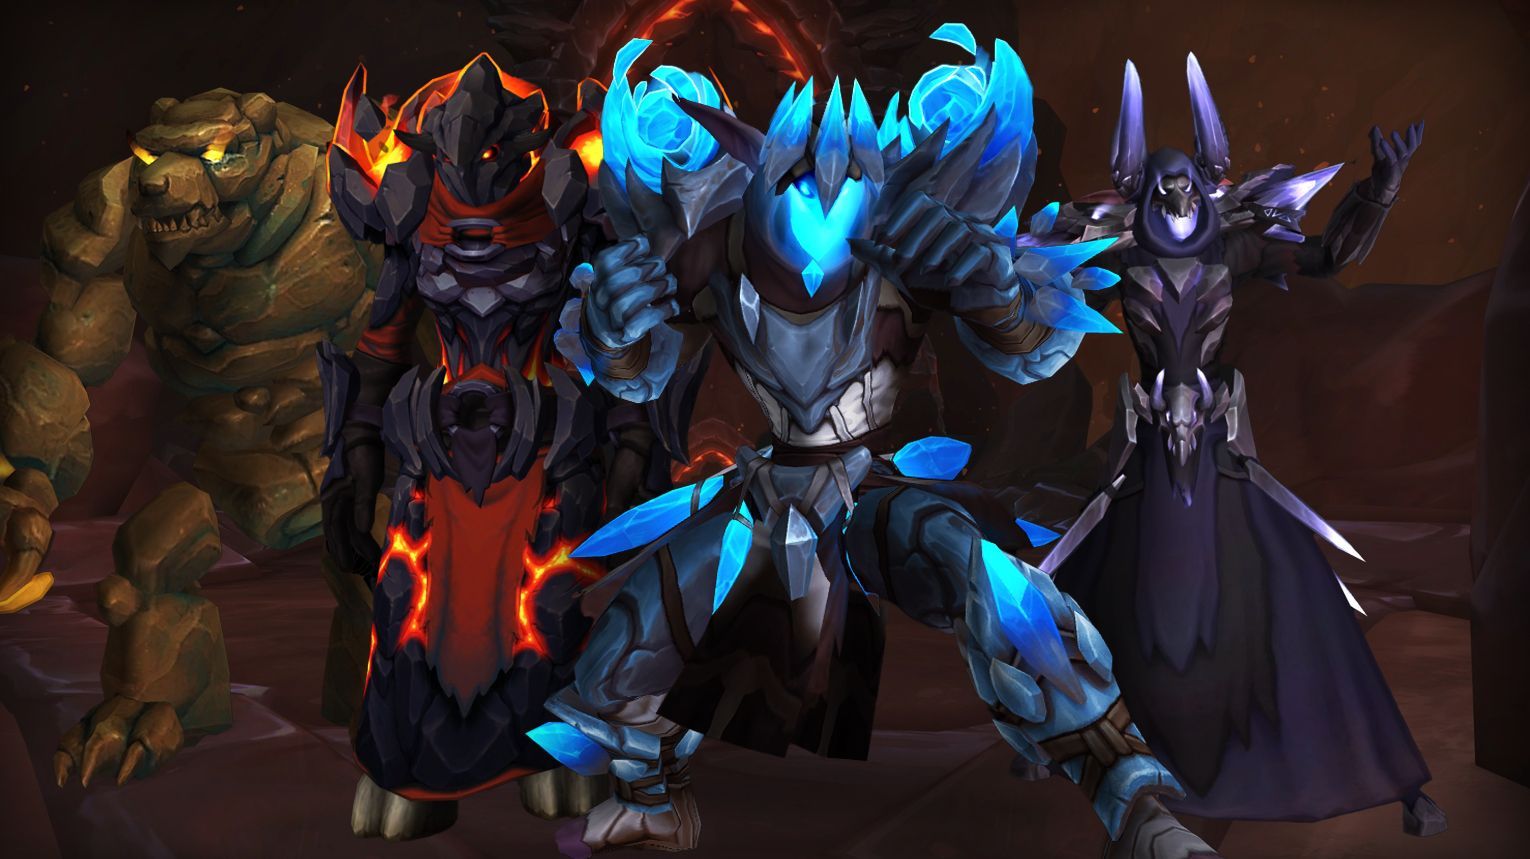
Kurog Grimtotem
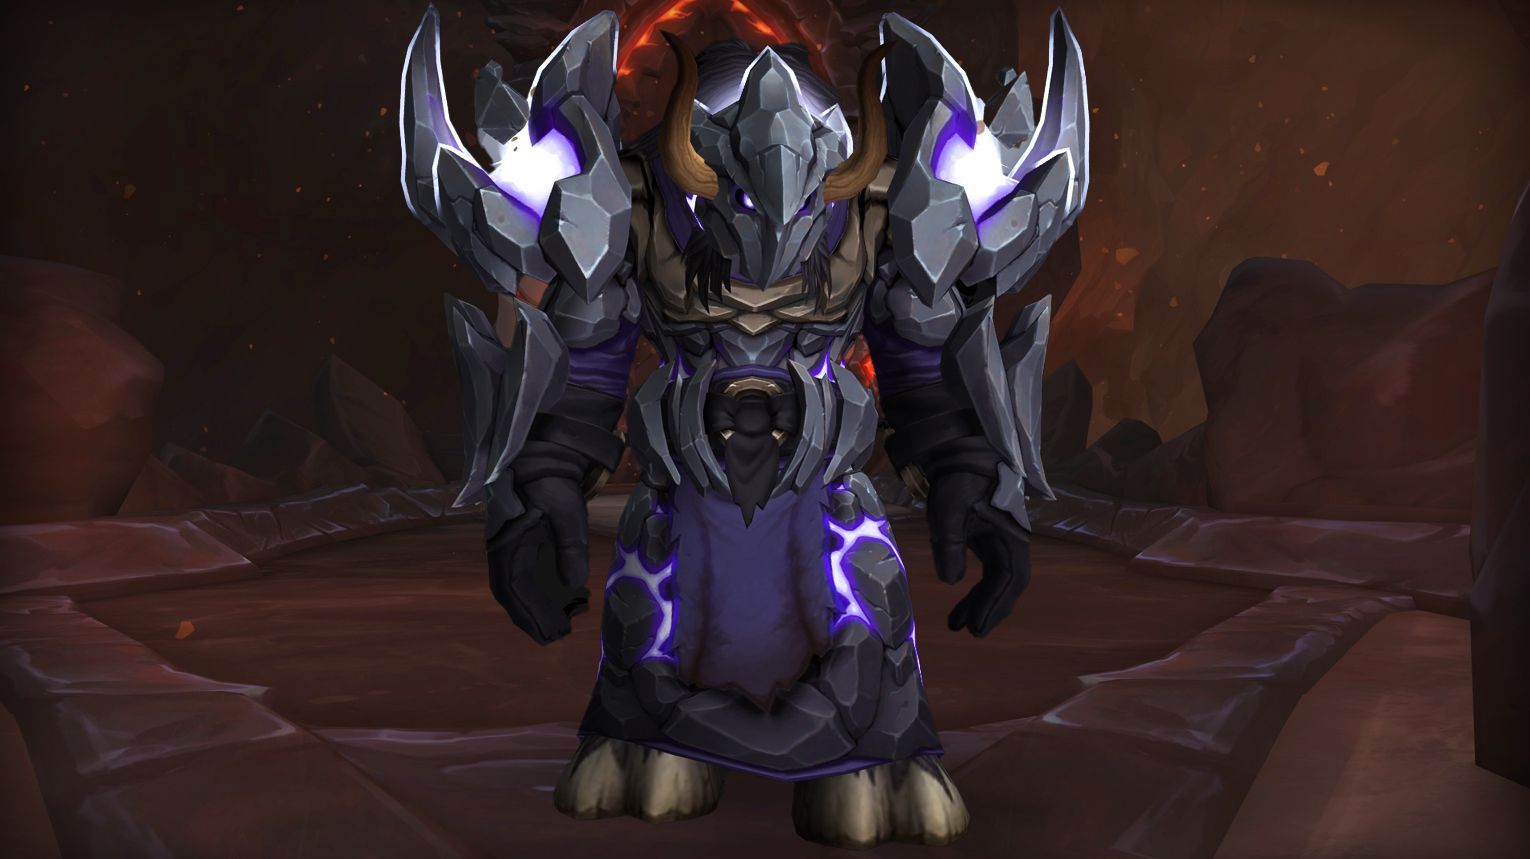
Kurog Grimtotem is a boss encounter in the Vault of the Incarnates raid in World of Warcraft. This fight is unique because the boss’s abilities change depending on which part of the encounter area he is in. The room is split into five sections, with the outside four sections being split equally into Flame, Frost, Earth, and Storm. The center section is an elemental convergence where the boss will jump to during the intermission, but he cannot be tanked in the center during the regular phases due to quickly ramping raid damage.
- Tanks: Classes with strong mitigation and mobility to handle tank busters like Sundering Strike.
- Healers: Classes with strong AoE healing and cooldowns to manage raid-wide damage from elemental mechanics.
- DPS: Classes with high Burst damage for add phases and consistent DPS for boss damage. Ranged DPS are particularly useful for handling spread mechanics like Lightning Crash.
![]() Tips:
Tips:
- Positioning:
- Tanks should position the boss near walls to minimize knockback from Sundering Strike.
- Ranged and melee should adjust positioning based on the active altar (e.g., stack for Frost, spread for Storm).
- Elemental Dominance:
- Rotate through altars to manage Dominance stacks and minimize raid damage.
- Ideal rotation: Frost → Flame → Storm → Earth → Flame (final phase).
- Intermissions:
- Focus priority adds: Frozen Destroyer (Intermission 1) and Thundering Ravager (Intermission 2).
- Use raid cooldowns during high-damage phases like Freezing Tempest and Lethal Current.
Phase 1:
- Start at Altar of Frost:
- Stack ranged for Absolute Zero soaks.
- Move to Altar of Flame at ~19 stacks.
- Altar of Flame:
- Handle Magma Burst (avoid pools) and Searing Carnage (marked players move right, others left).
- Move to Altar of Storm at ~14 stacks:
- Spread for Lightning Crash and Shocking Burst.
- Move to Altar of Earth:
- Dodge Erupting Bedrock (melee step out, then back in).
- Loosely spread to avoid Seismic Rupture.
Intermissions:
- Intermission 1:
- Kill Frozen Destroyer first to stop Freezing Tempest.
- Stack raid near the add to mitigate damage.
- Intermission 2:
- Kill Thundering Ravager first to reduce raid damage.
- Tanks swap on Tectonic Crusher for Breaking Gravel.
- Players with Ground Shatter move to edges.
Phase 3:
- Return to Altar of Flame (lowest damage altar).
- Repeat mechanics from Phase 1.
| Type of Armor | Item | Loot type |
| Cloth | Magatha’s Spiritual Sash | Waist |
| Leather | Treacherous Totem Wraps | Hands |
| Surging-Song Conductors | Wrist | |
| Plate | Kurog’s Thunderhooves | Feet |
| Any | Fist of the Grand Summoner | Fist Weapon |
| Scripture of Primal Devotion | Off-hand | |
| Awak’mani, Grimtotem’s Legacy | Polearm | |
| All-Totem of the Master | Trinket | |
| Controlled Current Technique | Trinket |
Broodkeeper Diurna
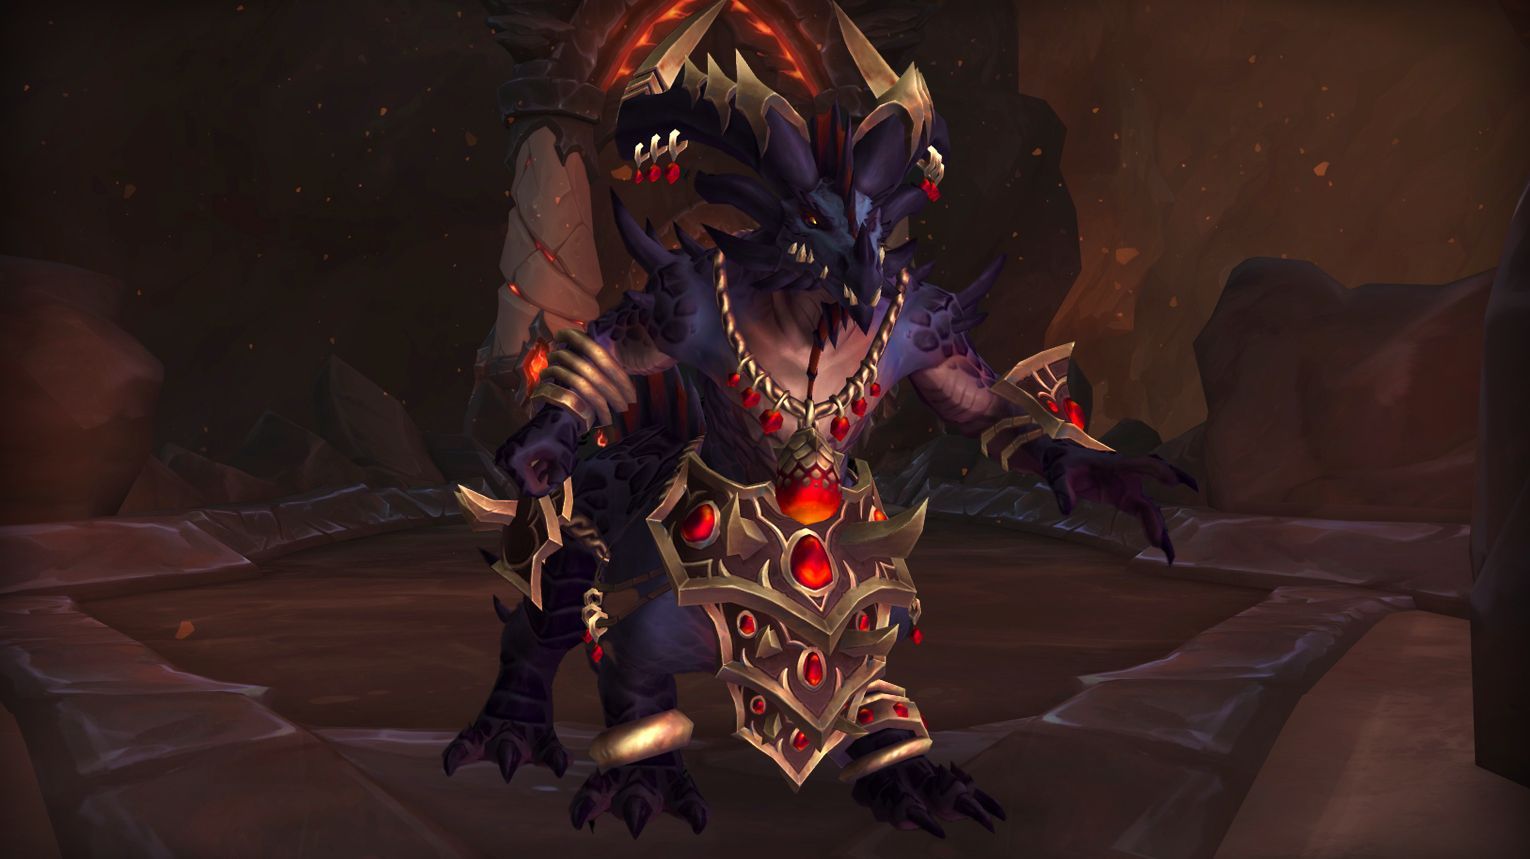
Broodkeeper Diurna is the 7th boss in Vault of the Incarnates, focusing on egg destruction and add management. In Phase 1, use Greatstaff’s Wrath to shatter eggs and keep adds away from the boss to avoid buffs. In Phase 2, tank the boss in the center, shatter remaining eggs, and handle increased damage from Empowered Greatstaff’s Wrath. Use Bloodlust/Drums in Phase 2 for maximum DPS, especially on Heroic and Mythic difficulty where mechanics and damage are intensified.
- Tanks: Classes with strong survivability and mobility to handle tank swaps and add management.
- Healers: Classes with strong AoE healing and dispels (e.g.,
- DPS: Classes with strong AoE and cleave damage (e.g.,


- Utility: Classes with interrupts, dispels, and mobility are highly valuable.
![]() Tips:
Tips:
- Egg Management:
- Use Greatstaff’s Wrath to shatter eggs before they hatch.
- Aim to destroy 2 eggs per staff activation to avoid overwhelming your raid.
- Add Control:
- Keep adds more than 50 yards away from the boss to prevent them from being buffed by Broodkeeper’s Bond.
- Prioritize adds like Juvenile Frost Proto-Dragons and Dragonspawn Flamebenders due to their high damage output.
- Positioning:
- Rotate around the room in Phase 1 to destroy eggs efficiently.
- In Phase 2, tank the boss in the center and spread loosely to handle Wildfire and Empowered Greatstaff’s Wrath.
- Heroic Difficulty:
- Shatter eggs in sets of 2 to avoid lethal damage from Clutchwatcher’s Rage.
- Watch for new add abilities like Burrowing Strike and Cauterizing Flashflames.
- Phase 1:
- Boss Positioning: Move the boss along a predetermined path to avoid overlapping with adds.
- Egg Destruction: Use Greatstaff’s Wrath to shatter eggs marked by Rapid Incubation.
- Add Management: Assign a tank, healers, and DPS to handle adds. Keep adds away from the boss to avoid Broodkeeper’s Bond.
- Key Mechanics:
- Icy Shroud: Use dispels or healing cooldowns to mitigate damage.
- Wildfire: Spread out to avoid cleaving nearby players.
- Phase 2:
- Boss Positioning: Tank the boss in the center of the room.
- Eggs: Ensure all eggs are shattered before focusing on the boss.
- Empowered Greatstaff’s Wrath: Random players will be targeted by beams; spread out to minimize damage.
- Damage Increase: The boss gains a stacking 15% damage increase every 30 seconds, so burn her down quickly.
Raszageth the Storm-Eater
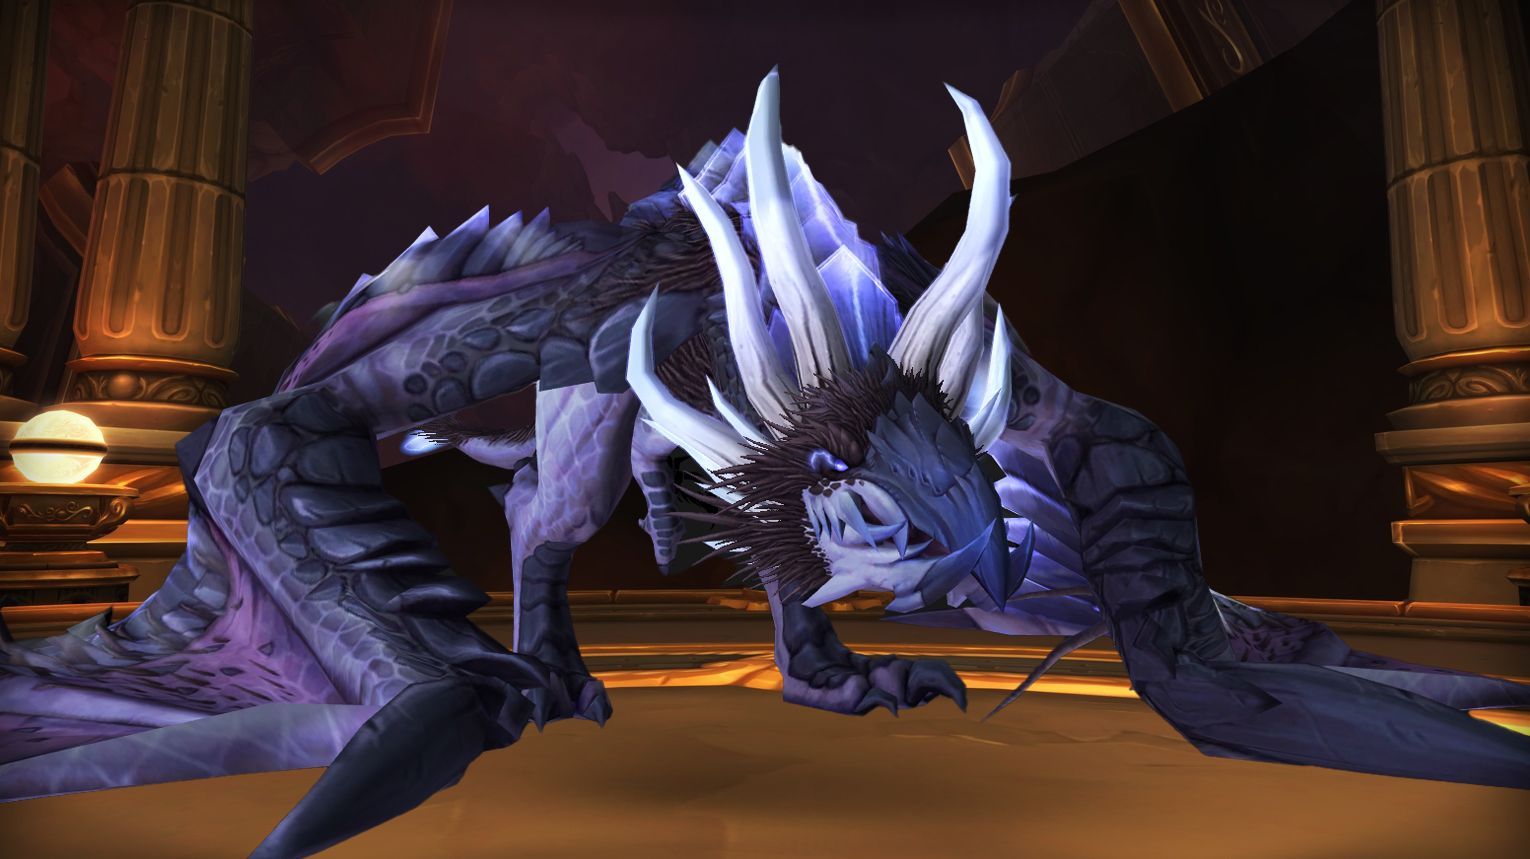
Raszageth the Storm-Eater is the final boss of Vault of the Incarnates, featuring three phases and two intermissions with storm-themed mechanics like Static Charge, Hurricane Wing, and Stormsurge. Key strategies include proper positioning, handling adds during intermissions, and managing debuffs like Fulminating Charge and Volatile Current. Use Bloodlust/Drums in Phase 1 or Phase 3 for maximum DPS, and adapt to Heroic changes like Magnetic Charge and Surging Blast. Coordination, precise movement, and efficient add management are crucial for success.
- Tanks: Classes with strong mitigation for Electrified Jaws and Thunderous Blast (e.g.,
- Healers: Classes with strong raid-wide healing and dispels (e.g.,
- DPS: Classes with strong AoE for adds (e.g.,

![]() Tips:
Tips:
- Phase 1:
- Spread out for Volatile Current to avoid cleaving damage.
- Drop Static Charge pools behind the raid to mitigate Hurricane Wing pushback.
- Interrupt or CC Volatile Sparks to prevent their Burst ability.
- Intermission 1:
- Phase 2:
- Manage Fulminating Charge by running away from other players.
- Break Stormsurge shields quickly by grouping with players of the same charge (Positive/Negative).
- Avoid standing near players with the opposite charge to prevent Scattered Charge damage.
- Intermission 2:
- Focus on killing Seeking Stormlings before they reach the Colossal Stormfiend.
- Use CC on Seeking Stormlings before they become immune at 100 energy.
- Phase 3:
- Avoid the Raging Storm at the edges of the platform.
- Mitigate Thunderous Blast damage as much as possible to reduce raid-wide damage.
- Use defensive cooldowns and externals on tanks during Thunderous Blast.
- Phase 1: Focus on positioning for Static Charge and Hurricane Wing. Handle Volatile Current and Volatile Sparks efficiently.
- Intermission 1: Split the raid, prioritize killing Surging Ruiners, and manage adds.
- Phase 2: Manage Stormsurge by grouping with players of the same charge. Handle Fulminating Charge by spreading out.
- Intermission 2: Kill Seeking Stormlings quickly and avoid letting them buff the Colossal Stormfiend.
- Phase 3: Burn the boss while avoiding the Raging Storm. Use defensive cooldowns for Thunderous Blast.
- Phase 1: Use Bloodlust/Drums at the start to maximize DPS and push the boss to 65% quickly.
- Phase 3: Save Bloodlust/Drums for the final phase if your group struggles with the enrage timer or needs extra damage to finish the boss before the Raging Storm overwhelms the platform.
Vault of the Incarnates Achievements List
| Achievement | Requirement |
| Fury of the Storm | Defeat bosses in the deepest reaches of the VotI. |
| The Primal Bulwark | Kill bosses that bolster the defenses of the VotI. |
| Caverns of Infusion | Defeat bosses in the cavernous depths of Vault of the Incarnates. |
| Heroic: Vault of the Incarnates | Slay all bosses on Heroic difficulty. |
| Heroic: Vault of the Incarnates Guild Run | Defeat all bosses in Vault of the Incarnates on Heroic difficulty or higher while in a guild group. |
| Ahead of the Curve: Raszageth the Storm-Eater | Kill Raszageth the Storm-Eater on Heroic difficulty or higher, before the release of the next raid tier. |
| Cutting Edge: Raszageth the Storm-Eater | Slay Raszageth the Storm-Eater on Mythic difficulty, before the release of the next raid tier. |
| Mythic: Raszageth the Storm-Eater | Defeat Raszageth the Storm-Eater on Mythic difficulty. |
| Mythic: Raszageth the Storm-Eater Guild Run | Kill Raszageth the Storm-Eater on Mythic Difficulty while in a guild group. |
| Vault of the Incarnates | Slay all bosses on any difficulty. |
| Vault of the Incarnates Guild Run | Defeat all bosses on Normal difficulty or higher while in a guild group. |
| Mythic: Vault of the Incarnates | Kill all bosses on Mythic difficulty. |
| Awakened Storms | Slay all bosses on Normal difficulty while Vault of the Incarnates is an Awakened raid. |
| Heroic: Awakened Storms | Defeat all bosses on Heroic difficulty while Vault of the Incarnates is an Awakened raid. |
| Mythic: Awakened Storms | Kill all bosses on Mythic difficulty while Vault of the Incarnates is an Awakened raid. |
| Mythic: Broodkeeper Diurna | Slay Broodkeeper Diurna on Mythic difficulty. |
| Mythic: Dathea, Ascended | Defeat Dathea, Ascended on Mythic difficulty. |
| Mythic: Eranog | Kill Eranog on Mythic difficulty. |
| Mythic: Kurog Grimtotem | Slay Kurog Grimtotem on Mythic difficulty. |
| Mythic: Sennarth, The Cold Breath | Defeat Sennarth, The Cold Breath in Vault of the Incarnates on Mythic difficulty. |
| Mythic: Terros | Kill Terros in Vault of the Incarnates on Mythic difficulty. |
| Mythic: The Primal Council | Slay The Primal Council on Mythic difficulty. |
| Vaulternative Fashion | Collect an armor set from Vault of the Incarnates. |
| Glory of the Vault Raider | Complete the Vault of the Incarnates raid achievements. |
| I Was Saving That For Later | Kill Sennarth, The Cold Breath after finding and freeing 5 mysterious captives using Caustic Eruption, then witnessing their demise on Normal difficulty or higher. |
| Incubation Extermination | Slay Broodkeeper Diurna after successfully hatching and defeating lieutenants from each Primal element’s eggs within 10 seconds of each other on Normal difficulty or higher. |
| Little Friends | Defeat Terros after hitting the three Dormant Earth nodes in his chamber with Awakened Earth and then defeating the resultant Energized Earth creatures on Normal difficulty or higher. |
| Nothing But Air | Kill Dathea, Ascended after collecting 8 Condensed Gales on Normal difficulty or higher. |
| The Lunker Below | Use fishing to lure the Lurking Lunker living in the lava out, then engage and defeat the Primal Council on Normal difficulty or higher. |
| The Ol Raszle Daszle | Slay Raszageth the Storm-Eater after successfully gathering two Concentrated Storm Essences and defeating the Concentrated Storm on Normal difficulty or higher. |
| The Power is MINE! | Kill Kurog Grimtotem after destroying the Primal Avatar on Normal difficulty or higher. |
| What Frozen Things Do | Defeat Eranog after finding a Frozen Portal Stone and defeating a Burning Behemoth on Normal difficulty or higher. |


Comments: