

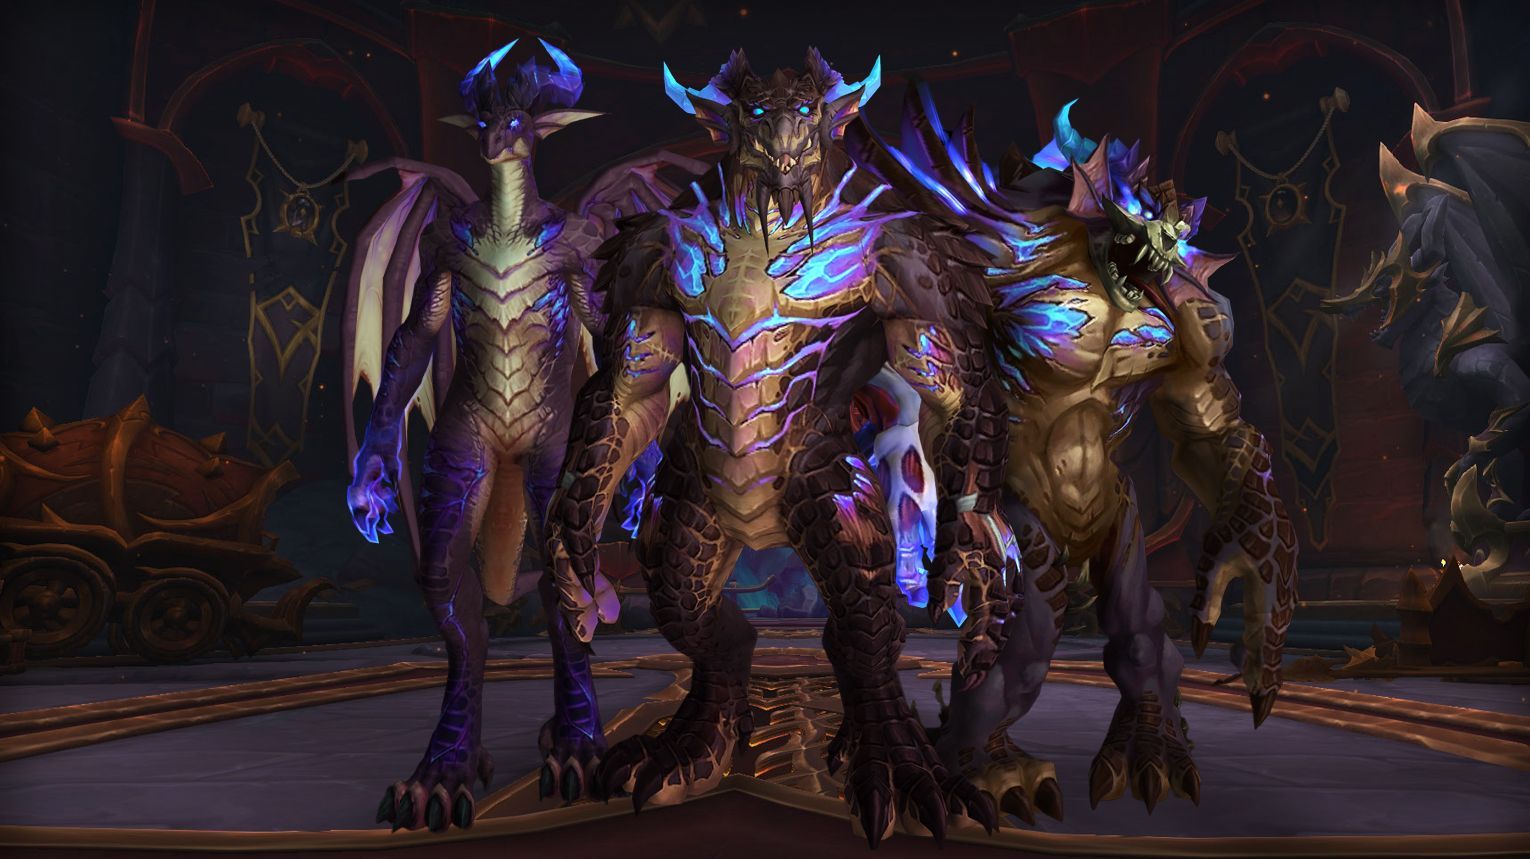
Aberrus, the Shadowed Crucible, is the second raid in World of Warcraft: Dragonflight, launched on May 8, 2023. It offers valuable transmogs, mounts, and collectibles. This hidden lab, created by Neltharion, has nine bosses, including Scalecommander Sarkareth, with unique armor sets, weapons, and achievements.

- Aberrus location
- Bosses and their rewards
- Available mounts, weapons, and transmogs
- Achievements you can earn
- Can you solo Aberrus?
If you’re after best-in-slot (BiS) PvE gear, exclusive achievements, rare mounts, and more, our Aberrus carry services are the ultimate solution. You’ll clear the raid with one of our elite teams, who have mastered every mechanic of this fiery encounter across all difficulties—Normal, Heroic, or Mythic.

Aberrus Entrance and Subregions
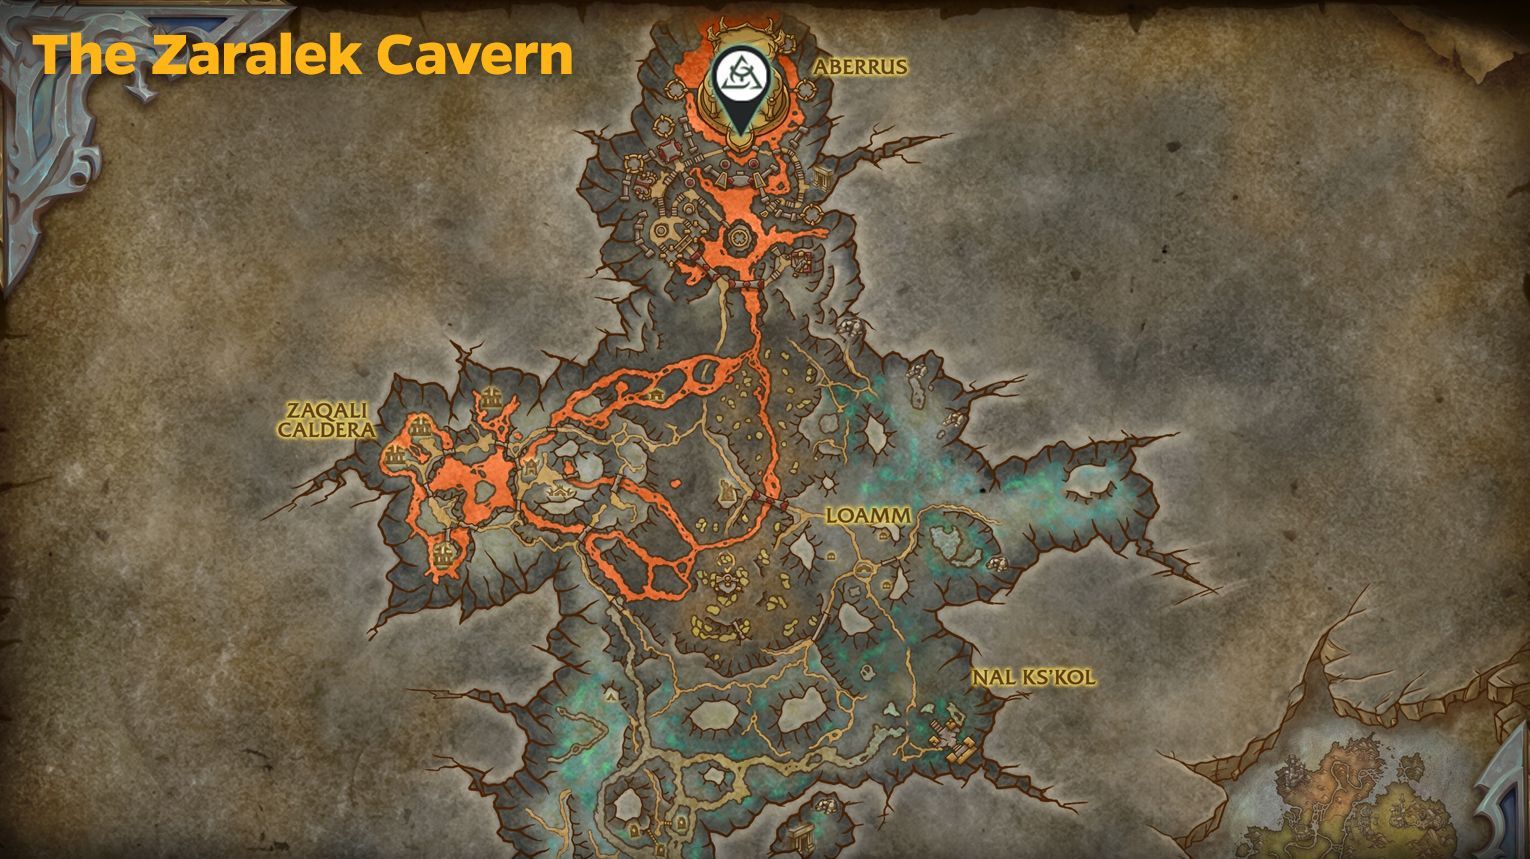
Aberrus, the Shadowed Crucible, is found in the Zaralek Cavern zone in World of Warcraft: Dragonflight. To get there, head to Zaralek Cavern, which you can access from the Dragon Isles. Take the flight path to Obsidian Rest and then go north to the raid entrance.
The entrance to Aberrus is at coordinates 48.46, 10.35, near a notable obsidian structure. Follow the path, watch out for enemies, and you’ll reach the main gates. Once there, walk through the doors to enter the raid and start your journey.
Inside, you’ll explore different subregions as you make your way to Scalecommander Sarkareth.

- The Discarded Works,
- Fury of Giants,
- Neltharion’s Shadow,
- Edge of the Void.

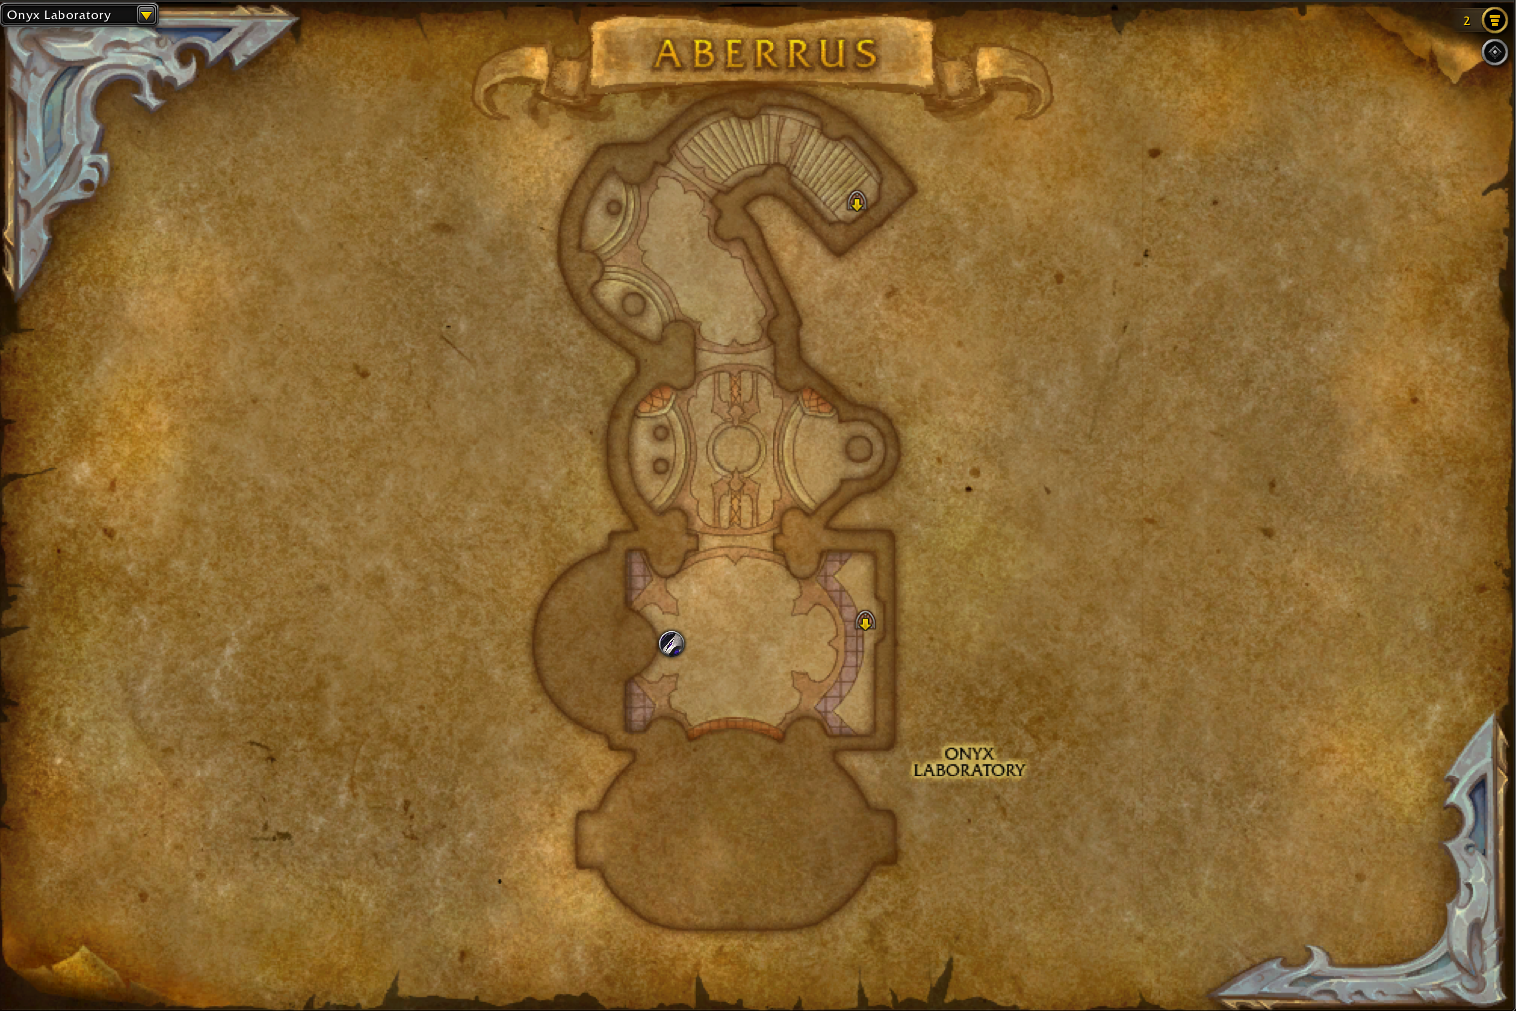
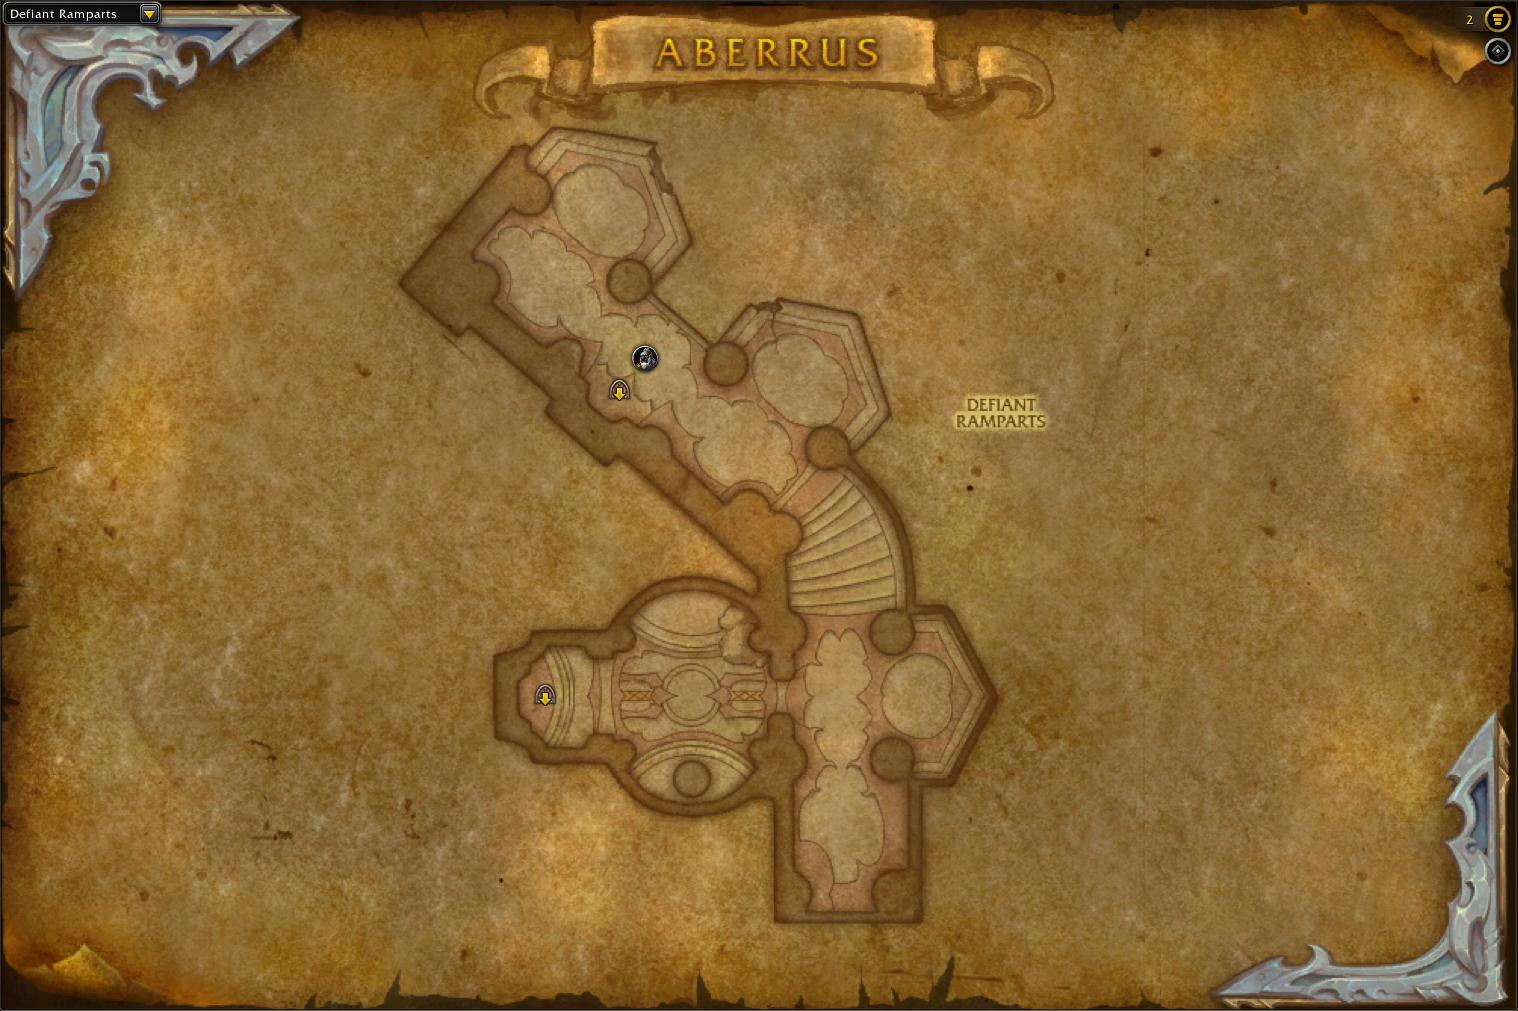
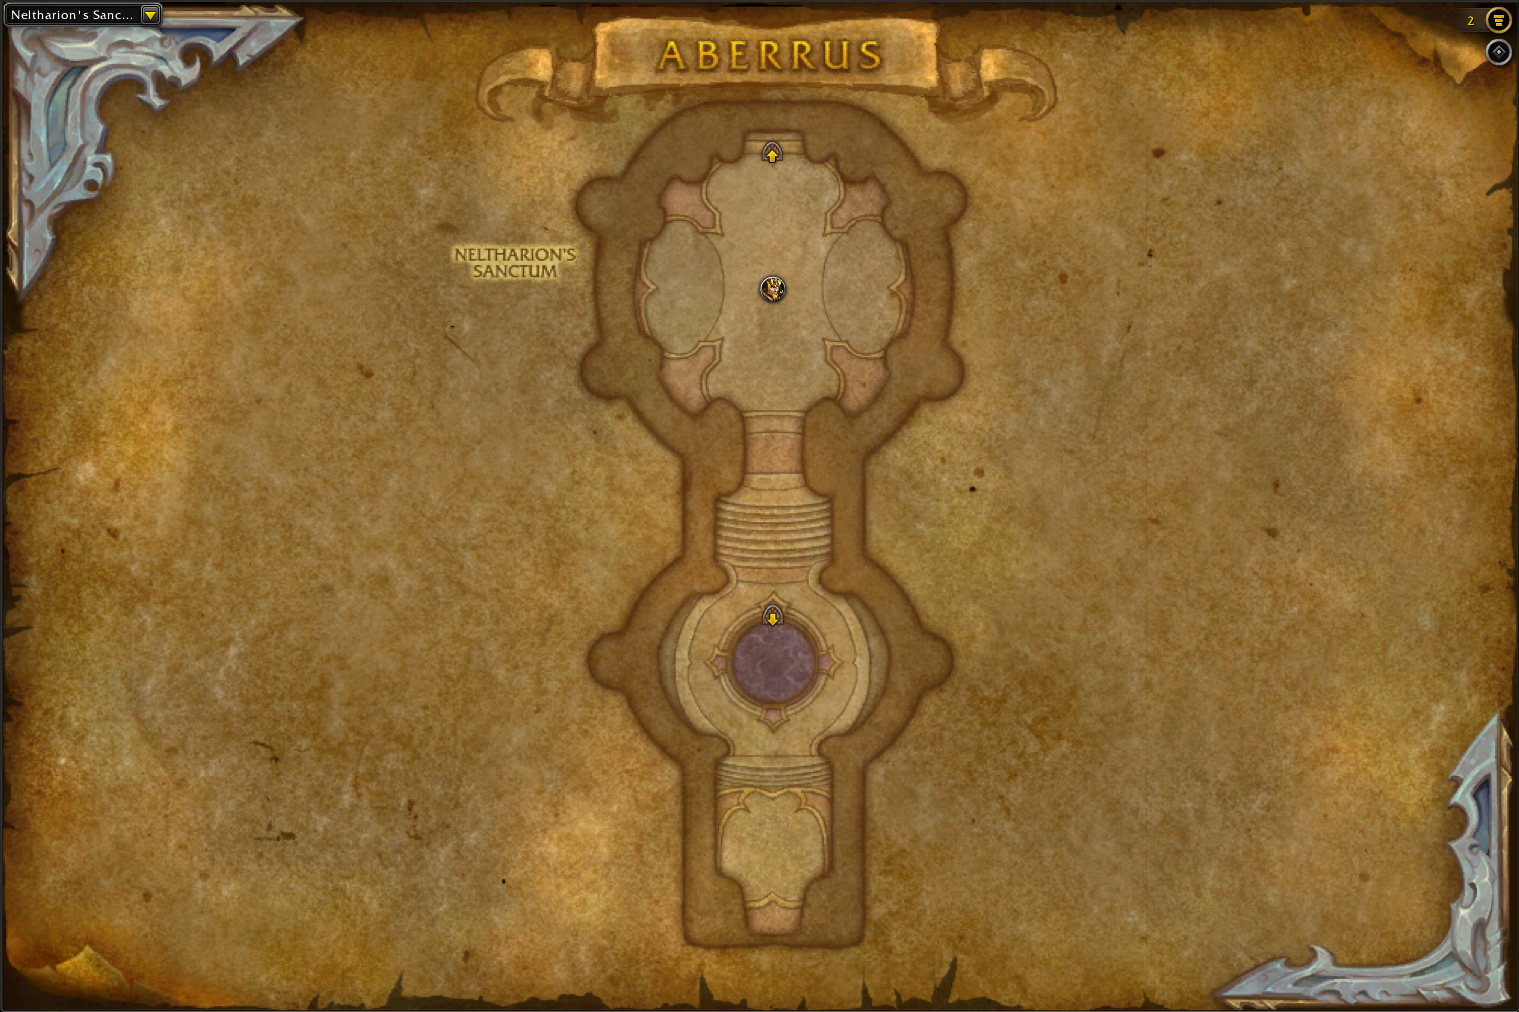
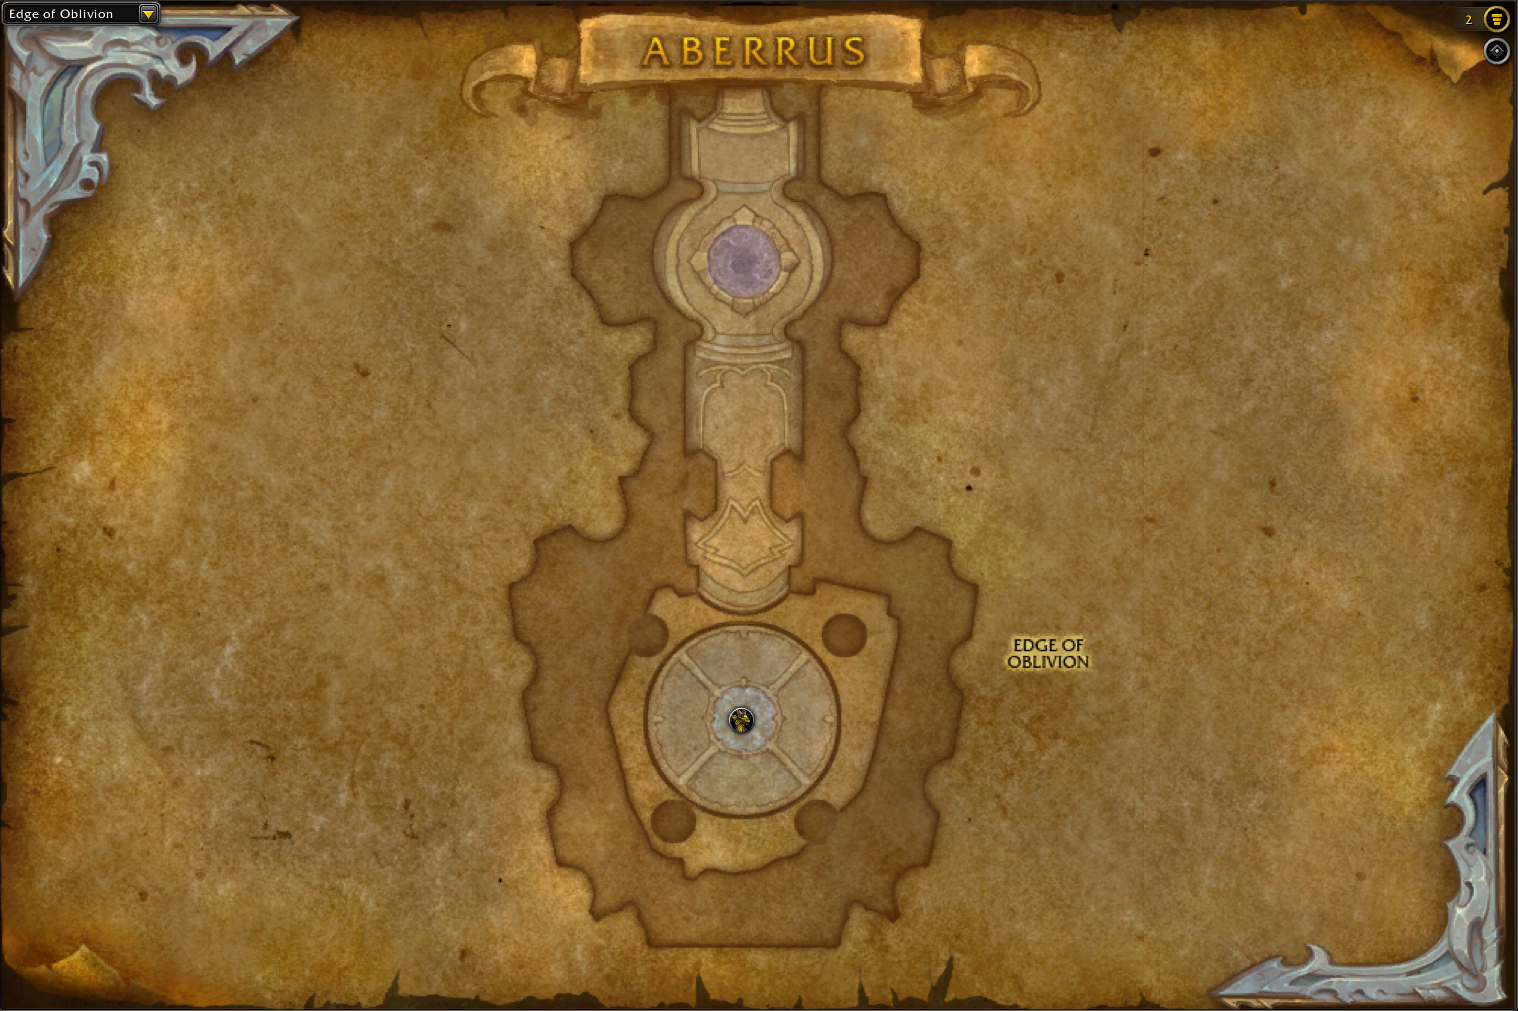
Each area has its own challenges and bosses, which we’ll briefly cover below.
Aberrus Collectibles: Mounts, Pets, Transmogs
| Collectible | Source (% drop rate) | Obtainable / Not Obtainable |
| Aberrus Tier Sets | ||
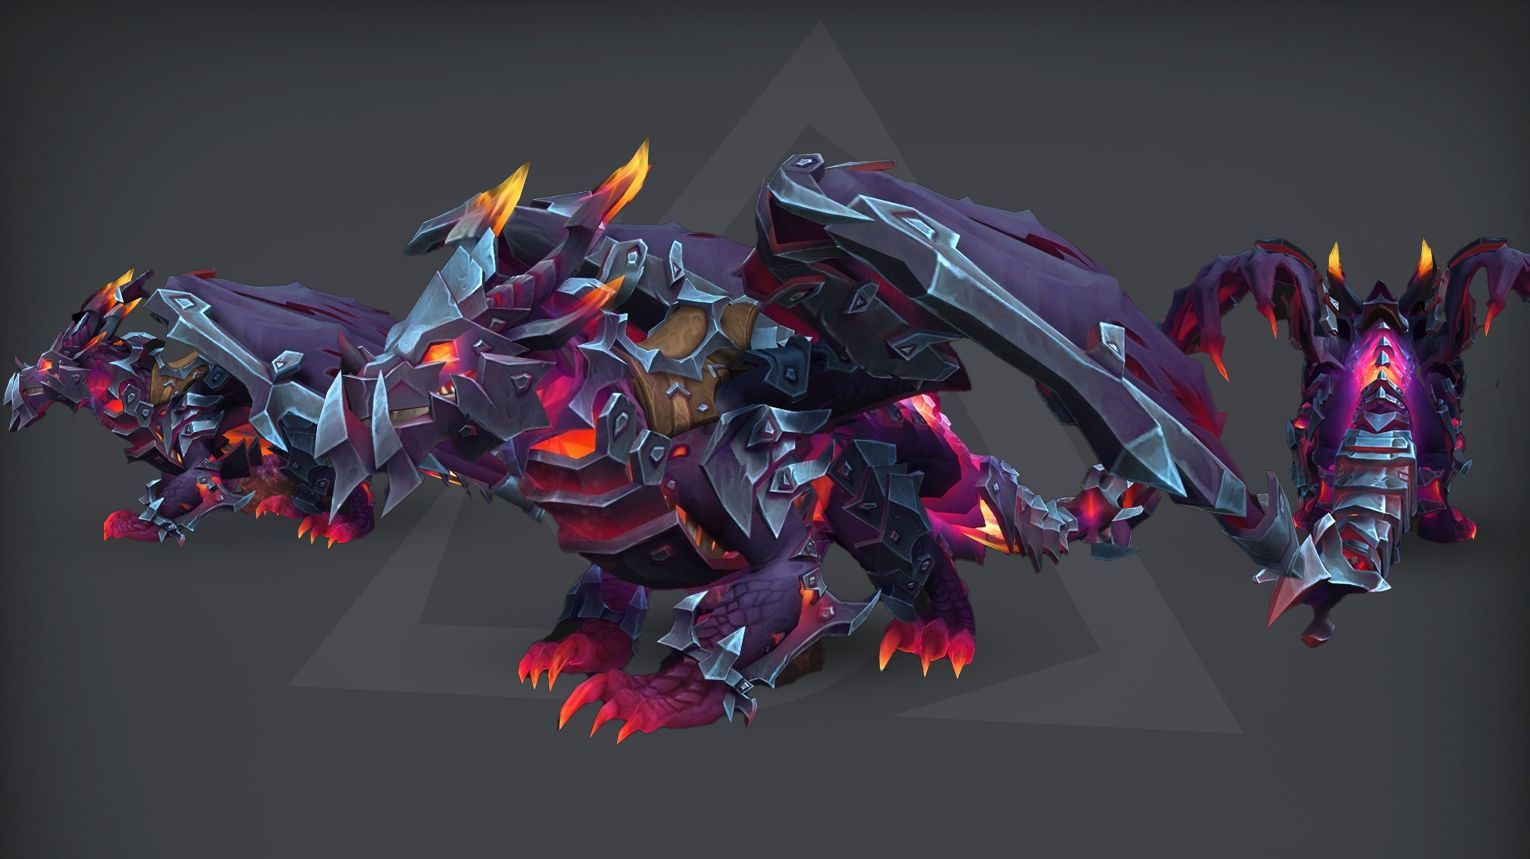
| Highland Drake: Embodiment of the Hellforged | Scalecommander Sarkareth (1%) | Yes |
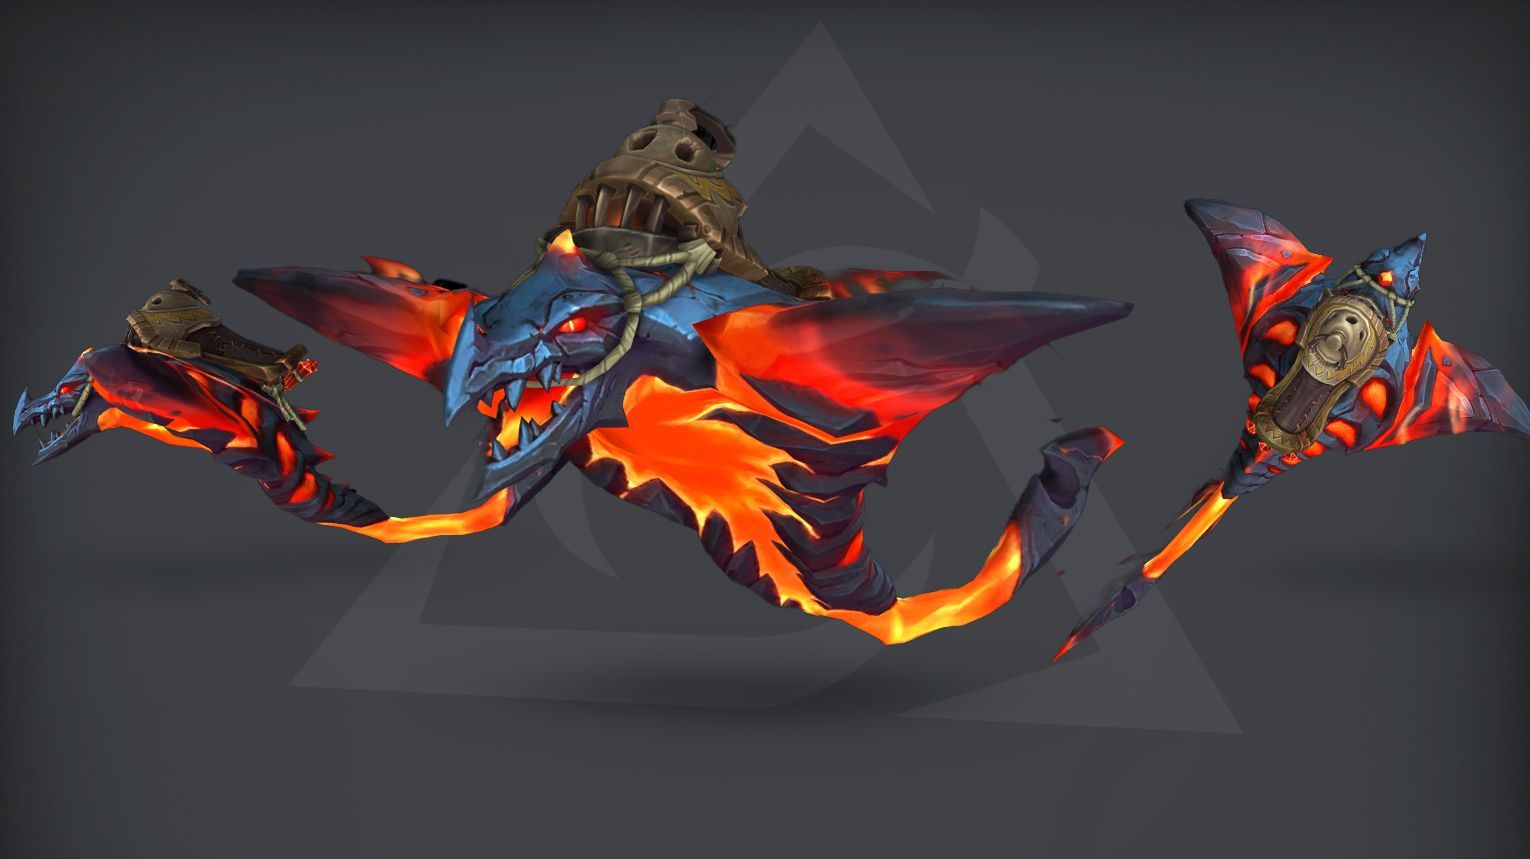
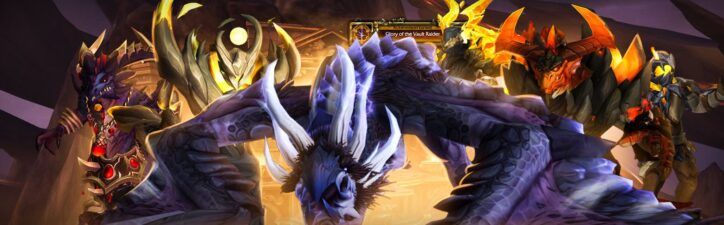
| Shadowflame Shalewing | Glory of the Aberrus Raider | Yes |
| Nasz’uro, the Unbound Legacy | Scalecommander Sarkareth (3%) | Yes |
Aberrus Bosses Overview
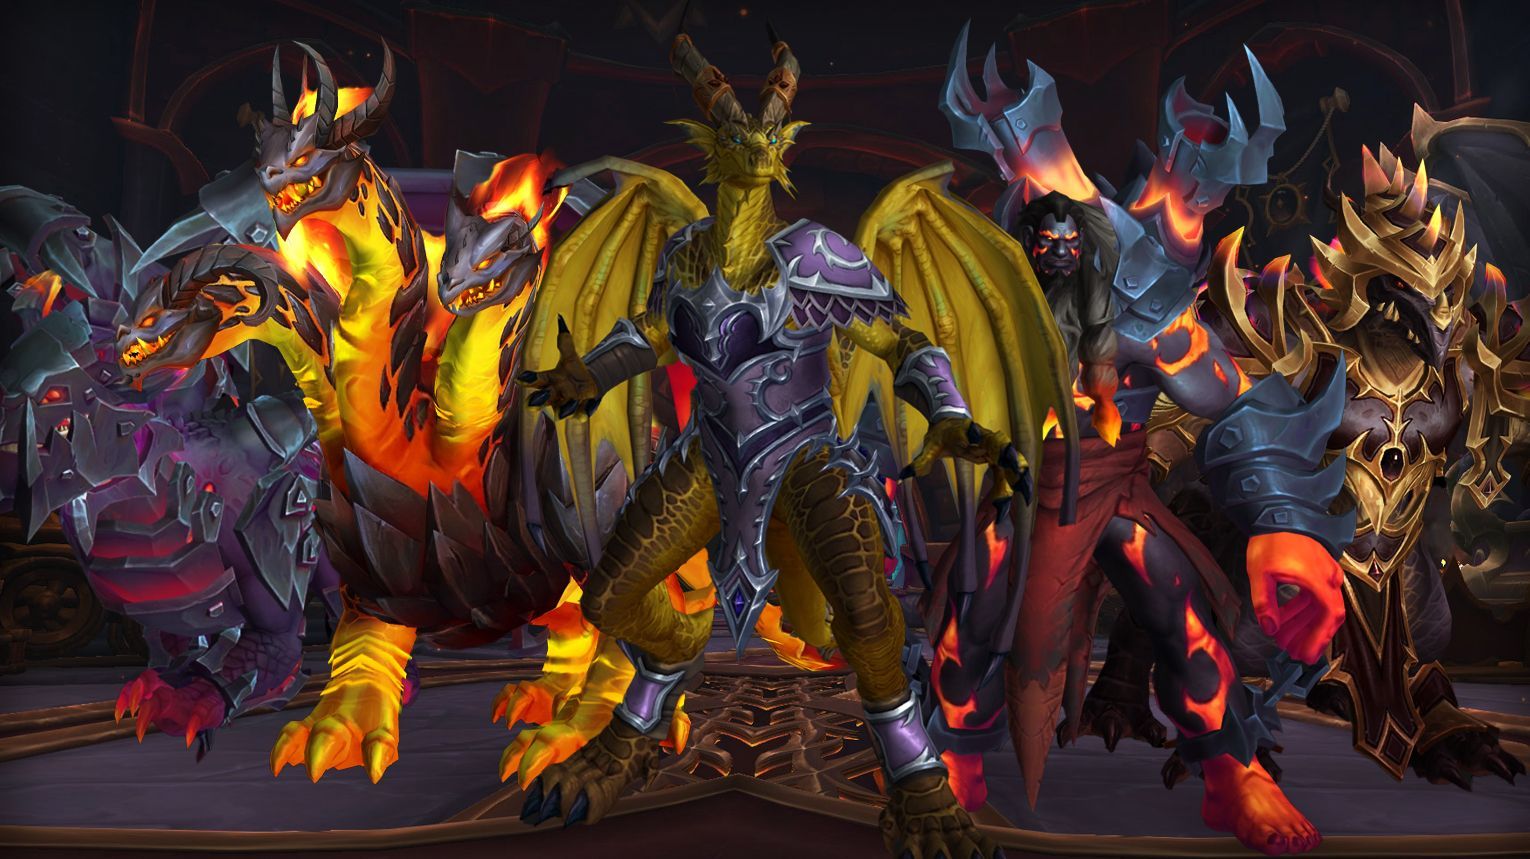
Aberrus, the Shadowed Crucible is a raid in World of Warcraft: Dragonflight, where players explore Neltharion’s secret laboratory to stop dangerous forces from claiming his dark legacy. The raid has nine bosses, each tied to the themes of experimentation and shadowy power. Encounters vary from strategic fights like Zskarn, the Vigilant Steward, who uses traps and mechanical minions, to intense battles against Rashok, the Elder, a fiery giant with devastating attacks. The final showdown against Scalecommander Sarkareth is a dramatic clash in the depths of the cavern, where players must overcome his void powers to secure victory.
Can You Solo Aberrus in The War Within?
Farming Aberrus, the Shadowed Crucible, in The War Within is an excellent way to collect transmog sets, mounts, pets, and achievements from Dragonflight. Although soloing older raids is generally easier thanks to stat scaling and better gear, some Aberrus bosses still have challenging mechanics. This guide provides strategies for soloing each boss, including recommended classes, tips, and the optimal times to use Bloodlust or Feral Hide Drums.
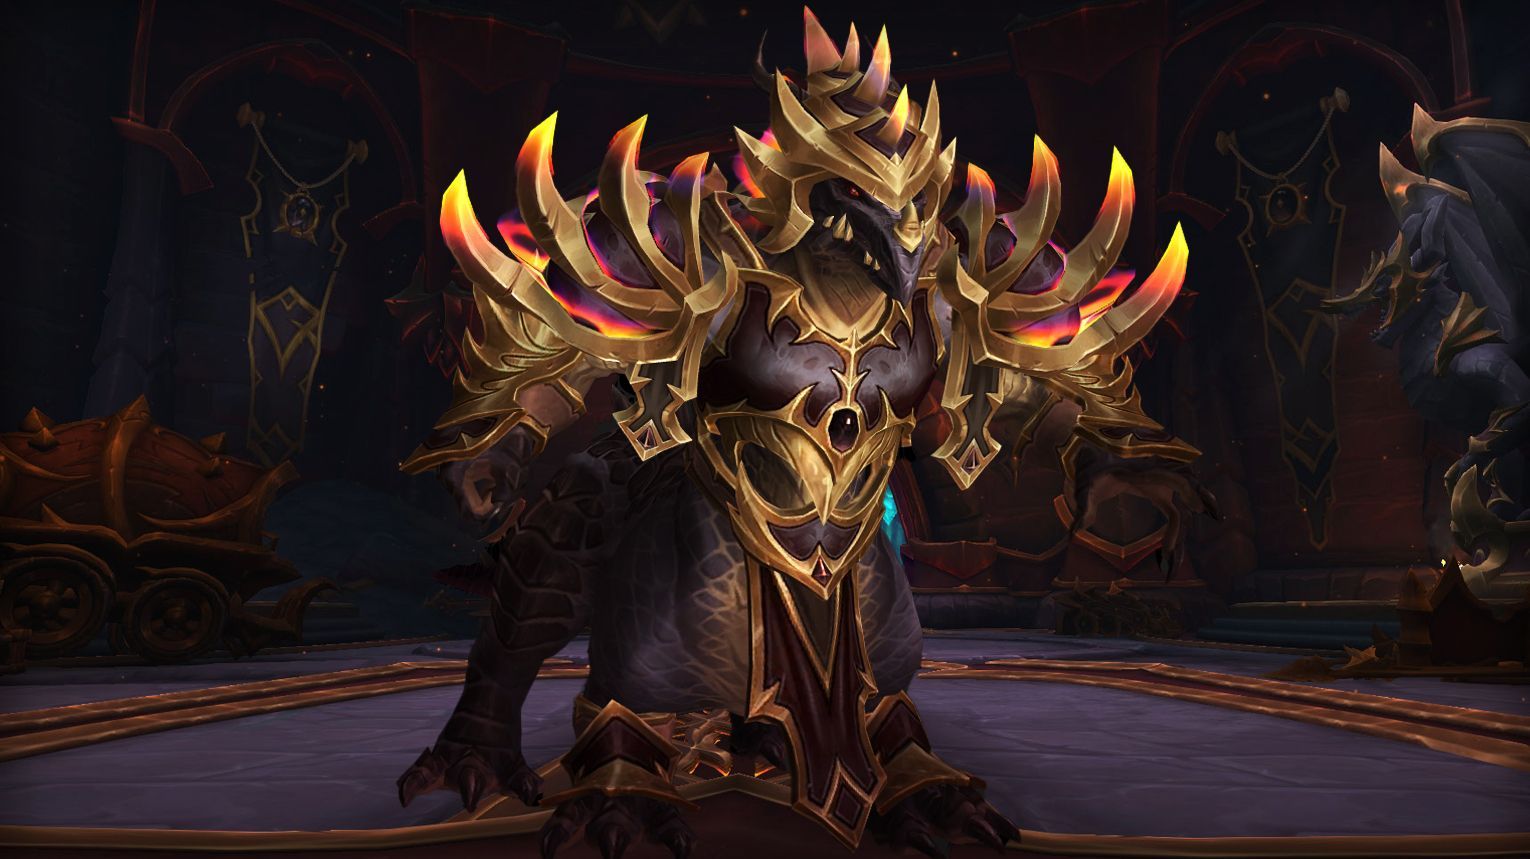
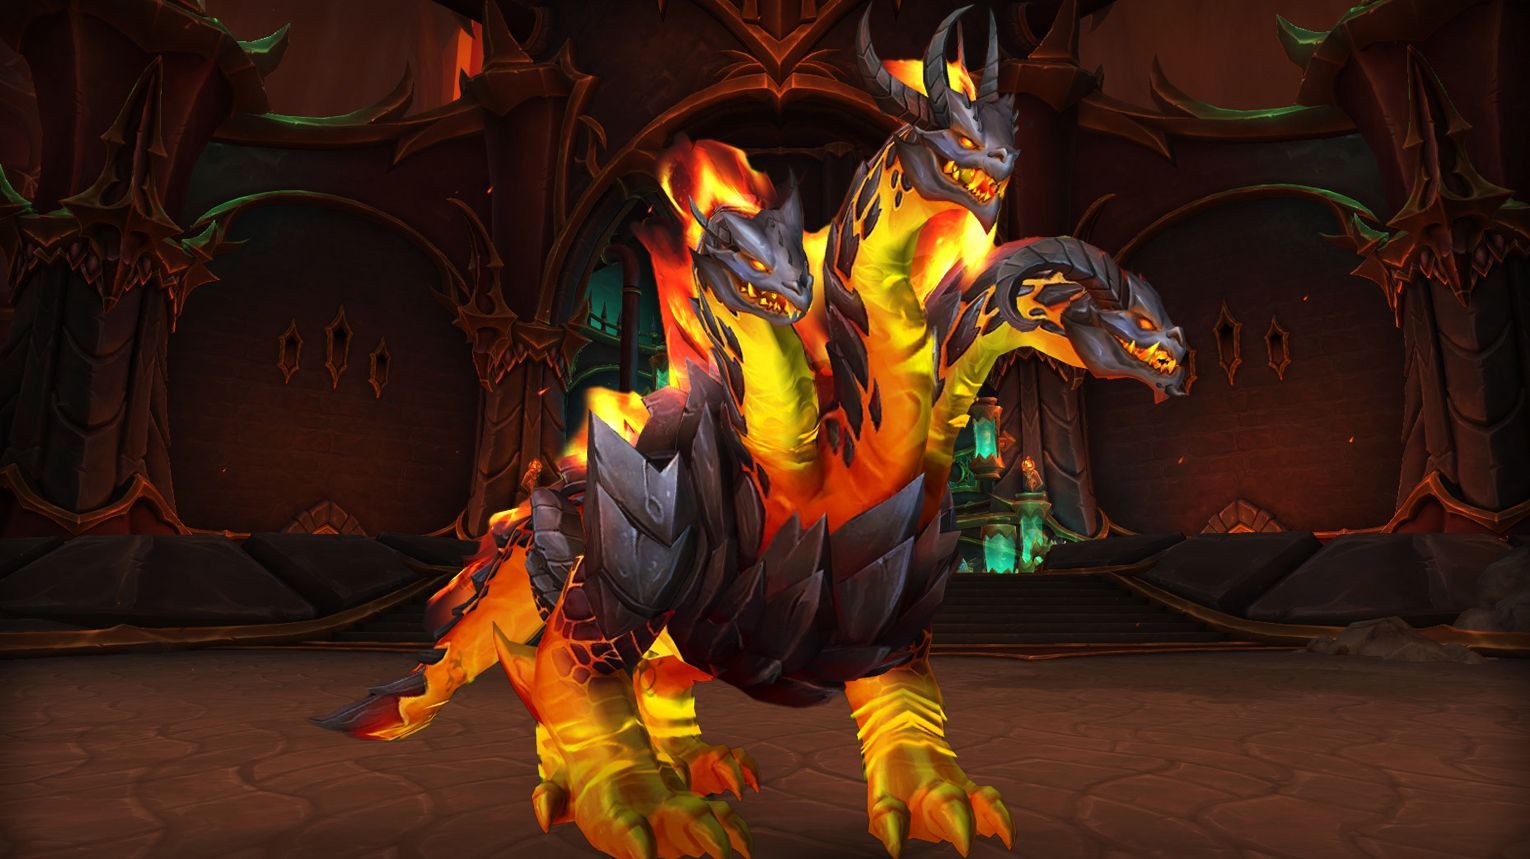
Kazzara, the Hellforged
Kazzara, the Hellforged is the first boss encounter in Aberrus, the Shadowed Crucible raid. This encounter consists of a few repeating abilities which become more difficult to deal with throughout the encounter. The goal is to defeat the boss before the raid runs out of usable space due to the Molten Scar and Dread Rifts left behind. Kazzara notably drops the Blacksmithing recipe Plans: Shadowed Impact Buckler and a very rare trinket, Screaming Black Dragonscale, which is several item levels higher than the rest of the loot table and comes with a special equip effect.

- Tanks: Strong defensive cooldowns to handle Hellsteel Carnage bursts.
- Healers: High AoE healing output to manage raid-wide damage from Wings of Extinction and Hellbeam.
- DPS: Ranged DPS are preferred for easier positioning and handling of Rays of Anguish. Melee DPS need to be cautious of Dread Rifts and Hellbeam.
![]() Tips:
Tips:
- Positioning:
- Tank Kazzara near one side of the room.
- Raid should form a half-circle behind the boss, spread out to avoid overlapping mechanics.
- Gradually move across the room as space becomes limited.
- Dread Rifts:
- Drop them to the sides or behind the raid to avoid cluttering the main area.
- Avoid dropping them in the path of Hellbeam.
- Rays of Anguish:
- Fixated players should kite the beams away from others.
- On Heroic, kite beams over Dread Rifts to deactivate them.
- Hellbeam:
- Stay spread out to minimize the number of players needing to move.
- Be aware of overlaps with Dread Rifts.
- Hellsteel Carnage:
- Prepare for increasing raid damage at 80%, 60%, and 40% health.
- Use personal and raid-wide cooldowns during these phases.

- Phase 1 (100%-80%):
- Handle Dread Rifts and Rays of Anguish.
- Spread out to minimize Hellbeam impact.
- Phase 2 (80%-40%):
- Manage increasing damage from Hellsteel Carnage.
- Continue dropping Dread Rifts strategically.
- Kite Rays of Anguish over Dread Rifts on Heroic.
- Phase 3 (40%-0%):
- Maximize DPS while handling intensified mechanics.
- Ensure the raid has enough space to maneuver.


| Type of Armor | Item | Loot type |
| Cloth | Sash of Abandoned Hope | Waist |
| Reanimator’s Wicked Cassock | Chest | |
| Leather | Bloodstench Skinguards | Wrist |
| Violent Gravemask | Head | |
| Grasps of Welded Anguish | Hands | |
| Kazzara’s Grafted Companion | Shoulder | |
| Plate | Dreadrift Stompers | Feet |
| Any | Plans: Shadowed Impact Buckler | Blacksmithing Plans |
| Etchings of the Captive Revenant | Cloak | |
| Hellsteel Mutilator | Dagger | |
| Infernal Shadelance | Polearm | |
| Enduring Dreadplate | Trinket | |
| Screaming Black Dragonscale | Trinket |
The Amalgamation Chamber
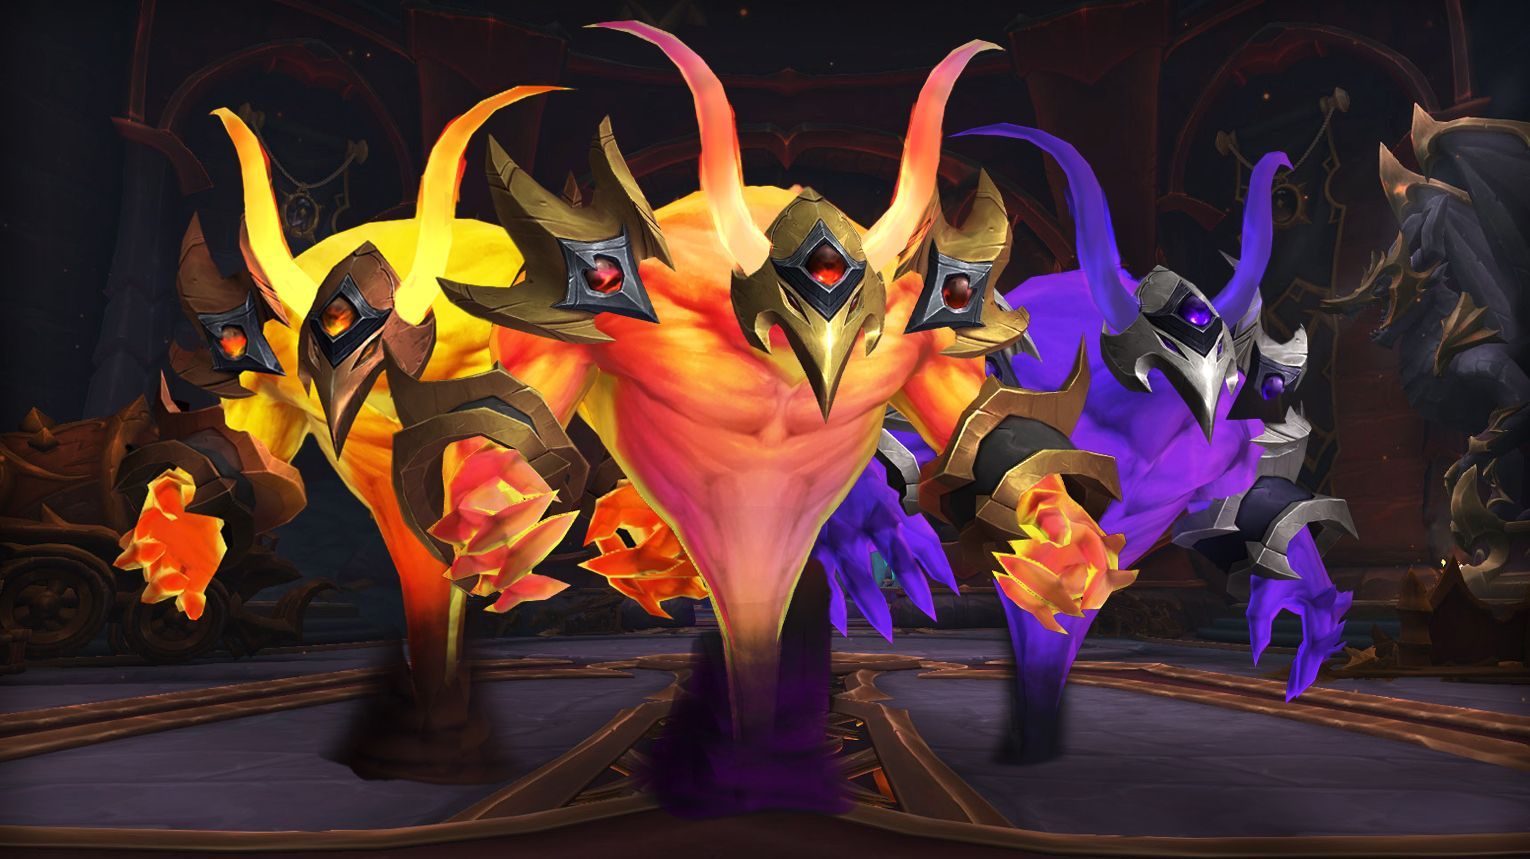
The Amalgamation Chamber is a boss encounter in the Aberrus, the Shadowed Crucible raid in World of Warcraft. This encounter features two elemental bosses, the Essence of Shadow and the Eternal Blaze, which must be managed simultaneously. The fight is split into two phases: in the first phase, the raid is divided to handle each boss separately, and in the second phase, the bosses merge into a single entity, the Shadowflame Amalgamation, combining their abilities and increasing the complexity of the encounter.
- Tanks: Classes with strong defensive cooldowns (e.g.,

- Healers: Classes with strong AoE healing and dispels (e.g.,

- DPS: Mobile ranged DPS (e.g.,


![]() Tips:
Tips:
- Positioning:
- Split the raid into two groups, each handling one boss. Keep the bosses at least 50 yards apart to avoid overlapping mechanics.
- Use a Demonic Gateway to swap sides around 1:10–1:20 into the fight to reset Shadowflame Contamination stacks.
- In Phase 2, alternate sides of the room after each Gloom Conflagration cast to avoid secondary explosions.
- Key Mechanics:
- Coalescing Void (Shadow): Move 20–30 yards away to avoid fall-off damage.
- Fiery Meteor (Fire): At least one player (preferably the tank) must stand in the impact zone to split damage.
- Swirling Flame: Position yourself in front, behind, or on the wall side of the boss to minimize player exposure.
- Gloom Conflagration (Phase 2): At least 5 players must stand in the impact zone to split damage, then move 40+ yards away to avoid secondary explosions.
- Heroic Difficulty:
- Shadows Convergence: Move to the edges to avoid converging orbs.
- Molten Eruption: Assign one player per fireball to soak damage.
- Convergent Eruption: Mobile classes should handle fireball soaks and quickly move away from converging orbs.
- Phase 1:
- Assign two tanks, one for each boss.
- Split DPS and healers evenly between the two bosses.
- Bring both bosses to 50% health simultaneously to trigger Phase 2.
- Use Demonic Gateway to swap sides and reset Shadowflame Contamination stacks.
- Phase 2:
- Stack loosely as a raid, 30–40 yards from the Shadowflame Amalgamation.
- Alternate sides of the room after each Gloom Conflagration cast.
- Use Bloodlust or Drums of Fury early in Phase 2 to burn the boss quickly, as Shadowflame Contamination stacks cannot be reset.
| Type of Armor | Item | Loot type |
| Cloth | Attendant’s Concocting Cover | Head |
| Unstable Vial Handlers | Wrist | |
| Leather | Tassets of Blistering Twilight | Legs |
| Cuirass of Meticulous Mixture | Chest | |
| Gloomfused Chemistry Belt | Waist | |
| Plate | Shoulderplates of Planar Isolation | Shoulder |
| Any | Recipe: Draconic Phial Cauldron | Alchemy Recipe |
| Scholar’s Thinking Cudgel | 1H Mace | |
| Entropic Convergence Loop | Ring | |
| Obsidian Stirring Staff | Staff | |
| Elementium Pocket Anvil | Trinket | |
| Vessel of Searing Shadow | Trinket |
The Forgotten Experiments
The Forgotten Experiments is the fourth or fifth boss encounter in Aberrus, the Shadowed Crucible raid. This fight consists of three separate bosses—Neldris, Thadrion, and Rionthus—which need to be defeated in sequence. Each boss has a unique set of abilities that players must handle. The encounter is relatively straightforward on Normal difficulty but becomes more challenging on Heroic, especially during the second phase with Thadrion. The bosses will activate in the following order: Neldris > Thadrion > Rionthus. The fight involves managing various mechanics such as Rending Charge, Unstable Essence, and Temporal Anomaly.
- Tanks: Classes with strong mitigation and mobility (e.g.,
- Healers: Classes with strong AoE healing and dispels (e.g.,
- DPS: Classes with strong cleave and burst damage (e.g.,
![]() Tips:
Tips:
- Phase 1 (Neldris):
- Spread loosely on one side of the room.
- Designate a safe spot for Rending Charge to minimize bleed stacks on the raid.
- Dodge Massive Slam and move away during Bellowing Roar.
- Phase 2 (Thadrion):
- Designate a dispel location 15-20 yards from the boss for Unstable Essence.
- Use Mass Dispel when multiple debuffs are active.
- Dodge Volatile Spew circles and allocate healing cooldowns for Violent Eruption.
- Phase 3 (Rionthus):
- Use movement cooldowns to dodge Deep Breath.
- Spread out to avoid splash damage from Disintegrate.
- Intercept Temporal Anomaly orbs to prevent the boss from gaining shields.
- Normal Difficulty:
- Focus on mechanics and positioning.
- Use Bloodlust in Phase 3 for maximum DPS uptime.
- Heroic Difficulty:
- Use Bloodlust in Phase 2 to reduce Unstable Essence stacks and make Phase 3 easier.
- Kill Erratic Remnants quickly during Violent Eruption.
- Move the boss on top of Erratic Remnants for cleave damage.
| Type of Armor | Item | Loot type |
| Cloth | Discarded Creation’s Restraint | Waist |
| Leather | Neldris’s Sinewy Scapula | Shoulder |
| Exacting Augmenter’s Sabatons | Feet | |
| Plate | Manacles of Cruel Progress | Wrist |
| Any | Thadrion’s Erratic Arcanotrode | Off-hand |
| Experiment 1, Kitewing | Shield | |
| Ominous Chromatic Essence | Trinket | |
| Rionthus’s Bladed Visage | Trinket | |
| Pattern: Undulating Sporecloak | Tailoring Pattern |
Assault of the Zaqali
The Assault of the Zaqali is a boss encounter in the Aberrus, the Shadowed Crucible raid in World of Warcraft. This encounter involves fighting Warlord Kagni and his Zaqali forces as they attempt to breach a magical barrier. The fight is split into two main phases, with the raid needing to manage various adds and environmental hazards while dealing damage to the boss.
- Tanks: Classes with strong mobility and AoE threat generation (e.g.,
- Healers: Classes with strong dispels and AoE healing (e.g.,
- DPS: High-priority add killers (e.g.,
![]() Tips:
Tips:
- Positioning:
- Split the raid evenly between the two platforms in Phase 1.
- Stay spread out in Phase 2 to avoid splash damage from Flaming Cudgel.
- Add Priority:
- Focus Magma Mystics first (they shield themselves and deal raid-wide damage).
- Quickly kill Flamebound Huntsmans to minimize puddle clutter.
- Interrupt Lava Bolt from Magma Mystics.
- Cave Rubble:
- Assign mobile ranged DPS and healers to pick up and throw rocks at Zaqali Wallclimbers to prevent them from reaching the barrier.
- Heroic Changes:
- Watch for Volcanic Shield from Obsidian Guards and point it away from the raid.
- Alternate raid members for soaking Catastrophic Slam to manage Weakened Vitality debuffs.
- Phase 1:
- Assign groups to each platform.
- Tanks should position the boss away from the raid to avoid Devastating Leap damage.
- Handle adds efficiently, prioritizing Magma Mystics and Flamebound Huntsmans.
- Use Cave Rubble to instantly kill Wallclimbers.
- Phase 2:
- Stack in the center to handle Catastrophic Slam (split damage among 10+ players).
- Spread out to avoid Flaming Cudgel splash damage.
- Healers should focus on raid-wide damage and dispels.
Rashok, the Elder
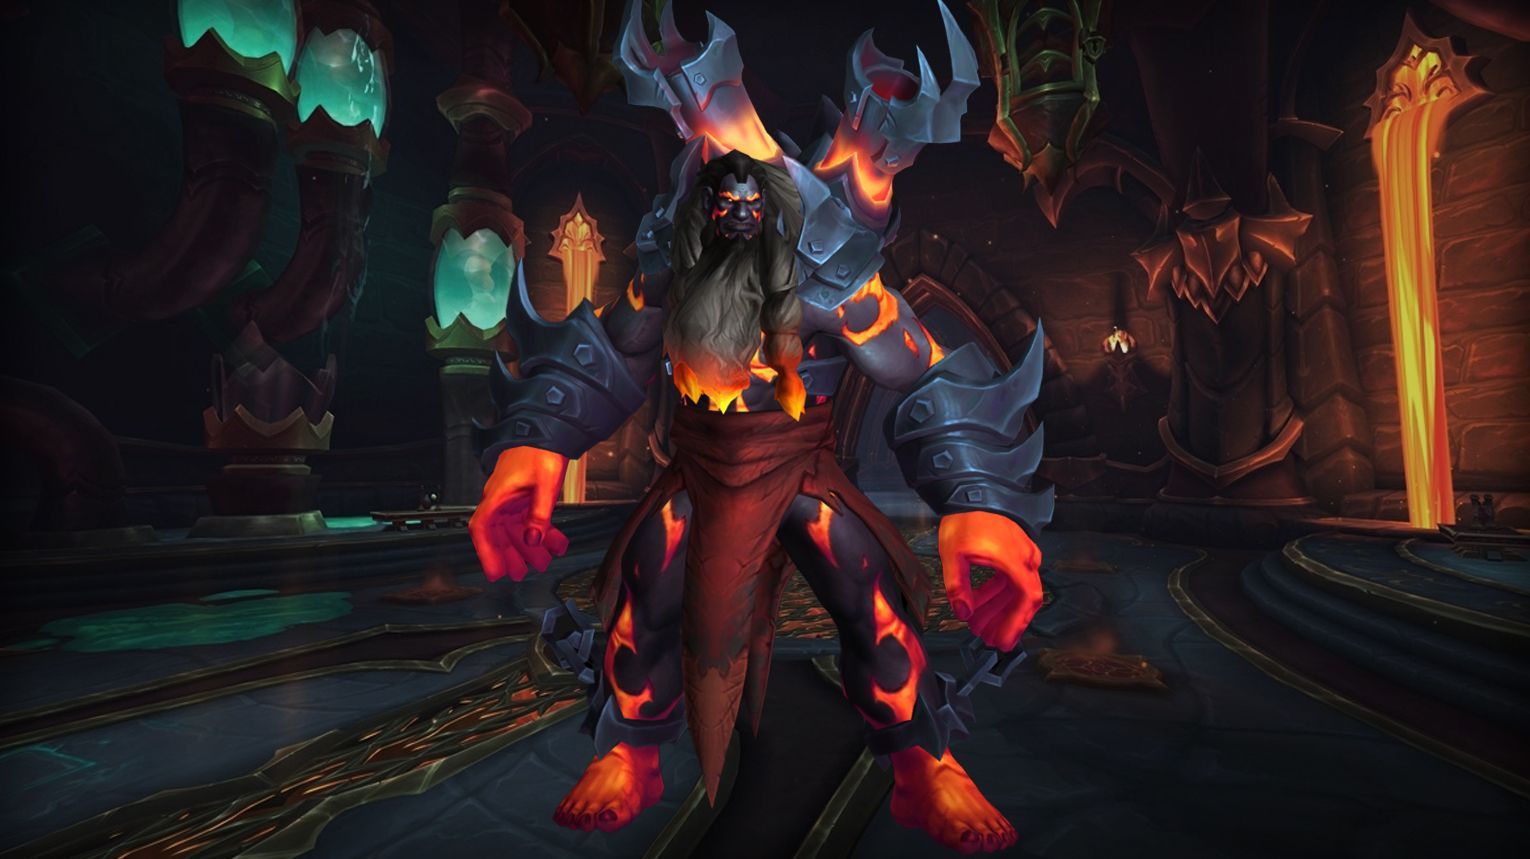
Rashok is the fourth or fifth boss encounter in the Aberrus, the Shadowed Crucible raid. The primary goal of this encounter is to prevent Rashok from reaching 100 energy, which would result in a raid wipe due to Ancient Fury. The fight revolves around managing Rashok’s energy levels and handling various abilities that deal significant damage to the raid. The boss gradually gains energy over time while outside the Elder’s Conduit. At 100 energy, Rashok gains Ancient Fury and begins to pulse deadly Shadowflame damage.
- Tanks: Classes with strong mitigation and mobility (e.g.,
- Healers: Classes with strong raid-wide healing and cooldowns (e.g.,
- DPS: High single-target damage dealers (e.g.,
![]() Tips:
Tips:
- Positioning:
- Tank Rashok halfway between the center and edge of the room, moving clockwise/counterclockwise to avoid overlapping Lava Vortexes.
- During Intermission, stack near the boss for efficient healing.
- Mechanics:
- Searing Slam: Place Lava Vortexes near walls to avoid overlapping and triggering Lava Explosion.
- Doom Flames: Ranged and healers should soak missiles to minimize raid damage.
- Charged Smash: Split damage among the raid to reduce energy gain and use raid cooldowns (e.g., Power Word: Barrier, Spirit Link Totem).
- Intermission:
- Chain healing cooldowns to survive Scorching Heatwave.
- Avoid Shadowflame Fissures and ensure no Lava Vortex is behind the raid when knocked back.
- Phase 1:
- Tank Rashok in a circular path, dropping Lava Vortexes near walls.
- Soak Doom Flames and mitigate Charged Smash with raid cooldowns.
- Move Rashok to the center at 90+ energy to trigger Intermission.
- Intermission:
- Stack for healing and avoid Shadowflame Fissures.
- Use strong healing cooldowns as Scorching Heatwave damage ramps up.
- Heroic Changes:
- Charged Smash: Apply Overcharged debuff; consider reducing the number of soakers.
- Scorching Heatwave: Stacks Scorched Flesh, increasing damage taken; assign stronger cooldowns later in the phase.
| Type of Armor | Item | Loot type |
| Cloth | Sandals of Ancient Fury | Feet |
| Leather | Elder’s Volcanic Binding | Waist |
| Shackles of the Shadowed Bastille | Wrist | |
| Plate | Unyielding Goliath’s Burgonet | Head |
| Any | Plans: Shadowed Razing Annihilator | Blacksmithing Plans |
| Bloodfire Extraction Conduit | 1H Mace | |
| Djaruun, Pillar of the Elder Flame | Polearm | |
| Tormentor’s Siphoning Signet | Ring | |
| Rashok’s Molten Heart | Trinket |
The Vigilant Steward, Zskarn
The Vigilant Steward, Zskarn is the sixth boss encounter in the Aberrus, the Shadowed Crucible raid. This boss fight is primarily a single-target encounter with occasional high-priority adds spawning. The main goal is to defeat Zskarn before the entire room is covered in active Dragonfire Traps, which activate periodically and limit the available space for the raid.
- Tanks:
- Healers:
- DPS:
![]() Tips:
Tips:
- Positioning: Always position the boss close to the edge of the room, with ranged DPS in the center.
- Dragonfire Traps: Avoid standing on traps as they apply a stacking DoT.
- Animate Golems: Interrupt and kill golems quickly to prevent them from activating more traps.
- Tactical Destruction: Move the boss away from active dragon statues before this ability is cast to avoid massive explosions.
- Blast Wave: Position yourself to avoid being knocked into traps or walls.
- Manipulate Traps: Move the boss to activate Dragonfire Traps around the edges of the room and use Salvage Parts to deactivate traps in the center.
- Golem Management: Group golems in the center using grips and knocks, then use AoE stuns to kill them.
- Safe Zones: Always keep one edge of the room clear for dodging abilities later in the encounter.
- Tank Swaps: Tanks should swap at 5-7 stacks of Searing Claws to manage the DoT.
- Shrapnel Bombs: Off-tank should clear bombs by running over them, ensuring the debuff falls off before clearing a new one.
| Type of Armor | Item | Loot type |
| Cloth | Clasps of the Diligent Steward | Wrist |
| Leather | Failed Applicant’s Footpads | Feet |
| Plate | Recycled Golemskin Waistguard | Waist |
| Any | Drape of the Dracthyr Trials | Cloak |
| Zskarn’s Autopsy Scalpel | Dagger | |
| Schematic: Tinker: Shadowflame Rockets | Engineering Schematic | |
| Failure Disposal Cannon | Gun | |
| Proctor’s Tactical Cleaver | 1H Axe | |
| Dragonfire Bomb Dispenser | Trinket |
Magmorax
Magmorax is the seventh boss encounter in the Aberrus, the Shadowed Crucible raid in World of Warcraft. This single-target encounter requires high damage and healing output from the raid. The key mechanic involves managing Magma Puddles, which grow over time and must be soaked by players to prevent them from overwhelming the platform. The boss gains energy throughout the fight, and if it reaches 100 energy, it will cast Catastrophic Eruption, significantly increasing damage and likely wiping the raid. The goal is to defeat Magmorax before this enrage mechanic is triggered.
- Tanks: Any tank class can handle this encounter, but they must be prepared to swap after the Incinerating Maws combo and avoid letting the boss stand in Magma Puddles to prevent Blazing Tantrum.
- Healers: A strong healing composition is necessary due to the increasing damage from Igniting Roar and the constant damage from Searing Heat stacks. Classes with good raid healing and damage reduction cooldowns are preferred.
- DPS: High sustained single-target damage is crucial. Classes with strong burst damage and the ability to quickly switch targets to soak Magma Puddles are beneficial.
![]() Tips:
Tips:
- Positioning: Tank the boss close to one side of the platform to minimize movement for mechanics. Players should be loosely spread to avoid overlapping damage from abilities like Blazing Breath and Molten Spittle.
- Soaking Puddles: Assign half the raid to soak odd sets of Magma Puddles and the other half to soak even sets. This helps manage the Searing Heat debuff and prevents the puddles from growing too large.
- Avoiding Knockbacks: Use knockback-avoiding abilities or position yourself to be knocked towards the center of the platform during Overpowering Stomp.
- Phase 1:
- Tank the boss close to one side of the platform.
- Drop Molten Spittle puddles behind the boss and soak them quickly.
- Avoid standing in Magma Puddles to prevent additional stacks of Searing Heat.
- Intercept Lava Ejection globs to prevent them from spawning additional puddles.
- Position near the boss to avoid being knocked into the lava by Overpowering Stomp.
- Move out of the way of Blazing Breath.
- Heroic Changes:
- Searing Heat will instantly kill any player who reaches 10 stacks.
- Use the alternating soaking strategy to manage stacks.
| Type of Armor | Item | Loot type |
| Leather | Cuffs of the Savage Serpent | Wrist |
| Hydratooth Girdle | Waist | |
| Plate | Spittle-Resistant Sollerets | Feet |
| Any | Magmorax’s Fourth Collar | Amulet |
| Formula: Enchant Weapon – Shadowflame Wreathe | Enchanting Formula | |
| Claws of the Blazing Behemoth | Fist Weapon | |
| Lavaflow Control Rod | 1H Mace | |
| Igneous Flowstone | Trinket |
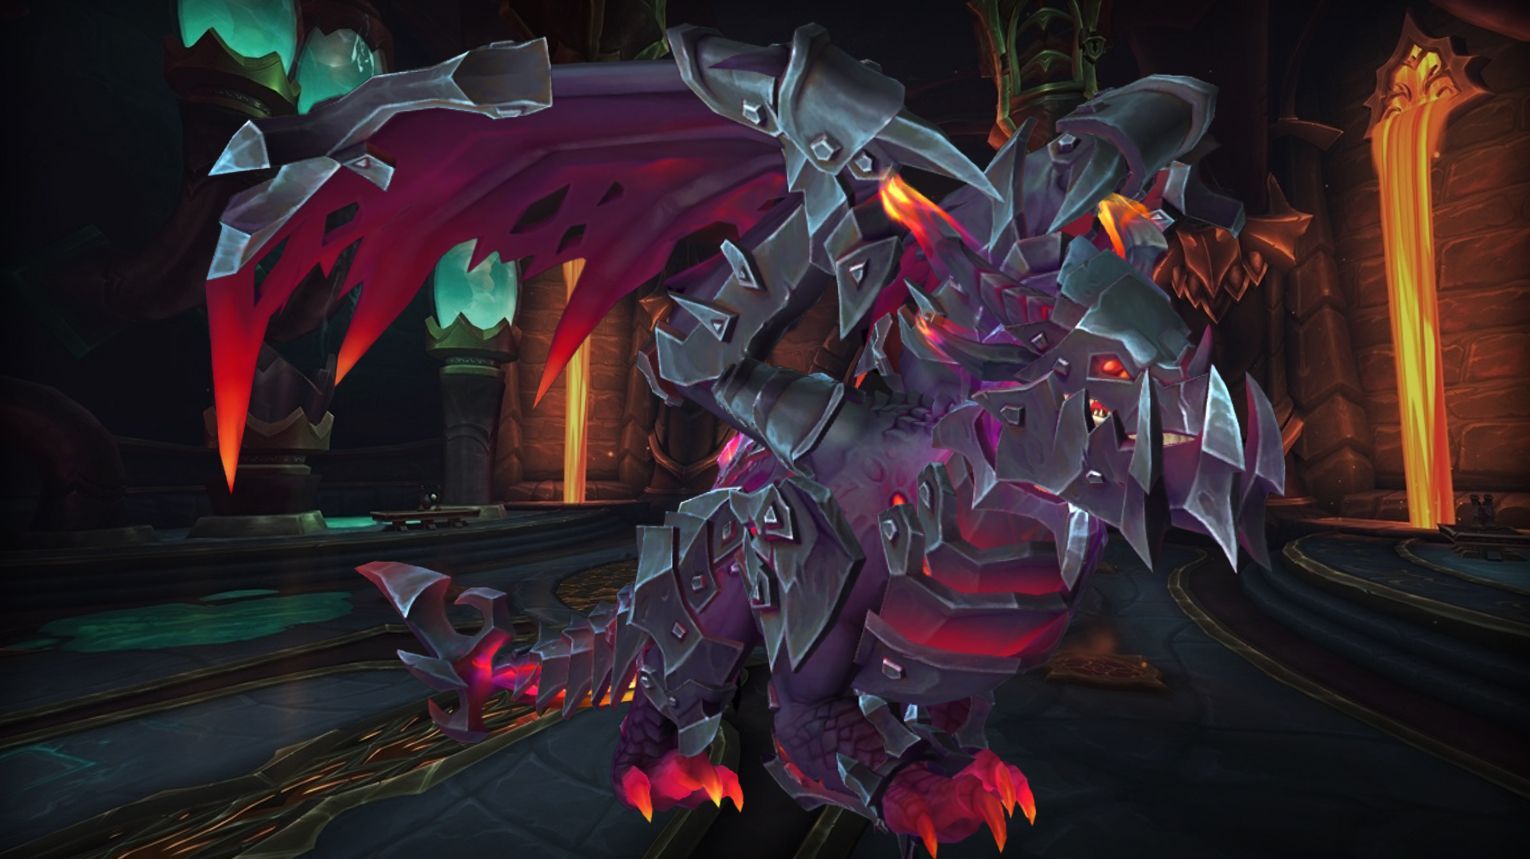
Echo of Neltharion

Echo of Neltharion is the first boss encounter in the Aberrus, the Shadowed Crucible raid. This complex, three-phase encounter involves navigating the arena by breaking down walls summoned by Neltharion using specific abilities. The boss drops notable loot, including Tier Set Shoulder tokens, the weapon Ashkandur, Fall of the Brotherhood, and the Leatherworking recipe Pattern: Shadowflame-Tempered Armor Patch.
![]() Tips:
Tips:
- Positioning: Always aim Rushing Darkness and Sunder Reality at the edge of the room to avoid destroying walls.
- Debuff Management: Players with the Volcanic Heart debuff should spread out at least 15 yards from others.
- Add Control: In Phase 2, focus on killing the Voice From Beyond adds while managing Neltharion’s health.
- Healing: Stack close to the boss during Umbral Annihilation to make healing more efficient.
- Tank Swap: Taunt swap after each Sunder Shadow cast to manage the tank buster effectively.
- Phase 1
- Twisted Earth: Neltharion summons walls that can only be destroyed using Rushing Darkness or tank hits.
- Rushing Darkness: Knocks players back, destroying walls and spawning Shattered Rock.
- Volcanic Heart: Players marked with this debuff should spread out.
- Sequence: Rushing Darkness > Volcanic Heart > Twisted Earth > Calamitous Strike > Echoing Fissure.
- Positioning: Loosely stack near the boss, with marked players moving to the edge of the room.
- Phase 2
- New Walls: Neltharion summons a new set of walls and three Voice From Beyond adds.
- Add Control: Kill the adds while managing Neltharion’s health.
- Umbral Annihilation: Soft enrage mechanic; finish the phase before it becomes too powerful.
- Corruption: Debuffed players should move slightly out of the raid.
- Sunder Shadow: Tank buster that allows tanks to walk through walls; aim at the cross section between two walls.
- Phase 3
- Sunder Reality: Neltharion rips Twisted Earth into portals, spawning Twisted Aberrations.
- Ebon Destruction: Stand on portals to avoid being killed.
| Type of Armor | Item | Loot type |
| Cloth | Treads of Fractured Realities | Feet |
| Plate | Twisted Vision’s Demigaunts | Hands |
| Any | Pattern: Shadowflame-Tempered Armor Patch | Leatherworking Pattern |
| Echo’s Maddening Volume | Off-hand | |
| Onyx Impostor’s Birthright | Ring | |
| Calamity’s Herald | Shield | |
| Ward of Faceless Ire | Trinket | |
| Neltharion’s Call to Chaos | Trinket | |
| Neltharion’s Call to Dominance | Trinket | |
| Neltharion’s Call to Suffering | Trinket | |
| Ashkandur, Fall of the Brotherhood | 2H Sword |
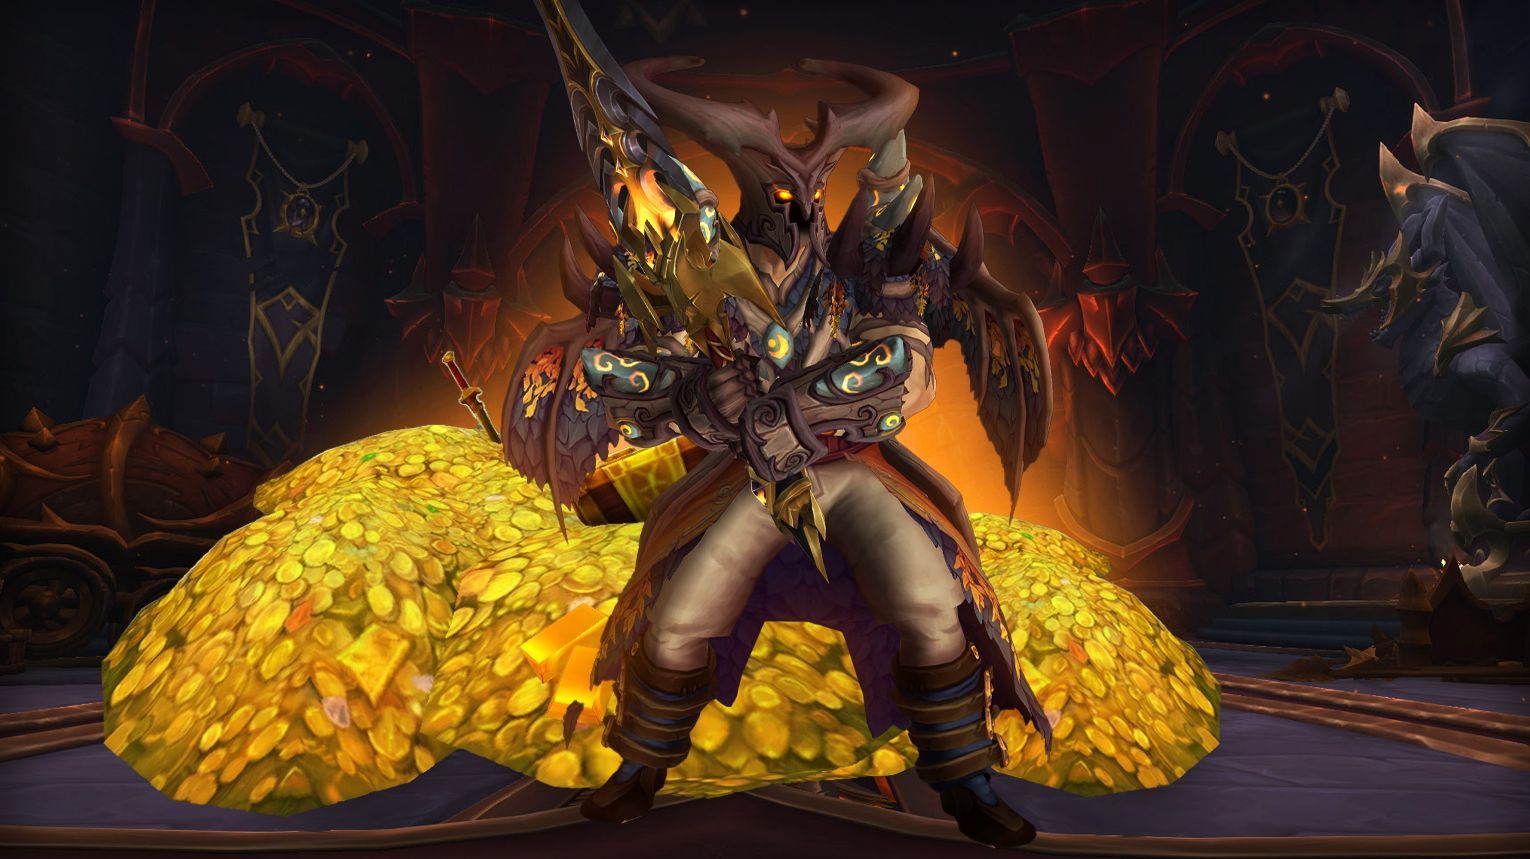
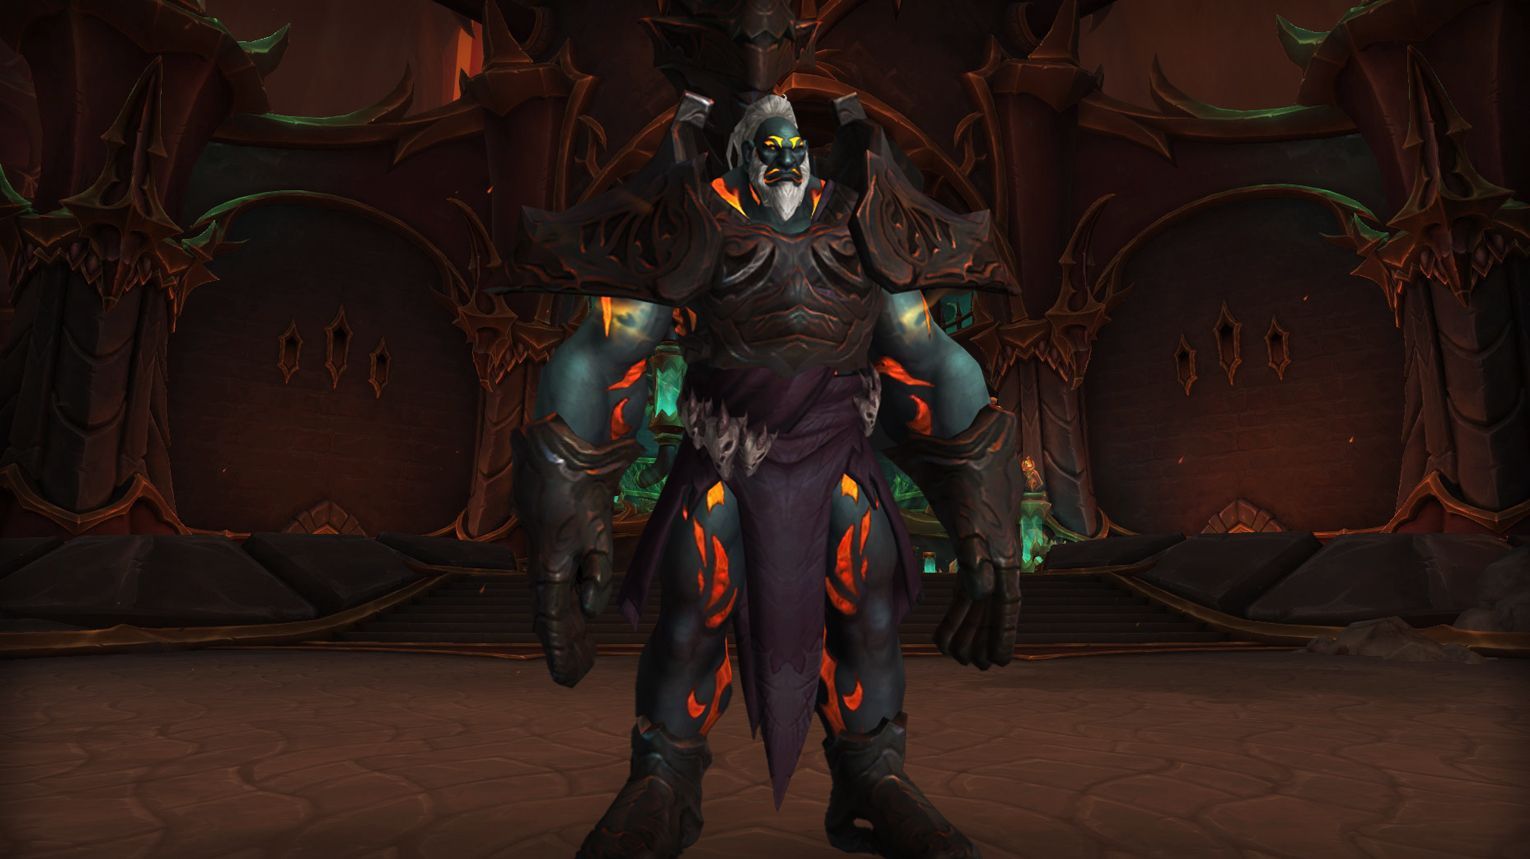
Scalecommander Sarkareth
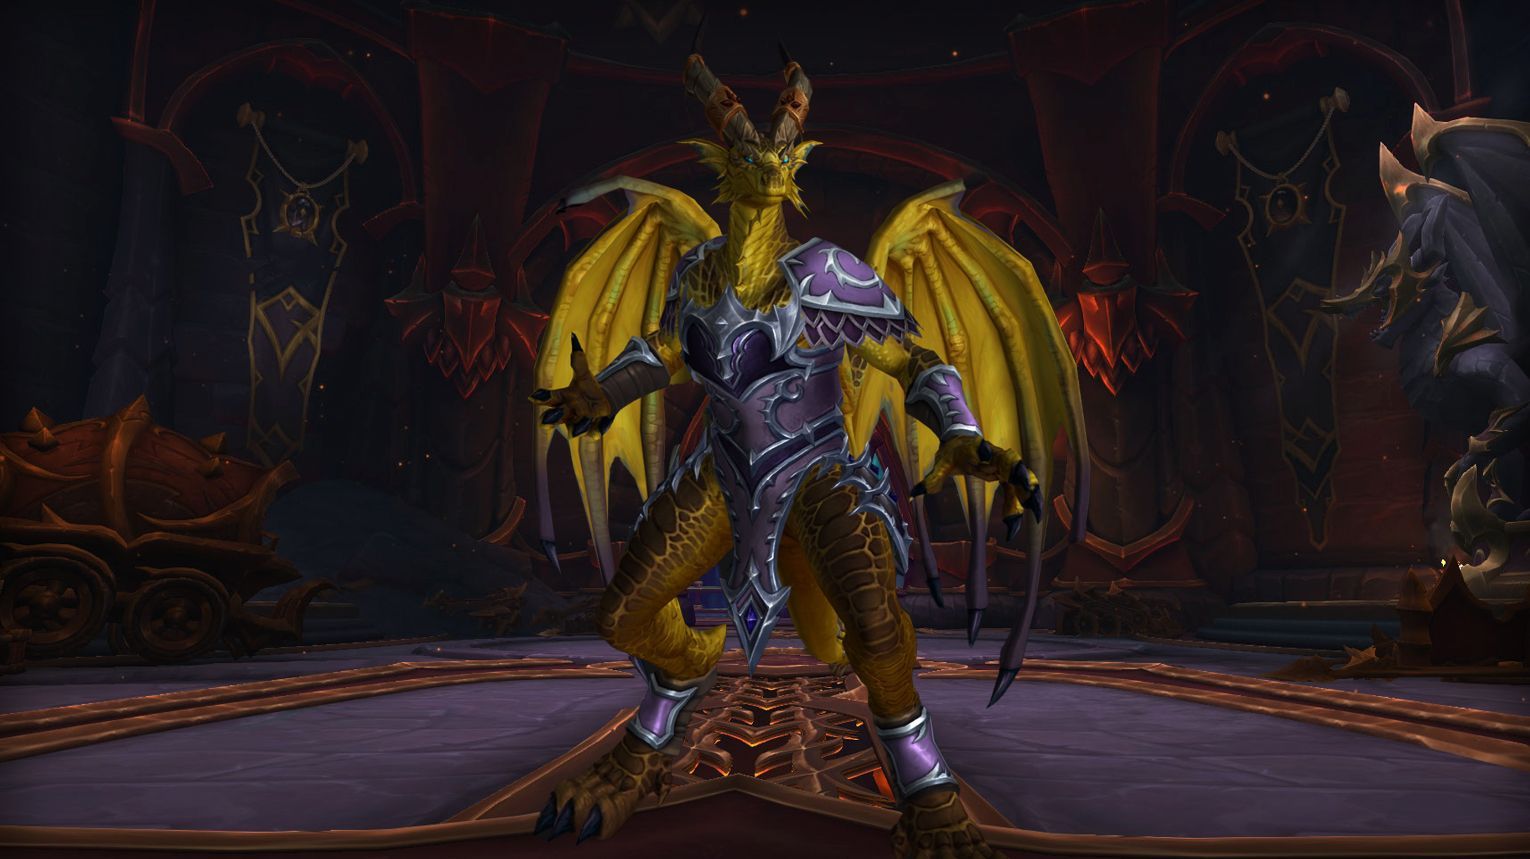
Scalecommander Sarkareth is the final boss of the Aberrus, the Shadowed Crucible raid. This encounter is notable for its complex mechanics and the valuable loot it drops, including the omni-token Void-Touched Curio, the rare cloak Voice of the Silent Star, and the Cracked Titan Gem, which is essential for the Evoker Legendary weapon. The boss starts with typical Dracthyr abilities but becomes increasingly corrupted by the void as the phases progress.
- Tanks: Classes with strong mitigation and mobility to handle Void Slash and positioning.
- Healers: Strong AoE healing and dispels for Oppressing Howl, Seared, and Infinite Duress.
- DPS: High burst damage for adds (Null Glimmers) and consistent damage for boss mechanics.
- Utility: Classes with interrupts, crowd control, and mobility are highly valuable.
![]() Tips:
Tips:
- Phase 1:
- Assign groups to clear Oppressing Howl using Searing Breath or Mass Disintegrate.
- Avoid overlapping Scorching Bomb explosions with other mechanics.
- Position Mass Disintegrate away from the raid to minimize damage.
- Phase 2:
- Collect Astral Flares and mind fragments in the Emptiness Between Stars.
- Handle Void Bombs by having players absorb them and enter the Emptiness.
- Interrupt and kill Null Glimmers quickly to prevent Blasting Scream.
- Phase 3:
- Use Astral Formations to line-of-sight Scouring Eternity.
- Drop Embrace of Nothingness near Astral Formations to split damage.
- Avoid Motes of Oblivion unless carrying a bomb.
- Heroic:
- Watch for Infinite Duress debuffs and coordinate dispels to avoid raid-wide damage.
- Focus Null Glimmers to counter their Rescind healing.
- Phase 1:
- Focus on clearing Oppressing Howl before Glittering Surge.
- Kite Scorching Bombs around the platform.
- Use Searing Breath strategically to remove debuffs without overwhelming healers.
- Phase 2:
- Interrupt the boss to start the phase.
- Collect Astral Flares for buffs and mind fragments to avoid being lost in the Emptiness.
- Manage Void Bombs by having players absorb them and enter the Emptiness.
- Phase 3:
- Use Astral Formations to mitigate Scouring Eternity.
- Split damage from Embrace of Nothingness by grouping on Astral Formations.
- Avoid Motes of Oblivion to prevent stacking Oblivion.
| Type of Armor | Item | Loot type |
| Cloth | Coattails of the Rightful Heir | Legs |
| Leather | Oblivion’s Immortal Coil | Waist |
| Oathbreaker’s Obsessive Gauntlets | Hands | |
| Scalecommander’s Ebon Schynbalds | Legs | |
| Crechebound Soldier’s Boots | Feet | |
| Plate | Bonds of Desperate Ascension | Wrist |
| Sarkareth’s Abyssal Embrace | Chest | |
| Any | Highland Drake: Embodiment of the Hellforged | Mount |
| Voice of the Silent Star | Cloak | |
| Fang of the Sundered Flame | Dagger | |
| Erethos, the Empty Promise | Staff | |
| Beacon to the Beyond | Trinket |
Aberrus Achievements List
| Achievement | Requirement |
| Neltharion’s Shadow | Defeat bosses in the depths of AtSC. |
| Discarded Works | Slay bosses in the experimental laboratories of AtSC. |
| Fury of Giants | Defeat bosses in the wing of AtSC. |
| Aberrus, the Shadowed Crucible | Kill all bosses on any difficulty. |
| Aberrus, the Shadowed Crucible Guild Run | Slay all bosses on Normal difficulty or higher while in a guild group. |
| Heroic: Aberrus, the Shadowed Crucible | Defeat all bosses on Heroic difficulty. |
| Heroic: Aberrus, the Shadowed Crucible Guild Run | Kill all bosses on Heroic difficulty or higher while in a guild group. |
| Mythic: Aberrus, the Shadowed Crucible | Slay all bosses on Mythic difficulty. |
| Ahead of the Curve: Scalecommander Sarkareth | Defeat Scalecommander Sarkareth on Heroic difficulty or higher, before the release of the next raid tier. |
| Cutting Edge: Scalecommander Sarkareth | Kill Scalecommander Sarkareth on Mythic difficulty, before the release of the next raid tier. |
| Mythic: Scalecommander Sarkareth | Slay Scalecommander Sarkareth on Mythic difficulty. |
| Mythic: Scalecommander Sarkareth Guild Run | Defeat Scalecommander Sarkareth on Mythic Difficulty while in a guild group. |
| Awakened Shadows | Kill the following bosses on Normal difficulty while Aberrus is an Awakened raid. |
| Heroic: Awakened Shadows | Slay the following bosses on Heroic difficulty while Aberrus is an Awakened raid. |
| Mythic: Awakened Shadows | Defeat the following bosses on Mythic difficulty while Aberrus is an Awakened raid. |
| Mythic: Assault of the Zaqali | Kill Assault of the Zaqali on Mythic difficulty. |
| Mythic: Echo of Neltharion | Slay Echo of Neltharion on Mythic difficulty. |
| Mythic: Kazzara, the Hellforged | Defeat Kazzara, the Hellforged on Mythic difficulty. |
| Mythic: Magmorax | Kill Magmorax on Mythic difficulty. |
| Mythic: Rashok, the Elder | Slay Rashok, the Elder on Mythic difficulty. |
| Mythic: The Amalgamation Chamber | Defeat The Amalgamation Chamber on Mythic difficulty. |
| Mythic: The Forgotten Experiments | Kill The Forgotten Experiments on Mythic difficulty. |
| Mythic: The Vigilant Steward, Zskarn | Slay The Vigilant Steward, Zskarn on Mythic difficulty. |
| What We Wear In The Shadowflame | Collect an armor set from Aberrus, the Shadowed Crucible. |
| Glory of the Aberrus Raider | Complete the Aberrus, the Shadowed Crucible raid achievements. |
| Are You Even Trying? | Defeat the Assault of the Zaqali after hitting the following creatures with a Cave Pebble on Normal difficulty or higher. |
| Cosplate | Kill Kazzara, the Hellforged after shattering your own Hellsteel Plating on Normal difficulty or higher. |
| Edge of the Void | Descend to the edge of reality and confront Scalecommander Sarkareth within Aberrus, the Shadowed Crucible. |
| Eggscellent Eggsecution | Defeat The Vigilant Steward, Zskarn while a member of your raid is carrying the Delicate Experimental Egg on Normal difficulty or higher. |
| Escar-Go-Go-Go | Defeat Magmorax after feeding him 20 Spicy Lava Snails on Normal difficulty or higher. |
| I’ll Make My Own Shadowflame | Defeat the Shadowflame Amalgamation after using Umbral Detonation, Fiery Meteor and Blistering Twilight on a Forgotten Specimen Tank to create and extinguish a Shadowflame Remnant on Normal difficulty or higher. |
| Objects in Transit May Shatter | Defeat the Echo of Neltharion after players smash through walls of Twisted Earth while carrying the Expired Experiment, the Stack of Scrolls, the Neverburning Ebon Candle, and the “Portable” Ebon Anvil on Normal difficulty or higher. |
| Tabula Rasa | Defeat The Forgotten Experiments after Nutraal is hit 3 times by Rending Charge, Volatile Spew, and Deep Breath on Normal difficulty or higher. |
| We’ll Never See That Again, Surely | Defeat Scalecommander Sarkareth after cultivating a Lump of Flesh and hurling it into the Emptiness Between Stars on Normal difficulty or higher. |
| Whac-A-Swog | Defeat Rashok, the Elder after hitting the Lost Lunker with Searing Slam 5 times on Normal difficulty or higher. |


Comments: