

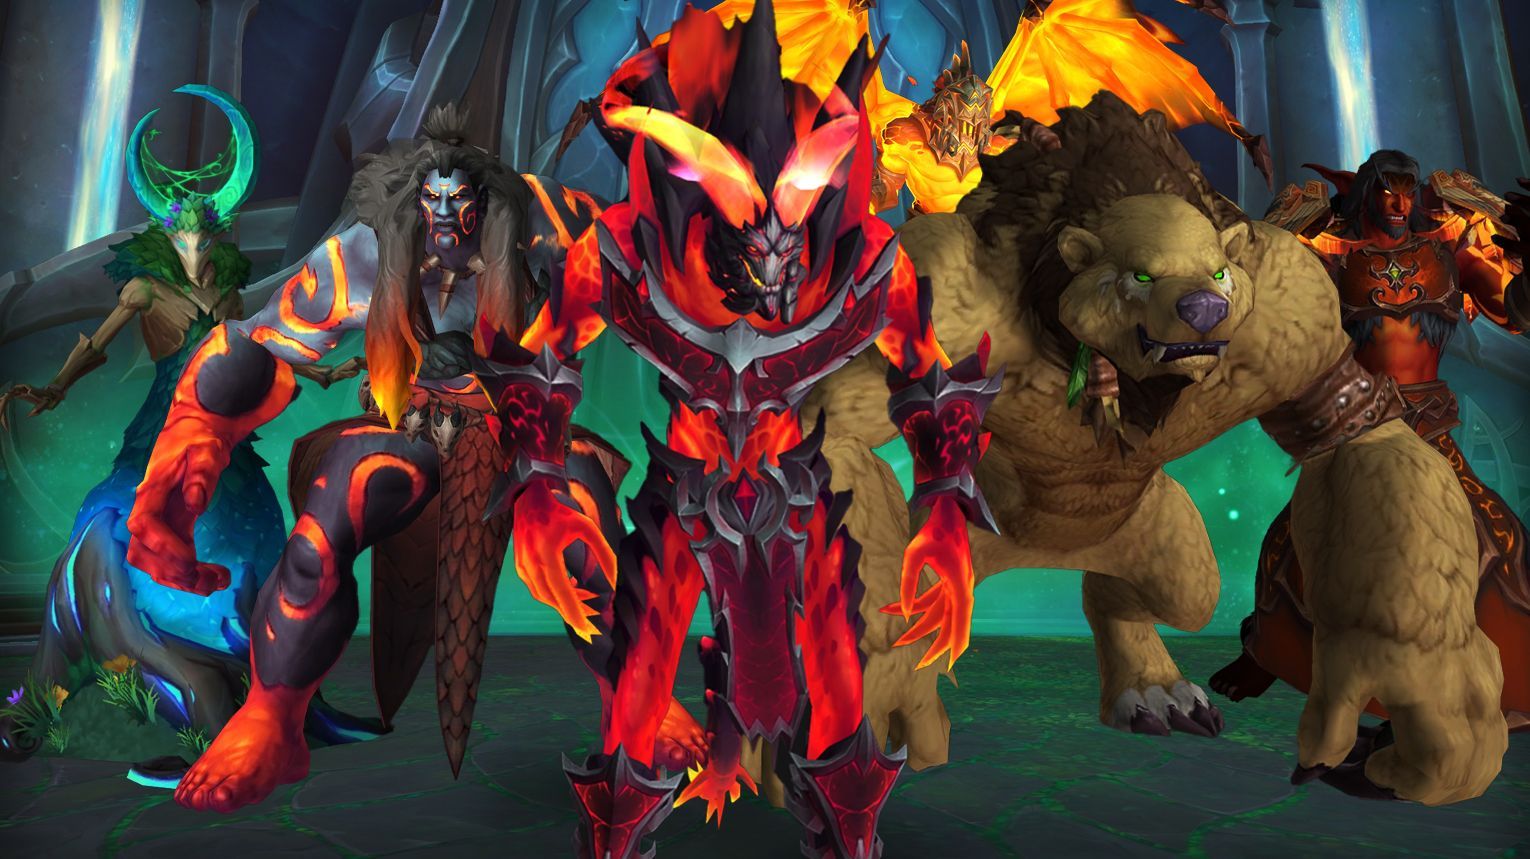
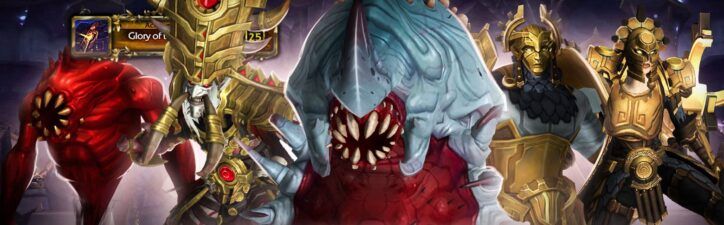
Amirdrassil, the Dream’s Hope is the third raid in World of Warcraft: Dragonflight, released on November 14, 2023. It features 9 bosses and continues the storyline of Dragonflight. This raid is a valuable source of transmogs, mounts, and collectibles. Amirdrassil, nurtured within the Emerald Dream, is set to bloom and cross into Azeroth. However, its fate depends on Azeroth’s champions facing Fyrakk and his allies to prevent the world from being bathed in flame.

- Amirdrassil location
- Bosses and their rewards
- Available mounts, weapons, and transmogs
- Achievements you can earn
- Can you solo Amirdrassil?
If you’re looking to secure the latest BiS PvE gear, prestigious achievements, rare mounts, and more, our Amirdrassil Raid carry services are the ideal solution. You’ll conquer the raid with one of our expert teams, who have mastered every aspect of this epic encounter across all difficulties—whether you prefer Normal, Heroic, or Mythic.

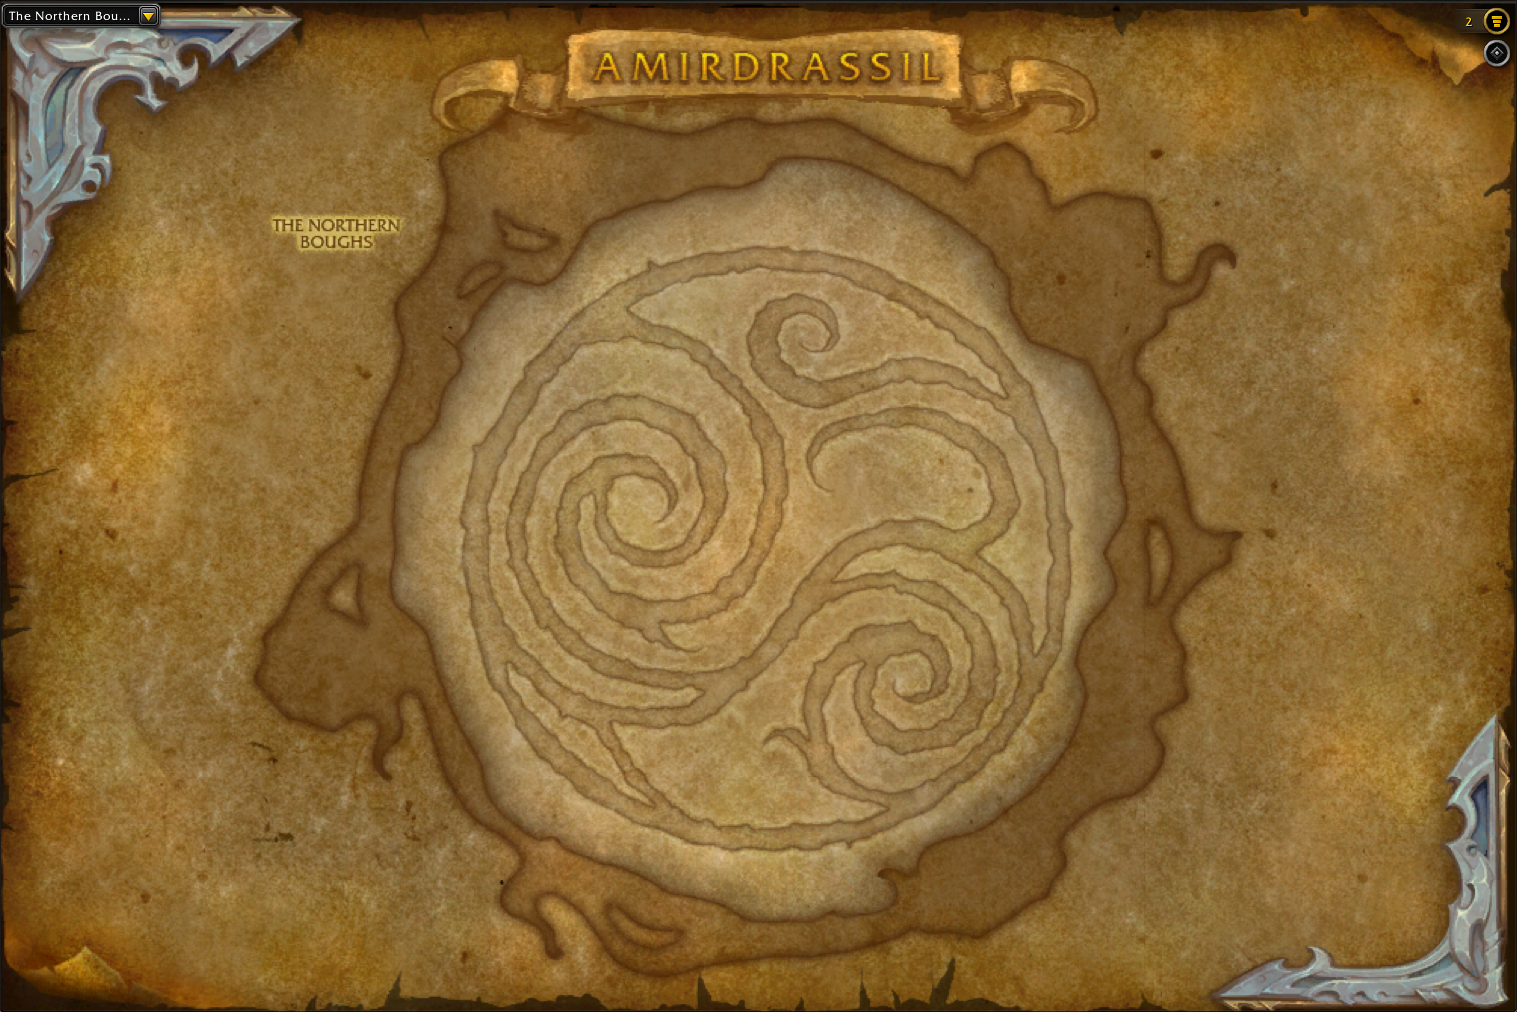
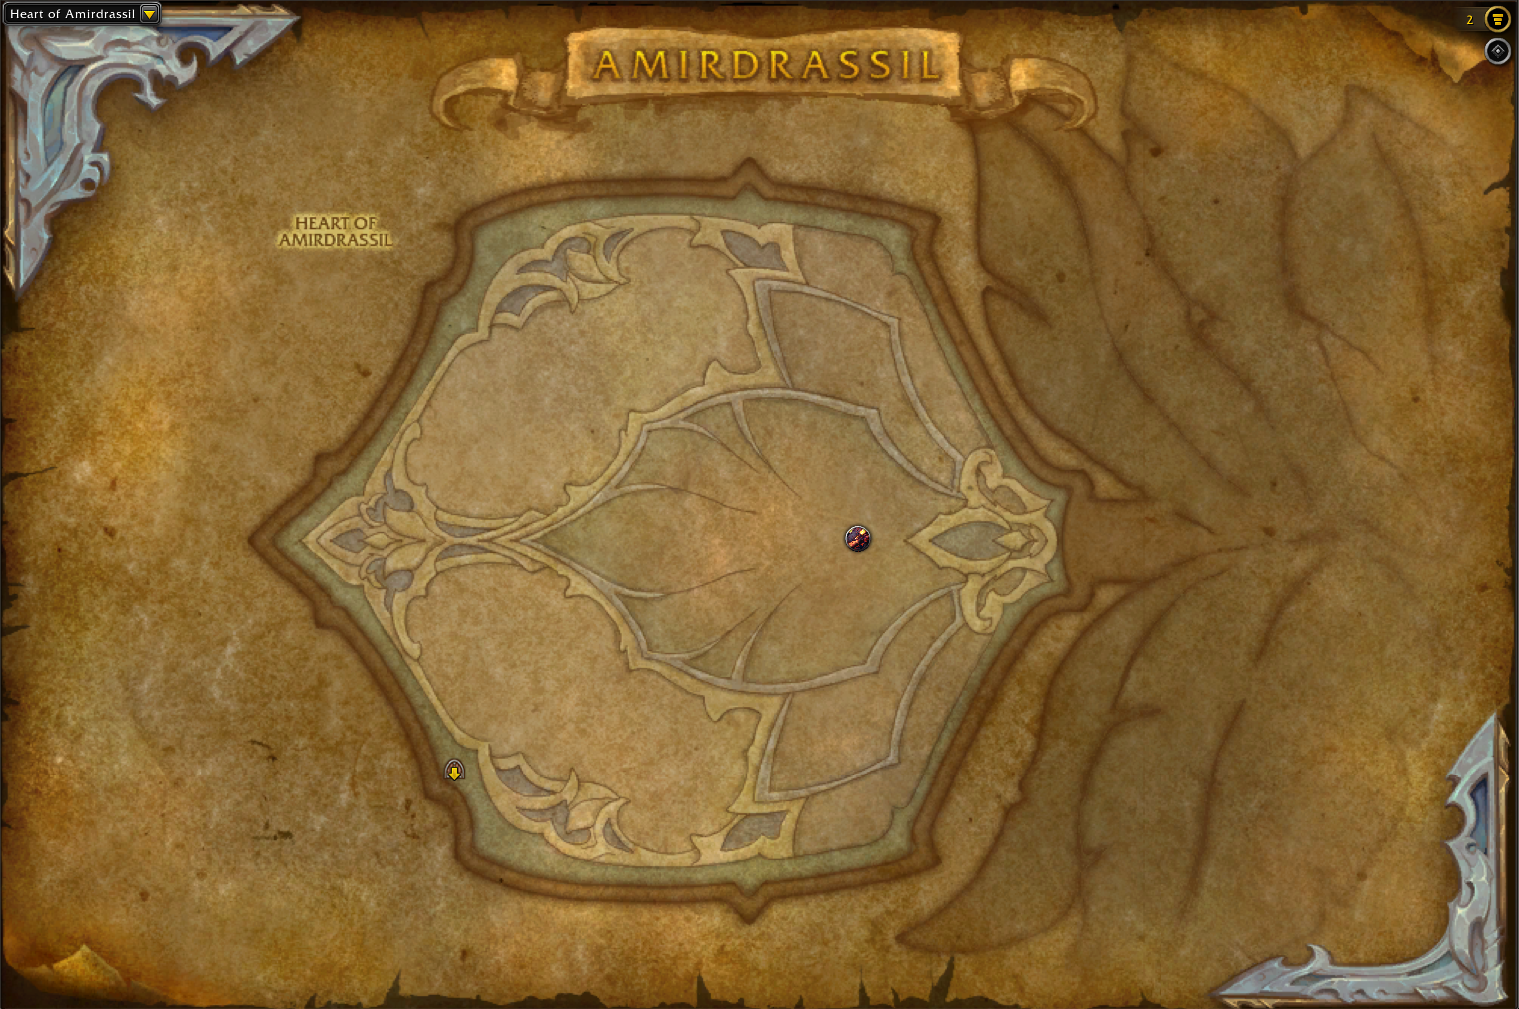
Amirdrassil Entrance and Subregions

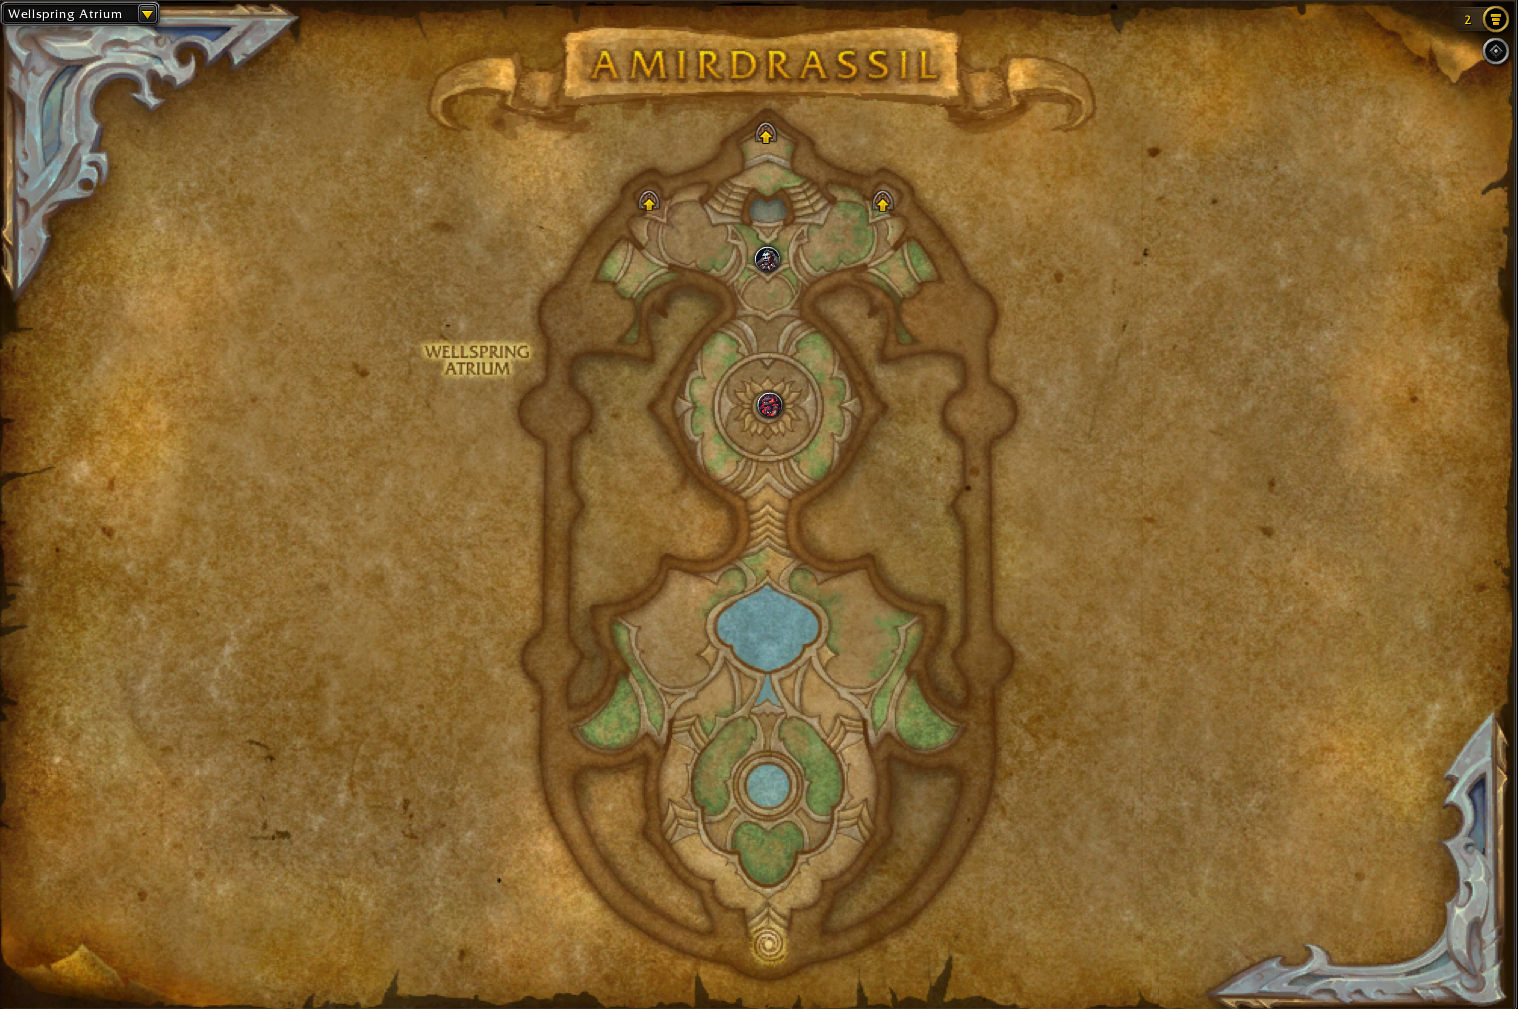
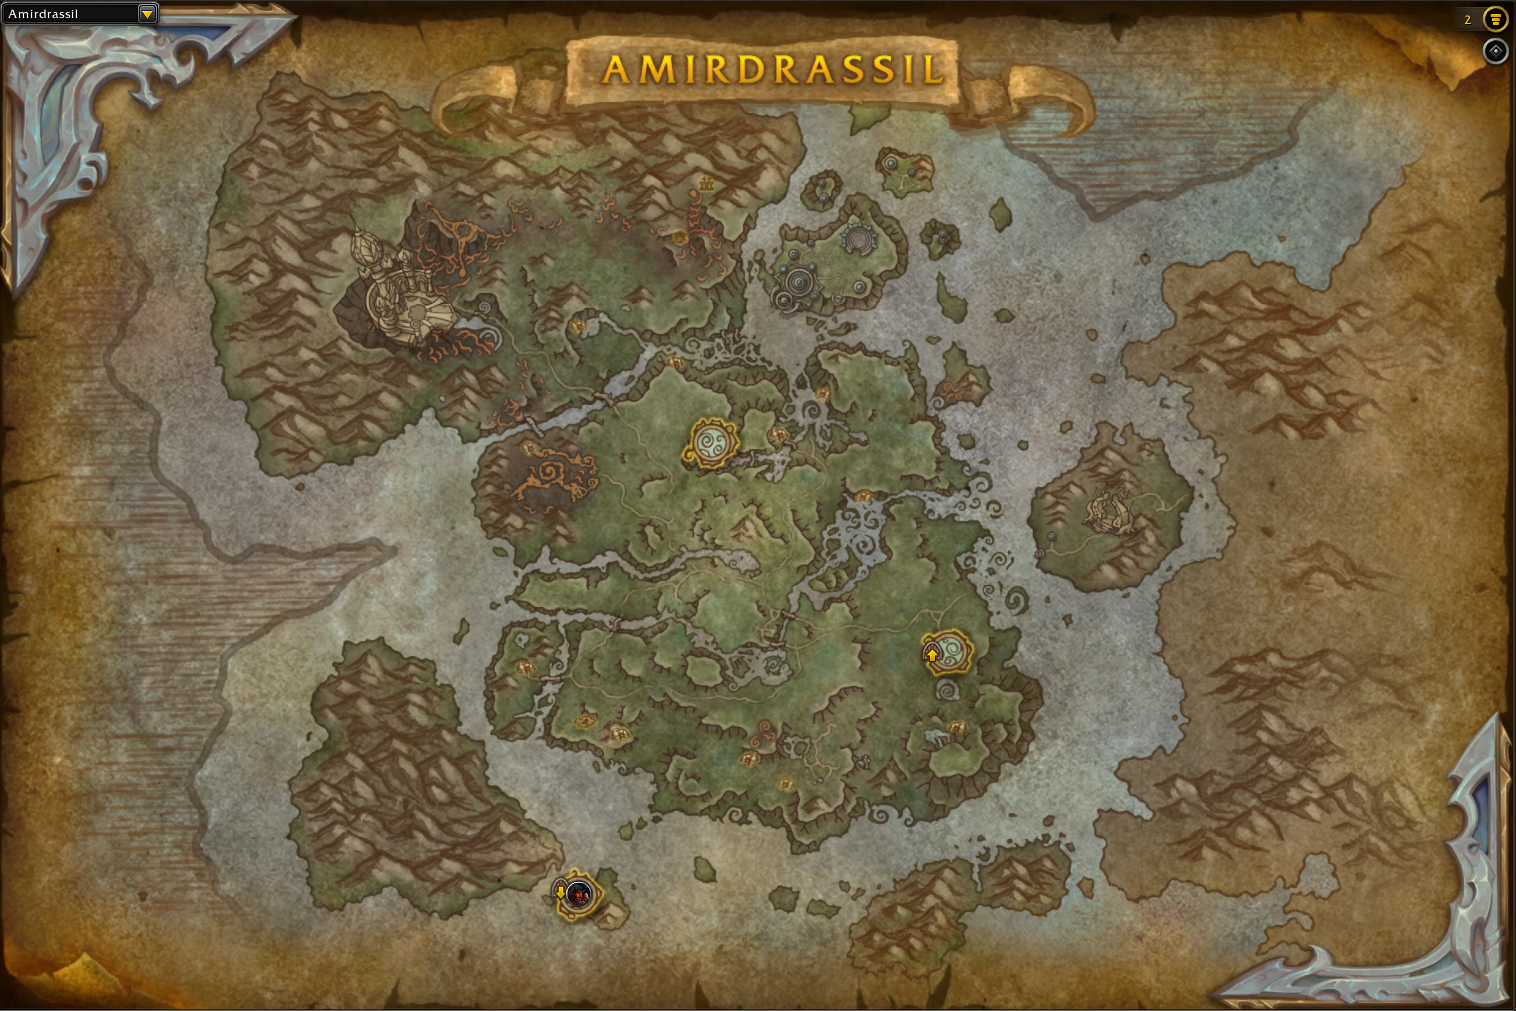
Amirdrassil, the Dream’s Hope, is located in the northwestern part of the Emerald Dream in World of Warcraft: Dragonflight. To get there, travel to the Emerald Dream and head to the coordinates 48.46, 10.35. The closest flight point is near the Wellspring Overlook, just east of the raid entrance.
The entrance to Amirdrassil is marked by a distinctive path leading into the heart of the Emerald Dream. Follow this path, be cautious of any enemies along the way, and you’ll reach the main gates of the raid. Once at the entrance, walk through the doors to begin your adventure.
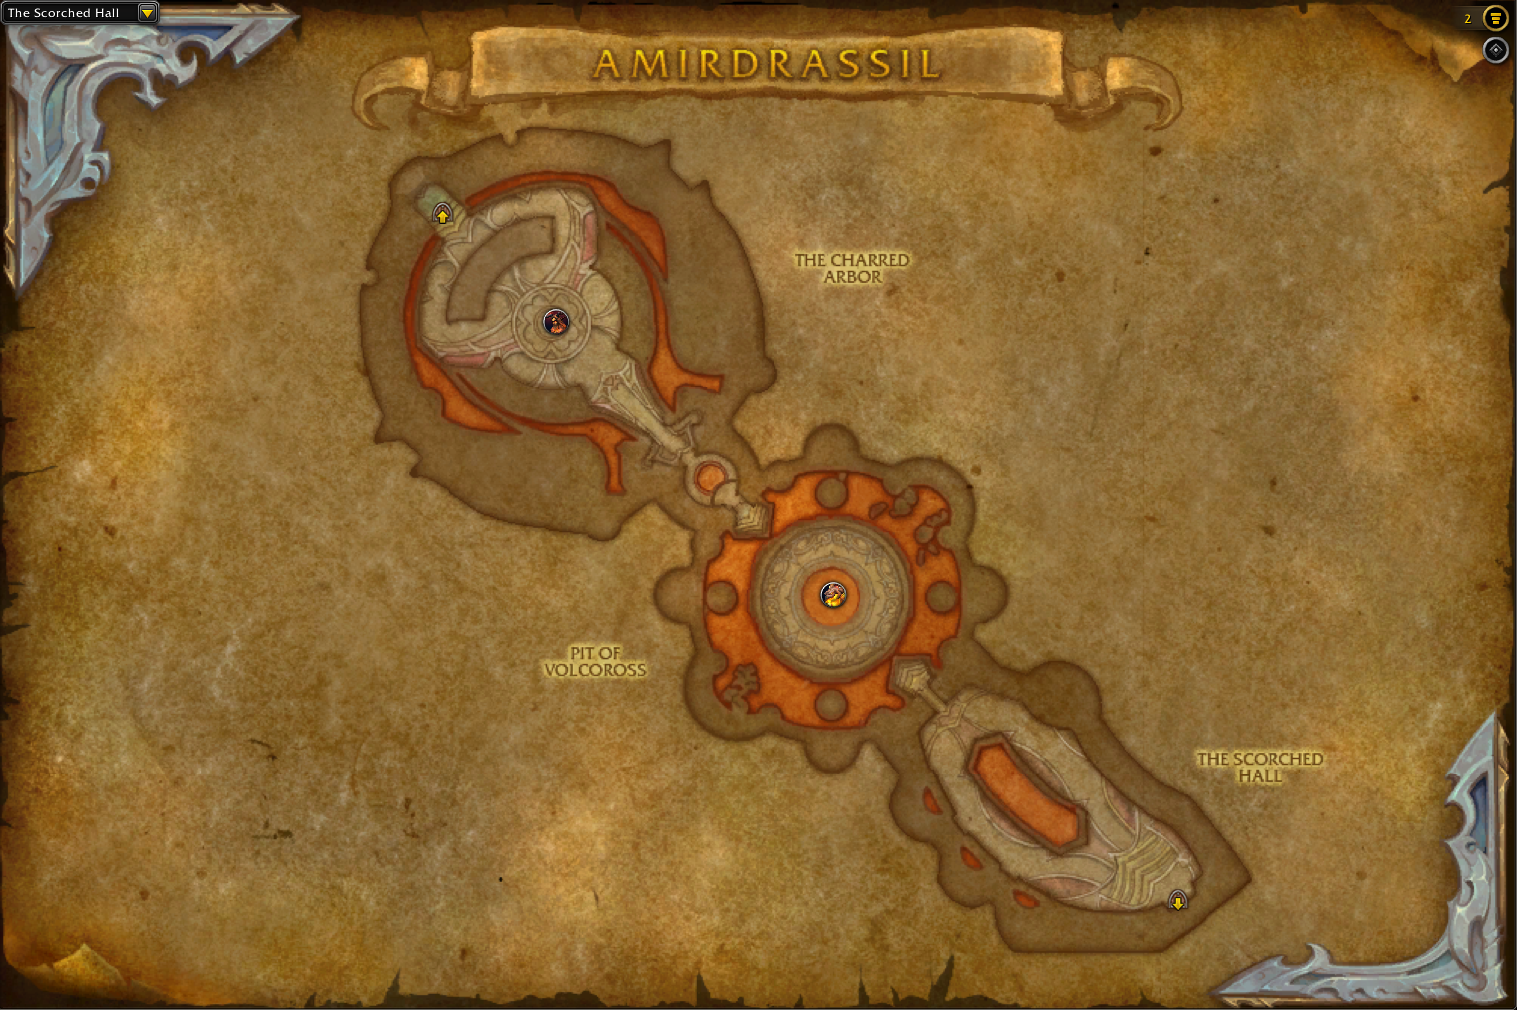
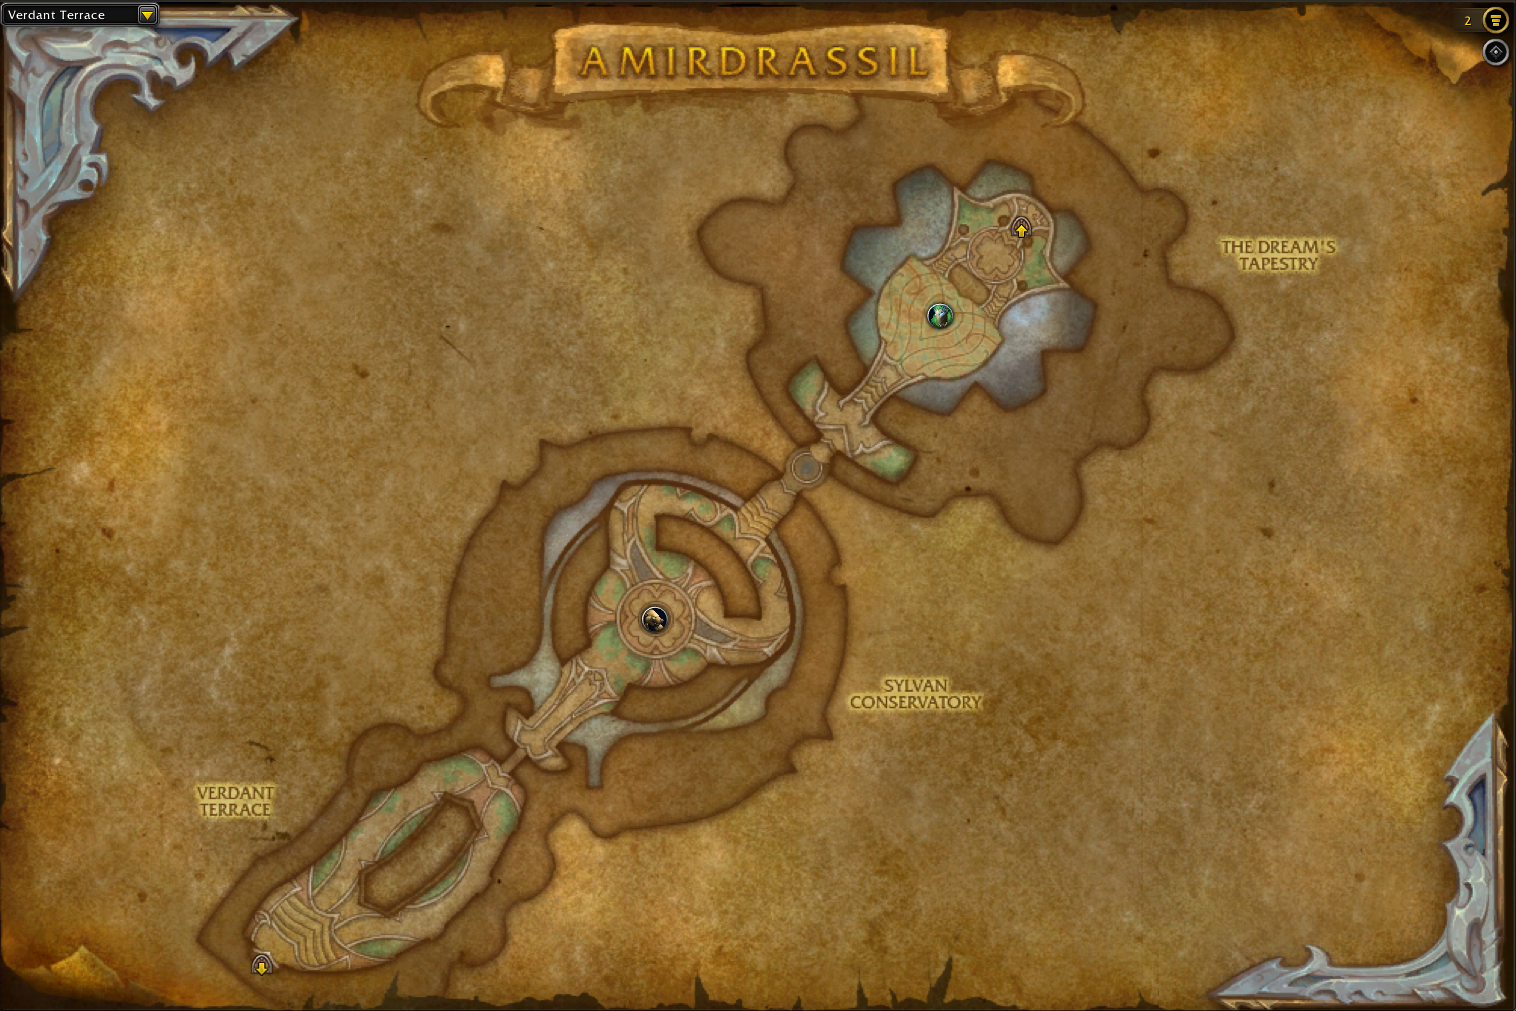
Inside Amirdrassil, you’ll explore various subregions as you fight your way to the final boss, Fyrakk.

- Wellspring Atrium,
- The Scorched Hall,
- Verdant Terrace,
- Throne of the Firelord,
- Amirdrassil,
- The Southern Boughs,
- The Eastern Boughs,
- The Northern Boughs,
- Heart of Amirdrassil.
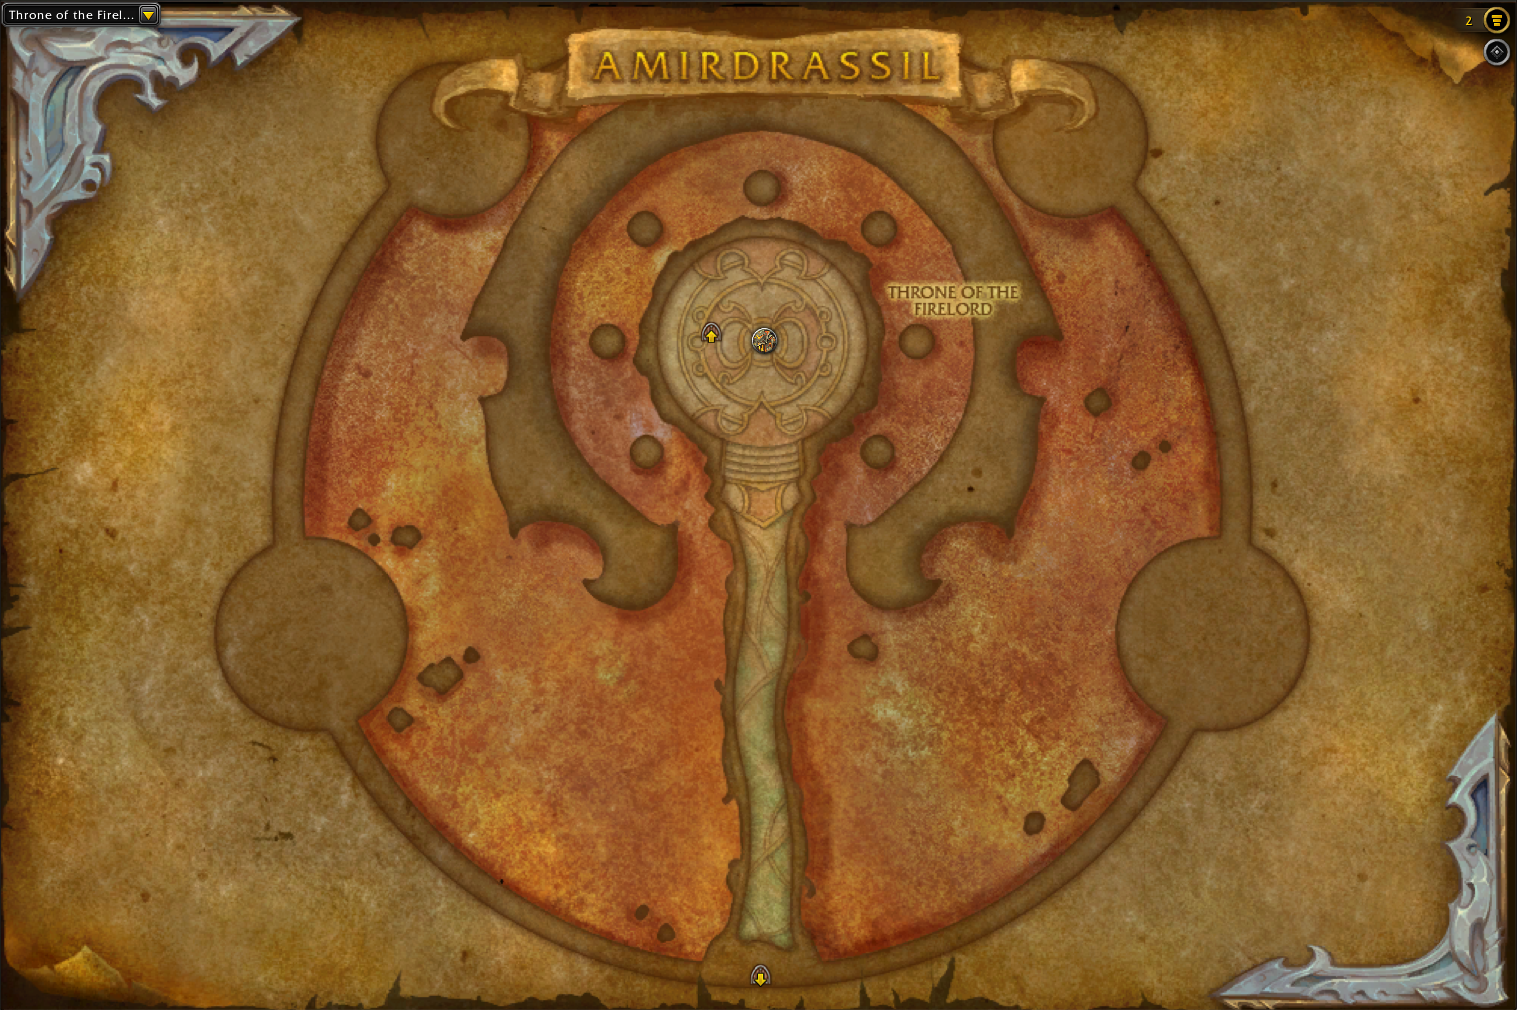
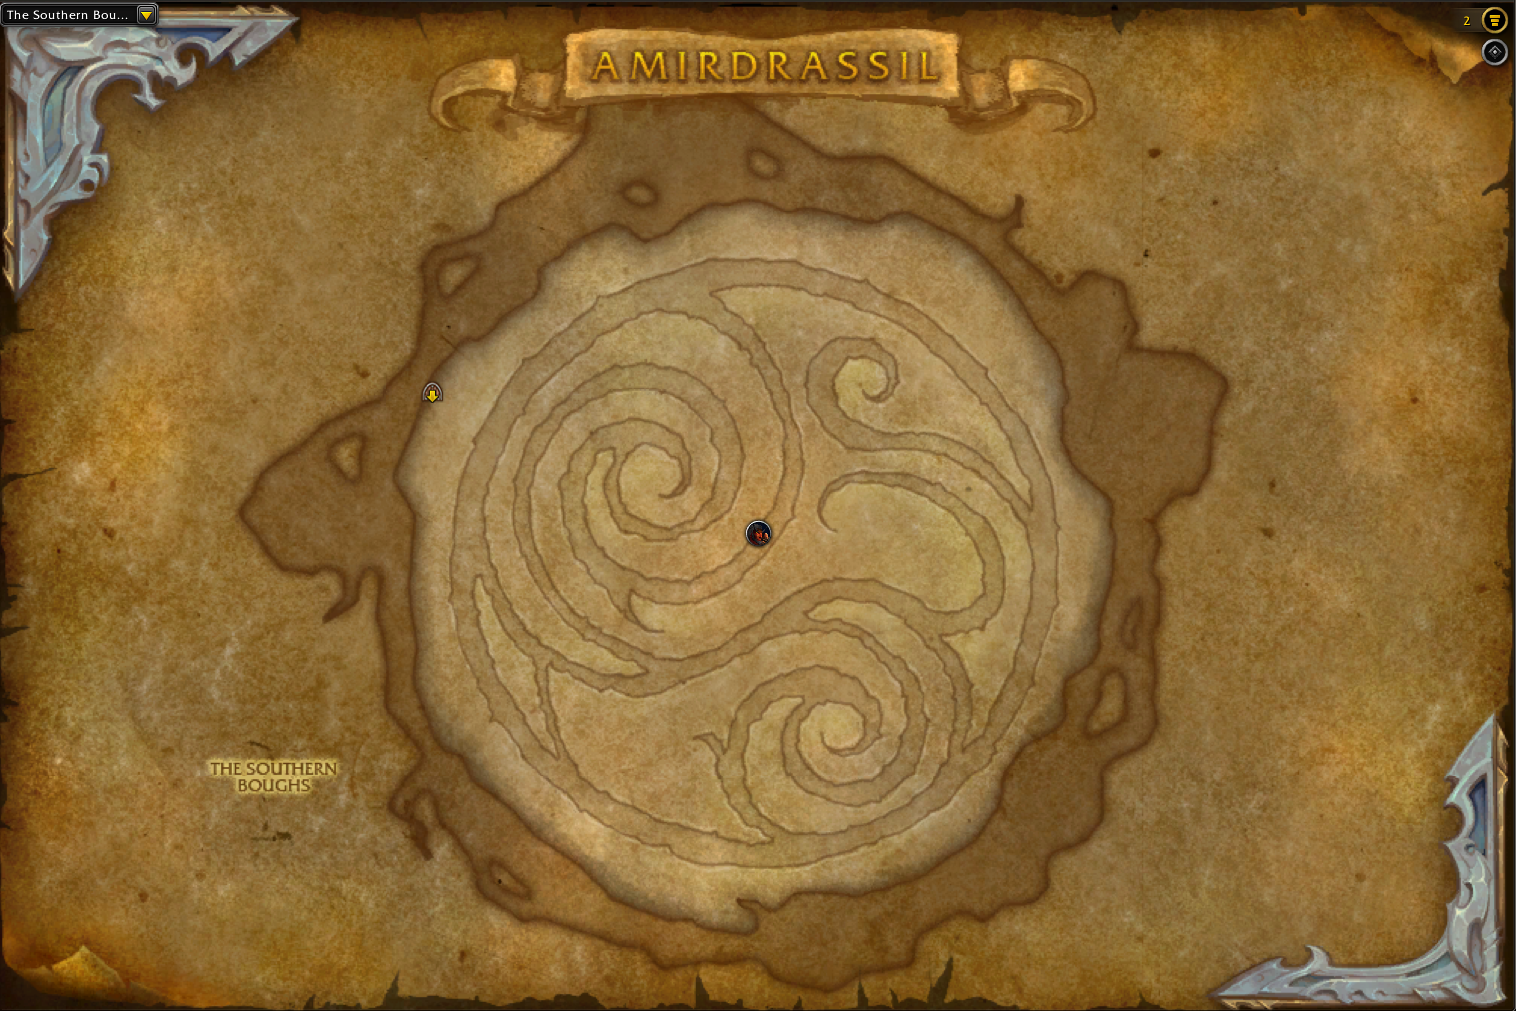
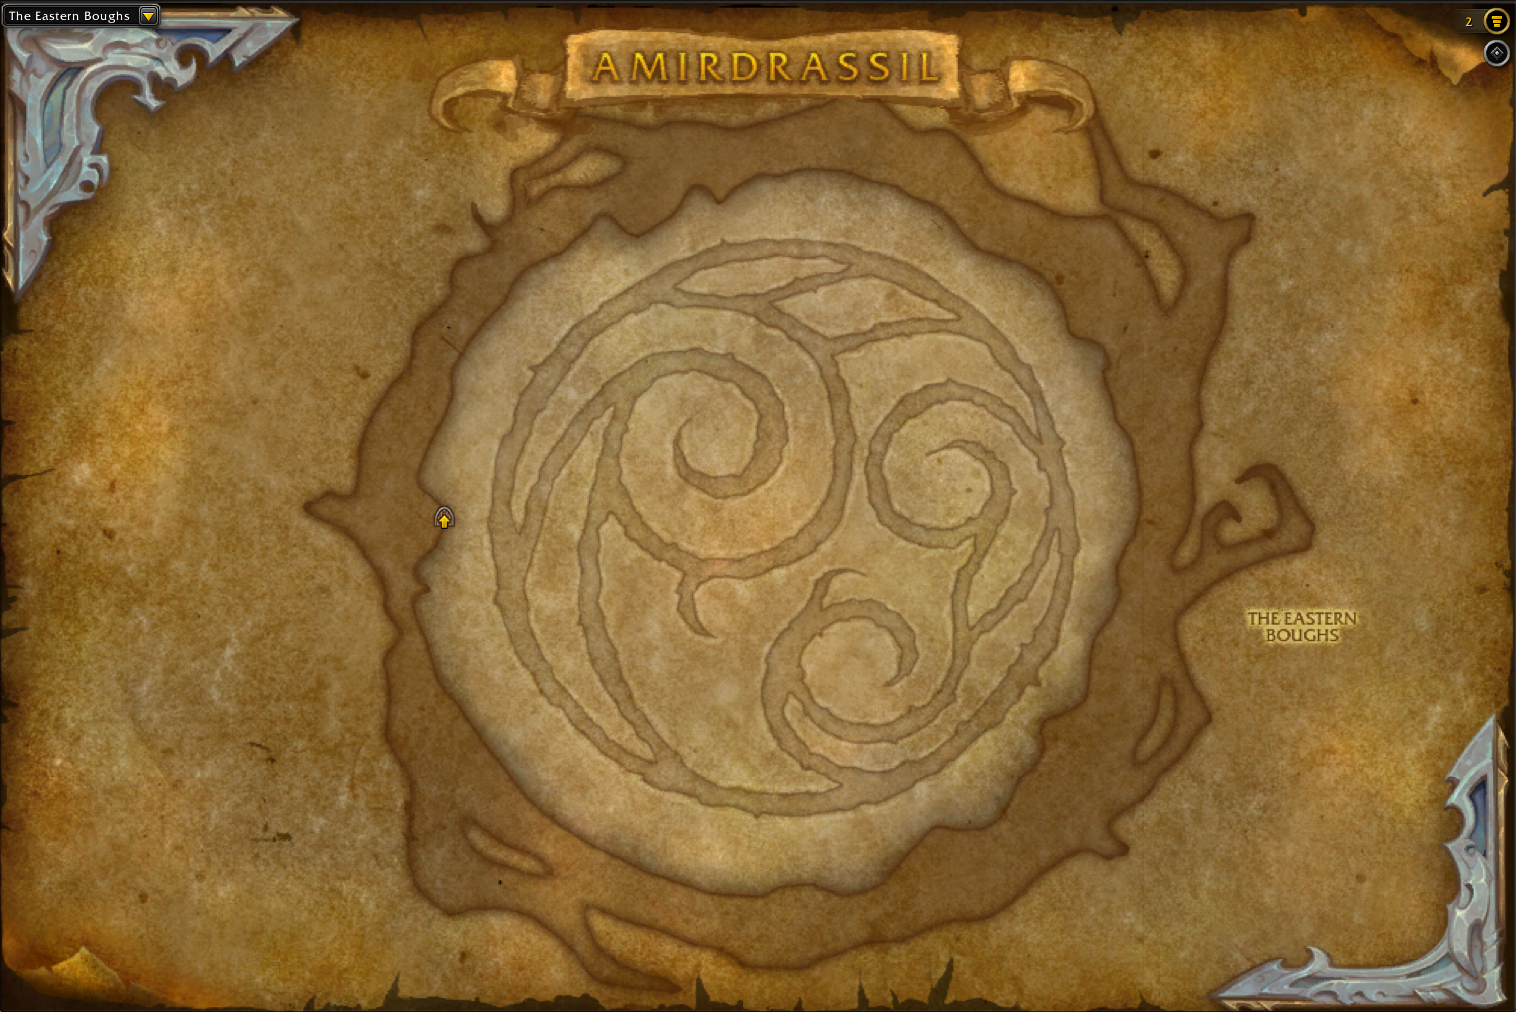
Each section presents unique challenges and boss encounters, which we’ll briefly overview below.
Amirdrassil Collectibles: Mounts, Pets, Transmogs

| Collectible | Source (% drop rate) | Obtainable / Not Obtainable |
| Amirdrassil Tier Sets | ||
| Renewed Proto-Drake: Embodiment of the Blazing | Fyrakk (1%) | Yes |
| Renewed Proto-Drake: Embodiment of Shadowflame | Ahead of the Curve: Fyrakk the Blazing | No |
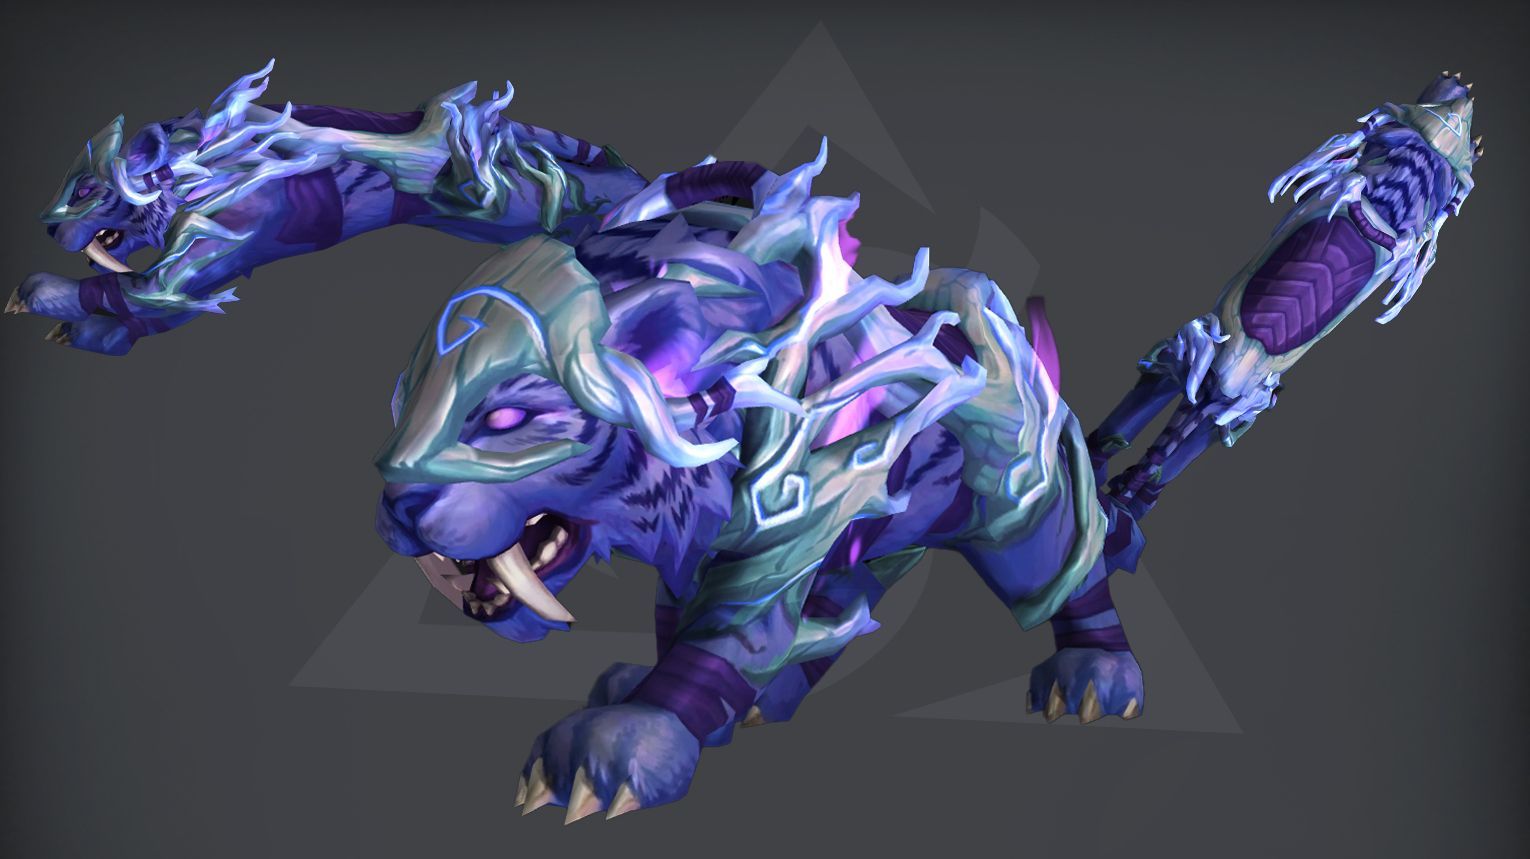
| Reins of the Shadow Dusk Dreamsaber | Glory of the Dream Raider | Yes |
| Reins of Anu’relos, Flame’s Guidance | Fyrakk (1%) | Yes |
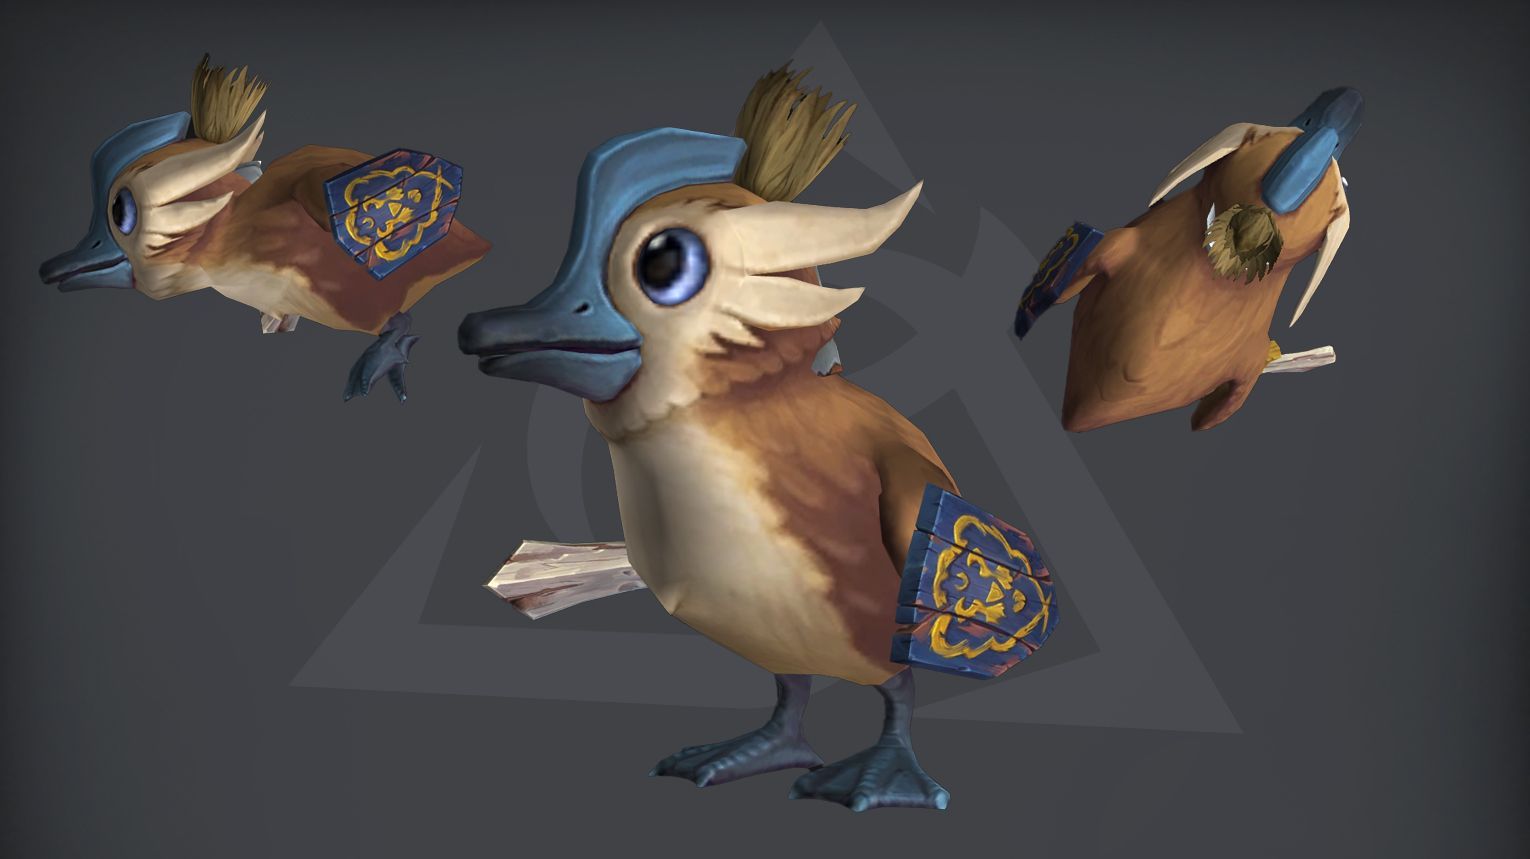
| Sergeant Quackers | Ducks In A Row | Yes |
| Hearthstone of the Flame | Larodar, Keeper of the Flame (79%) | Yes |
| Feather of the Smoke Red Moon | Tindral Sageswift (1%) | Yes |
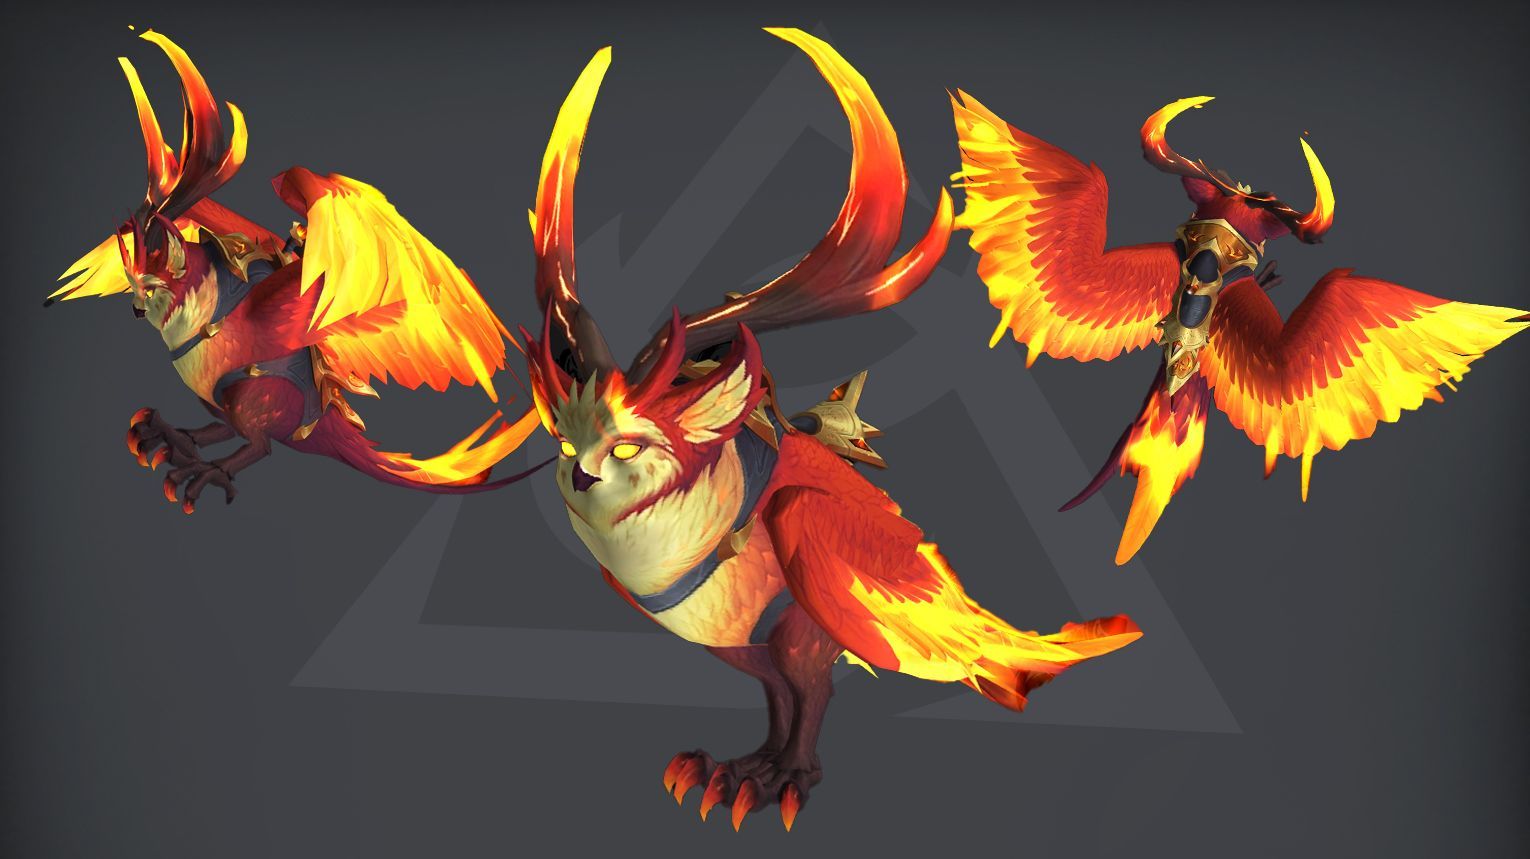
| Feather of the Blazing Somnowl | Fyrakk (1%) | Yes |
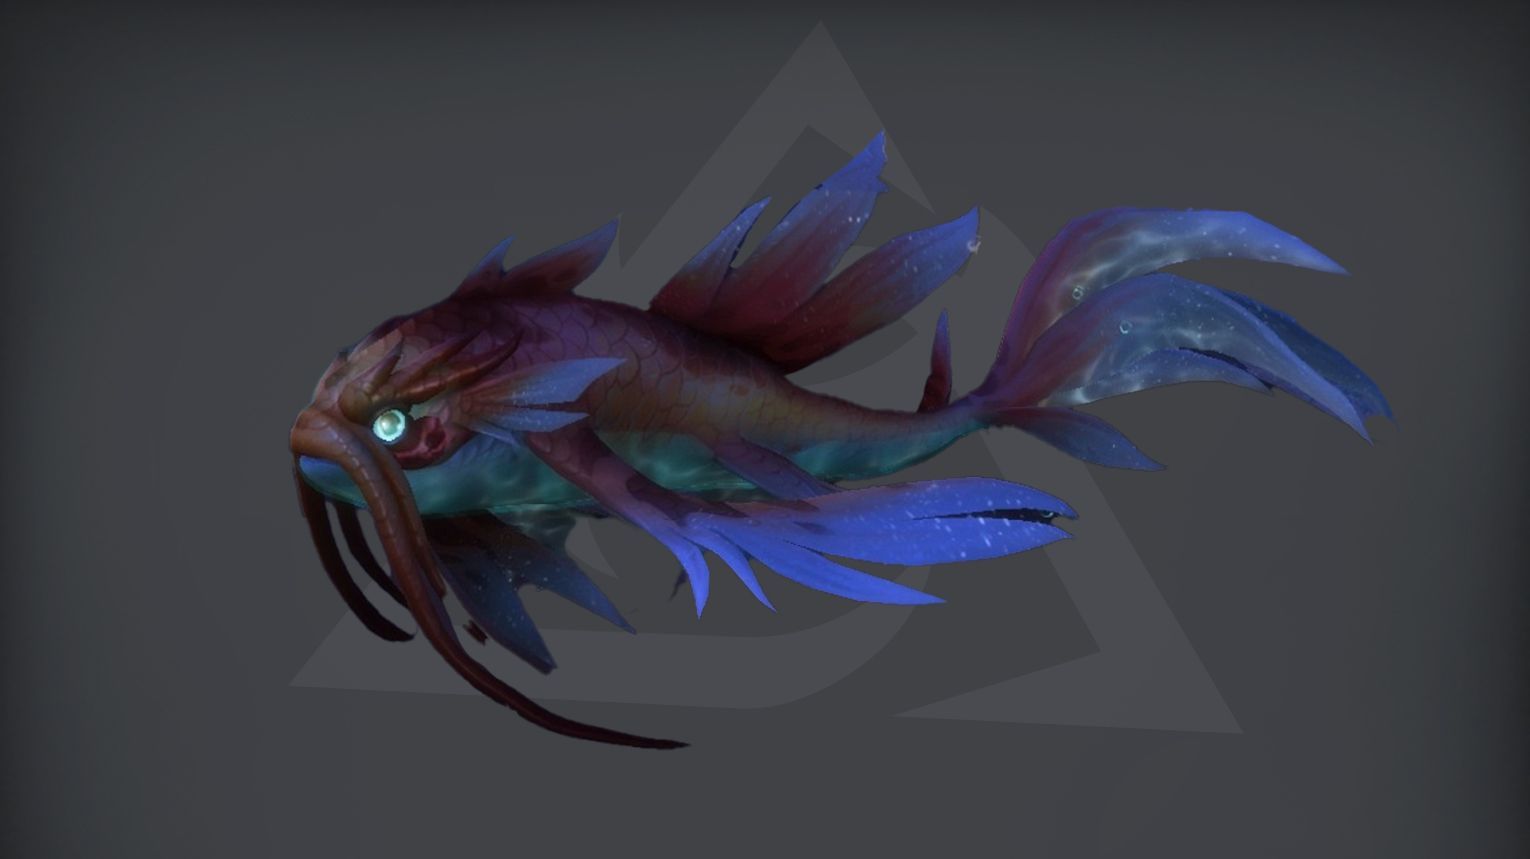
| Scale of the Prismatic Whiskerfish | Amirdrassil zone (1%) | Yes |
| Fyr’alath the Dreamrender | Fyrakk (3%) | Yes |
Amirdrassil Bosses Overview
Amirdrassil, the Dream’s Hope is a nature-themed raid in World of Warcraft: Dragonflight, set in the Emerald Dream. Players battle nine bosses, including the fiery Fyrakk, who threatens to destroy the world tree. The fights are varied and challenging, like the Council of Dreams, where you face three bosses at once, and Tindral Sageswift, who uses powerful fire and nature spells. The final showdown with Fyrakk is a thrilling fight to save Amirdrassil from destruction.
Can You Solo Amirdrassil in The War Within?
Farming Amirdrassil solo in The War Within is a great way to get transmog sets, mounts, pets, and achievements from Dragonflight. While soloing older raids is easier now due to better gear and stat scaling, some bosses in Amirdrassil still have challenging mechanics. This guide will show you how to solo each boss, suggesting the best classes, strategies, and when to use Bloodlust or Feral Hide Drums.
Gnarlroot
Gnarlroot is the first boss encounter in the Amirdrassil, the Dream’s Hope raid. This single-phased encounter includes a short intermission each time Gnarlroot reaches 100 energy, followed by a burn phase where the boss takes extra damage. The fight involves handling several key abilities and positioning the raid effectively to manage mechanics.

- DPS: High burst damage classes to quickly kill Tainted Lashers and maximize damage during burn phases.
- Healers: Strong AoE healers to handle raid-wide damage from Tortured Scream and Shadow Spines.
- Tanks: Tanks with strong mitigation and taunt-swapping capabilities to handle Dreadfire Barrage.
![]() Tips:
Tips:
- Positioning:
- Keep the boss centered, with the raid loosely spread to avoid cleave damage.
- During intermission, divide the raid equally across quadrants to handle Doom Roots.
- Add Control:
- Prioritize killing Tainted Lashers quickly to avoid stacking bleeds and damage buffs.
- On Heroic, activate Tainted Flora with Shadow-Scorched Earth to prevent them from overwhelming the raid.
- Debuff Management:
- Players targeted by Controlled Burn should drop puddles on the edges of the room, leaving space for subsequent debuffs.
- During intermission, use Ember-Charred to set Doom Roots on fire and clear debuffs.
- Cooldowns:
- Save raid cooldowns for Tortured Scream and burn phases (Uprooted Agony).
- Tanks should taunt swap after Dreadfire Barrage to manage debuffs.

- Phase 1:
- Handle Flaming Pestilence by killing Tainted Lashers quickly.
- Manage Controlled Burn by dropping puddles on the edges and avoiding overlap.
- Dodge Shadowflame Cleave and mitigate Tortured Scream with healing cooldowns.
- Tanks must taunt swap after Dreadfire Barrage.
- Intermission:
- Set Doom Roots on fire using Ember-Charred from Splintering Charcoal.
- Avoid Toxic Loam and manage debuffs by standing in projectile indicators.
- Burn Phase:
- Use all cooldowns during Uprooted Agony (100% increased damage for 20 seconds).
- Prepare for increased damage in Phase 2 due to Rising Mania.


| Type of Armor | Item | Loot type |
| Cloth | Anguished Restraints | Wrist |
| Requiem Rootmantle | Shoulder | |
| Leather | Twisted Blossom Stompers | Head |
| Silent Tormentor’s Hood | Feet | |
| Ancient Haubark | Chest | |
| Forlorn Leaf Clasp | Waist | |
| Plate | Seared Ironwood Greaves | Legs |
| Any | Inflammable Drapeleaf | Cloak |
| Design: Dreamtender’s Charm | Jewelcrafting Design | |
| Defender of the Ancient | Shield | |
| Staff of Incandescent Torment | Staff | |
| Branch of the Tormented Ancient | Trinket | |
| Gnarlroot’s Bonecrusher | 2H Mace |
Igira the Cruel

Igira the Cruel is the second boss encounter in the Amirdrassil, the Dream’s Hope raid. This encounter is notable for its unique mechanics and the choices it offers players in dealing with Igira’s special abilities. The boss drops valuable loot, including profession recipes and Season 3 Tier Hand tokens.
- Tanks: Classes with strong mitigation and taunt swaps (e.g.,


- Healers: Classes with strong AoE healing and dispels (e.g.,


- DPS: High burst damage for killing Blistering Spears quickly and consistent damage for boss DPS.
![]() Tips:
Tips:
- Positioning:
- Tanks should stand near each other to manage Vicious Swing and Drenched Blades.
- Raid should loosely stack near the boss but spread slightly for Blistering Spear.
- Special Abilities:
- Choose the order of soaking weapons strategically: Hacking Torment (left) → Flaying Torment (right) → Slicing Torment (entrance).
- Skip Flaying Torment if the boss can be killed in two cycles.
- Heroic Changes:
- Slicing Torment: Adds Devastation (fire swirlies).
- Flaying Torment: Adds Vital Rupture (projectiles).
- Gathering Torment: Applies Flesh Mortification (increases damage taken).
- Phase 1:
- Blistering Spear: Targeted players move slightly away; DPS focus on killing spears.
- Twisting Blade: Avoid swirling blades to prevent damage and knockback.
- Vicious Swing: Tanks must stand close to each other to avoid hitting random players.
- Drenched Blades: Tank swap at ~6 stacks (adjust based on gear and timing).
- Special Abilities (100 Energy):
- Marked for Torment: Raid must soak one of the three weapons.
- Hacking Torment: Split damage with Umbral Destruction; assign half the raid to soak each cast.
- Slicing Torment: Dodge Smashing Viscera and Devastation (Heroic).
- Flaying Torment: Heal absorb debuff; stack raid for easier healing or spread to dodge Vital Rupture (Heroic).
- Heroic Strategy:
- Use raid cooldowns (e.g., Power Word: Barrier, Aura Mastery) during Gathering Torment soaks.
- Adjust positioning to handle Devastation and Vital Rupture.
Volcoross
Volcoross is the third boss encounter in the Amirdrassil, the Dream’s Hope raid. This fight is unique because it requires the raid to split in half for most of the encounter before reuniting towards the end. The primary objective is to defeat the boss before the platform is completely engulfed in fire. Volcoross notably drops the very rare Ouroboreal Necklet, which is 6 item levels higher than the rest of the loot and has a unique equip effect.
- Tanks: Classes with strong mitigation and taunt-swapping capabilities (e.g.,
- Healers: Classes with strong AoE healing and raid cooldowns (e.g.,
- DPS: Classes with strong single-target damage and mobility to handle mechanics (e.g.,


![]() Tips:
Tips:
- Positioning:
- Split the raid into two groups to handle Flood of the Firelands soaks.
- Always position yourself on the edge of soak circles to avoid being knocked into Hellboil.
- Stay mobile to avoid Scorchtail Crash and Volcanic Disgorge puddles.
- Debuff Management:
- Coiling Flames debuffs cleave damage to nearby players. Spread out when debuffed to minimize raid damage.
- Tanks must manage Molten Venom stacks and taunt swap before Cataclysm Jaws to reduce damage intake.
- Environmental Awareness:
- The platform gradually fills with fire, so keep moving to clean areas.
- Watch for Scorchtail Crash telegraphs (shadows) and avoid standing in the affected area.
- Flood of the Firelands:
- Two large soaks spawn on opposite sides of the platform. Split the raid into two groups to handle each soak.
- Stand on the edge of the soak circle to avoid being knocked into Hellboil.
- After soaking, the raid remains split to handle subsequent mechanics.
- Serpent’s Fury:
- Deals raid-wide damage and applies Coiling Flames debuffs.
- Spread out to avoid cleaving nearby players. The debuff jumps to another player after 10 seconds.
- Scorchtail Crash:
- Avoid the shadow telegraph to prevent instant death.
- On Heroic, Tidal Blaze creates waves of lava after the crash. Dodge these waves by moving to safe spots.
- Volcanic Disgorge:
- Avoid the small Hellboil puddles left on the platform. These despawn before the next soak.
- Tank Mechanics:
- Taunt swap before Cataclysm Jaws to minimize Molten Venom stacks.
- Always stay in range of the boss to prevent Serpent’s Wrath, which deals raid-wide AoE damage.
| Type of Armor | Item | Loot type |
| Cloth | Vesture of the Smoldering Serpent | Feet |
| Lost Scholar’s Belted Treads | Chest | |
| Leather | Flamewaker’s Grips | Hands |
| Primordial Serpent’s Bindings | Wrist | |
| Jeweled Sash of the Viper | Waist | |
| Snake Eater’s Cowl | Head | |
| Plate | Lavaforged Sollerets | Feet |
| Volcanic Spelunker’s Vents | Shoulder | |
| Any | Ouroboreal Necklet | Amulet |
| Magmatic Volcannon | Gun | |
| Volcoross’s Barbed Fang | 1H Sword | |
| Coiled Serpent Idol | Trinket |
Council of Dreams

The Council of Dreams is a boss fight in the Amirdrassil, the Dream’s Hope raid in World of Warcraft. It includes three bosses: Urctos (a werebear), Aerwynn (a dryad), and Pip (a faerie dragon). Each boss has special abilities that work together, making the fight tough. To win, you must handle their abilities well and defeat all three bosses at the same time to stop them from using Rebirth, which heals them.
- Tanks: Classes with strong physical mitigation (e.g.,
- Healers: Healers with strong AoE healing and poison dispels (e.g.,

- DPS: Classes with strong cleave/AoE damage and interrupts (e.g.,

![]() Tips:
Tips:
- Positioning: Stay loosely spread to avoid overlapping mechanics. Stack bosses for cleave damage when possible.
- Interrupts: Assign players to interrupt Blind Rage (Urctos) and Constricting Thicket (Aerwynn).
- Polymorph Management: Use Preen to remove Polymorph effects and interrupt Blind Rage.
- Noxious Blossoms: Polymorphed players should destroy these to reduce raid damage.
- Barreling Charge: Assign players to soak the charge to reduce Thundering Impact damage.
- Heroic Mode: Alternate players to soak Barreling Charge due to the vulnerability debuff.
- Urctos:
- Blind Rage: Interrupt by casting Preen near him while Polymorphed. Failure increases his damage by 500%.
- Agonizing Claws: Tank swap after each cast.
- Position Urctos near other bosses for cleave damage.
- Aerwynn:
- Constricting Thicket: Interrupt by aiming Barreling Charge through her. Failure causes Relentless Barrage, which is fatal.
- Barreling Charge: Tanks should run behind Aerwynn to interrupt her channel.
- Pip:
- Song of the Dragon: Removes Corrosive Pollen by standing on Noxious Blossoms. Failure stuns and deals fatal damage.
- Emerald Winds: Avoid being pushed into Noxious Blossoms.
- General Mechanics:
- Polymorph Bomb: Turned players into ducks to destroy Noxious Blossoms and remove Hungry stacks.
- Poisonous Javelin: Healers must dispel poison effects.
- Quack!: Increases movement speed. Use Preen at a distance to avoid stunning allies.
| Type of Armor | Item | Loot type |
| Cloth | Urctos’s Hibernal Dial | Waist |
| Leather | Strigine Epaulets | Wrist |
| Verdant Sanctuary Bands | Legs | |
| Aerwynn’s Ritual Sarong | Feet | |
| Plate | Cleats of the Savage Claw | Head |
| Vigilant Protector’s Bracers | Wrist | |
| Any | Sickle of the White Stag | Dagger |
| Thorncaller Claw | Fist Weapon | |
| Pattern: Verdant Conduit | Leatherworking Pattern | |
| Trickster’s Captivating Chime | Off-hand | |
| Gift of Ursine Vengeance | Trinket | |
| Pip’s Emerald Friendship Badge | Trinket |
Larodar, Keeper of the Flame

Larodar, Keeper of the Flame, is the fifth boss encounter in the Amirdrassil, the Dream’s Hope raid. This encounter is divided into two phases, with the primary challenge being the management of growing fire and a shrinking encounter space. The boss drops notable items such as the Formula: Enchant Weapon – Dreaming Devotion, the Hearthstone of the Flame, and Season 3 Tier Leg tokens. The loot item levels range from 447 (LFR) to 486 (Mythic).
- Tanks: Classes with strong mobility and survivability to handle Furious Charge and positioning.
- Healers: High-throughput healers to manage Raging Inferno, Flash Fire, and raid-wide damage.
- DPS: Classes with strong AoE for adds (Fiery Treants, Scorching Roots) and burst damage for Phase 2.
- Utility: Classes with grips, knockbacks, and interrupts (e.g.,


![]() Tips:
Tips:
- Positioning: Keep the boss near the edge of Burning Ground to maximize usable space.
- Seed of Life: Use it strategically to clear Burning Ground and Scorching Roots.
- Add Management: Kill Fiery Treants quickly and heal Charred Treants to charge the Seed.
- Raging Inferno: Always have a Renewed Bramble Barrier ready for this ability.
- Phase 2: Save cooldowns like Bloodlust/Drums for this phase to burn the boss quickly.
- Heroic: Be mindful of Dream Fatigue (4-minute cooldown on Seed of Life) and handle Blazing Coalescence orbs carefully.
Phase 1
- Seed of Life:
- Use Dream Blossom to clear Burning Ground and Scorching Roots.
- Charge the Seed by killing Fiery Treants and healing Charred Treants.
- Raging Inferno:
- Kill Scorching Roots to spawn Charred Brambles.
- Heal the brambles to full to create a Renewed Bramble Barrier for the raid to stand in.
- Adds:
- Group Fiery Treants using grips/knockbacks and kill them away from the raid to avoid Explosive Bark.
- Interrupt Fiery Flourish to reduce raid damage.
Intermission
- Consuming Flame: Stay more than 3 yards away from Larodar to reduce damage.
Phase 2
- Burning Ground: Tank the boss at the edge to maximize space.
- Falling Embers: Assign players to soak each ember to avoid raid-wide damage.
- Flash Fire: Healers must remove the healing absorb within 8 seconds to prevent players from being stunned.
- Fire Whirl: Dodge the spiraling fire tornadoes to avoid damage and knockbacks.
| Type of Armor | Item | Loot type |
| Cloth | Lost Scholar’s Timely Hat | Head |
| Leather | Robes of the Ashen Grove | Chest |
| Twisted Flamecuffs | Wrist | |
| Plate | Phlegethic Girdle | Waist |
| Any | Formula: Enchant Weapon – Dreaming Devotion | Enchanting Formula |
| Hearthstone of the Flame | Toy | |
| Larodar’s Moonblade | 1H Sword | |
| Scythe of the Fallen Keeper | Polearm | |
| Band of Burning Thorns | Ring | |
| Smoldering Seedling | Trinket |
Nymue, Weaver of the Cycle

Nymue, Weaver of the Cycle, is the sixth boss in the Amirdrassil, the Dream’s Hope raid. This fight is special because the battlefield itself can hurt players. Nymue switches between two phases when her energy reaches 100%. To win, players must move carefully and work together to handle the dangerous attacks.
- Tanks: Classes with strong mitigation for both Physical and Nature damage (e.g.,

- Healers: Classes with strong AoE healing and raid cooldowns (e.g.,
- DPS: Classes with strong single-target and cleave damage (e.g.,

![]() Tips:
Tips:
- Positioning: Spread the raid evenly across the room to handle Surging Growth and Weaver’s Burden.
- Verdant Matrix: Avoid crossing dividers unnecessarily; let the DoT reset before crossing again.
- Surging Growth: Always have players soak the growths to reduce raid-wide damage.
- Impending Loom: Prioritize avoiding these lines, even if it means crossing a Verdant Matrix.
- Phase 2: Split the raid into two groups, each led by a tank with Inflorescence, to handle the Cycle Wardens.
- Phase 1
- Verdant Matrix: Limit crossing to avoid stacking DoTs.
- Surging Growth: Assign players to soak each growth to minimize raid damage.
- Impending Loom: Dodge the lines at all costs.
- Viridian Rain: Use raid cooldowns to mitigate the heavy damage.
- Tanks: Swap after each Weaver’s Burden cast to avoid cleaving the raid.
- Phase 2
- Full Bloom: Tanks must stand in the AoE to gain Inflorescence, allowing them to lead players to the Cycle Wardens without taking damage from Verdant Matrix.
- Cycle Wardens:
- Avoid frontal cone attacks (Lumbering Slam).
- Kill the adds quickly to end the phase, as Nymue takes 99% reduced damage while they are alive.
- Unravel: Manage the stacking debuff by killing the adds as fast as possible.
| Type of Armor | Item | Loot type |
| Cloth | Lifewoven Slippers | Feet |
| Leather | Eternal Sentinel’s Cord | Waist |
| Wellspring Wristlets | Wrist | |
| Plate | Eldermoss Gauntlets | Hands |
| Any | Amulet of Eonar’s Chosen | Amulet |
| Verdant Matrix Beacon | Shield | |
| Dreambinder, Loom of the Great Cycle | Staff | |
| Pattern: Verdant Tether | Tailoring Pattern | |
| Nymue’s Unraveling Spindle | Trinket |
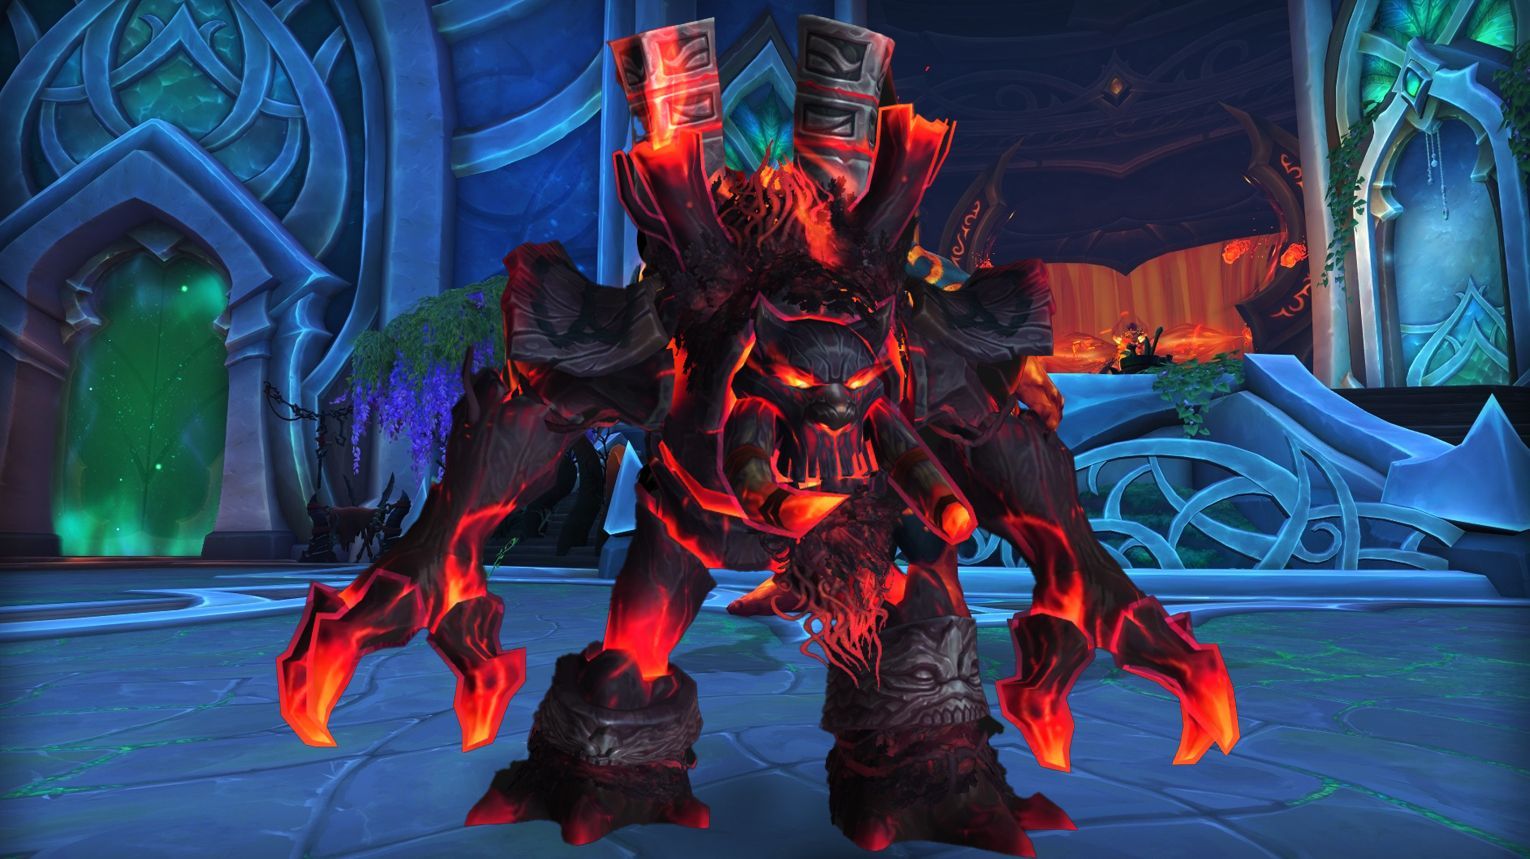
Smolderon
Smolderon is the seventh boss in the Amirdrassil, the Dream’s Hope raid. The fight has two phases, with the first phase being longer. Players must manage space carefully because Smolderon’s abilities reduce the available area over time. This boss has a fire theme and needs precise positioning and teamwork to defeat.
- Tanks: Classes with strong mitigation and mobility to handle Brand of Damnation.
- Healers: High-output healers to manage Blistering Heat and Cauterizing Wound debuffs.
- DPS: Ranged DPS preferred for easier spread mechanics; melee DPS need to be mindful of positioning.
![]() Tips:
Tips:
- Positioning:
- Keep the boss near the edge of the platform.
- Spread out for Overheated debuffs; stack for Brand of Damnation.
- Rotate around the room to avoid Lava Geysers.
- Debuff Management:
- Overheated: Spread out to avoid overlapping explosions.
- Brand of Damnation: Assign at least 4 players to split damage.
- Phase 2:
- Collect Living Flames orbs quickly for damage and healing buffs.
- Avoid World In Flames by moving to safe circles.
- Heroic:
- Tanks must run 30-40 yards away after Brand of Damnation to reduce raidwide damage.
- Coordinate Overheated debuff expiration to avoid Flame Waves.
Phase 1:
- Overheated:
- Half the raid gets a debuff requiring them to spread out.
- Explodes after expiration, dealing damage to nearby players.
- Brand of Damnation:
- Tank-targeted ability; non-debuffed players must stack to split damage.
- Leaves Cauterizing Wound debuffs, reducing healing absorption.
- Lava Geysers:
- Bait and move as a group to avoid limiting space.
- Keep the center clear for Phase 2.
- Blistering Heat:
- Passive ticking damage that increases over time.
Phase 2:
- Devour Essence:
- Clears debuffs, spawns Living Flames orbs.
- Collect orbs for buffs; missed orbs buff Smolderon.
- World In Flames:
- Dance-like mechanic; move to safe circles to avoid damage.
- Heating Up:
- Boss gains 10% damage buff per Phase 2; after 6 stacks, raid wipes.
| Type of Armor | Item | Loot type |
| Cloth | Fading Flame Wristbands | Wrist |
| Plate | Fused Obsidian Sabatons | Feet |
| Any | Mantle of Blazing Sacrifice | Back |
| Cataclysmic Signet Brand | Trinket | |
| Ashes of the Embersoul | Trinket | |
| Incandescent Soulcleaver | 2H Sword | |
| Remnant Charglaive | Warglaive |
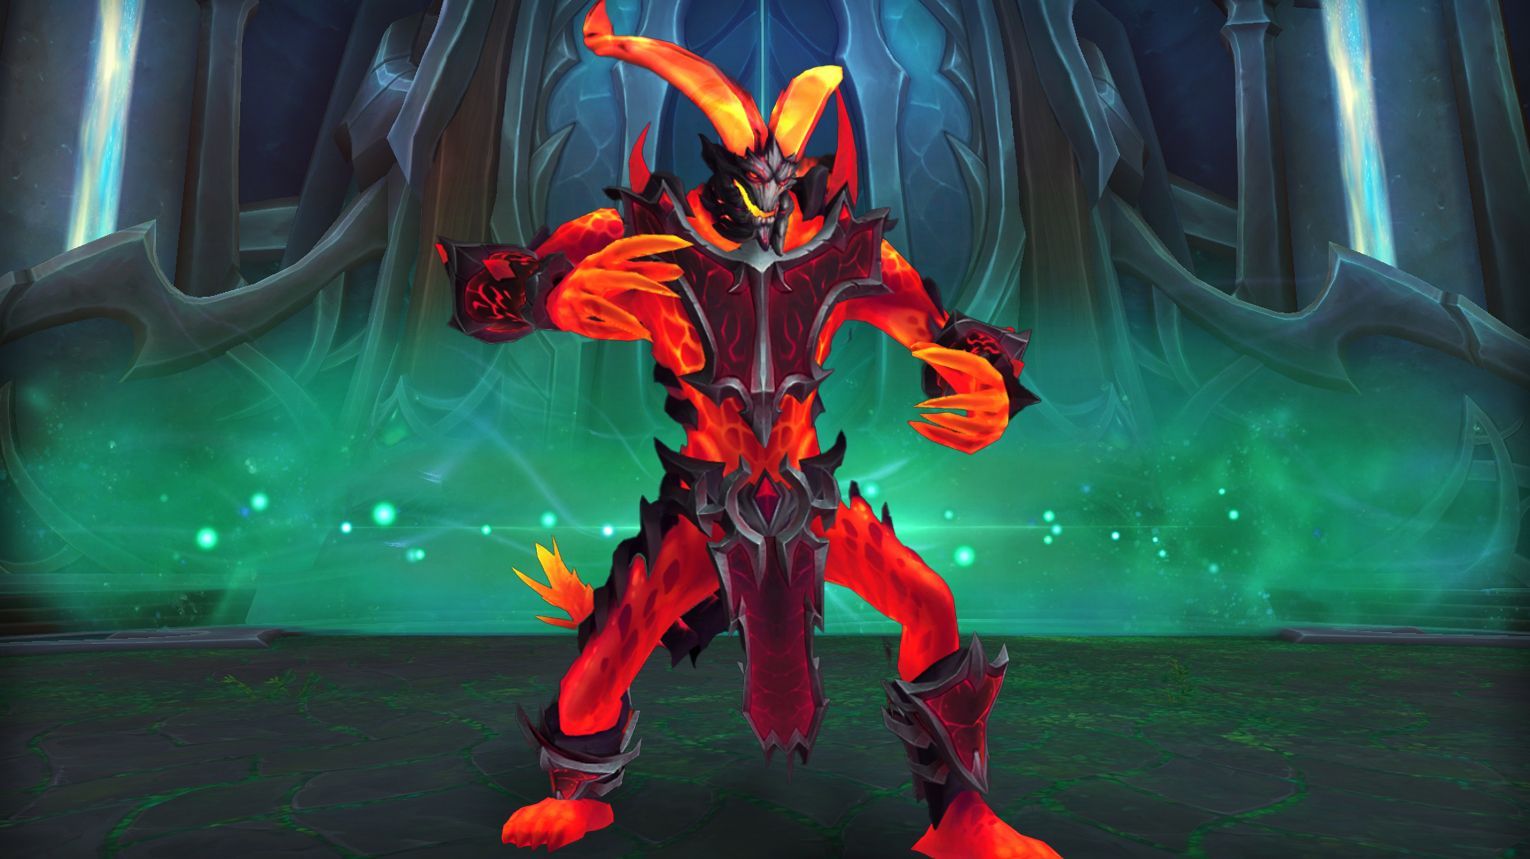
Tindral Sageswift, Seer of the Flame

Tindral Sageswift is the eighth boss in the Amirdrassil, the Dream’s Hope raid. The fight has three phases with two Dragonriding breaks. Tindral changes between three forms: Humanoid, Searing Moonkin, and Burning Treant. Each form has unique attacks that get harder as the fight goes on.
- Tanks: Tanks with strong defensive cooldowns and mobility (e.g.,

- Healers: Healers with strong raid-wide healing and dispels (e.g.,
- DPS: Classes with strong burst damage (e.g.,


![]() Tips:
Tips:
- Positioning:
- Stay loosely spread in Phase 1 to handle Mass Entanglement and Falling Stars.
- Move away from the raid if you have Fiery Growth to avoid dropping Scorching Ground in bad locations.
- In Phase 3, prioritize avoiding Fire Beams while soaking Blazing Mushrooms.
- Intermission:
- Use mobility cooldowns to avoid Typhoon knockbacks and dodge Scorching Plumes.
- Collect Dream Essence buffs to empower the raid and break Tindral’s Supernova shield.
- Heroic Adjustments:
- Be prepared for multiple Fire Beams and ensure the entire raid helps clear Seed of Flame to avoid spawning Flaming Trees.
- Phase 1 (Humanoid and Moonkin Forms):
- Mass Entanglement: Stay close to other players to quickly break roots.
- Falling Stars: Move away from the raid to avoid splash damage.
- Fiery Growth: Move out and request a dispel to drop Scorching Ground safely.
- Blazing Mushroom: Tanks must alternate soaking mushrooms to avoid raid-wide damage.
- Fire Beam: Dodge the moving beams, especially during overlaps with Typhoon.
- Phase 2 (Humanoid and Treant Forms):
- Falling Stars + Mass Entanglement: Assign root-breaking abilities to players targeted by Falling Stars.
- Fiery Growth: Move far away or reposition the boss to avoid spawning Flaming Germination in fire patches.
- Suppressive Ember: Healers must prioritize players with healing absorbs.
- Phase 3 (All Forms):
- Falling Stars + Mass Entanglement: Free rooted players quickly by killing vines.
- Fire Beams + Blazing Mushrooms: Reposition the boss to create space for soaking mushrooms while avoiding beams.
- Flaming Germination: Ensure all seeds are stepped on to prevent Flaming Trees.
| Type of Armor | Item | Loot type |
| Leather | Tasseted Emberwalkers | Feet |
| Flameseer’s Winged Grasps | Hands | |
| Plate | Smoldering Chevalier’s Greatbelt | Waist |
| Any | Eye of the Rising Flame | Amulet |
| Plans: Flourishing Dream Helm | Blacksmithing Plans | |
| Ashen Ranger’s Longbow | Bow | |
| Betrayer’s Cinderblade | Dagger | |
| Feather of the Smoke Red Moon | Druid Form | |
| Eternal Kindler’s Greatstaff | Staff | |
| Belor’relos, the Suncaller | Trinket |
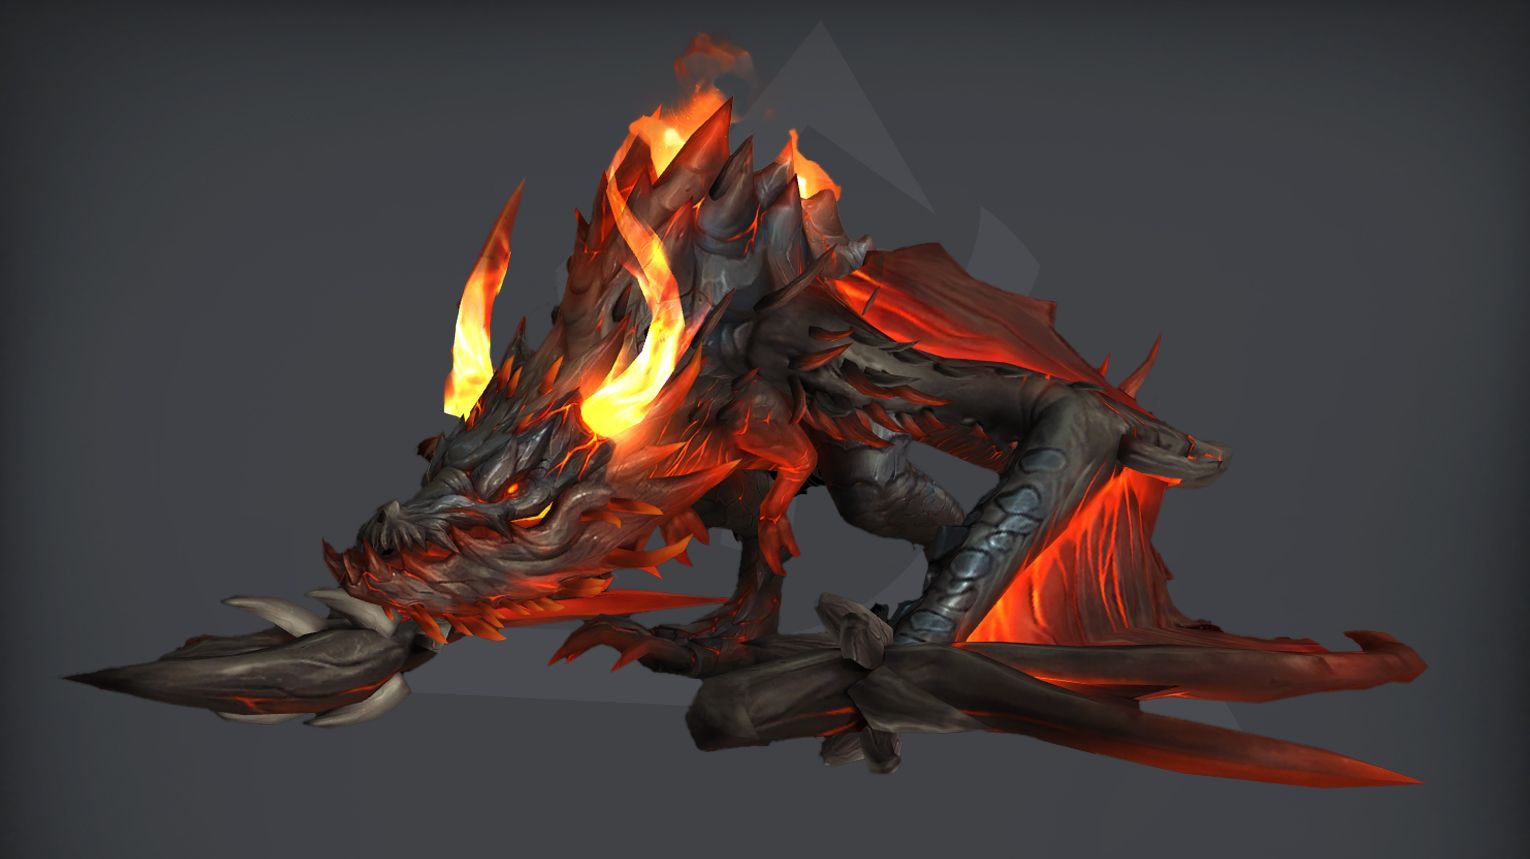
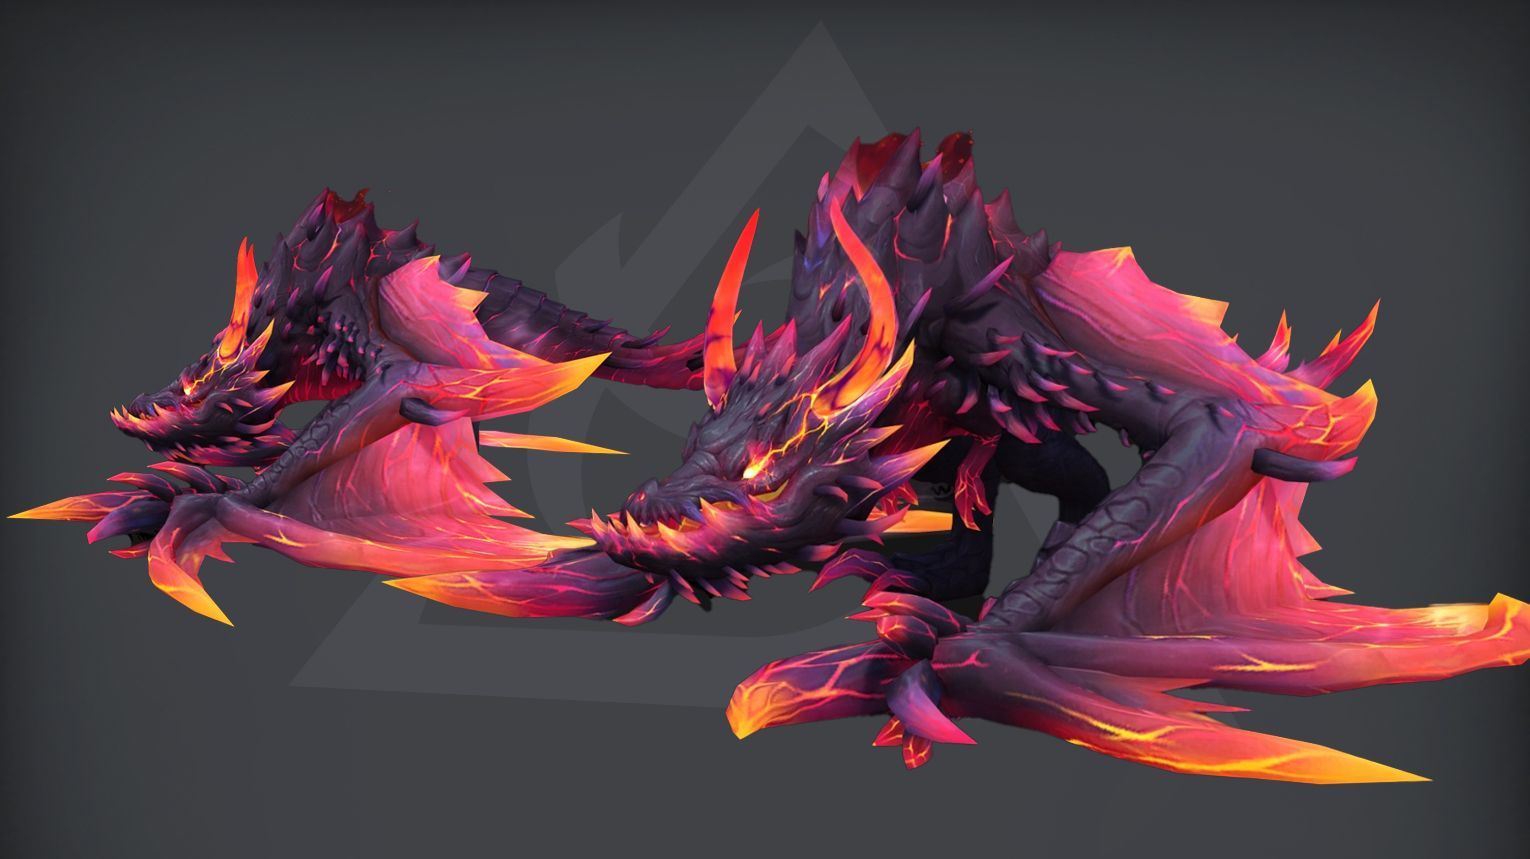
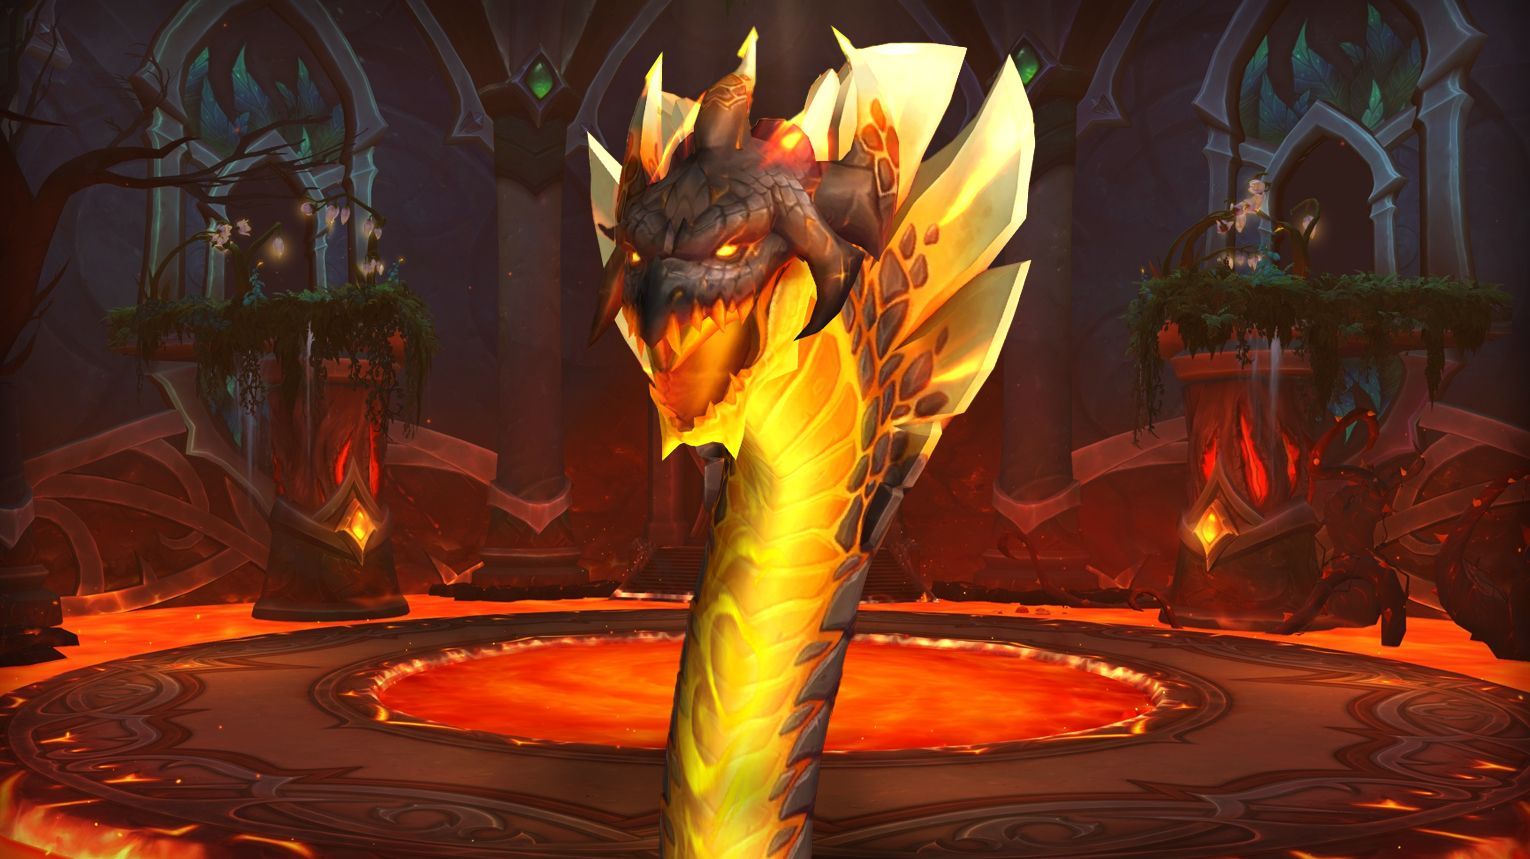
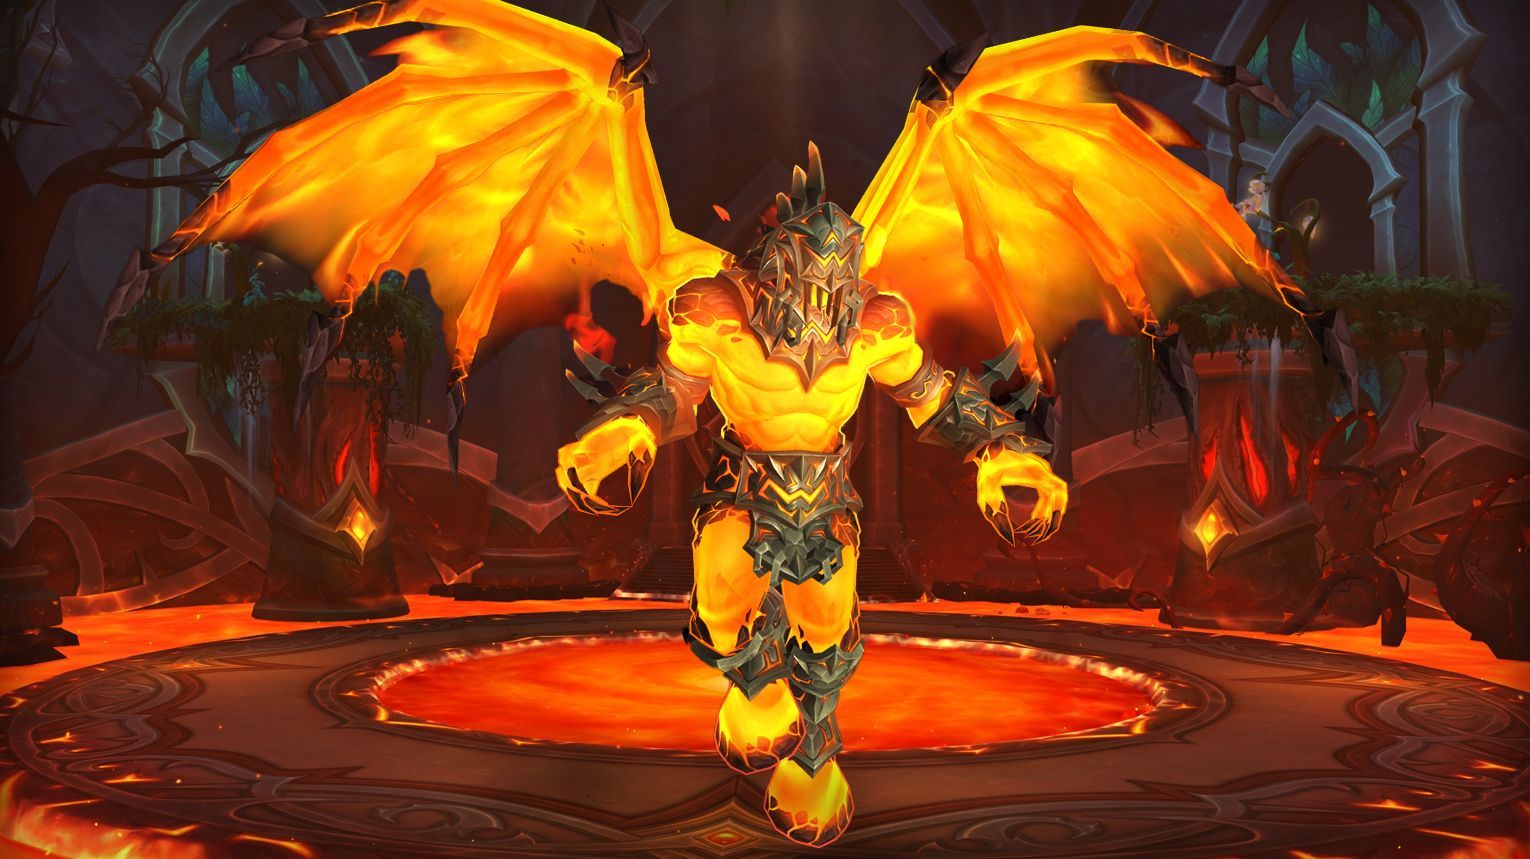
Fyrakk the Blazing
Fyrakk the Blazing is the final boss encounter in the Amirdrassil, the Dream’s Hope raid. This encounter is divided into three phases with a short intermission after Phase 1. The primary objective is to keep the Heart of Amirdrassil alive by managing various abilities that attempt to damage it throughout the fight.
- Tanks: Classes with strong mitigation and taunt swaps (e.g.,
- Healers: Classes with strong AoE healing and dispels (e.g.,
- DPS: Classes with strong single-target and cleave damage (e.g.,
- Utility: Classes with immunities or mobility to handle mechanics (e.g.,
![]() Tips:
Tips:
- Positioning:
- Phase 1: Stay near the edge of the platform to avoid Raging Flames reaching the Roots of Amirdrassil.
- Phase 2: Tank Fyrakk near the center, favoring the edge to heal Spirits of the Kaldorei.
- Phase 3: Stack behind the boss and use Seed of Amirdrassil for Bloom shields.
- Dispels: Manage Aflame debuffs carefully to avoid high stacks.
- Add Control: Prioritize killing Burning Colossus and Screaming Souls in Phase 2.
- Seed Management: Avoid shadowflame damage while carrying Seed of Amirdrassil to prevent it from becoming a Blazing Seed.
Phase 1:
- Goal: Prevent Raging Flames from reaching the Roots of Amirdrassil.
- Key Mechanics:
- Firestorm: Dodge meteors and avoid spreading Raging Flames.
- Dream Rend: Stay away from the portal to avoid being pulled in.
- Fyr’alath’s Bite: Tank swap at 2-3 stacks of Fyr’alath’s Mark.
- Positioning: Stay near the edge and move inward as fire spreads.
Intermission:
- Goal: Break Fyrakk’s shield within 30 seconds.
- Key Mechanics:
- Shadowflame Orbs: Intercept orbs to prevent Shadowflame Eruption.
- Shadowflame Breath: Avoid standing in front of Fyrakk.
Phase 2:
- Goal: Keep the Heart of Amirdrassil alive by healing Spirits of the Kaldorei.
- Key Mechanics:
- Greater Firestorm: Dodge meteors and kill Burning Colossus adds.
- Flamefall: Avoid Fyrakk’s landing zone.
- Shadowflame Devastation: Dodge the breath attack and kill Screaming Souls.
- Positioning: Tank Fyrakk near the center, favoring the edge.
Phase 3:
- Goal: Use Seed of Amirdrassil to mitigate deadly abilities.
- Key Mechanics:
- Eternal Firestorm: Dodge meteors and Swirling Firestorm.
- Apocalypse Roar: Use Bloom shields to reduce damage.
- Shadowflame Breath: Avoid the frontal cone.
- Infernal Maw: Tank swap at low stacks.
- Positioning: Stack behind the boss and drop Swirling Firestorm at the edge.
| Type of Armor | Item | Loot type |
| Cloth | Blooming Redeemer’s Sash | Waist |
| Twisting Shadow Claws | Hands | |
| Leather | Frenzied Incarnate Legwraps | Legs |
| Boots of the Molten Hoard | Feet | |
| Plate | Carapace of the Unbending Flame | Chest |
| Any | Renewed Proto-Drake: Embodiment of the Blazing | Mount |
| Reins of Anu’relos, Flame’s Guidance | Mount | |
| Gholak, the Final Conflagration | 1H Axe | |
| Vakash, the Shadowed Inferno | 1H Mace | |
| Fyrakk’s Tainted Rageheart | Trinket | |
| Augury of the Primal Flame | Trinket | |
| Blossom of Amirdrassil | Trinket | |
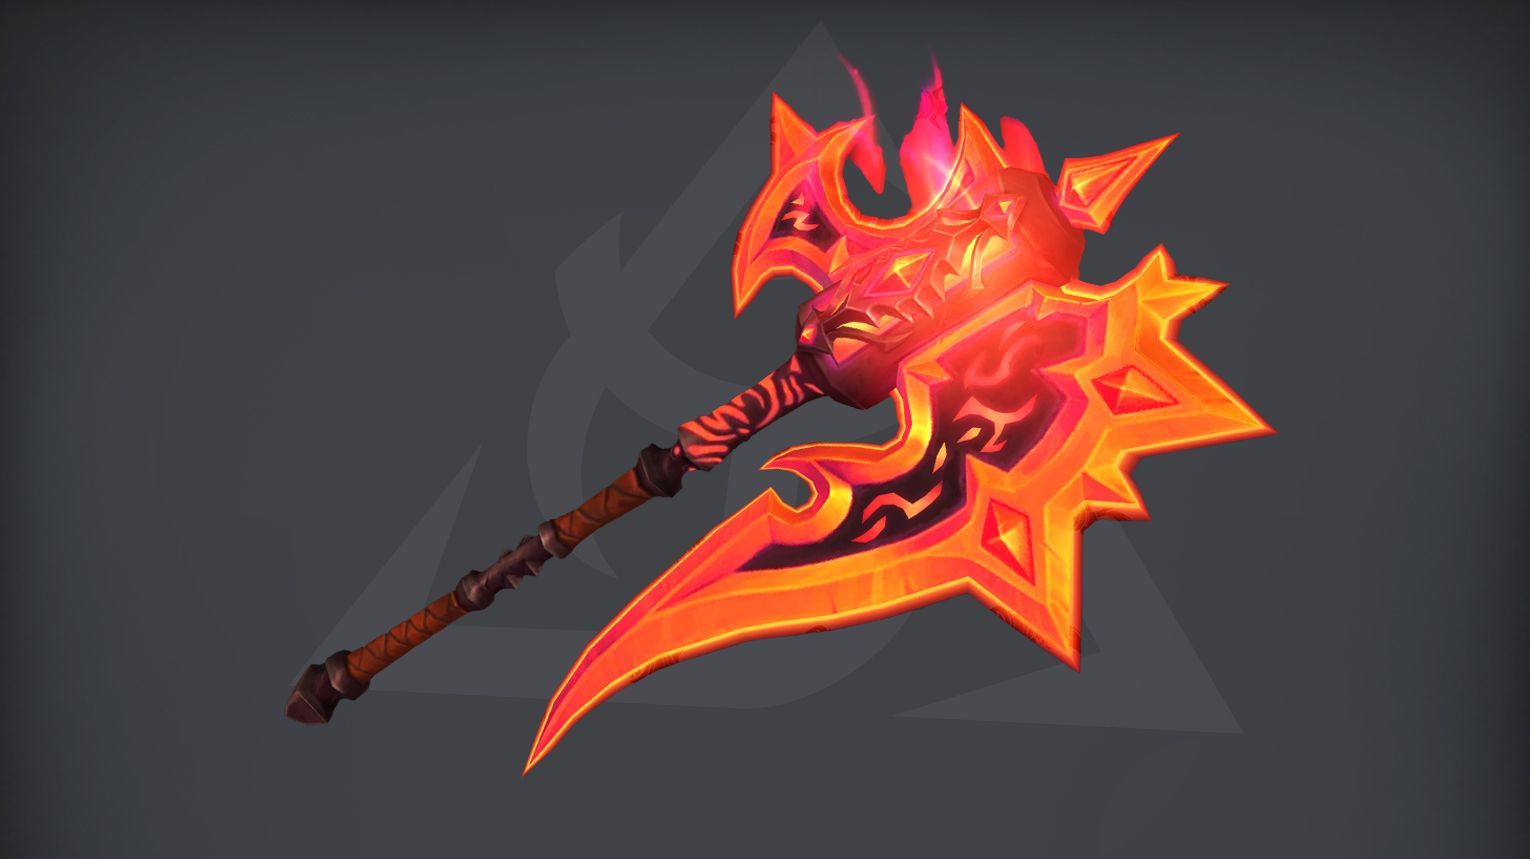
| Fyr’alath the Dreamrender | 2H Axe |
Amirdrassil Achievements List
| Achievement | Requirement |
| Fate of Amirdrassil | Defeat bosses that threaten Amirdrassil’s existence within Amirdrassil, the Dream’s Hope. |
| Amirdrassil, the Dream’s Hope | Kill all bosses on any difficulty. |
| Amirdrassil, the Dream’s Hope Guild Run | Slay all bosses on Normal difficulty or higher while in a guild group. |
| Heroic: Amirdrassil, the Dream’s Hope | Defeat all bosses on Heroic difficulty. |
| Heroic: Amirdrassil, the Dream’s Hope Guild Run | Kill all bosses on Heroic difficulty or higher while in a guild group. |
| Mythic: Amirdrassil, the Dream’s Hope | Slay all bosses on Mythic difficulty. |
| Ahead of the Curve: Fyrakk the Blazing | Defeat Fyrakk the Blazing on Heroic difficulty or higher, before the release of the next raid tier. |
| Cutting Edge: Fyrakk the Blazing | Kill Fyrakk the Blazing on Mythic difficulty, before the release of the next raid tier. |
| Mythic: Fyrakk the Blazing | Slay Fyrakk the Blazing on Mythic difficulty. |
| Mythic: Fyrakk the Blazing Guild Run | Defeat Fyrakk the Blazing on Mythic difficulty while in a guild group. |
| Mythic: Council of Dreams | Kill Council of Dreams on Mythic difficulty. |
| Mythic: Gnarlroot | Slay Gnarlroot on Mythic difficulty. |
| Mythic: Igira the Cruel | Defeat Igira the Cruel on Mythic difficulty. |
| Mythic: Larodar, Keeper of the Flame | Kill Larodar, Keeper of the Flame on Mythic difficulty. |
| Mythic: Nymue, Weaver of the Cycle | Slay Nymue, Weaver of the Cycle on Mythic difficulty. |
| Mythic: Smolderon | Defeat Smolderon on Mythic difficulty. |
| Mythic: Tindral Sageswift, Seer of the Flame | Kill Tindral Sageswift, Seer of the Flame on Mythic difficulty. |
| Mythic: Volcoross | Slay Volcoross on Mythic difficulty. |
| Awakened Flames | Defeat all bosses on Normal difficulty while Amirdrassil is an Awakened raid. |
| Heroic: Awakened Flames | Defeat all bosses on Heroic difficulty while Amirdrassil is an Awakened raid. |
| Mythic: Awakened Flames | Defeat all bosses on Mythic difficulty while Amirdrassil is an Awakened raid. |
| Fire Catwalk With Me | Collect an armor set from Amirdrassil, the Dream’s Hope. |
| Glory of the Dream Raider | Complete the Amirdrassil, the Dream’s Hope raid achievements. |
| A Dream Within a Dream | Defeat Nymue, Weaver of the Cycle after successfully collecting 5 Dream Projections while asleep and defeating the Manifested Monarch on Normal Difficulty or Higher. |
| Cruelty Free | Kill Igira after freeing the scorched critters on Normal difficulty or higher. |
| Don’t Let the Doe Hit You On The Way Out | Slay Larodar, Keeper of the Flame with Ivy extinguished and alive on Normal difficulty or higher. |
| Ducks In A Row | Defeat the Council of Dreams after recruiting Sergeant Quackers to join the cause on Normal difficulty or higher. |
| Haven’t We Done This Before? | Kill Smolderon after dousing all 6 Runes of the Firelord on Normal difficulty or higher. |
| Incarnate’s Wake | Slay all bosses that assault the Wellspring Temple within Amirdrassil, the Dream’s Hope. |
| Meaner Pastures | Defeat Gnarlroot after igniting 8 Harmless Blossoms on Normal difficulty or higher. |
| Memories of Teldrassil | Kill Fyrakk the Blazing after collecting six Memories of Teldrassil and returning their spirits to the Heart of Amirdrassil on Normal difficulty or higher. |
| Molten Incursion | Slay the following bosses that burn the Wellspring Temple within Amirdrassil, the Dream’s Hope. |
| Swog Champion | Defeat Volcoross after he has consumed at least 30 Sizzling Swoggers on Normal difficulty or higher. |
| The Viridian Weave | Kill the following bosses that attack all interlopers within Amirdrassil, the Dream’s Hope. |
| Whelp, I’m Lost | Slay Tindral Sageswift after rescuing 6 Lost Whelps on Normal Difficulty or higher. |


Comments: