logo

Tomb of Sargeras Raid Guide: Entrance, Rewards, Bosses

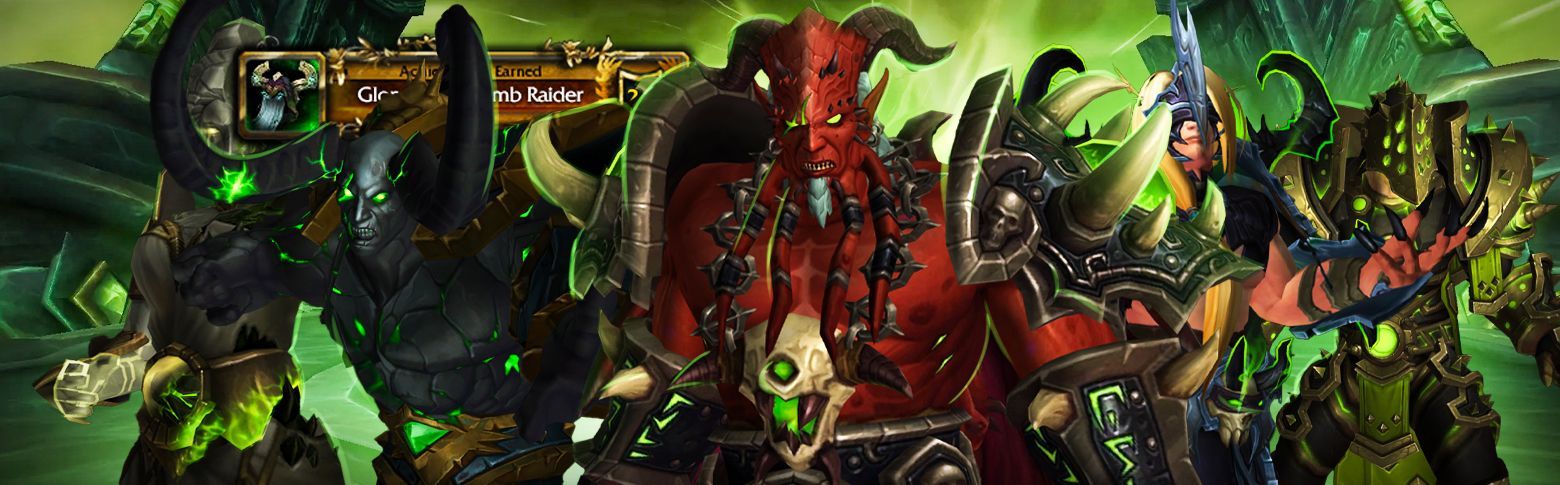
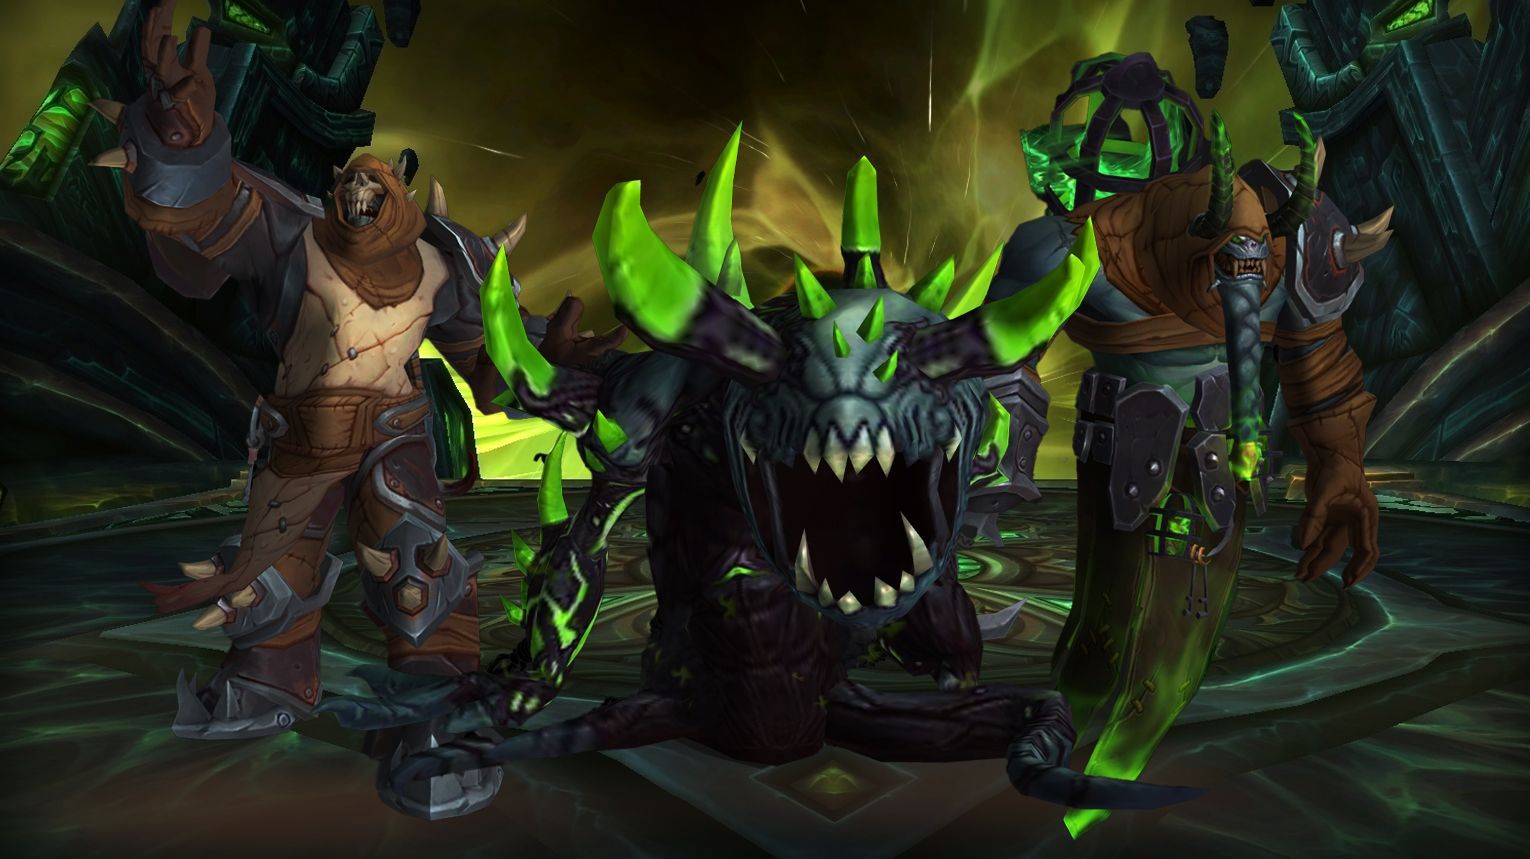
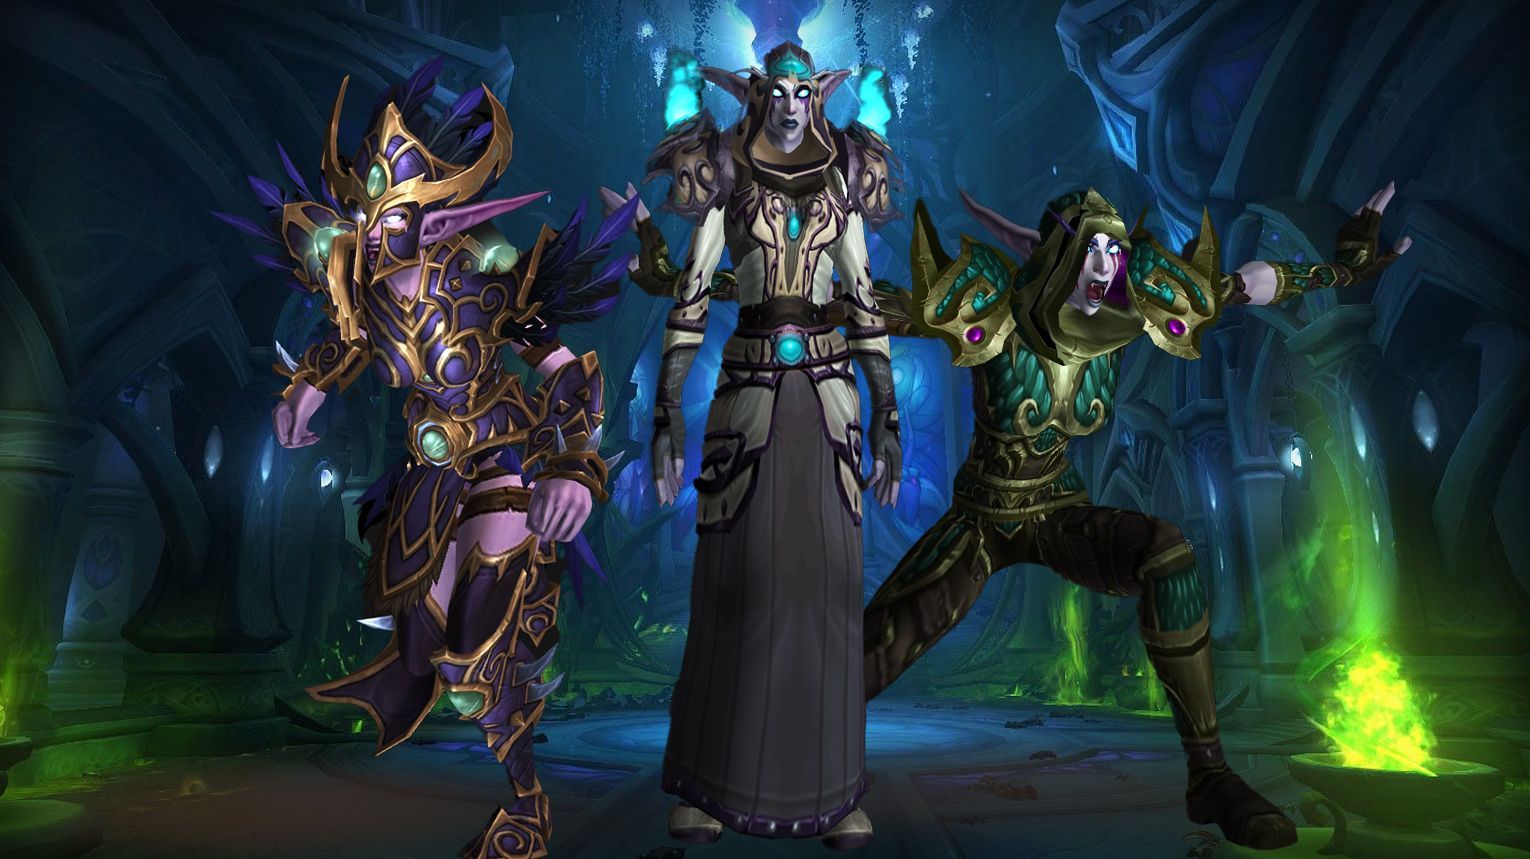
Tomb of Sargeras, the fourth raid of World of Warcraft: Legion, opened in June 20, 2017 with Patch 7.2.5. It remains a valuable source of transmogs, mounts, and collectibles. This raid in the Broken Shore features nine bosses, including Kil’jaeden, with unique armor sets, weapons, and achievements to earn.

icon This guide will explain:

icon Whether you’re farming cosmetics or pushing your solo abilities, this guide will help you get the most out of the Tomb of Sargeras in WoW Retail.

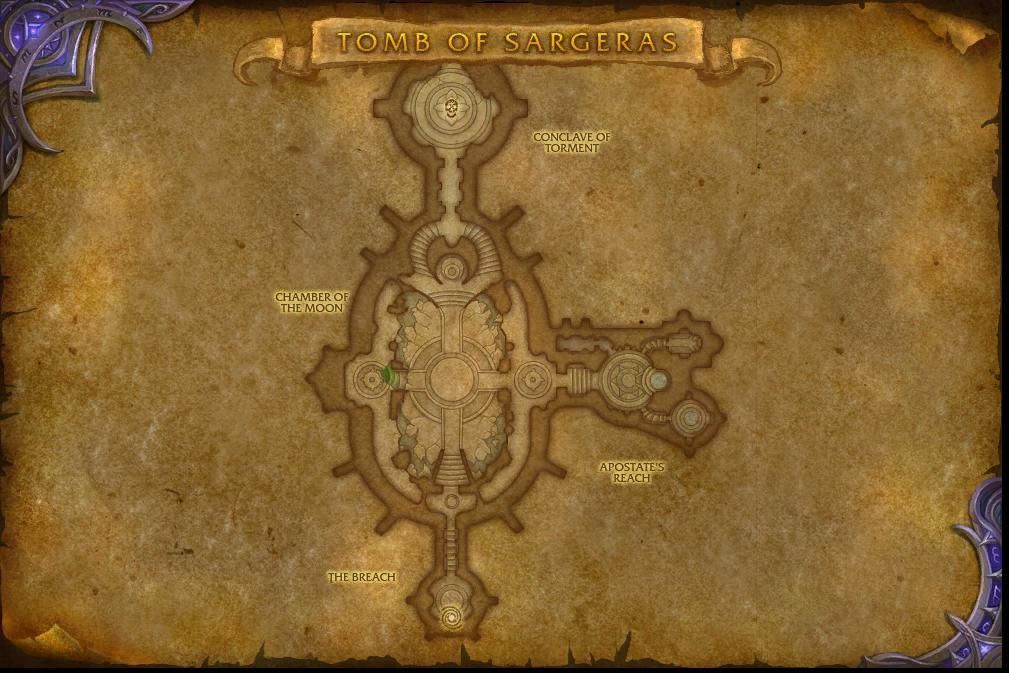
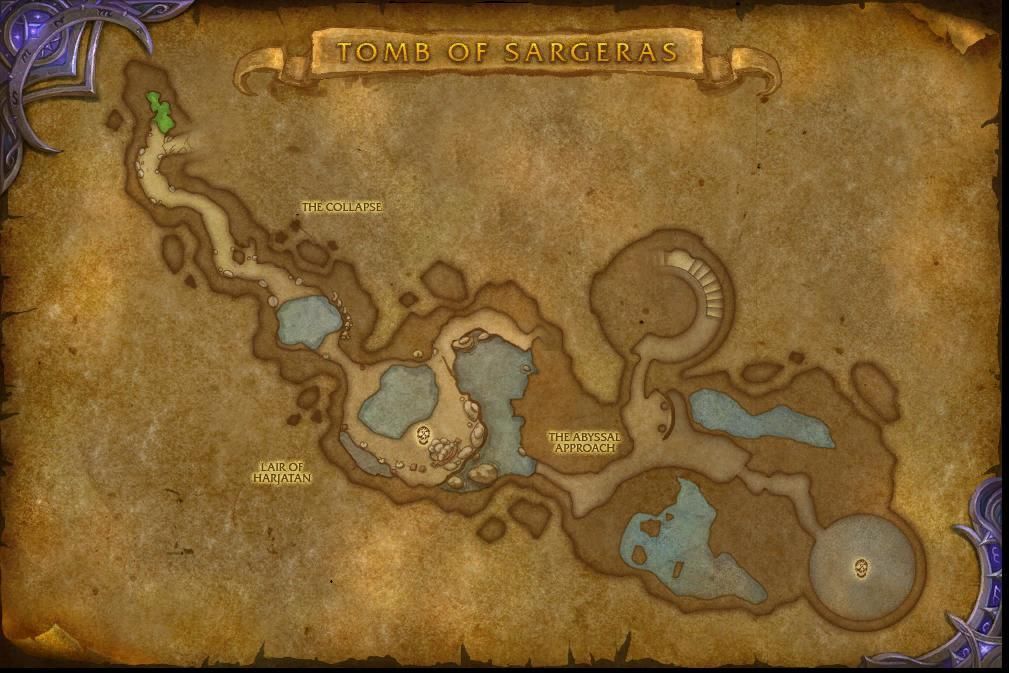
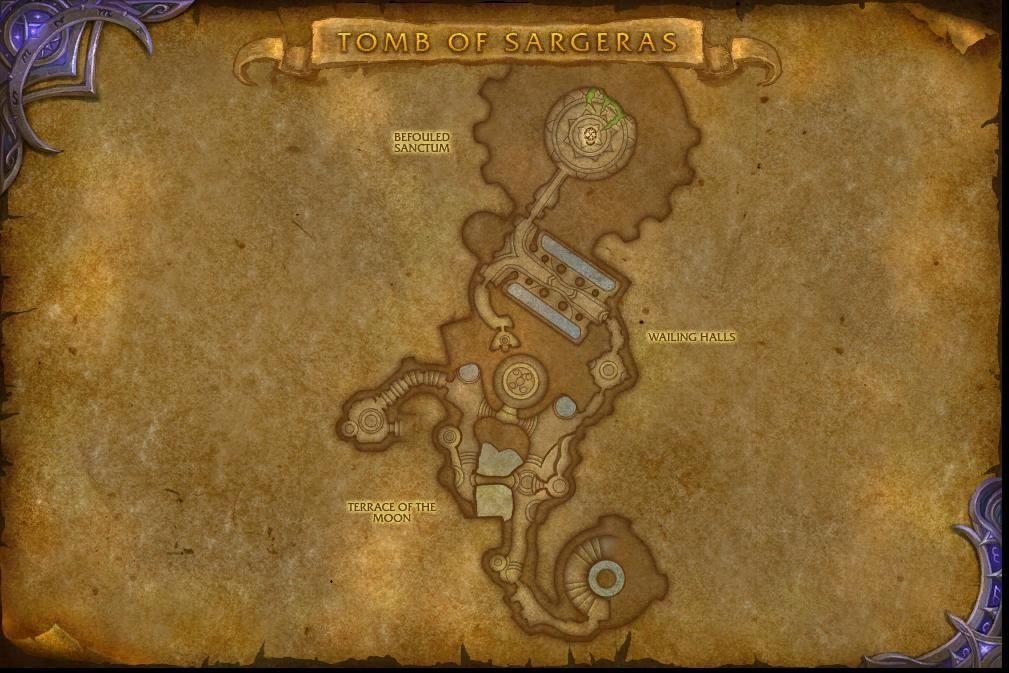
Tomb of Sargeras Entrance and Subregions

Entrance and Subregions

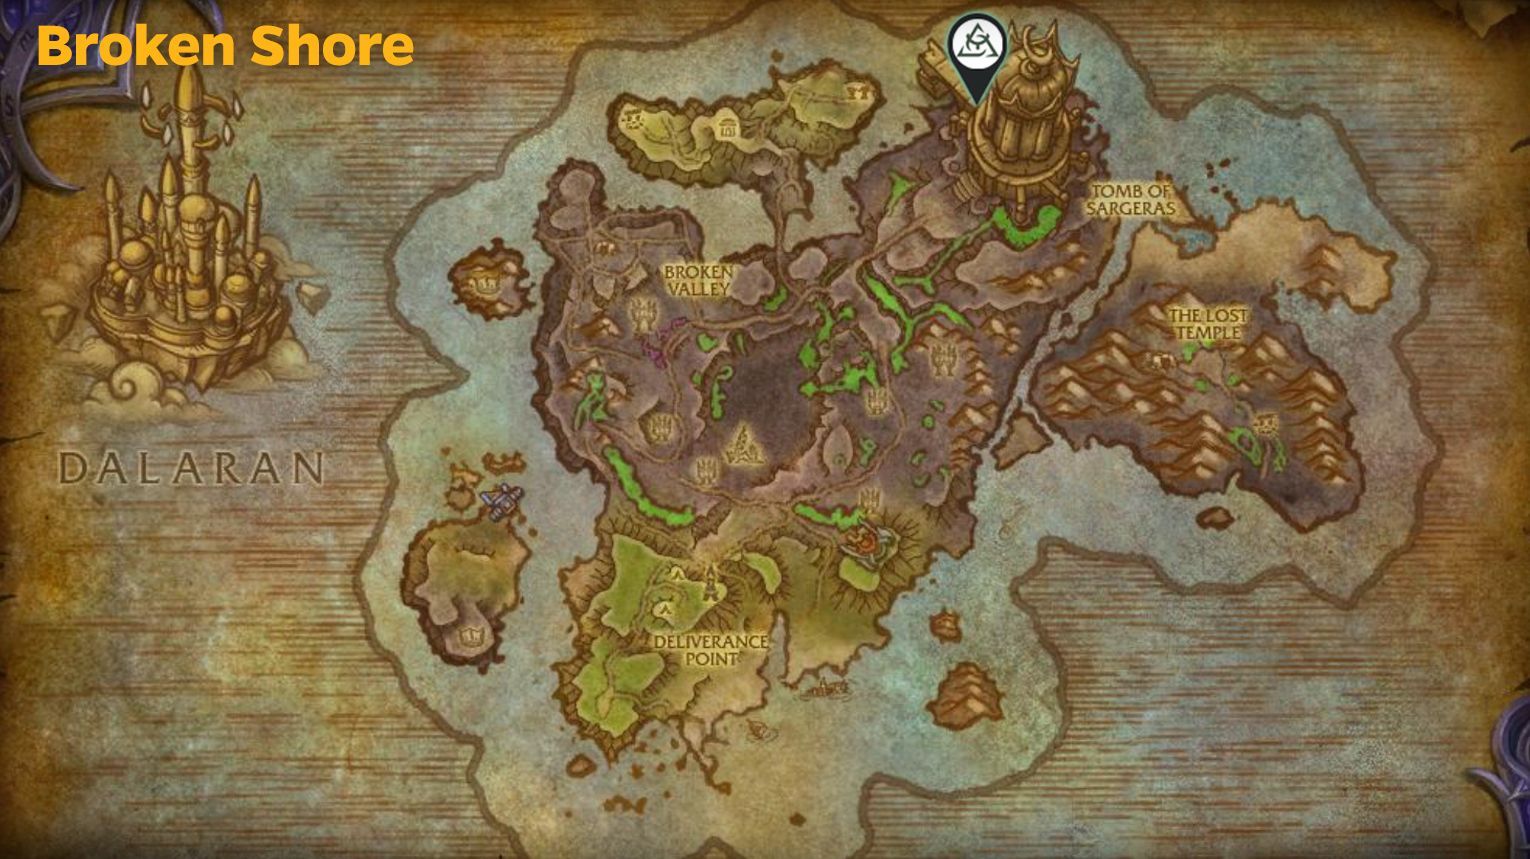
The Tomb of Sargeras is located on the Broken Shore in World of Warcraft: Legion. To get there, head to the northern part of the Broken Shore. If you have flying, simply fly to the green circle on your map near Wrynnfall. Without flying, take the flight path to Vengeance Point, head south, and follow the road. Watch out for demons along the way, but friendly NPCs will help you fight them.

The entrance to the Tomb of Sargeras is marked by a large green portal at coordinates 63.6 21.8 in Broken Shore. The summoning stone is slightly to the left of the entrance. Walk through the portal to start your journey into the raid.

Inside, you’ll progress through different sections as you face the raid’s nine bosses.

icon 
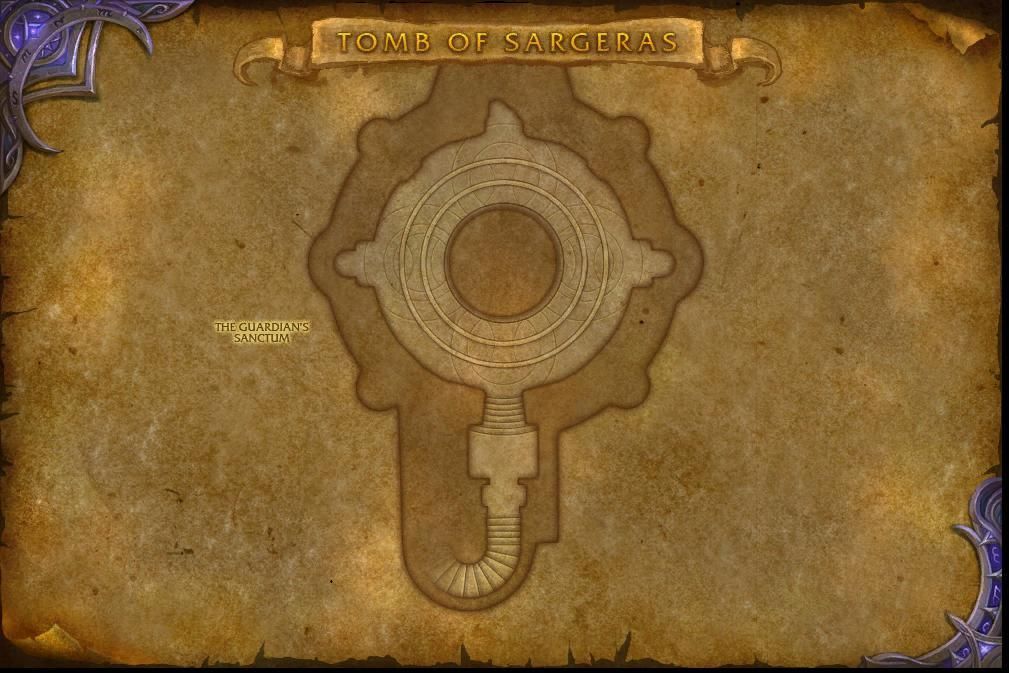
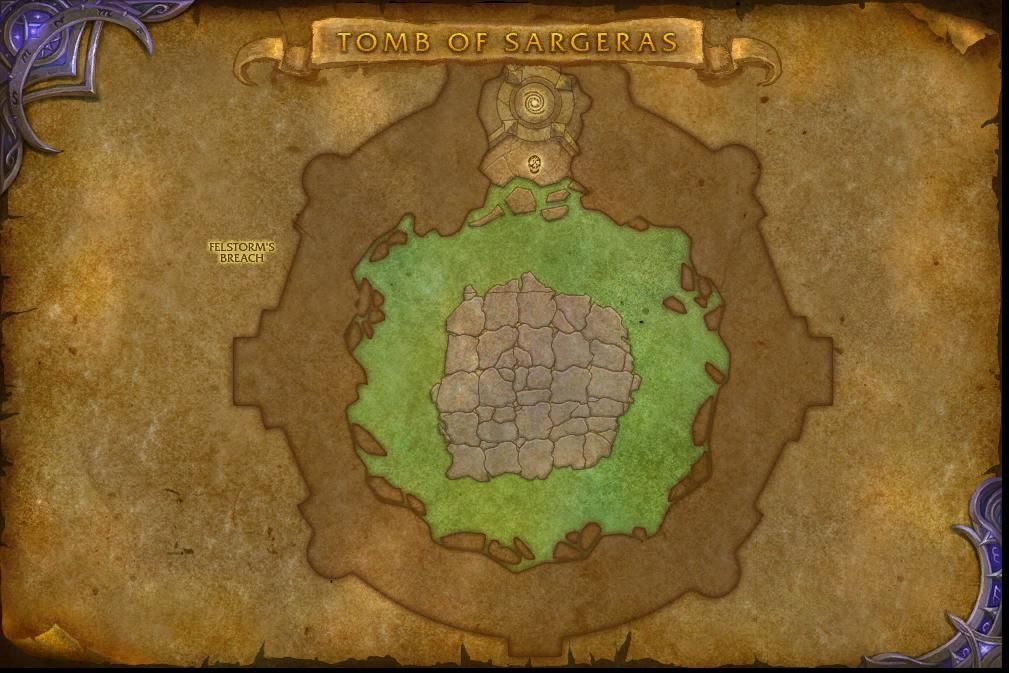
The Tomb of Sargeras has the following subregions:

Each section has its own challenges and bosses, which we’ll briefly overview below.

Tomb of Sargeras Bosses Overview

Bosses Overview

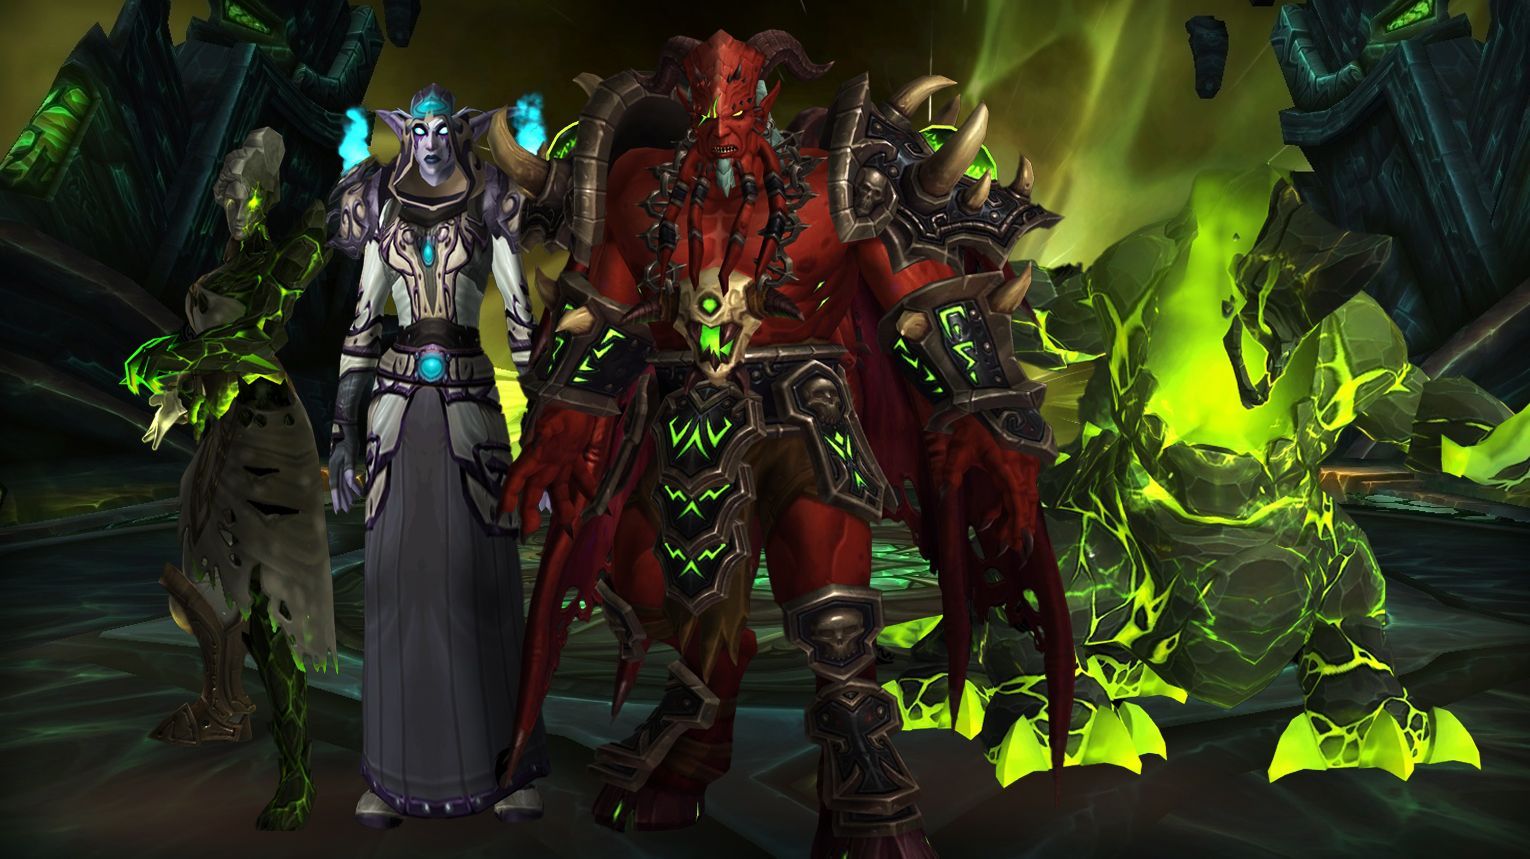
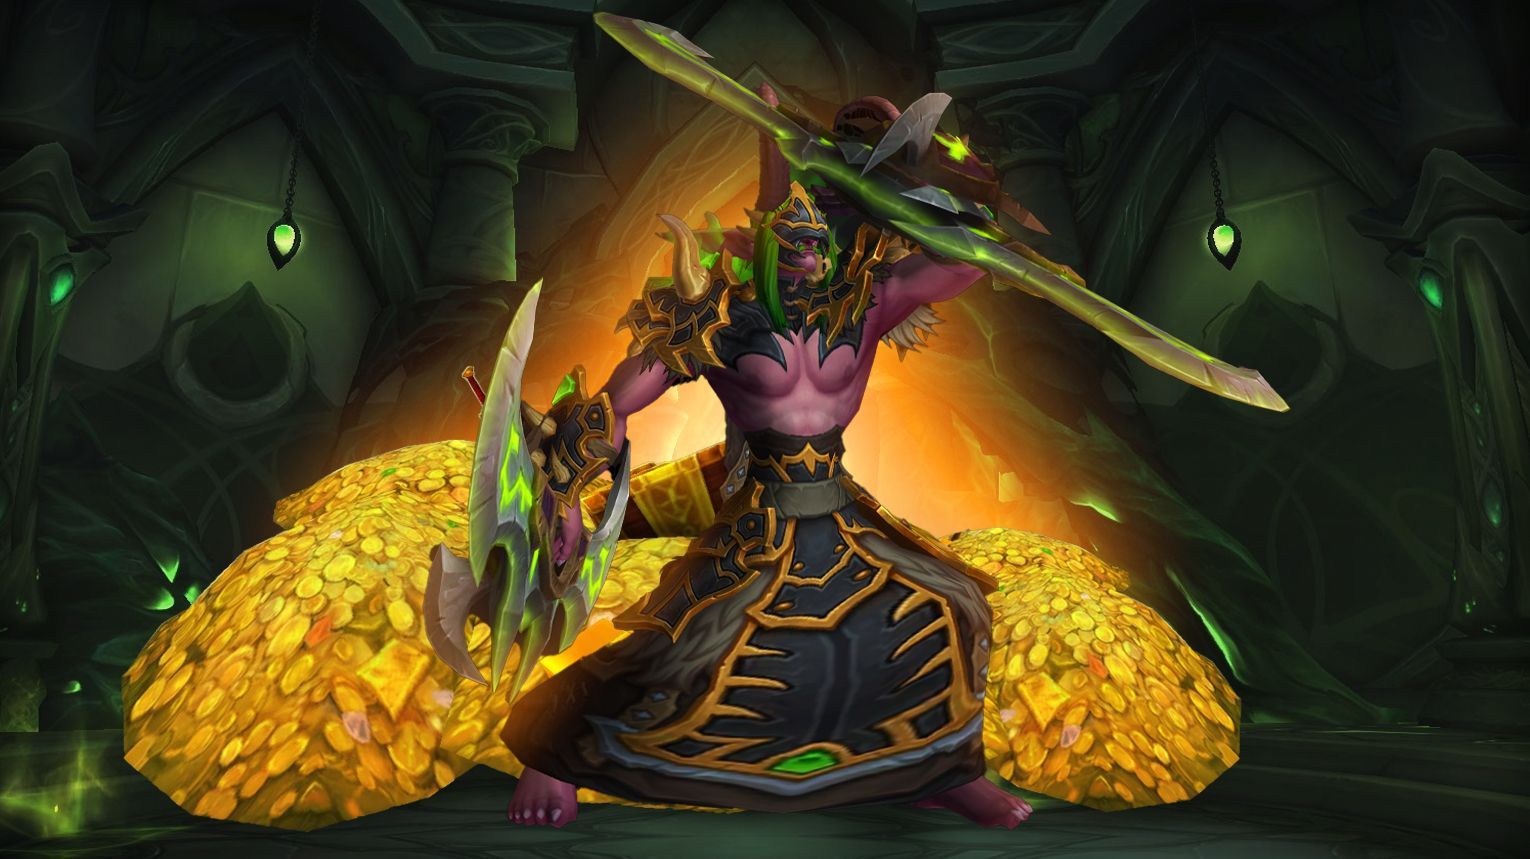
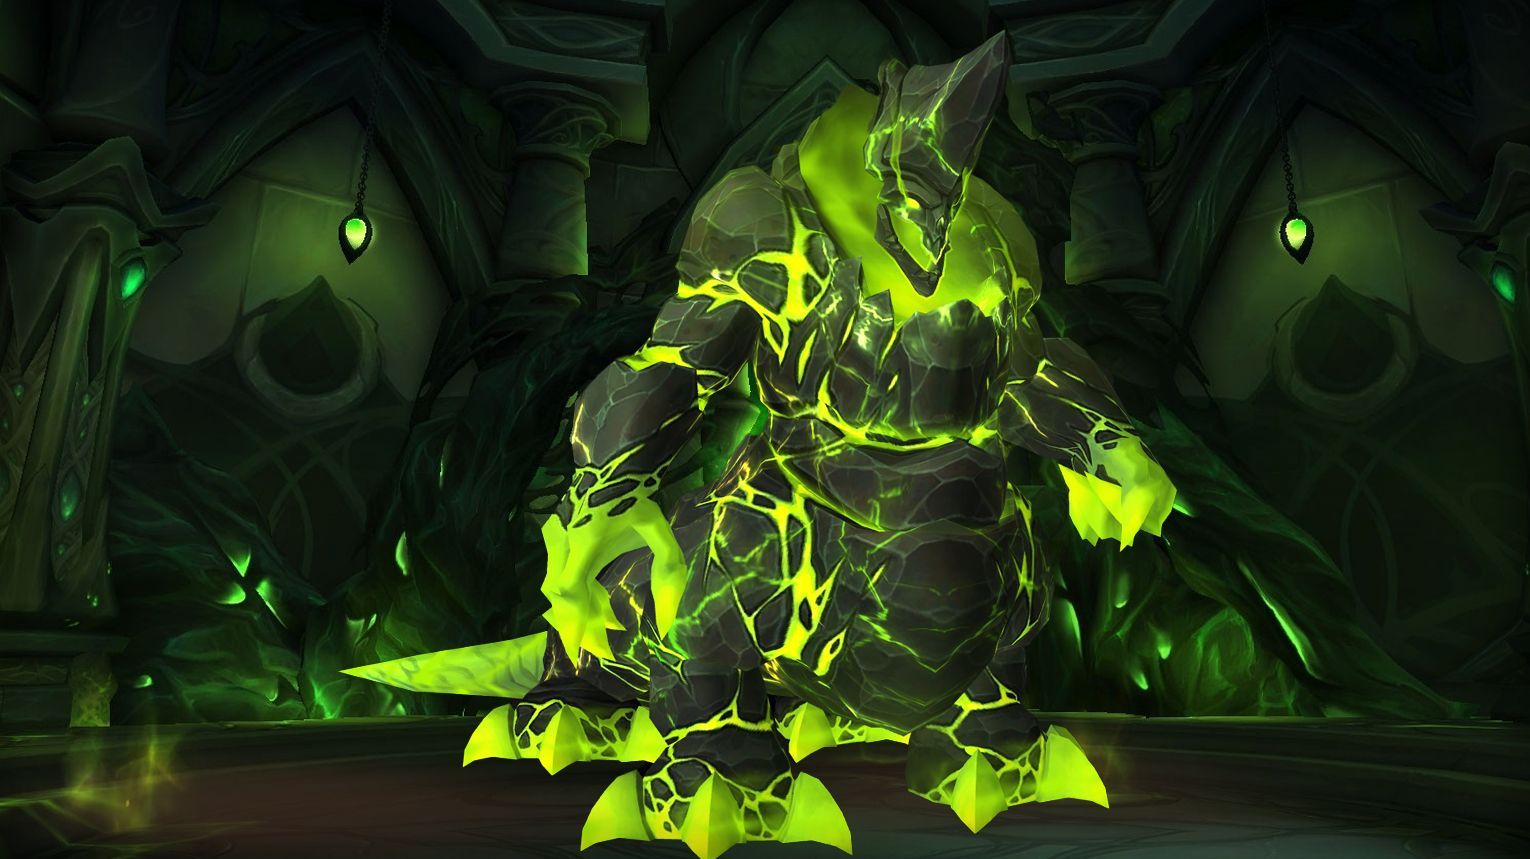
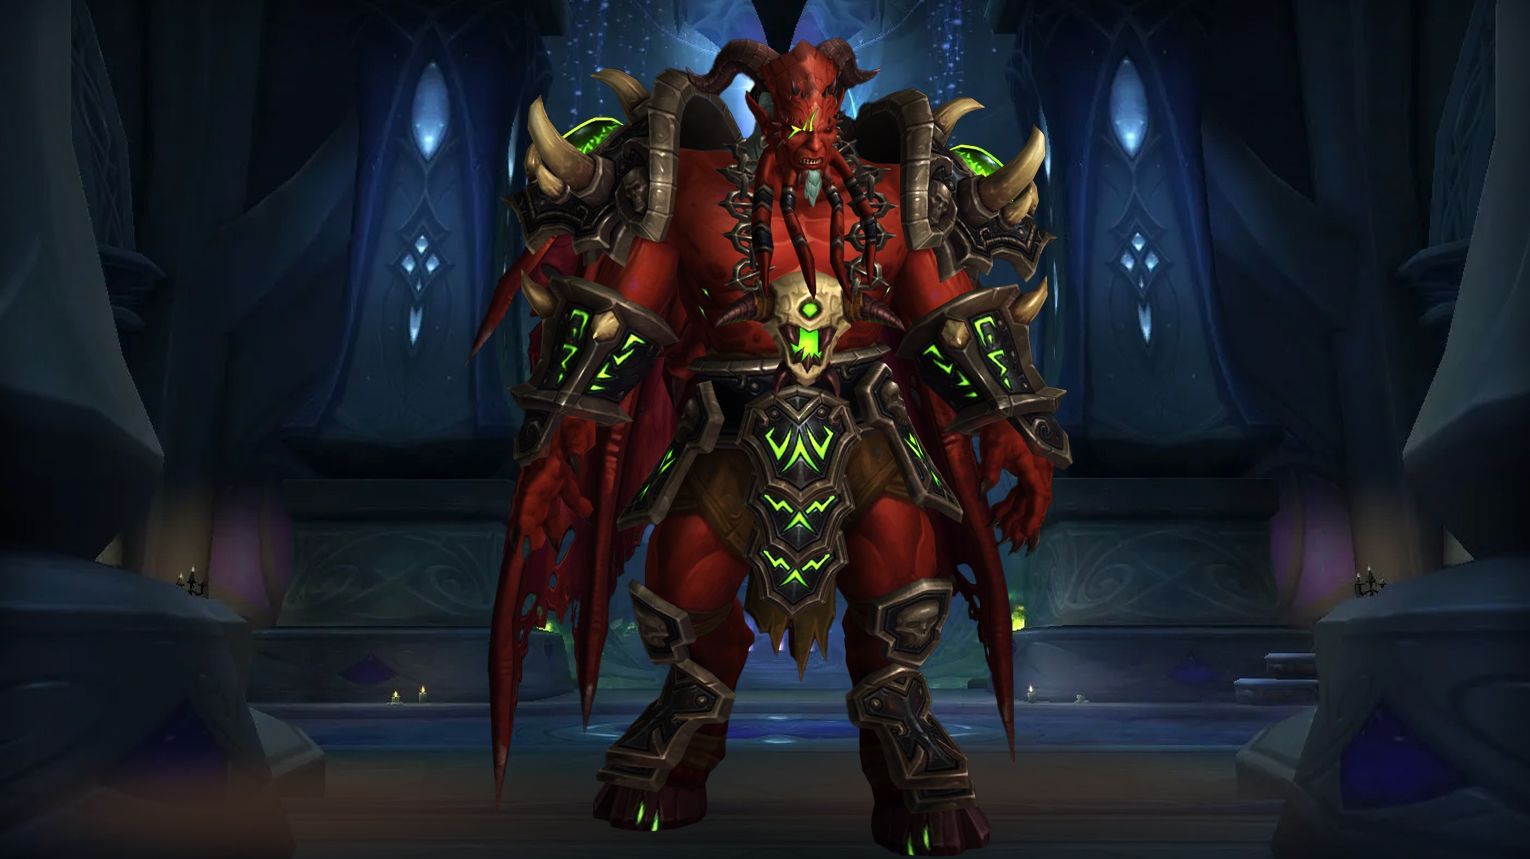
The Tomb of Sargeras is a demonic-themed raid in World of Warcraft: Legion, where players confront Kil’jaeden and the Burning Legion’s forces on the Broken Shore. The raid features nine bosses, each tied to the dark, fel-infused atmosphere of the Tomb. From Goroth, a massive infernal that rains destruction, to Mistress Sassz’ine, a cunning sea witch commanding abyssal creatures, the encounters are varied and challenging. Players will face strategic fights like the Demonic Inquisition, where two demons must be managed simultaneously, and intense battles like Fallen Avatar, a massive construct of Sargeras’ power. The final showdown against Kil’jaeden is an epic, multi-phase fight in the depths of the Tomb, where players must stop him from unleashing the Legion’s full might.

icon Below, we’ll review the Tomb of Sargeras boss fights and the loot they drop.

Can You Solo Tomb of Sargeras in The War Within?

Can You Solo in The War Within

Farming Tomb of Sargeras solo in The War Within is a great method to gather transmog sets, mounts, pets, and achievements from the Legion expansion.

  • Gear and Level Requirements: As of the War Within expansion, it is possible to solo Legion raids, including the Tomb of Sargeras, on Mythic mode with most classes and specs. An item level around 450 or higher is recommended for a smoother experience.
  • General Tips:
    • Use Cooldowns: Don’t hesitate to use defensive and offensive cooldowns to survive or burst down bosses.
    • Movement: Many mechanics require constant movement. Stay mobile to avoid damage.
    • Adds: Prioritize killing adds if they become a problem.
    • Practice: Some bosses may take a few attempts to learn the mechanics.
  • Loot:
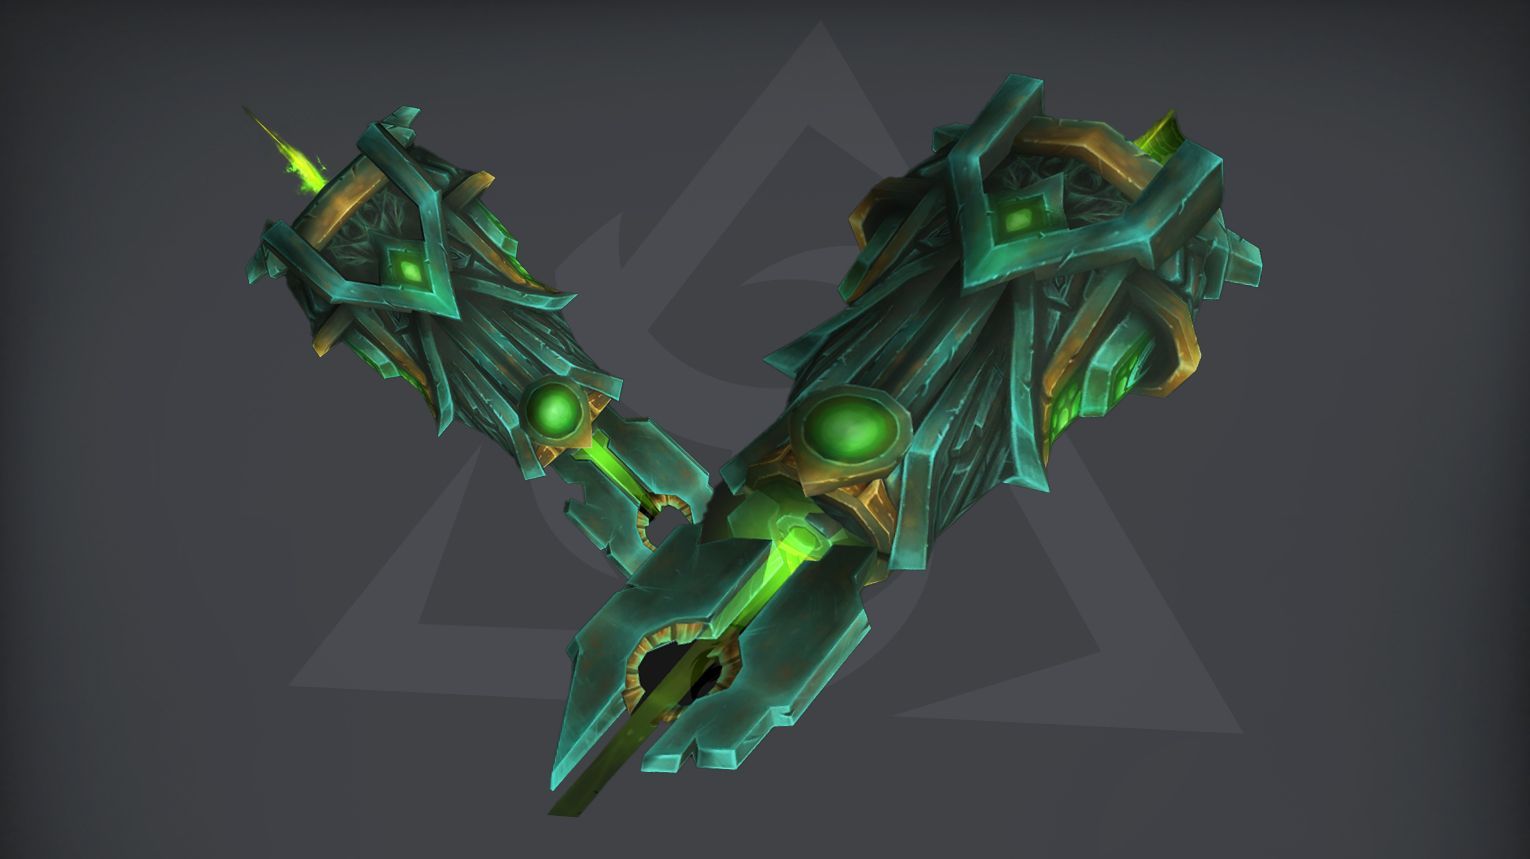
    • Tomb of Sargeras drops Tier 20 sets, which can be useful for transmog or vendoring.
    • You can also farm the raid for Mount, Toys and Battle Pets, such as the Abyss Worm and Micronax Controller.
    • Achievements and titles.

Goroth

Goroth

Goroth is the first boss in Tomb of Sargeras, focusing on positioning and managing Infernal Spikes to survive mechanics like Infernal Burning and Shattering Star. Ranged players should stack loosely in the center to keep pillars close, while tanks position Goroth 15-20 yards away to avoid destroying pillars. Key mechanics include hiding behind pillars for Infernal Burning, directing Shattering Star through pillars to reduce damage, and avoiding pillar destruction from Crashing Comet or Burning Armor. On Mythic, Rain of Brimstone requires meteors to be soaked to prevent adds. Use Bloodlust/Drums at the start for maximum DPS.

icon Preferred Classes:
Tips:
icon Strategy:
icon Bloodlust/Drums:

At the start of the fight to maximize DPS and push the boss quickly.

icon Goroth loot table:
Type of Armor Item Loot type
Cloth Emberscatter Treads Feet
Legwraps of Fused Loathing Legs
Leather Cinch of Sizzling Flesh Waist
Spirebreaker Harness Chest
Mail Belt of Screaming Slag Wrist
Pain-Singed Armguards Waist
Plate Lava-Slough Legguards Legs
Shoulderplates of Crackling Flame Shoulder
Any Cloak of Stifling Brimstone Cloak
Feverish Carapace Trinket
Infernal Cinders Trinket

Demonic Inquisition

Demonic Inquisition

The Demonic Inquisition fight features two bosses, Atrigan and Belac, sharing a health pool. Players gain Torment from boss abilities, and at 100 Torment, they must use Confess to enter a Soul Cage, defeat a Tormented Soul, and collect Remnants of Hope to reduce Torment. Key mechanics include separating bosses during Bone Saw and Fel Squall, interrupting Belac’s Pangs of Guilt, and carefully dispelling Echoing Anguish. On Heroic and Mythic, additional mechanics like Calcified Quills, Suffocating Dark, and Tormented Fragment adds increase difficulty. Use Bloodlust/Drums at the start for maximum cleave damage or during Mythic add spawns for quick kills.

icon Preferred Classes:
  • Tanks: Classes with strong mobility and survivability (e.g., Demon Hunter Vengeance Demon Hunter, Warrior Protection Warrior) to handle Atrigan’s Bone Saw and Scythe Sweep.
  • Healers: Classes with strong AoE healing and dispels (e.g., Priest Holy Holy Priest, Shaman Restoration Restoration Shaman) to manage Echoing Anguish and raid-wide damage.
  • DPS: Classes with strong cleave and interrupt capabilities (e.g., Mage Mage, Rogue Rogue) to handle Belac’s Pangs of Guilt and swap between bosses efficiently.
Tips:
  • Torment Management:
    • Use Confess when Torment reaches 100 to avoid Unbearable Torment.
    • Coordinate groups (1 tank, 1 healer, 2-3 DPS) to enter the Soul Cage together.
  • Boss Positioning:
    • Stack Atrigan and Belac for cleave damage, but separate them during Bone Saw and Fel Squall.
    • Face Atrigan away from the raid to avoid Scythe Sweep hitting multiple players.
  • Interrupts:
    • Assign 3 players to rotate interrupts for Belac’s Pangs of Guilt.
    • Have backup interrupters for when assigned players are in the Soul Cage.
  • Dispels:
    • Stagger dispels for Echoing Anguish to avoid overlapping Anguished Outburst damage.
    • Afflicted players must move 8 yards away from the group before being dispelled.
icon Strategy:
  • Phase Management:
    • Keep Atrigan and Belac stacked for cleave damage.
    • Separate bosses during Bone Saw and Fel Squall to avoid unnecessary Torment gain.
  • Torment Removal:
    • Send groups into the Soul Cage to defeat the Tormented Soul and collect Remnants of Hope.
    • Avoid Tormented Eruption circles while inside the cage.
    • Exit the cage as a group to avoid being left behind.
  • Heroic/Mythic Adjustments:
    • Heroic: Watch for Calcified Quills (Atrigan) and Suffocating Dark (Belac). Position carefully to minimize damage.
    • Mythic: Manage Tormented Fragment adds by controlling when groups exit the Soul Cage. Use AoE slows and focus fire to kill adds quickly.
icon Bloodlust/Drums:

At the start of the fight to maximize DPS during the cleave phase when both bosses are stacked.

icon Demonic Inquisition loot table:
Type of Armor Item Loot type
Cloth Braided Torture Lash Waist
Crown of the Arcane Tempest Head
Diabolic Helm Head
Hood of Blind Absolution Head
Mantle of Broken Spirits Shoulder
Leather Bonespur Studded Legwraps Legs
Demonbane Faceguard Head
Fanged Slayer’s Helm Head
Sinew-Stitched Wristguards Wrist
Stormheart Headdress Head
Xuen’s Helm Head
Mail Flesh-Raking Leggings Legs
Helmet of the Skybreaker Head
Pauldrons of the Gibbering Eye Shoulder
Wildstalker Helmet Head
Plate Bonemeal-Crusted Armplates Wrist
Gravewarden Visage Head
Radiant Lightbringer Crown Head
Titanic Onslaught Greathelm Head
Any String of Extracted Incisors Amulet
Barbaric Mindslaver Trinket
Cradle of Anguish Trinket

Harjatan

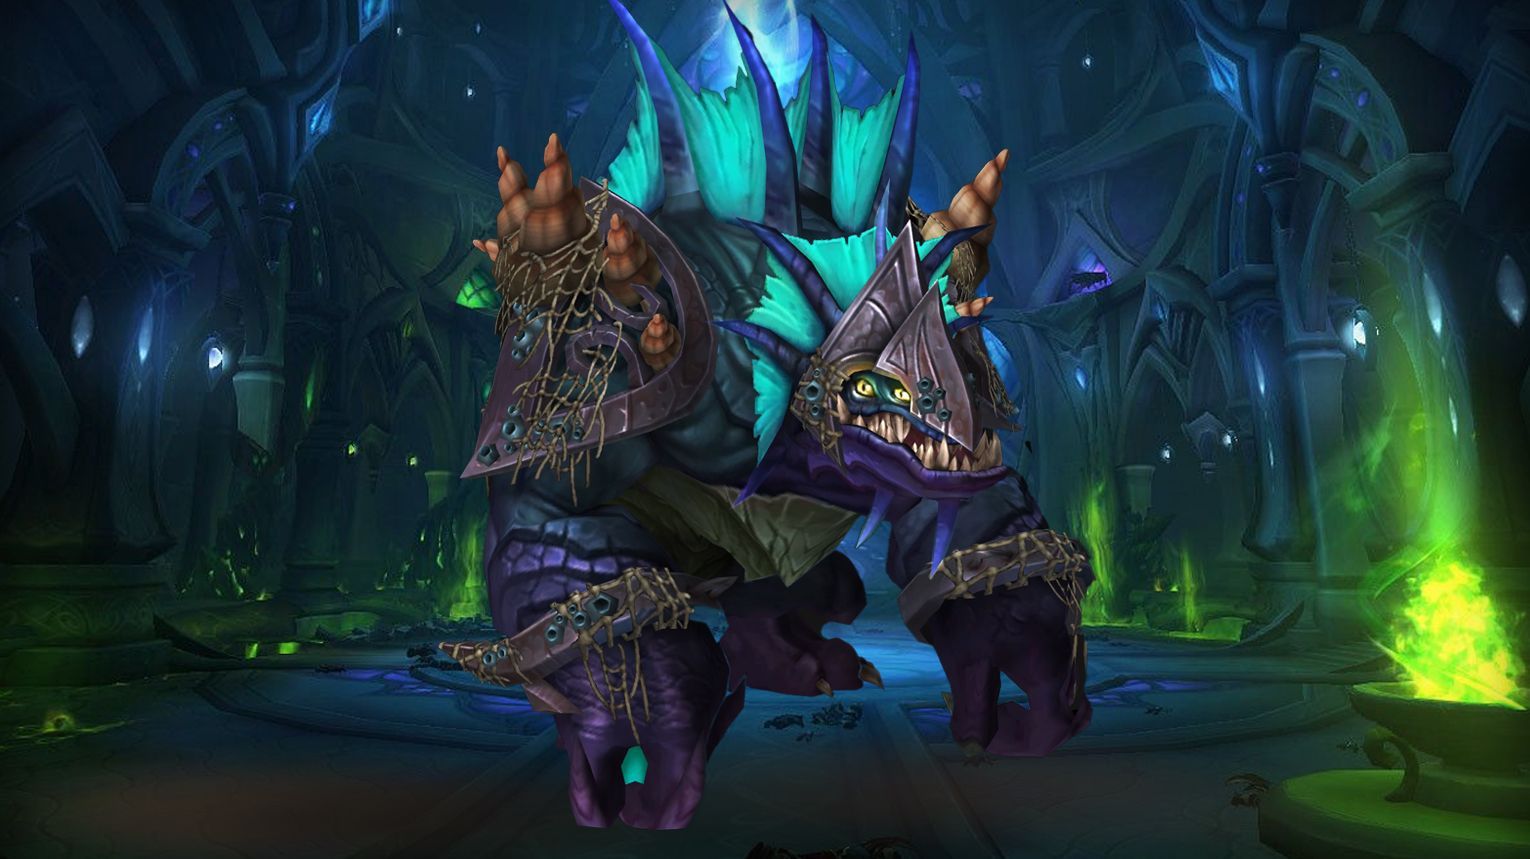
Harjatan is a single-phase boss fight focusing on add control, debuff management, and positioning. Key mechanics include managing Drenched stacks, handling Razorjaw Murlocs (prioritize Wavemenders), and avoiding Drenching Waters during Draw In. Tanks must swap at 4-5 stacks of Jagged Abrasion and face Harjatan toward the raid for Unchecked Rage. Use Bloodlust/Drums early for add clear or during high-damage phases. On Mythic, prioritize destroying blue aura Incubated Eggs to minimize Drenching Waters spawns.

icon Preferred Classes:
  • Tanks: Classes with strong defensive cooldowns and taunt management (e.g., Paladin Protection Protection Paladin, Death Knight Blood Blood Death Knight).
  • Healers: Classes with strong raid-wide healing and cooldowns (e.g., Druid Restoration Restoration Druid, Priest Holy Holy Priest).
  • DPS: Classes with strong AoE and interrupt capabilities (e.g., Mage Frost Frost Mage, Demon Hunter Havoc Demon Hunter, Rogue Rogue).
Tips:
icon Strategy:
  • Positioning:
  • Add Management:
    • Kill Razorjaw Wavemenders first (top priority).
    • Kite Razorjaw Gladiators away from the raid and face them away to avoid Splashy Cleave.
  • Debuff Management:
  • Frigid Blows:
    • After Draw In, hug the edges of the room to bait Drenching Waters spawns away from the raid.
    • Avoid pools as they fly toward the boss.
  • Cooldowns:
    • Save raid and personal cooldowns for later Draw In phases, as they become progressively longer and more damaging.
icon Bloodlust/Drums:

At the start of the fight to maximize DPS on Harjatan and quickly clear the first wave of adds.

icon Harjatan loot table:
Type of Armor Item Loot type
Cloth Robe of Aqueous Command Chest
Ravenous Devotee’s Bracelets Wrist
Gloves of the Arcane Tempest Hands
Diabolic Gloves Hands
Gloves of Blind Absolution Hands
Leather Dripping Arcfin Shoulderpads Shoulder
Glacier Walkers Feet
Demonbane Gauntlets Hands
Fanged Slayer’s Handguards Hands
Stormheart Gloves Hands
Xuen’s Gauntlets Hands
Mail Hauberk of Frozen Mist Chest
Insulated Finpads Feet
Grips of the Skybreaker Hands
Wildstalker Gauntlets Hands
Plate Wave-Hammered Breastplate Chest
Shiversleet Waistguard Waist
Gravewarden Handguards Hands
Radiant Lightbringer Gauntlets Hands
Titanic Onslaught Handguards Hands
Any Scaled Band of Servitude Ring
Charm of the Rising Tide Trinket

Sisters of the Moon

Sisters of the Moon

The Sisters of the Moon encounter in Tomb of Sargeras features three bosses—Huntress Kasparian, Captain Yathae Moonstrike, and Priestess Lunaspyre—who share a health pool but fight one at a time. The fight revolves around managing the Font of Elune, which alternates between light and dark phases, applying stacking debuffs (Lunar Suffusion and Umbra Suffusion) and empowering boss abilities like Glaive Storm and Embrace of the Eclipse. Key mechanics include dodging Twilight Glaive, clearing debuffs with Astral Purge, and focusing DPS on the Moontalon add to prevent Deathly Screech. Bloodlust is best used at the start or during critical phases like Embrace of the Eclipse. The fight requires strong coordination, positioning, and burst damage to succeed.

icon Preferred Classes:
  • Tanks: Classes with strong active mitigation (e.g., Paladin Protection Protection Paladin, Death Knight Blood Blood DK) to handle Moon Glaive and Lunar Fire.
  • Healers: Classes with strong spot healing and raid cooldowns (e.g., Priest Holy Holy Priest, Shaman Restoration Restoration Shaman) to manage Rapid Shot, Moon Burn, and Lunar Strike.
  • DPS: High burst damage classes (e.g., Mage Fire Fire Mage, Warlock Affliction Affliction Warlock) to quickly kill the Moontalon and break Embrace of the Eclipse shields.
Tips:
icon Strategy:
icon Bloodlust/Drums:

At the start of the fight when all DPS cooldowns are available and movement is minimal.

icon Sisters of the Moon loot table:
Type of Armor Item Loot type
Cloth Shoulderpads of Whispering Twilight Shoulder
Slippers of Enduring Vigilance Feet
Leather Lunar-Wrath Headgear Head
Moonfire Stranglers Hands
Mail Mantle of Waning Radiance Shoulder
Waistguard of Interminable Unity Waist
Plate Cuirass of Blinding Dawn Chest
Dusk-Crusher Handguards Hands
Any Yathae’s Thumb Ring Ring
Chalice of Moonlight Trinket
Tarnished Sentinel Medallion Trinket
Umbral Moonglaives Trinket

Mistress Sassz’ine

Mistress Sassz'ine

Mistress Sassz’ine is a three-phase boss in Tomb of Sargeras with mechanics focused on add management, positioning, and debuff control. In Phase 1, use Concealing Murk to block Slicing Tornadoes and remove Consuming Hunger with Thundering Shock. Phase 2 introduces Crashing Waves to dodge and Befouling Ink to counter Devouring Maw. Phase 3 combines mechanics from both phases, requiring quick boss burns while managing Consuming Hunger and Slicing Tornadoes. Use Bloodlust/Drums in Phase 3 for maximum damage output.

icon Preferred Classes:
  • Tanks: Classes with strong physical damage mitigation and taunt management (e.g., Paladin Protection Protection Paladin, Death Knight Blood Blood Death Knight).
  • Healers: Classes with strong raid-wide healing and dispels (e.g., Druid Restoration Restoration Druid, Priest Holy Holy Priest).
  • DPS: Classes with strong AoE, interrupts, and mobility (e.g., Demon Hunter Havoc Demon Hunter, Mage Mage, Rogue Rogue).
Tips:
icon Strategy:

Phase 1 (100%-70% HP)

Phase 2 (70%-40% HP)

Phase 3 (40%-0% HP)

  • Key Mechanics:
  • Execution:
    • Focus on killing the boss quickly before mechanics overwhelm the raid.
    • Use Bloodlust/Timewarp/Heroism in this phase if needed.
icon Bloodlust/Drums:

Phase 3 (40%-0% HP) when the boss is at her most dangerous and the raid needs to burn her down quickly.

icon Mistress Sassz’ine loot table:
Type of Armor Item Loot type
Cloth Hundred-Fathom Veil Head
Diabolic Leggings Legs
Leggings of the Arcane Tempest Legs
Leggings of Blind Absolution Legs
Leather Hide of the Abyssal Behemoth Chest
Stormheart Legguards Legs
Demonbane Leggings Legs
Fanged Slayer’s Legguards Legs
Xuen’s Legguards Legs
Mail Azure Squallshaper’s Helm Head
Wildstalker Leggings Legs
Legguards of the Skybreaker Legs
Plate Iron Ballast Sabatons Feet
Radiant Lightbringer Greaves Legs
Titanic Onslaught Greaves Legs
Gravewarden Legplates Legs
Any Abyss Worm Mount
Shroud of the Drowned Adherent Cloak
Terror From Below Trinket
Vial of Ceaseless Toxins Trinket
Sea Star of the Depthmother Trinket
Leviathan’s Hunger Trinket
Grimoire of the Abyssal Darkglare Warlock pet customization

The Desolate Host

The Desolate Host

The Desolate Host is a two-phase, two-realm encounter where players fight the Engine of Souls in the Corporeal Realm and Soul Queen Dejahna in the Spirit Realm. At 30% health, they merge into The Desolate Host, requiring players to split damage and avoid lethal abilities like Sundering Doom and Doomed Sundering. Key mechanics include managing Soulbind by meeting in a designated spot, controlling adds like Soul Residue, and interrupting Shattering Scream. Use Bloodlust at 30% to burn the boss before Torment stacks overwhelm the raid. Coordination, realm management, and add control are critical for success.

icon Preferred Classes:
  • Tanks: Classes with strong magic damage mitigation (e.g., Paladin Protection Paladins, Death Knight Blood Death Knights) are preferred for the Spirit Realm due to Crush Mind. Tanks with strong physical mitigation (e.g., Warrior Protection Warriors, Druid Guardian Druids) are ideal for the Corporeal Realm.
  • Healers: Classes with strong raid-wide healing (e.g., Priest Holy Holy Priests, Shaman Restoration Restoration Shamans) are valuable for handling Wailing Souls and Tormented Cries. Dispel capabilities (e.g., Paladin Holy Paladins, Monk Mistweaver Monks) are also important for Spirit Chains.
  • DPS: Classes with strong AoE and cleave damage (e.g., Warlock Warlocks, Mage Mages, Demon Hunter Havoc Demon Hunters) are ideal for add control. Classes with interrupts (e.g., Rogue Rogues, Shaman Shamans) are crucial for Shattering Scream.
Tips:
  • Realm Management:
    • Always have at least one player in each realm to avoid Quietus, which wipes the raid if one realm is empty.
    • Pre-assign groups to each realm before the fight begins.
    • Soulbind Mechanic:
    • Players afflicted with Soulbind must meet at a predetermined location (e.g., the center of the room) to remove the debuff.
  • Add Control:
    • Prioritize killing Soul Residue adds in the Spirit Realm to minimize Soul Rot patches.
    • Interrupt Shattering Scream to prevent unnecessary damage and debuff stacks.
  • Phase Transition:
    • Ensure all adds are dead before transitioning to Phase Two (30% health).
    • Use Bloodlust/Timewarp/Heroism at the start of Phase Two to burn down The Desolate Host before Torment stacks overwhelm the raid.
icon Strategy:

Phase One (100%-30%):

  • Corporeal Realm:
  • Spirit Realm:
  • Shared Mechanics:
    • Players with Soulbind must meet at the designated location to remove the debuff.
    • During Wailing Souls, most players should leave the Spirit
    • Realm to avoid excessive damage.

Phase Two (30%-0%):

  • The Desolate Host:
    • Players in the Corporeal Realm must stand within 15 yards of The Desolate Host during Sundering Doom, while Spirit Realm players move away.
    • Players in the Spirit Realm must stand within 15 yards during Doomed Sundering, while Corporeal Realm players move away.
    • Healers should save cooldowns for high Torment stacks.
icon Bloodlust/Drums:

At the start of Phase Two (30% health) to burn down The Desolate Host before Torment stacks become unmanageable. This also helps kill the remaining adds and bosses quickly.

icon The Desolate Host loot table:
Type of Armor Item Loot type
Cloth Soul Queen’s Ceremonial Robes Chest
Leather Etched Bone Waistband Waist
Mail Gauntlets of Spiteful Haunting Hands
Plate Armet of the Rotten Mind Head
Grave-Dredged Pauldrons Shoulder
Any Locket of Splintered Souls Amulet
Demonbane Shroud Cloak
Reliquary of the Damned Trinket
Spectral Thurible Trinket

Maiden of Vigilance

Maiden of Vigilance

The Maiden of Vigilance is a two-phase boss in Tomb of Sargeras requiring precise raid coordination. In Phase 1, players are split into Light and Fel Infusion groups, avoiding mismatched damage types and jumping into a central hole to handle Unstable Soul. Tanks must manage Hammers of Creation/Obliteration, while the raid dodges Remanence pools. In Phase 2, players soak matching Essence Fragments for buffs, break Titanic Bulwark, and interrupt Wrath of the Creators to avoid a wipe. Use Bloodlust early or during Phase 2 for maximum DPS, and adapt strategies for Heroic/Mythic difficulties, where mechanics like Fragment Burst and Spontaneous Fragmentation increase complexity.

icon Preferred Classes:
  • Tanks:
    • Classes with strong damage reduction cooldowns (e.g., Paladin Protection Protection Paladin, Death Knight Blood Blood Death Knight) to solo Hammers.
  • Healers:
    • Classes with strong raid-wide healing (e.g., Priest Holy Holy Priest, Druid Restoration Restoration Druid) to handle high raid damage in Phase 2.
  • DPS:
    • High burst damage classes (e.g., Mage Fire Fire Mage, Warlock Destruction Destruction Warlock) to break Titanic Bulwark quickly.
    • Classes with strong mobility (e.g., Demon Hunter Havoc Havoc Demon Hunter, Monk Windwalker Windwalker Monk) to handle Essence Fragments and Unstable Soul mechanics.
Tips:
  • Infusion Management:
    • Split the raid into two groups (Light and Fel) and stay on your assigned side.
    • Avoid standing near players with the opposite Infusion.
  • Unstable Soul:
    • Jump into the hole 1.5 seconds before the debuff expires.
    • Face backward to ensure the knockback returns you to the platform.
  • Essence Fragments:
    • Soak orbs that match your Infusion type to gain Creator’s Grace (Light) or Demon’s Vigor (Fel) buffs.
    • Avoid mismatched orbs to prevent triggering Unstable Soul.
  • Phase 2:
icon Strategy:

Phase 1:

  • Infusion: Split into Light and Fel groups immediately after the debuff is applied.
  • Hammers:
    • Hammer of Creation (Holy damage): Light Infused tank takes it. Light Infused players can help split damage if needed.
    • Hammer of Obliteration (Fire damage): Fel Infused tank takes it. Fel Infused players can help split damage if needed.
  • Unstable Soul: Jump into the hole 1.5 seconds before the debuff expires.
  • Avoid Remanence Pools: Move out of Light Remanence (Holy damage) and Fel Remanence (Fire damage) pools to avoid triggering Unstable Soul.

Phase 2:

Subsequent Phase 1:

  • Reapply Infusion and adjust positioning based on new debuffs.
  • Repeat Phase 1 mechanics.
icon Bloodlust/Drums:

At the start of the fight to maximize DPS during the first Phase 1 when all cooldowns are available.

icon Maiden of Vigilance loot table:
Type of Armor Item Loot type
Cloth Leggings of Divine Portents Legs
Strife-Riddled Cinch Waist
Diabolic Robe Chest
Robes of Blind Absolution Chest
Robes of the Arcane Tempest Chest
Leather Gloves of Wayward Compulsions Hands
Stormheart Tunic Chest
Fanged Slayer’s Chestguard Chest
Xuen’s Tunic Chest
Demonbane Harness Chest
Mail Crown of Discarded Hope Head
Wildstalker Chestguard Chest
Harness of the Skybreaker Chest
Plate Steadfast Purifier’s Warboots Feet
Gravewarden Chestplate Chest
Radiant Lightbringer Breastplate Chest
Titanic Onslaught Breastplate Chest
Any Hammer of Vigilance 1H Mace
Band of Rescinded Truths Ring
Engine of Eradication Trinket
Recompiled Guardian Module Trinket

Fallen Avatar

Fallen Avatar

The Fallen Avatar is a two-phase boss in Tomb of Sargeras. In Phase 1, the raid must delay the boss’s energy gain by positioning the Maiden of Valor in Containment Pylon beams while managing mechanics like Rupture Realities, Unbound Chaos, and Shadowy Blades. Phase 2 is a race to kill the boss as he destroys the platform, with key mechanics like Dark Mark and Sear requiring careful positioning and healing. Use Bloodlust at the start to maximize Phase 1 damage. Difficulty changes include Touch of Sargeras (Heroic) and Tainted Matrix (Mythic), adding complexity to energy management and platform survival.

icon Preferred Classes:
  • Tanks: Classes with strong active mitigation and mobility (e.g., Paladin Protection Protection Paladin, Death Knight Blood Blood Death Knight).
  • Healers: Classes with strong AoE healing and cooldowns (e.g., Druid Restoration Restoration Druid, Priest Holy Holy Priest).
  • DPS: Classes with high single-target damage and mobility (e.g., Mage Fire Fire Mage, Warlock Affliction Affliction Warlock, Rogue Subtley Assassination Rogue).
Tips:
icon Strategy:
icon Bloodlust/Drums:

At the start of the fight during Phase 1.

icon Fallen Avatar loot table:
Type of Armor Item Loot type
Cloth Blackened Mask of Disgrace Head
Diabolic Mantle Shoulder
Mantle of Blind Absolution Shoulder
Mantle of the Arcane Tempest Shoulder
Oathbreaker’s Cuffs Wrist
Leather Bracers of Rippling Darkness Wrist
Demonbane Shoulderpads Shoulder
Fanged Slayer’s Shoulderpads Shoulder
Felscape Pathfinders Feet
Stormheart Mantle Shoulder
Xuen’s Shoulderguards Shoulder
Mail Legguards of Siphoned Power Legs
Pauldrons of the Skybreaker Shoulder
Wildstalker Spaulders Shoulder
Plate Gravewarden Pauldrons Shoulder
Groundshatter Gauntlets Hands
Radiant Lightbringer Shoulderguards Shoulder
Titanic Onslaught Pauldrons Shoulder
Any Cape of Mindless Fury Cloak
Archive of Faith Trinket

Kil’jaeden

Kil'jaeden

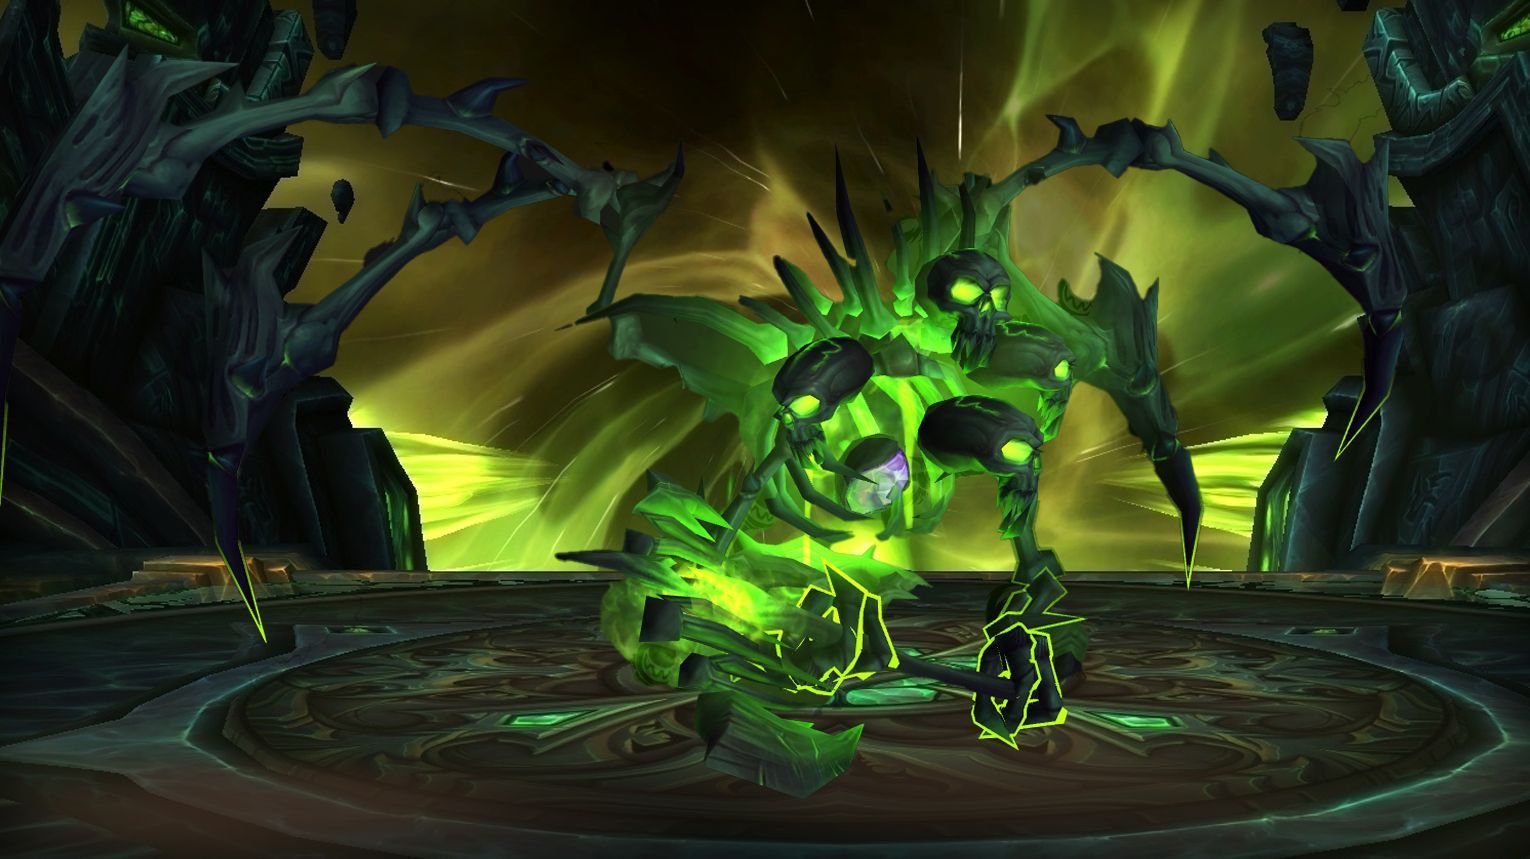
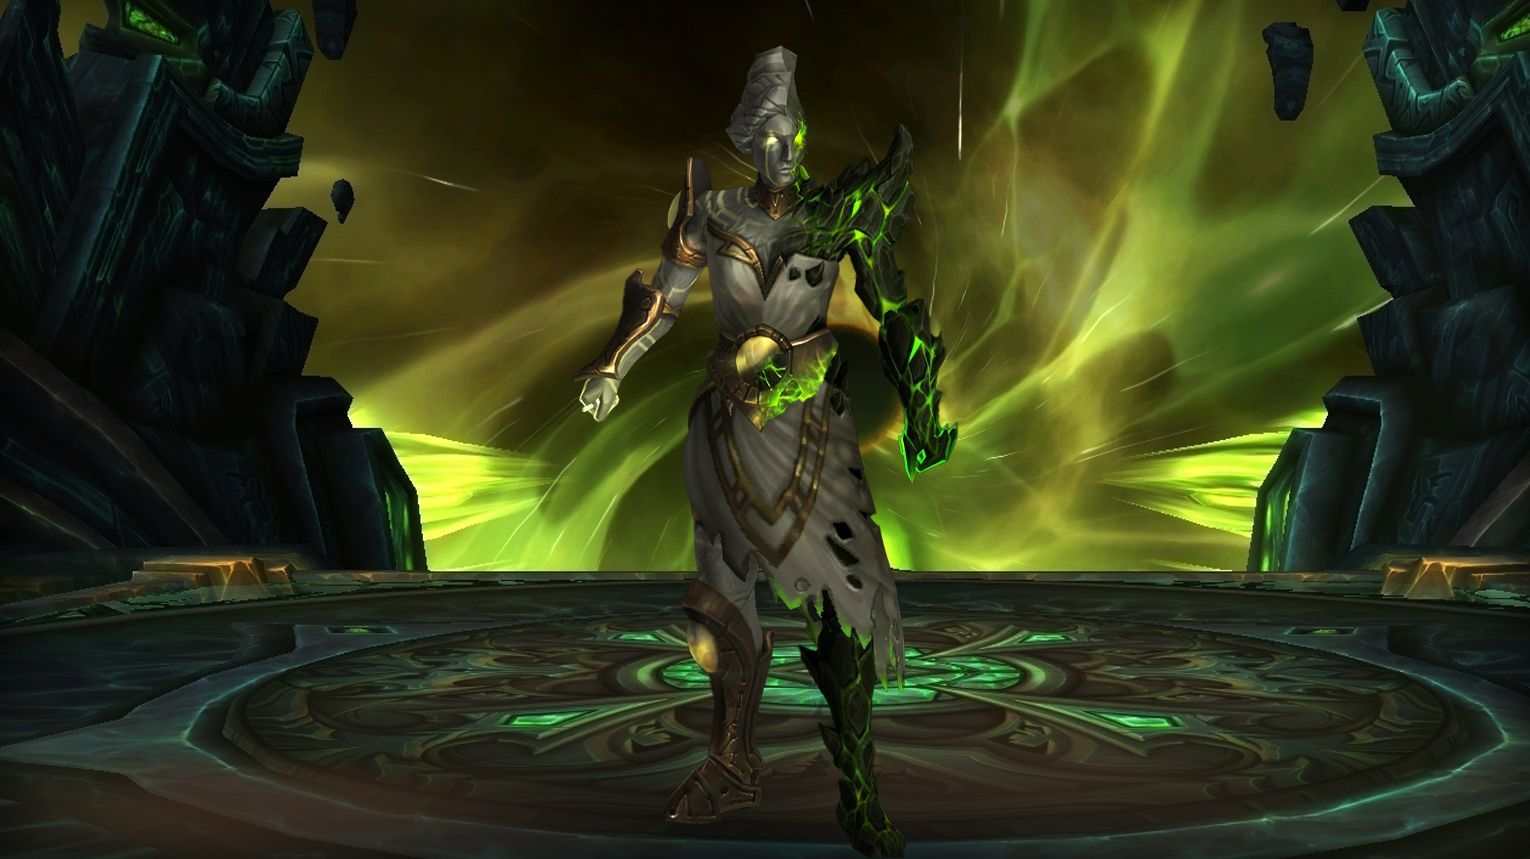
Kil’jaeden is the final boss of the Tomb of Sargeras raid, featuring three phases and two intermissions. Key mechanics include soaking Armageddon meteors, managing Felclaws stacks, avoiding knockbacks from Rupturing Singularity, and using Tear Rifts to survive Darkness of a Thousand Souls in Phase Three. Tanks must taunt swap, healers prioritize raid-wide damage, and DPS focus on cleaving adds and kiting Flaming Orb (Heroic+). Use Bloodlust/Drums in Phase Three for maximum DPS. Heroic and Mythic difficulties add mechanics like Shadow Reflection adds and Hopeless Reflections, requiring precise coordination and positioning.

icon Preferred Classes:
  • Tanks: Classes with strong damage mitigation and mobility (e.g., Paladin Protection Protection Paladin, Death Knight Blood Blood DK).
  • Healers: Classes with strong raid-wide healing and cooldowns (e.g., Priest Holy Holy Priest, Shaman Restoration Restoration Shaman).
  • DPS: Classes with high burst damage, cleave, and mobility (e.g., Mage Fire Fire Mage, Demon Hunter Havoc Demon Hunter, Rogue Rogue).
Tips:
icon Strategy:
icon Bloodlust/Drums:

At the start of Phase Three to maximize DPS during the final burn phase. This is when Kil’jaeden is most vulnerable, and the raid needs to push through his high-damage mechanics quickly.

icon Kil’jaeden loot table:
Type of Armor Item Loot type
Cloth Gloves of Furtive Oppression Hands
Leather Shadow-Scarred Headcover Head
Waistguard of Profane Duplicity Waist
Mail Star-Stalker Treads Feet
Vicegrip of the Unrepentant Hands
Plate Greaves of Impure Midnight Legs
Soul-Render’s Greatbelt Waist
Any Seal of the Second Duumvirate Ring
Shifting Cosmic Sliver Trinket
Specter of Betrayal Trinket
The Deceiver’s Grand Design Trinket
Tome of Unraveling Sanity Trinket

Tomb of Sargeras Achievements List

Achievement Requirement
Chamber of the Avatar Defeat bosses in the ancient vault beneath the Tomb of Sargeras.
The Gates of Hell Kill bosses near the entrance to the Tomb of Sargeras.
Wailing Halls Slay bosses in the lower levels of the Tomb of Sargeras.
Tomb of Sargeras Guild Run Defeat all bosses of Tomb of Sargeras on Normal difficulty or higher, while in a guild group.
Deceiver’s Fall Kill Kil’jaeden in the Tomb of Sargeras.
Ahead of the Curve: Kil’jaeden Slay Kil’jaeden on Heroic difficulty or higher, before the opening of Antorus, the Burning Throne.
Cutting Edge: Kil’jaeden Defeat Kil’jaeden on Mythic difficulty, before the opening of Antorus, the Burning Throne.
Mythic: Kil’jaeden Kill Kil’jaeden on Mythic difficulty.
Mythic: Kil’jaeden Guild Run Slay Kil’jaeden on Mythic difficulty, while in a guild group.
Realm First! Kil’jaeden First guild on the realm to defeat Kil’jaeden on Mythic difficulty while in a guild group.
Mythic: Demonic Inquisition Defeat Demonic Inquisition on Mythic difficulty.
Mythic: Fallen Avatar Kill the Fallen Avatar on Mythic difficulty.
Mythic: Goroth Slay Goroth on Mythic difficulty.
Mythic: Harjatan Defeat Harjatan on Mythic difficulty.
Mythic: Maiden of Vigilance Kill the Maiden of Vigilance on Mythic difficulty.
Mythic: Mistress Sassz’ine Slay Mistress Sassz’ine on Mythic difficulty.
Mythic: Sisters of the Moon Defeat Sisters of the Moon on Mythic difficulty.
Mythic: The Desolate Host Kill the Desolate Host on Mythic difficulty.
Retro Trend Collect any class armor set from the Tomb of Sargeras.
Glory of the Tomb Raider Complete the Tomb of Sargeras raid achievements listed below.
Bingo! Slay the Fallen Avatar without breaking any floor segments in the following patterns on Normal difficulty or higher.
Dark Souls Defeat Kil’jaeden without any Shadowsouls finishing a cast of Destabilized Shadowsoul on Normal difficulty or higher.
Fel Turkey! Destroy 30 Infernal Spikes with Shattering Stars and then defeat Goroth on Normal difficulty or higher.
Five Course Seafood Buffet Kill Mistress Sass’zine after feeding the following items to Sarukel on Normal difficulty or higher.
Grand Fin-ale Summon Elder Murk-Eye using a Mrgrglhjorn, then defeat him and Harjatan on Normal difficulty or higher.
Great Soul, Great Purpose Slay the Desolate Host while keeping the Diminishing Soul from perishing on Normal difficulty or higher.
Grin and Bear It Defeat the Demonic Inquisition while every party member is at maximum Torment on Normal difficulty or higher.
Sky Walker Kill the Maiden of Vigilance having captured every Titanic Anomaly on Normal difficulty or higher.
Wax On, Wax Off Slay a Waxing Twilight Soul and then defeat the Sisters of the Moon on Normal difficulty or higher.

Comments:

Related articles
All copyrights, trade marks and service marks belong to their corresponding owners. All mentioned brand names and related materials, logos and images are registered property of the respective companies. Gamingcy is not associated with or endorsed by any copyright owner in any way and offers services to players in different online games to make their gaming experience better. Gamingсy © 2025. All Rights Reserved. Flamingo Villas A-27-01-01-04 Ajman, UAE. Digital Power FZE LLC Reg. number: 3527