logo

Antorus Raid Guide: Entrance, Rewards, Bosses

Antorus, the Burning Throne, is the last raid in World of Warcraft: Legion, introduced in Patch 7.3.2. It’s a top spot for transmogs, mounts, and special rewards in The War Within. Set on Argus, this raid features 11 bosses, including Argus the Unmaker, offering powerful gear and achievements.

icon This guide will explain:

icon Whether you’re farming cosmetics or pushing your solo abilities, this guide will help you get the most out of the Antorus in WoW Retail (The War Within).

Antorus Entrance and Subregions

Entrance and Subregions

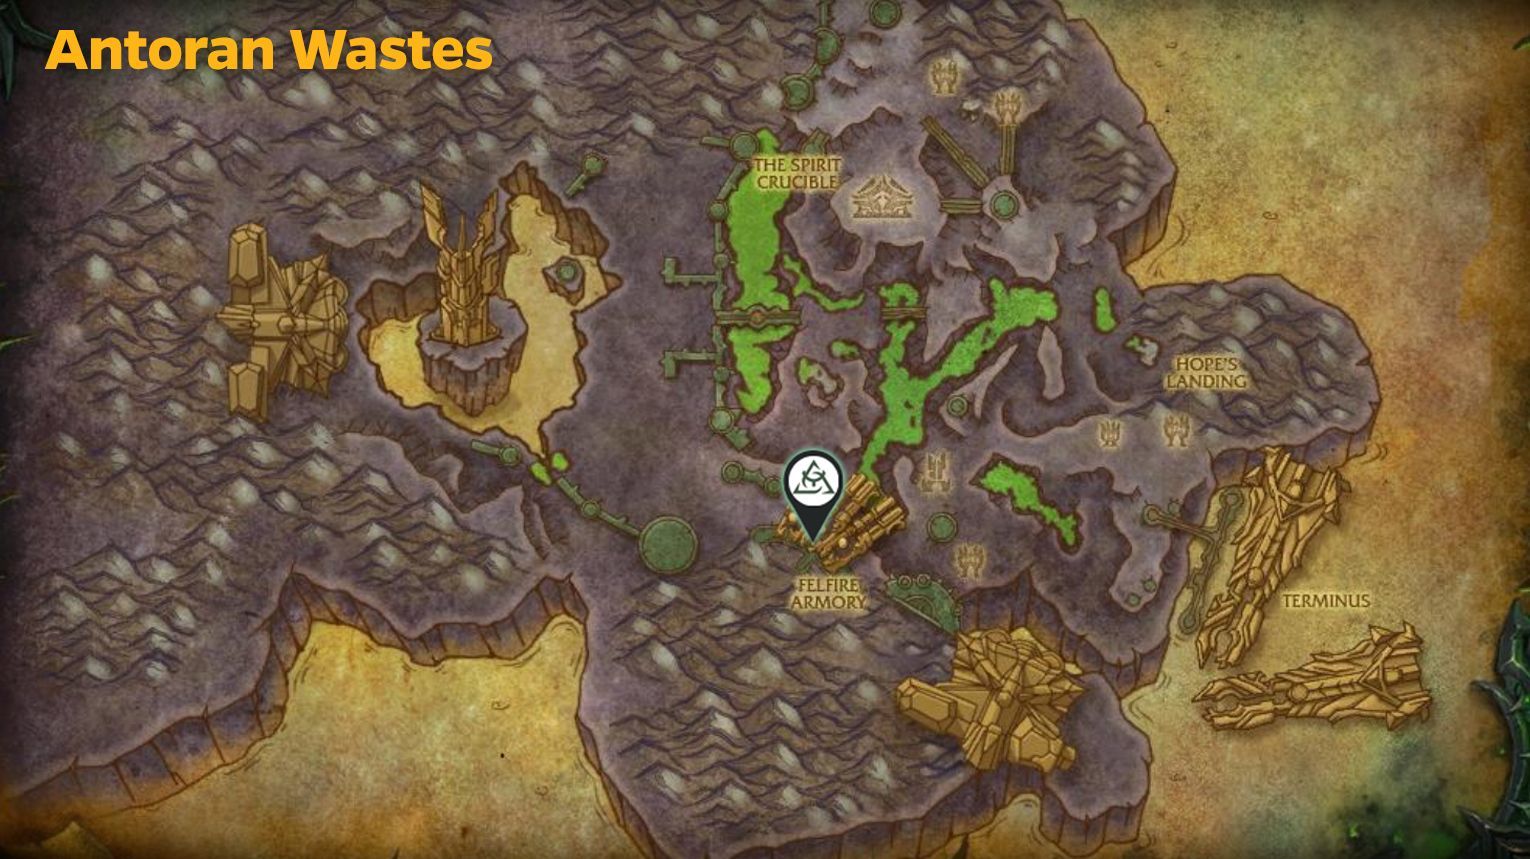
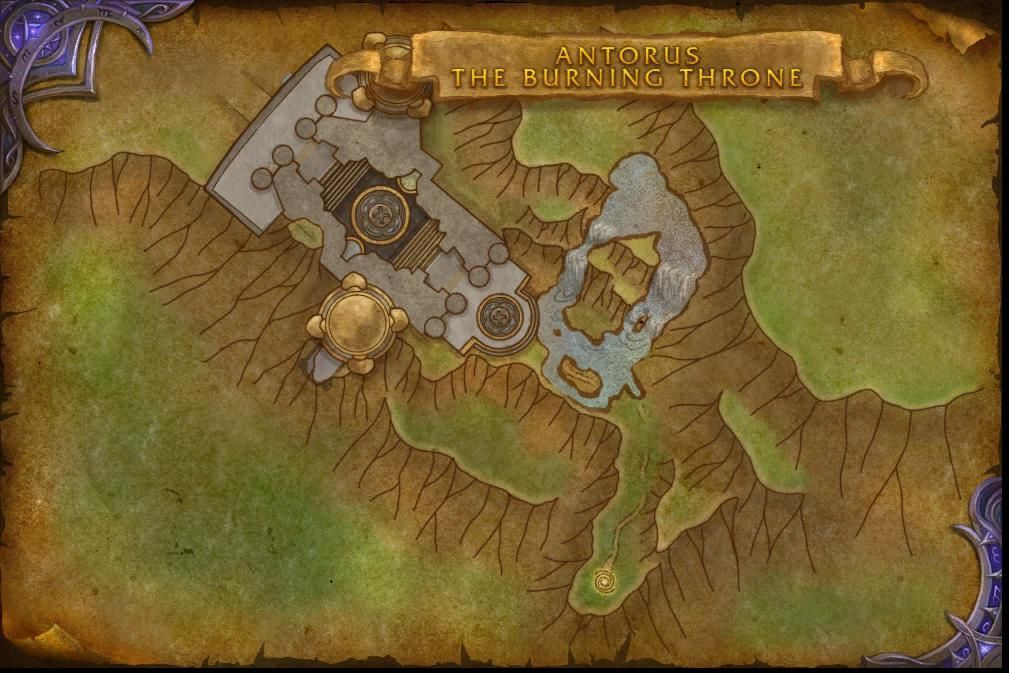
Antorus, the Burning Throne is located in the Antoran Wastes on Argus in World of Warcraft: Legion. To get there, take the Vindicaar teleporter to Light’s Purchase (or Hope’s Landing if it’s not active). From there, head south along the lava river at coordinates (55.0, 62.5). Stick to the platforms to avoid taking damage from the lava.

The entrance is a massive fiery gateway leading into Sargeras’ stronghold. Walk inside to start the raid.

icon 
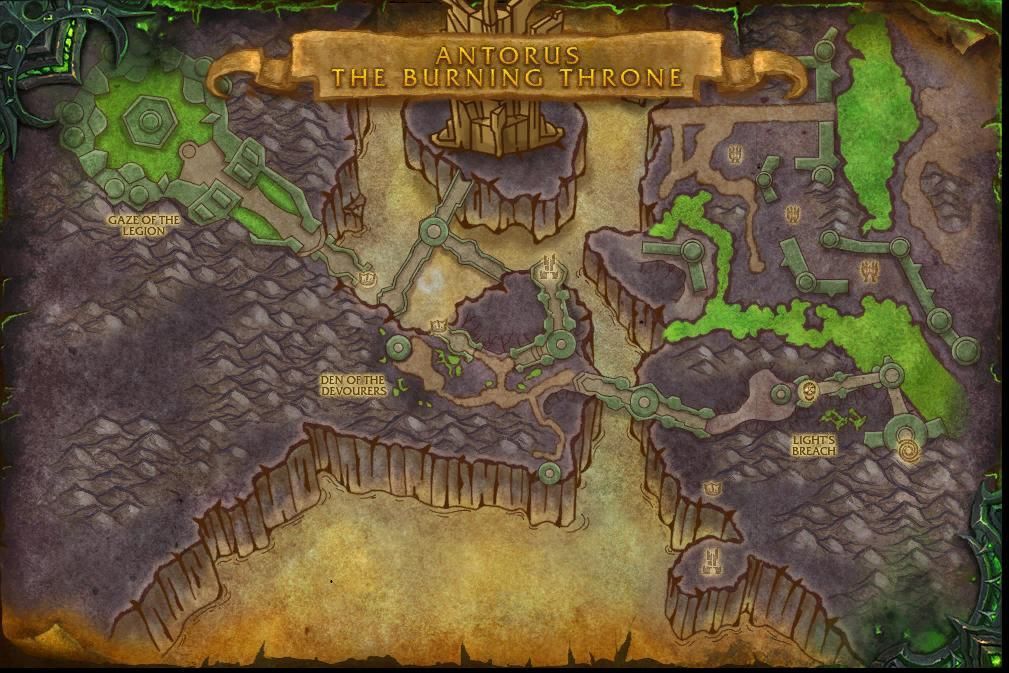
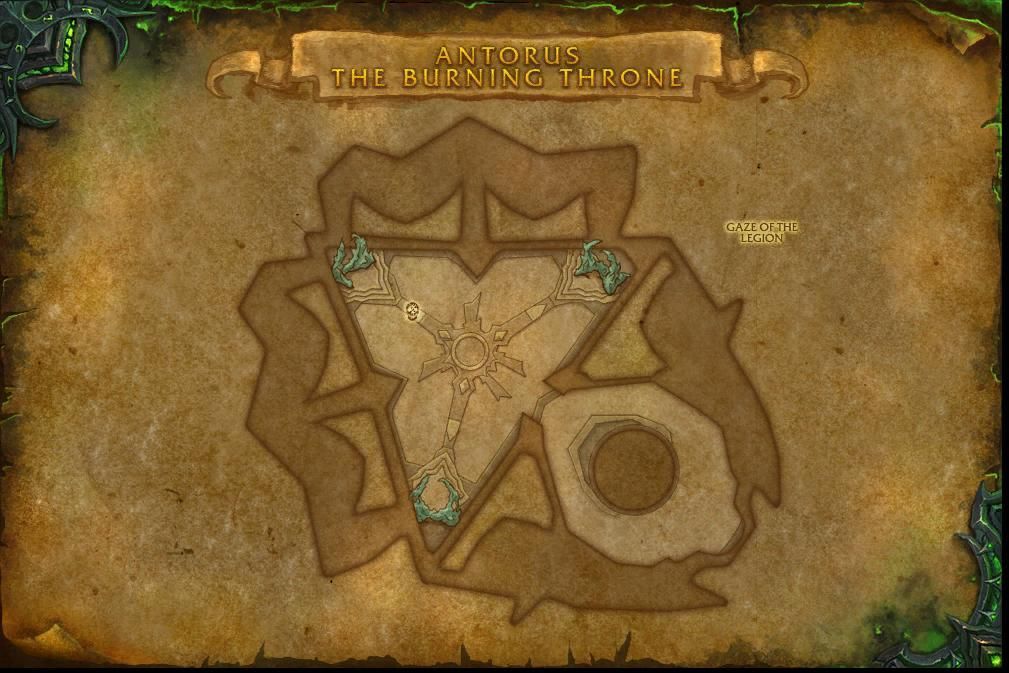
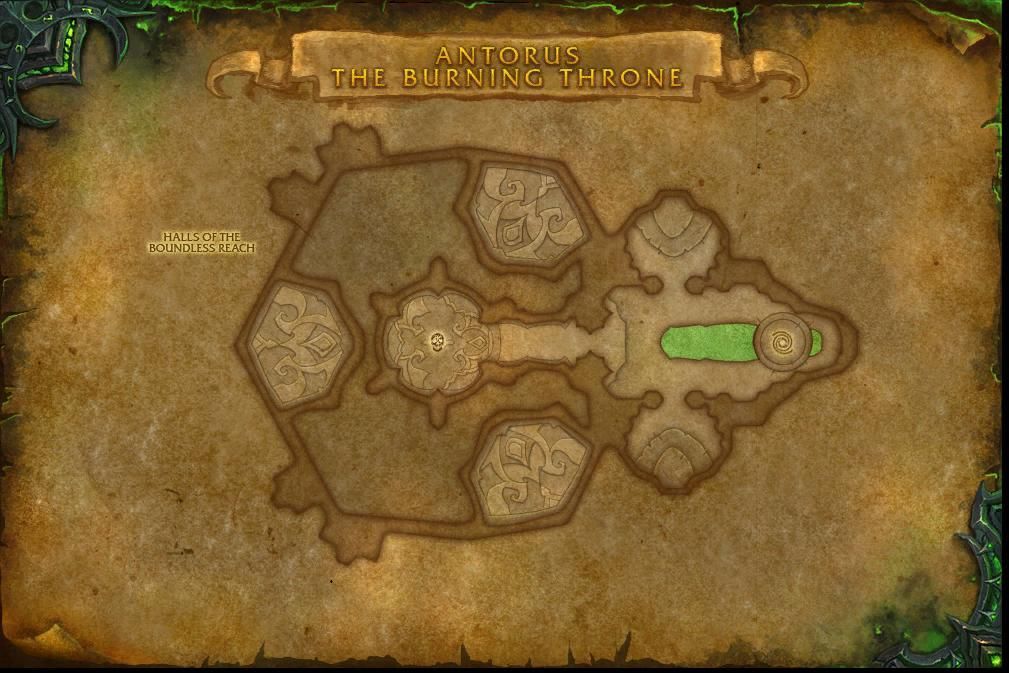
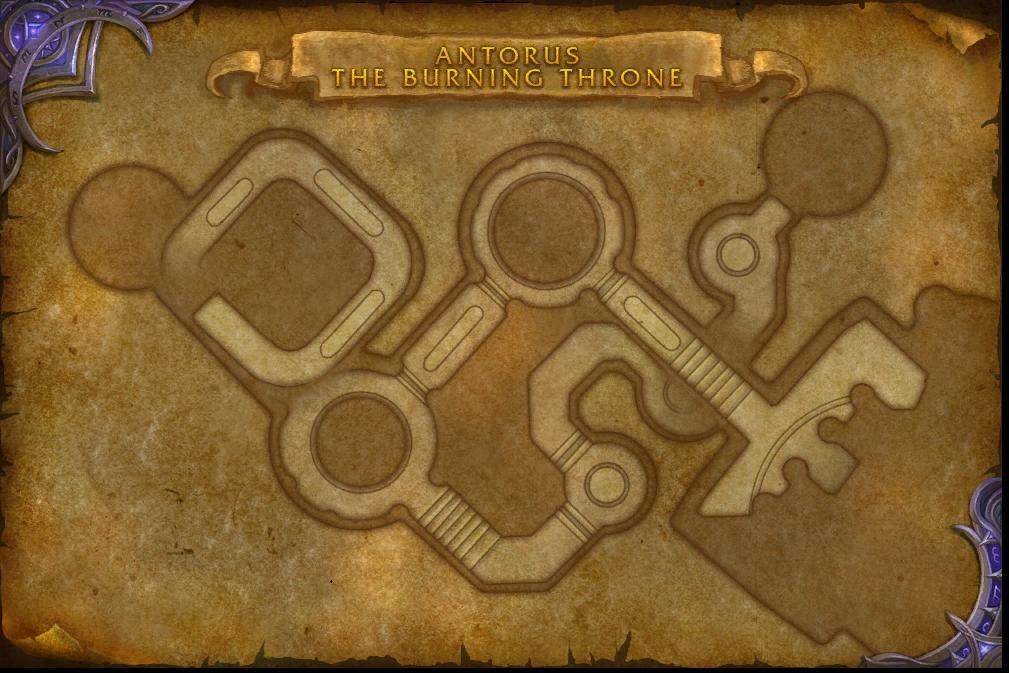
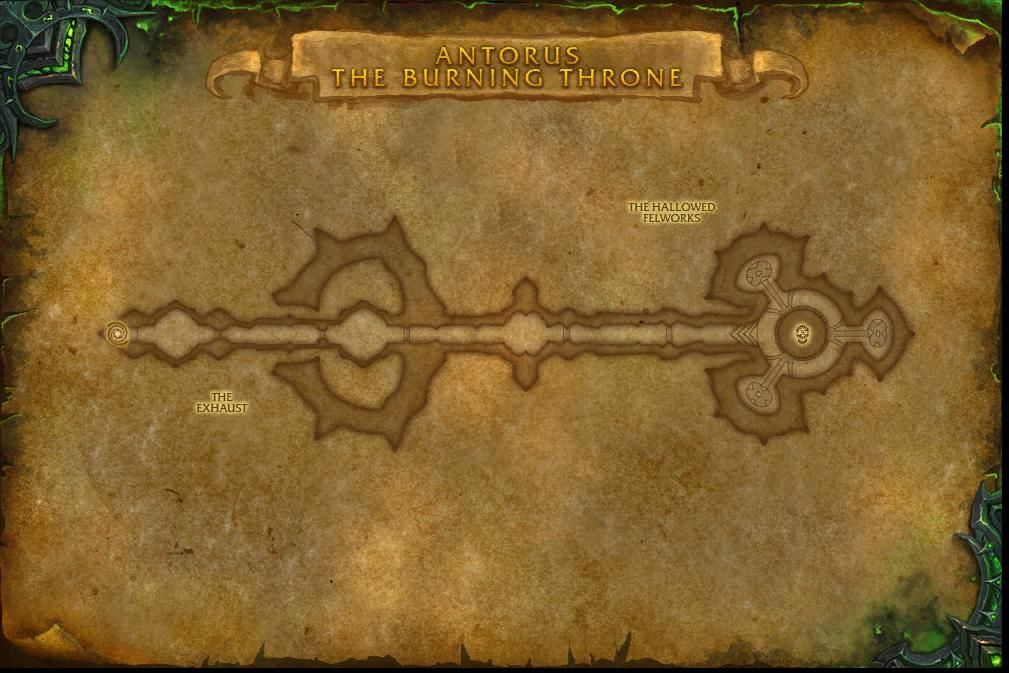
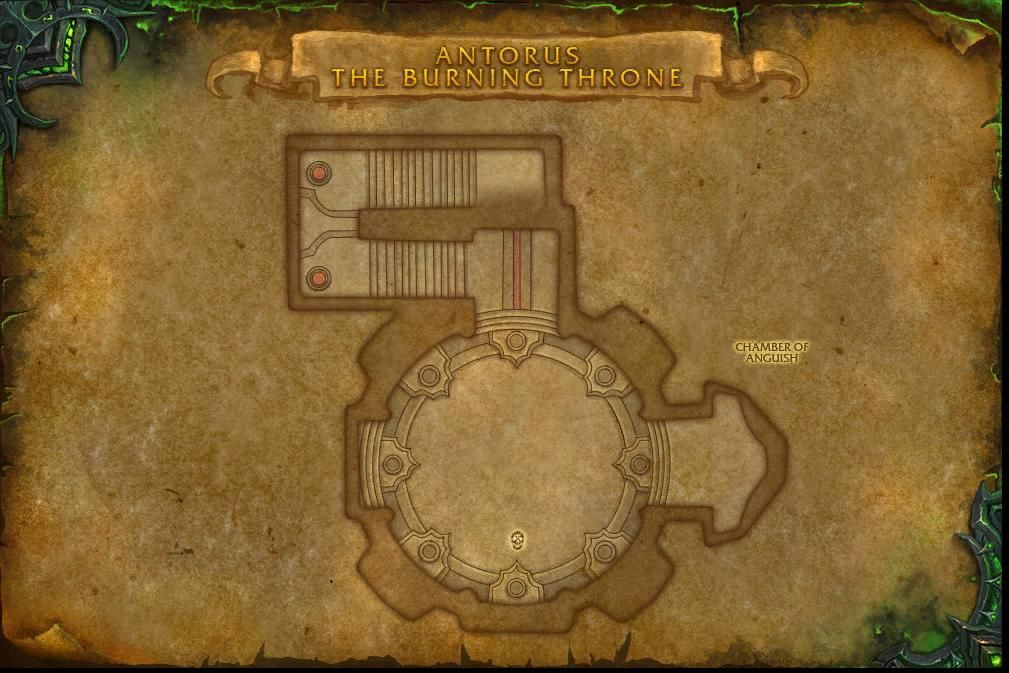
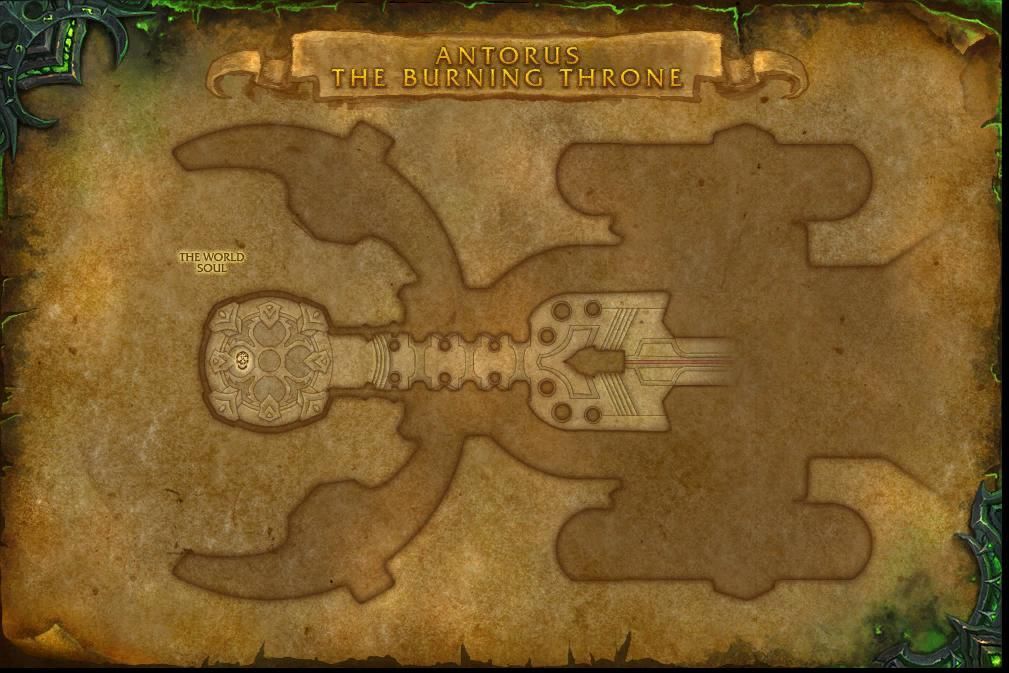
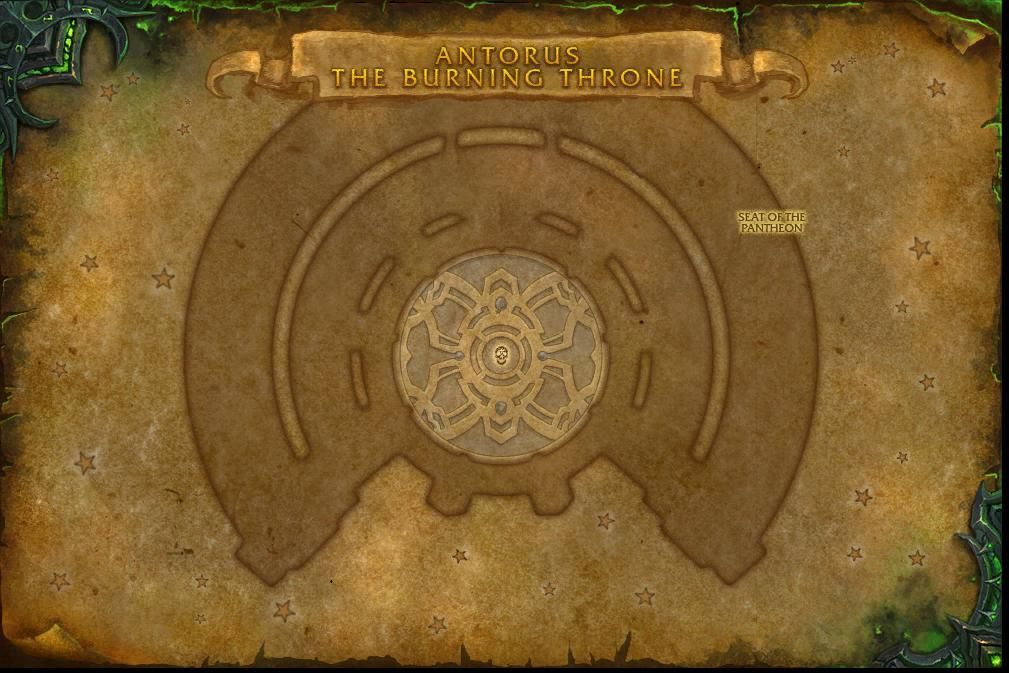
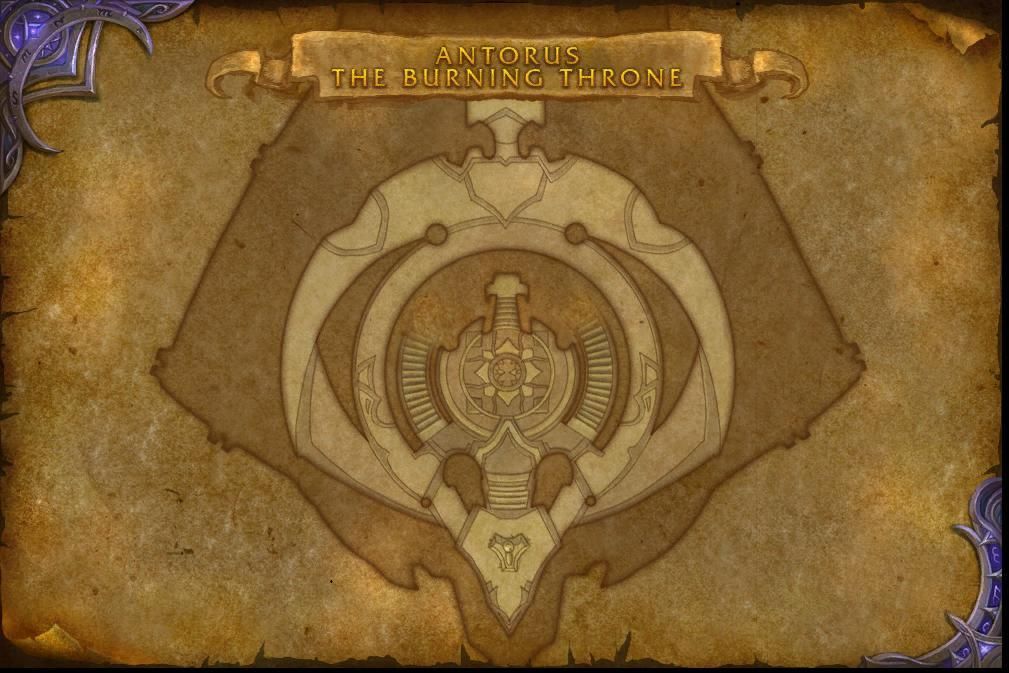
Antorus is divided into several sections as you fight toward Argus the Unmaker:

Each area has unique mechanics and bosses, which we’ll cover below.

Antorus Bosses Overview

Bosses Overview

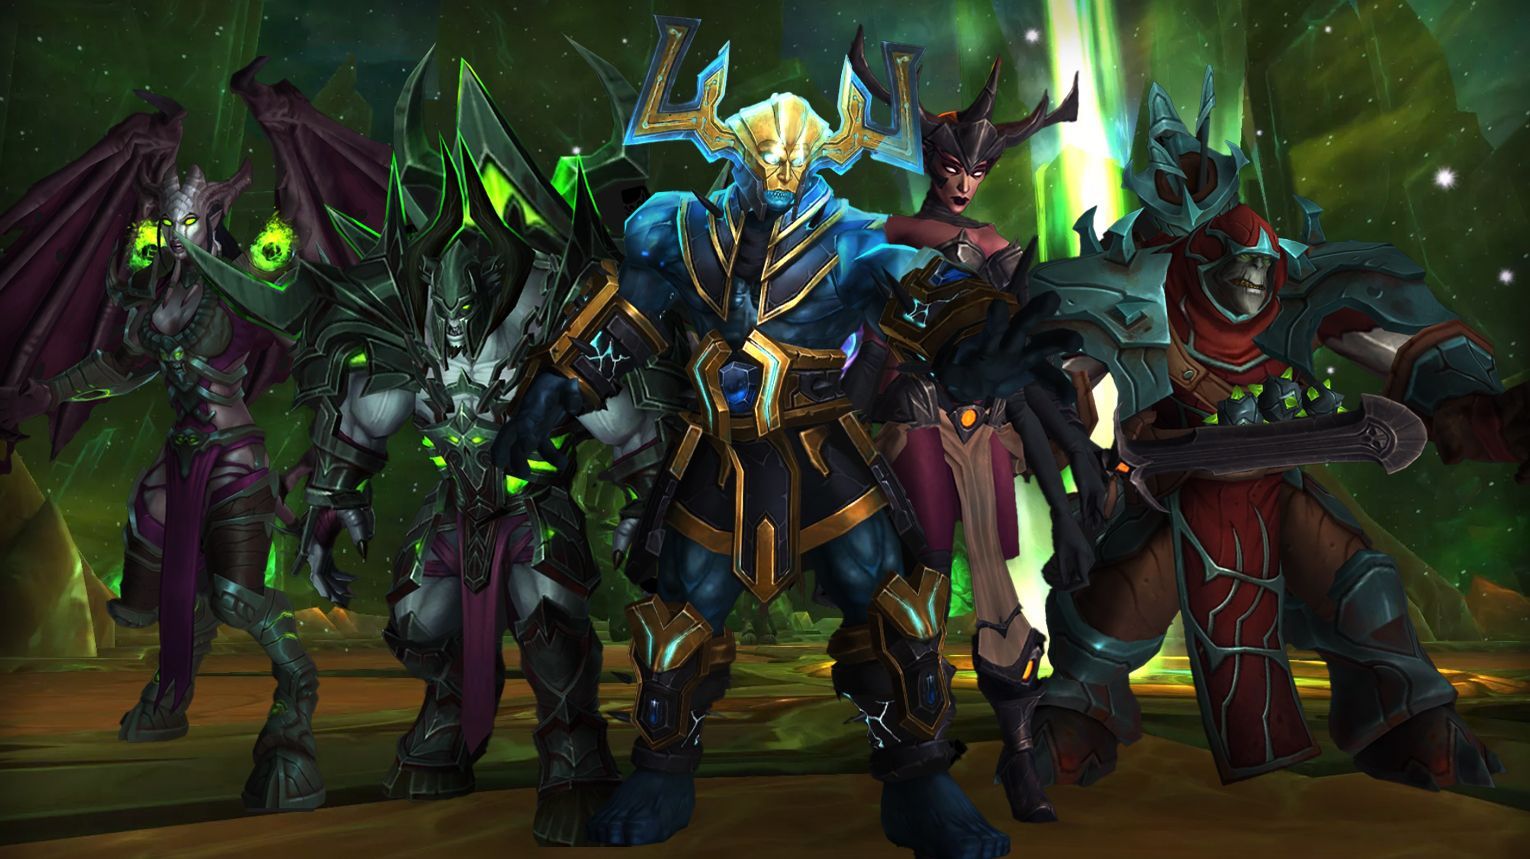
Antorus, the Burning Throne is the fiery climax of World of Warcraft: Legion, where players storm Sargeras’ stronghold on Argus. This 11-boss raid pits you against the Burning Legion’s most powerful forces, from the mechanical terror of Garothi Worldbreaker to the cosmic showdown with Argus the Unmaker.

Each encounter brings unique chaos:

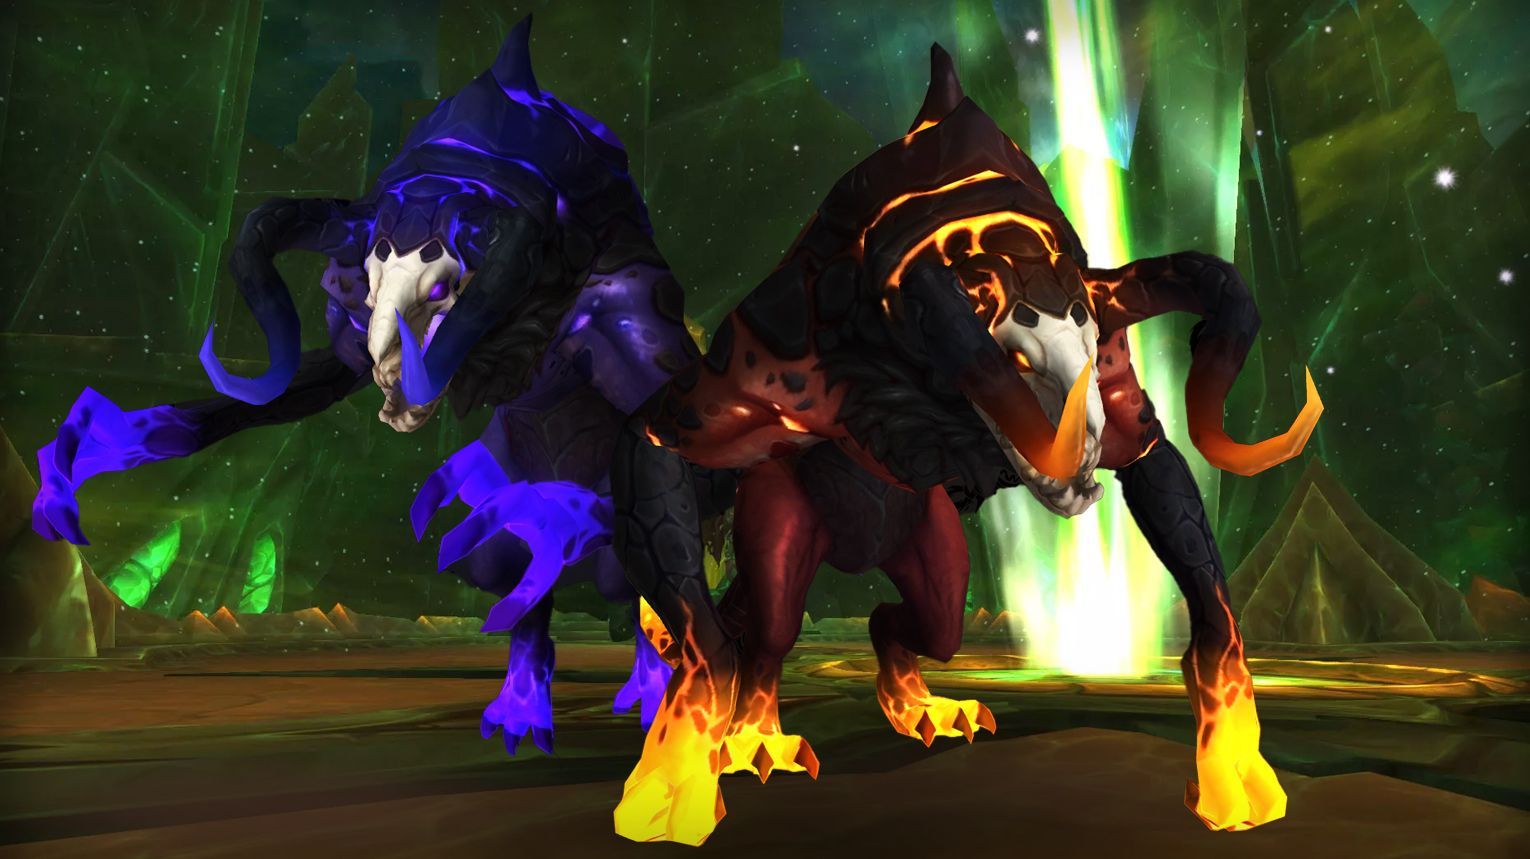
  • Felhounds of Sargeras – Twin demons that must be tanked apart or risk empowering each other
  • Eonar – A race against time to defend the Titan’s life-force from waves of invaders
  • Imonar the Soulhunter – A deadly chase across floating platforms littered with traps
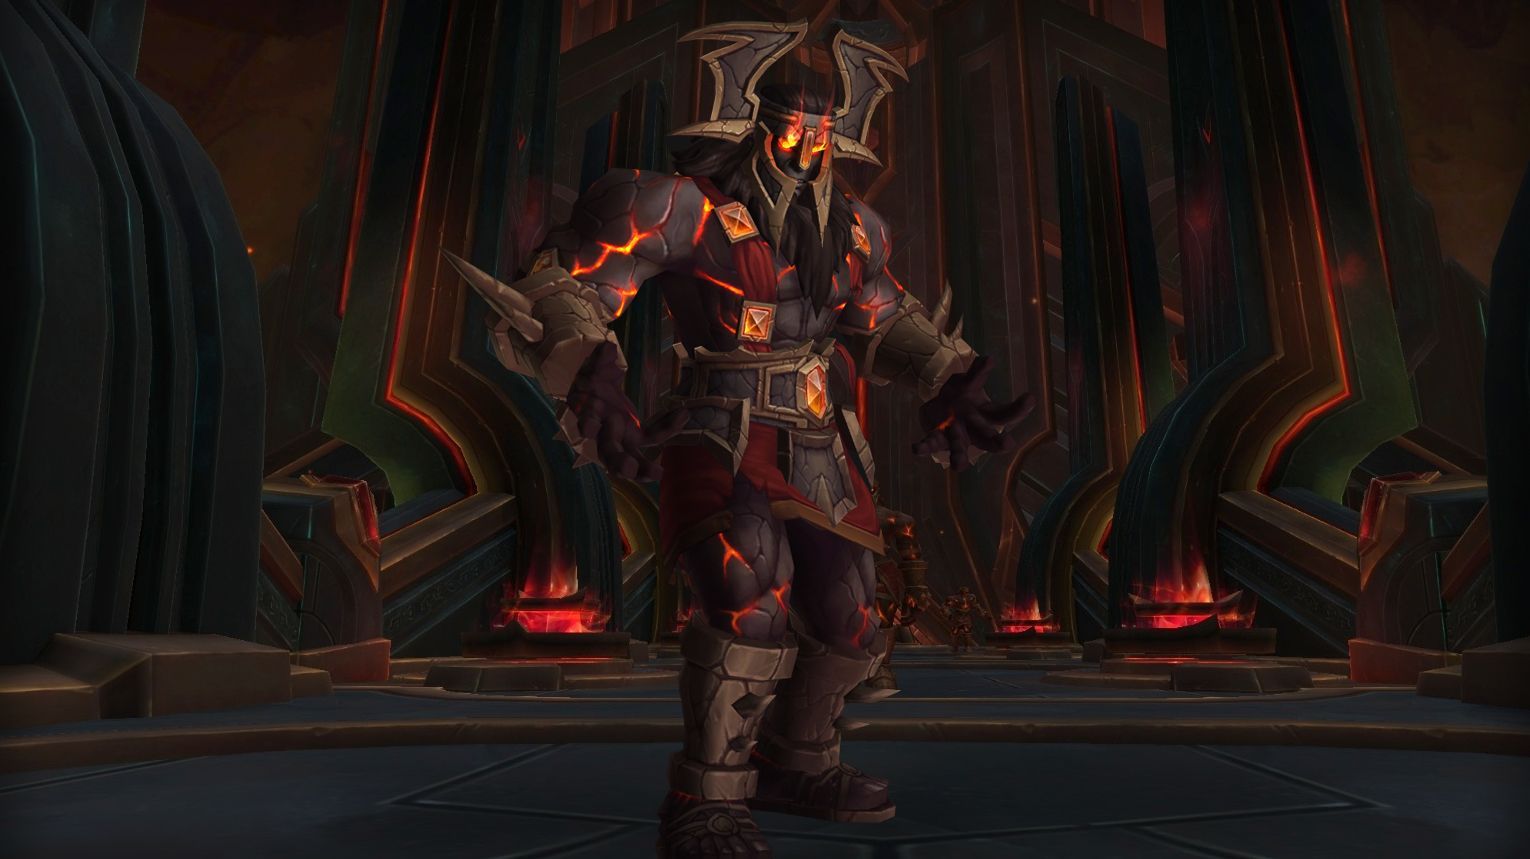
  • Aggramar – A titanic duel where players must topple the fallen Titan before his flames consume everything

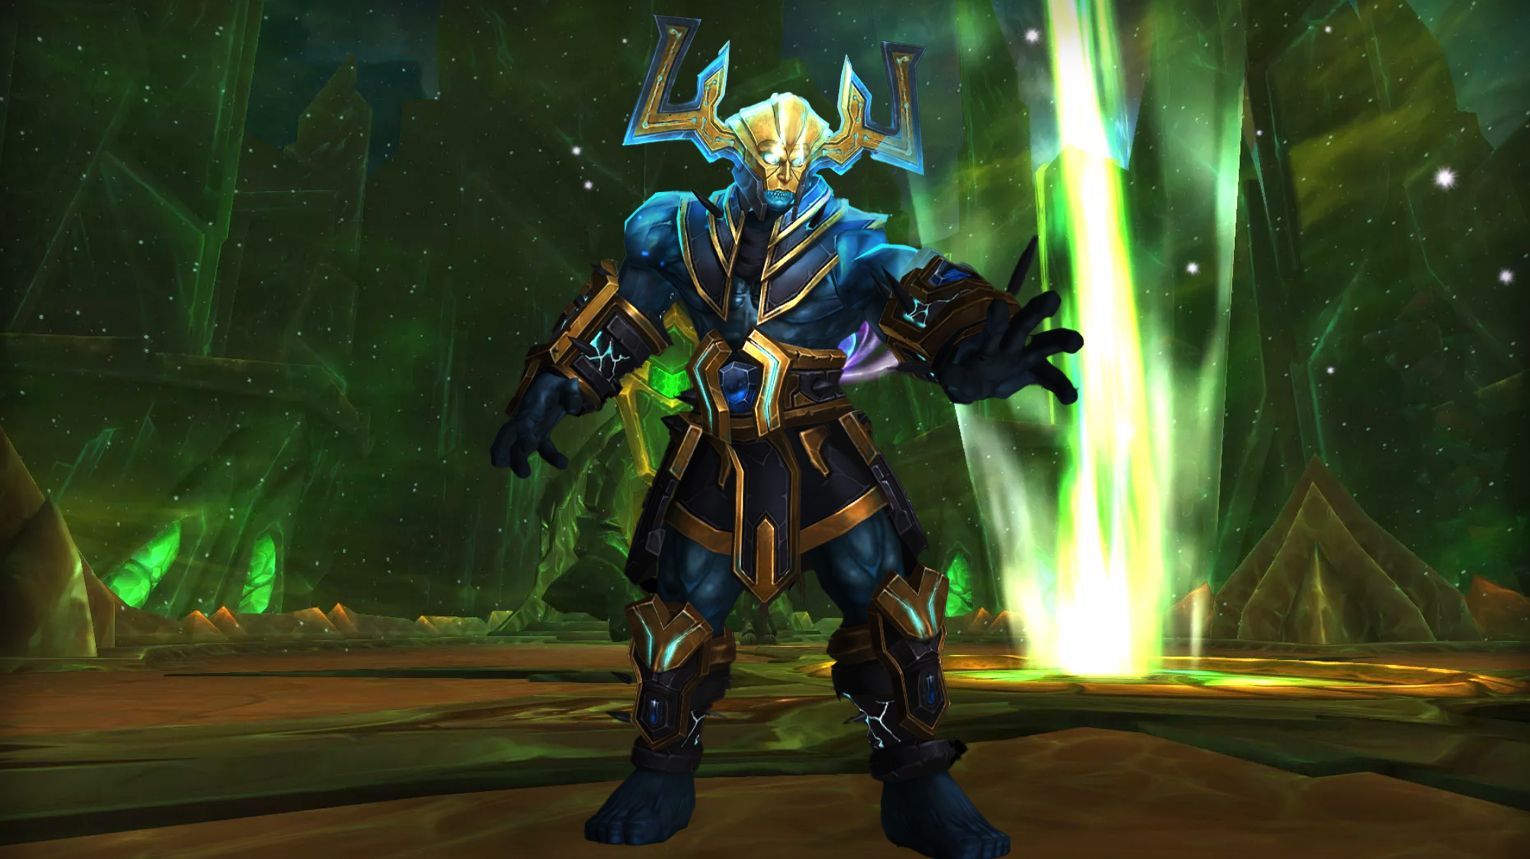
The final battle against Argus the Unmaker is one of WoW’s most epic fights. Players battle through multiple phases, from a shattered battlefield to the edge of the cosmos, before finishing Sargeras’ corrupted Titan.

Can You Solo Antorus in The War Within?

Can You Solo in The War Within

Farming Antorus solo in The War Within is a great method to gather transmog sets, mounts, pets, and achievements from the Legion expansion. Most of the trash mobs and bosses can be easily defeated, even on Mythic difficulty. However, certain encounters, such as Mythic Eonar, can be particularly challenging due to their mechanics, which may not be well-suited for solo play.

General Tips for Soloing Antorus:

  • Recommended Level/Item Level
    • Level 80 (scales down to 45 in the raid).
    • Item Level 400+ (higher makes it smoother, but lower is possible).
    • Mythic difficulty is soloable but may require better gear for some mechanics.
  • Class Considerations
    • Self-healing (Druid, Paladin, Death Knight, Warlock with Drain Life) helps.
    • High burst DPS (Demon Hunter, Hunter, Mage) makes fights quicker.
    • Pet classes (Hunter, Warlock) can help with mechanics.
  • Notable Mechanics to Watch For
    • Aggramar (Mythic) – Needs high burst to skip knockback.
    • Argus (Phase 2) – The “Soul Bomb” and “Soul Burst” debuffs can kill you if not handled (heal through or kill fast).
    • Eonar (Mythic) – Requires fast movement to defend the ship (use mobility abilities).
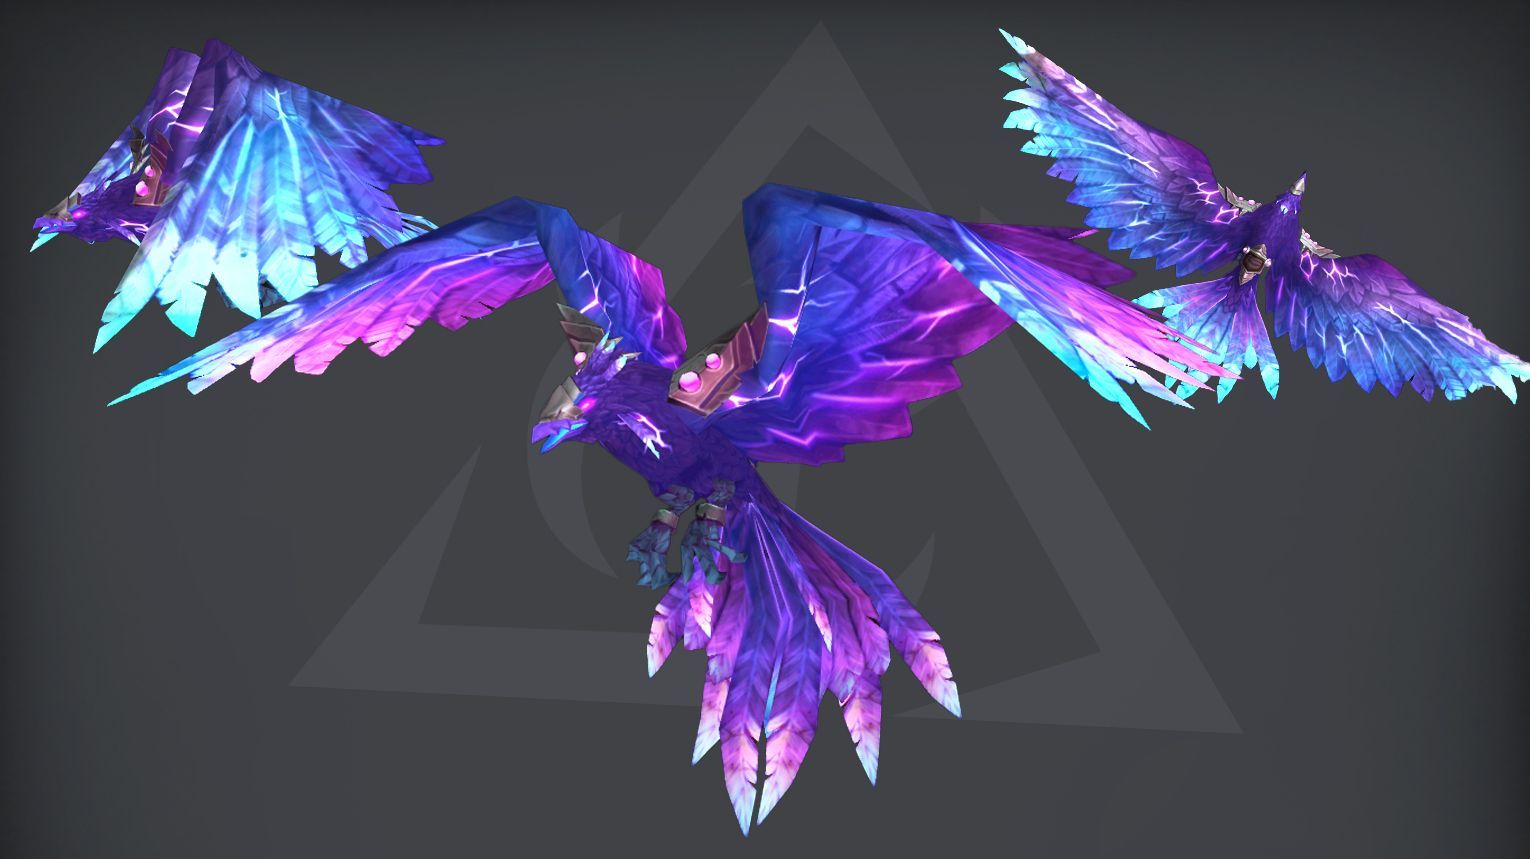
Loot & Mounts

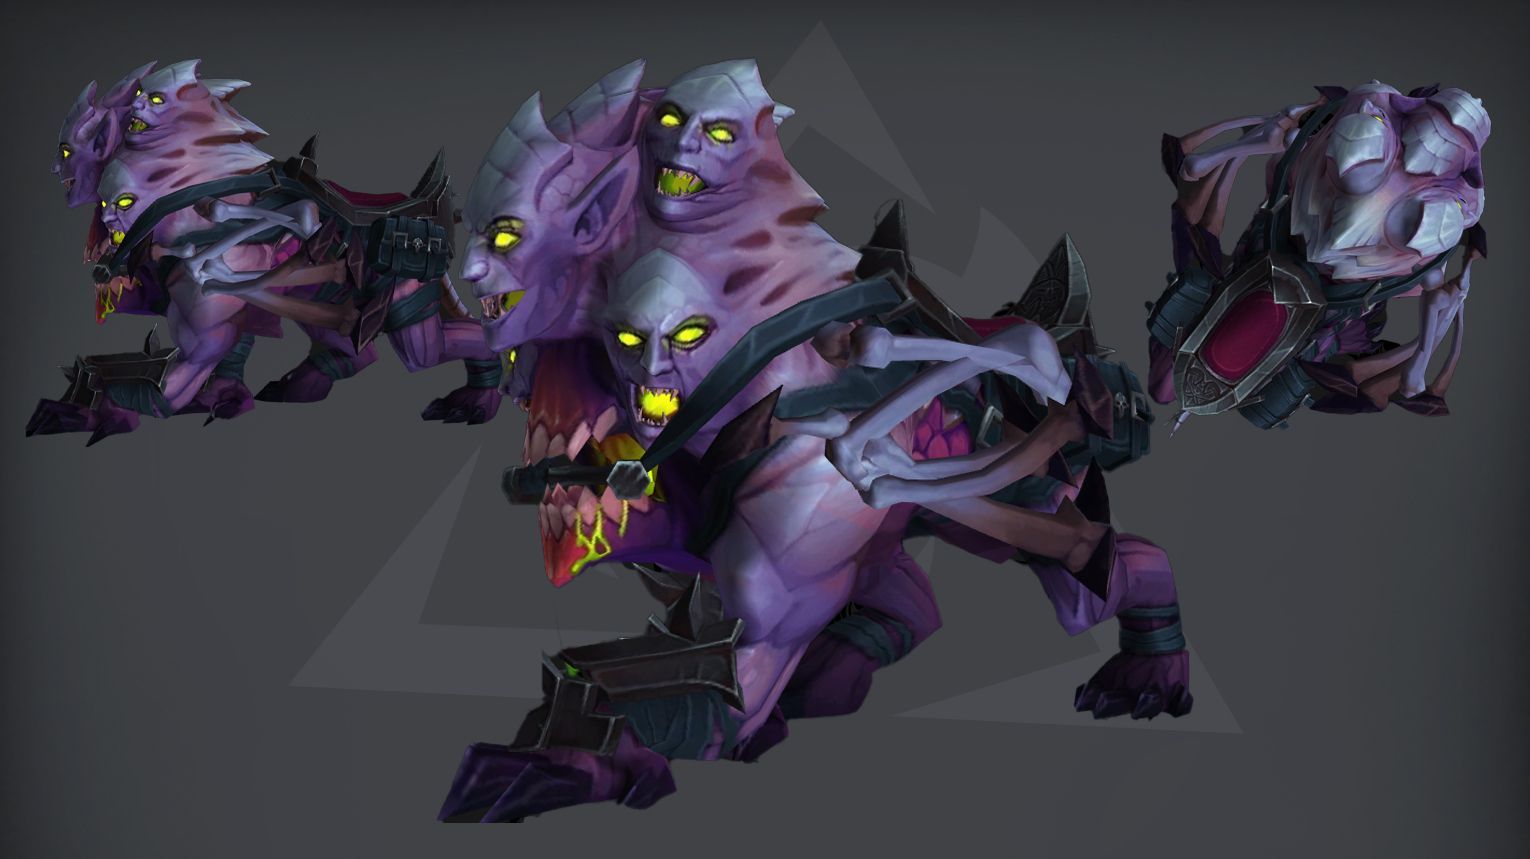
  • Shackled Ur’zul (1% drop from Mythic Argus).
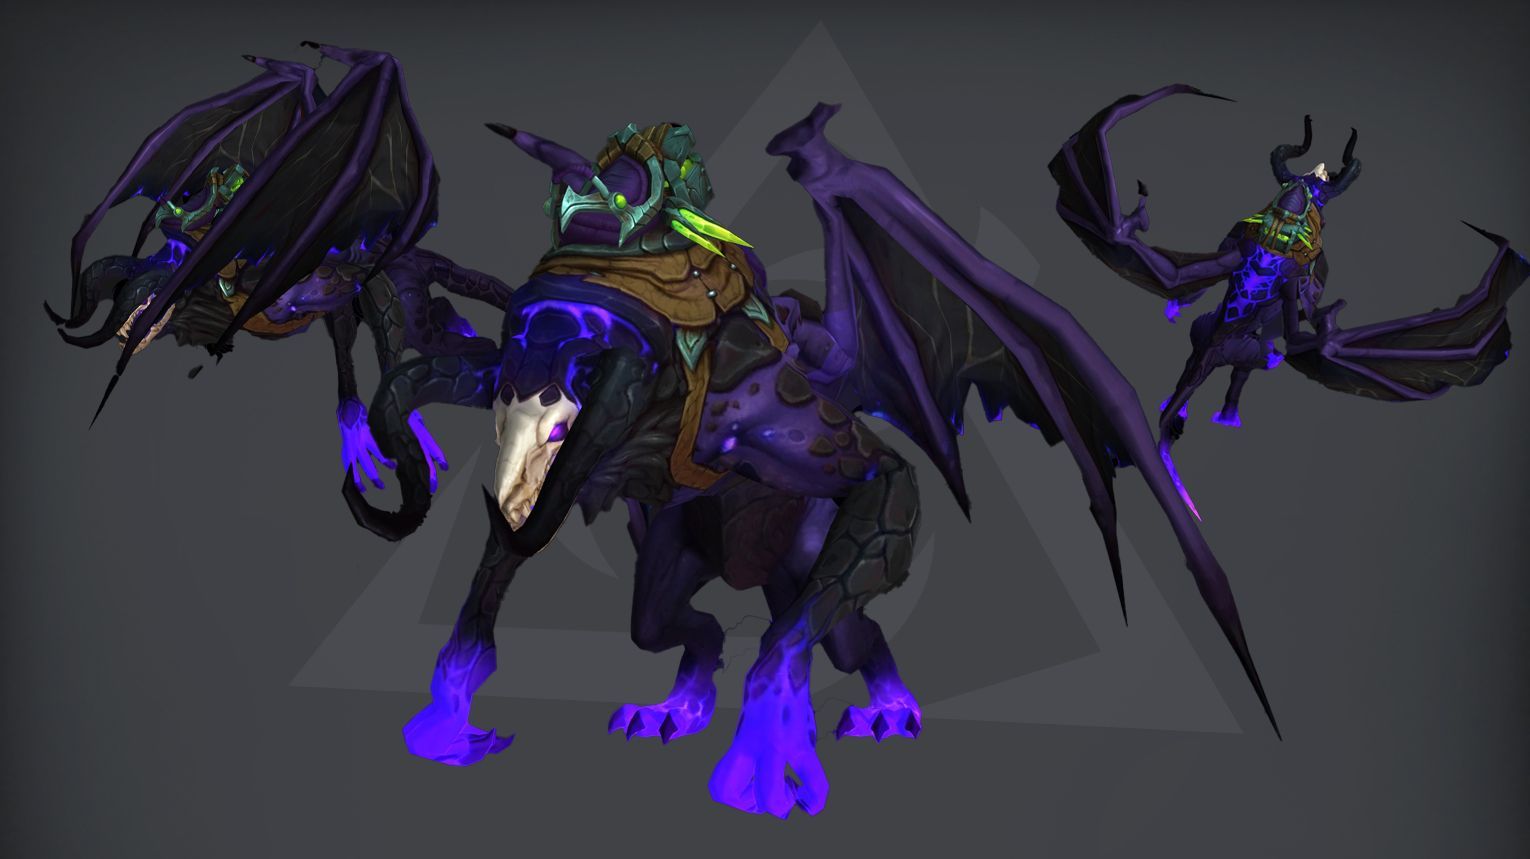
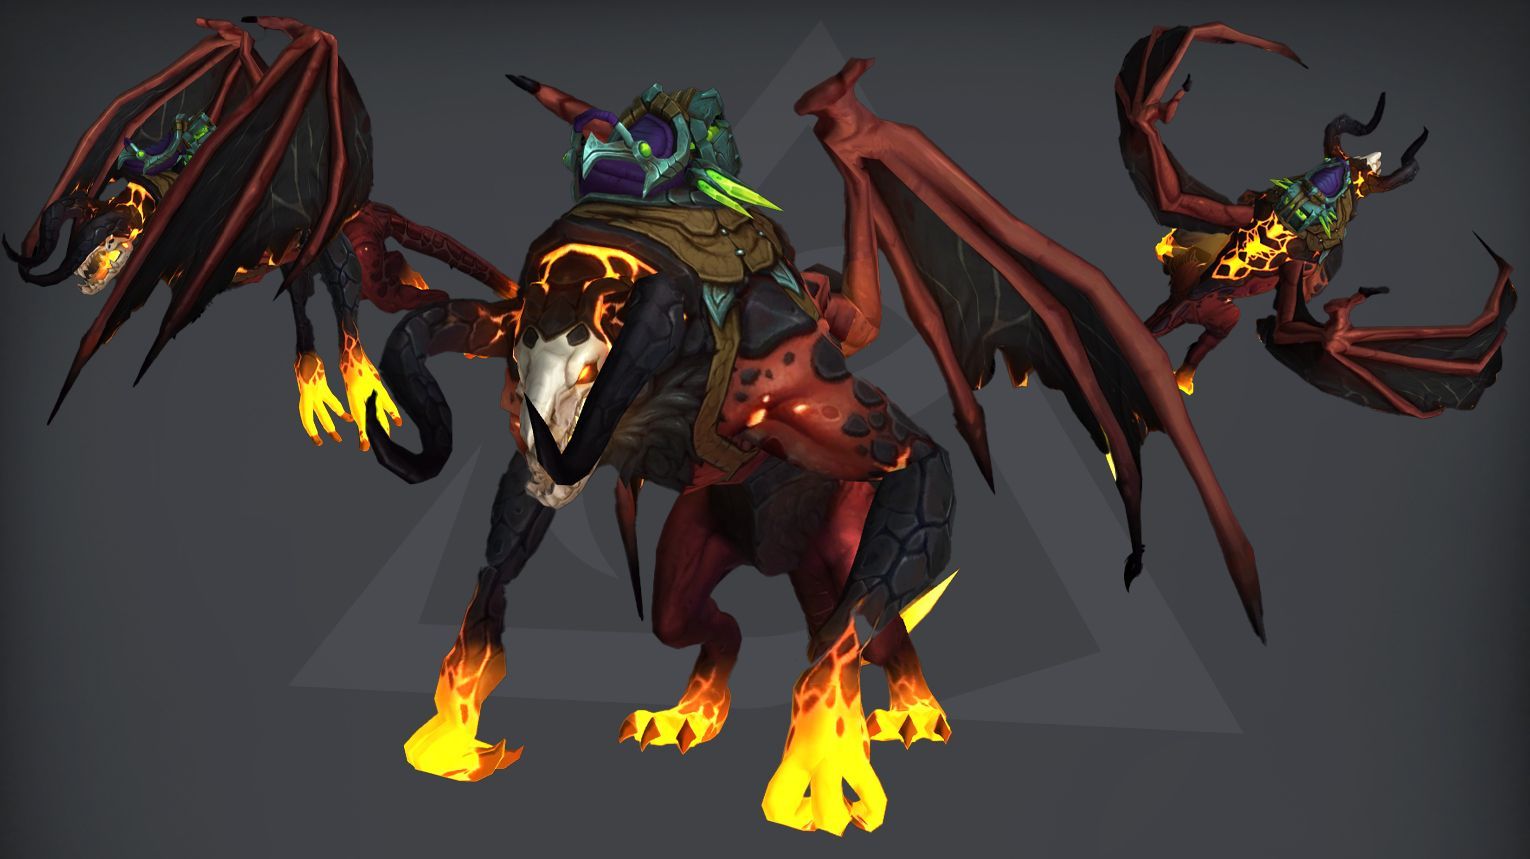
  • Antoran Gloomhound (Glory of the Argus Raider meta-achievement mount).
  • Antoran Charhound (1% drop from Felhounds of Sargeras on any difficulties).
  • Taeshalach (Aggramar’s flaming greatsword).
  • Scythe of the Unmaker (Argus’ weapon, with a special red tint from Mythic).
  • Transmog sets (Tier 21) drop from various bosses.

Garothi Worldbreaker

Garothi Worldbreaker

Garothi Worldbreaker alternates between Decimation (drop circles away from raid) and Annihilation (soak circles to mitigate damage). At 60% and 20% HP, it casts Apocalypse Drive—destroy either the Annihilator (recommended first) or Decimator to survive, then stack at the room’s back for Eradication. Post-60%, handle empowered mechanics (e.g., stacked movement for Decimation). Tanks must kite Fel Bombardment missiles. Use Bloodlust early or during the final burn phase (20% HP).

icon Preferred Classes:
  • Tanks: High-mobility classes (e.g., Demon Hunter Vengeance Demon Hunter, Warrior Protection Warrior) to handle Fel Bombardment.
  • Healers: Strong AoE healers (e.g., Priest Holy Holy Priest, Shaman Restoration Restoration Shaman) for Searing Barrage and Decimation/Annihilation damage.
  • DPS: Ranged with good mobility (e.g., Hunter Hunters, Mage Mages) to handle mechanics; melee for soaking Annihilation in melee range.
Tips:
  • Decimation:
    • Targeted players run to the edge to drop circles, then return.
      Keep one side clear for tanks dodging Fel Bombardment.
  • Annihilation:
    • Soak every circle (1+ players per circle) to avoid raid-wide damage.
    • Melee always soak the circle near the boss.
  • Apocalypse Drive:
    • Focus one weapon (Annihilator first recommended).
    • After destroying it, stack at the back for Eradication.
  • Empowered Phase:
    • If Decimation is empowered, stack in melee and move as a group between two spots when circles expire.
icon Strategy:
icon Bloodlust/Drums:

On pull (for faster phase 1 and early weapon burn).

icon Garothi Worldbreaker loot table:
Type of Armor Item Loot type
Cloth Crown of Relentless Annihilation Head
Enhanced Worldscorcher Cinch Waist
Leather Breach-Blocker Legguards Legs
Shoulderpads of the Demonic Blitz Shoulder
Mail Battalion-Shattering Leggings Legs
Heedless Eradication Gauntlets Hands
Plate Doomwalker Warboots Feet
Soul-Tempered Chestplate Chest
Any Cloak of the Burning Vanguard Cloak
Garothi Feedback Conduit Trinket
Prototype Personnel Decimator Trinket

Felhounds of Sargeras

Felhounds of Sargeras

The Felhounds of Sargeras (F’harg and Shatug) are a duo boss in Antorus with a shared health pool. Keep them >40 yards apart to avoid their enrage. Key mechanics include:

Use Bloodlust on pull and prioritize mobility/immunities for overlaps.

icon Preferred Classes:
Tips:
  • Positioning:
    • Raid stacks midway between bosses for easy stacking/spreading.
    • Tanks face bosses away from raid to avoid Maw cleaves.
  • Debuffs:
    • Siphoned (Shatug): Stack to split damage.
    • Enflamed (F’harg): Spread 8+ yards to avoid explosions.
  • Heroic+:
icon Strategy:
  • Energy Management:
    • Abilities sync/desync due to Focusing Power pauses. Adapt to overlaps.
  • Key Overlaps:
  • Tanks: Swap only if Maw DoTs stack too high (rare; usually drop during Corruption casts).
icon Bloodlust/Drums:

On pull (for maximum uptime before mechanics overwhelm).

icon Felhounds of Sargeras loot table:
Type of Armor Item Loot type
Cloth Soul-Siphon Mantle Shoulder
Vestments of Enflamed Blight Chest
Leather Harness of Oppressing Dark Chest
Vicious Flamepaws Feet
Mail Pauldrons of the Soulburner Shoulder
Shadowfused Chain Coif Head
Plate Flamelicked Girdle Waist
Molten Bite Handguards Hands
Any Antoran Charhound Mount
Collar of Null-Flame Amulet
Eye of F’harg Trinket
Eye of Shatug Trinket
Shadow-Singed Fang Trinket

Antoran High Command

Antoran High Command

Antoran High Command is a 3-boss fight with a shared health pool. Only one boss fights directly at a time, while the others attack from command pods—players can hijack these pods to counter mechanics. Key mechanics include dodging Entropic Mines, interrupting Pyroblast from adds, and mitigating Fusillade (scaling raid damage) with Felshield Emitters. Tanks must taunt-swap to handle Exploit Weakness (frontal cleave). Use Bloodlust in Phase 2 (Ishkar) to push damage before Fusillade becomes lethal.

icon Preferred Classes:
  • Tanks: Any, but must manage taunt swaps for Exploit Weakness (frontal cleave).
  • Healers: Strong single-target healers for Psychic Assault (pod user damage).
  • DPS:
    • High Burst: For killing Fanatical Pyromancers quickly.
    • Interrupts: Classes with reliable interrupts (e.g., Rogues, Mages) for Pyroblast.
    • Mobility: Helps avoid Entropic Mines and reposition for Felshield Emitters.
Tips:
  • Pod Usage:
    • DPS/Healers should enter pods (maximize Chaos Pulse debuff on boss).
    • Admiral’s Pod: Use Withering Fire on adds.
    • Ishkar’s Pod: Place Felshield Emitters preemptively for Fusillade.
    • Erodus’ Pod: Clear mines with Disruptor Beacon.
  • Adds:
    • Interrupt Pyroblast (lethal if unchecked).
    • Bait Felblade Shocktroopers to charge a fixed group of 3 ranged players.
  • Mines:
    • Assign 1 player (e.g., off-tank) to manually trigger Entropic Mines in Phase 1 (avoid stacking DoT).
icon Strategy:
  • Phase 1 (Svirax Active):
  • Phase 2 (Ishkar Active):
    • Stack for Fusillade under Felshield Emitters (50% fire damage reduction).
    • Spawn extra emitters for Phase 3.
  • Phase 3 (Erodus Active):
    • Clear mines with Disruptor Beacon while stacking for Fusillade.
    • Repeat cycle until bosses die.
    • Tanks: Taunt swap at 2 stacks of Exploit Weakness.
    • Healers: Focus heal pod users (high Psychic Assault damage).
icon Bloodlust/Drums:

Phase 2 (Ishkar Active): Push boss health before Fusillade damage escalates.

icon Antoran High Command loot table:
Type of Armor Item Loot type
Cloth Man’ari Pyromancer Cuffs Wrist
Legwraps of the Seasoned Exterminator Legs
Leather Fiendish Logistician’s Wristwraps Wrist
General Erodus’ Tricorne Head
Mail Depraved Tactician’s Waistguard Waist
Fleet Commander’s Hauberk Chest
Plate Eredar Warcouncil Sabatons Feet
Pauldrons of the Eternal Offensive Shoulder
Any Juggernaut Cloak Cloak
Terminus Signaling Beacon Trinket
Ishkar’s Felshield Emitter Trinket

Portal Keeper Hasabel

Portal Keeper Hasabel

Portal Keeper Hasabel is a single-phase fight in Antorus where players split between a main platform and three sub-platforms (Fire, Fel, Shadow) accessed via portals. At 90%, 60%, and 30% health, she empowers a portal, summoning a mini-boss that must be killed to stop escalating raid damage. Key mechanics include tank-swapping for Reality Tear, dodging Collapsing World and Felstorm Barrage, and interrupting adds from Transport Portals. Use Bloodlust/Drums at 30% to burn the final mini-boss (Lord Eilgar) quickly. On Heroic, prioritize interrupting Fiery Detonation from imps to avoid wipe-level damage.

icon Preferred Classes:
  • Tanks: High-mobility tanks (e.g., Demon Hunter Vengeance Demon Hunters, Warrior Protection Warriors) for quick repositioning.
  • Healers: Strong AoE healers (e.g., Priest Holy Holy Priests, Druid Restoration Restoration Druids) for raid-wide damage.
  • DPS:
Tips:
icon Strategy:
icon Bloodlust/Drums:

At 30%, when Lord Eilgar spawns. The raid takes heavy damage from all three portals, and quick mini-boss kills reduce pressure.

icon Portal Keeper Hasabel loot table:
Type of Armor Item Loot type
Cloth Aranasi Shadow-Weaver’s Gloves Hands
Lady Dacidion’s Silk Slippers Feet
Leather Grips of Hungering Shadows Hands
Portal Keeper’s Cincture Waist
Mail Nexus Conductor’s Headgear Wrist
Reality-Splitting Wristguards Waist
Plate Nathrezim Battle Girdle Waist
Any Vulcanarcore Pendant Amulet
Seal of the Portalmaster Ring
Riftworld Codex Trinket
Tarratus Keystone Trinket

Eonar the Life-Binder

Eonar the Life-Binder

Defend Eonar’s Essence from waves of Legion adds that spawn from portals across a 3-tiered arena. Kill adds to charge Eonar’s energy—at 100%, she damages the Paraxis (repeat 4x to win). Prioritize Obfuscators (cloak adds) and Destructors (interrupt their casts), while CC’ing small adds. Use Surge of Life and jump pads to move quickly; spread for Rain of Fel. Lust during dense waves (e.g., Lower Portal at 3:45) for maximum efficiency.

icon Preferred Classes:
  • Tanks: High-mobility tanks (e.g., Druid Guardian Druid, Monk Brewmaster Monk) to handle Fel-Infused Destructors and Fel-Powered Purifiers.
  • DPS:
    • AoE/Cleave: Demon Hunter Havoc Demon Hunters, Mage Mages, Warlock Warlocks (for small adds).
    • Single-Target: Rogue Rogues, Warrior Warriors (for Obfuscators and Destructors).
    • Ranged: Hunter Hunters, Priest Shadow Shadow Priests (to intercept Volant Kerapteron bats).
  • Healers: Strong raid healers (e.g., Druid Restoration Resto Druid, Priest Holy Holy Priest) to counter Paraxis Artillery and Rain of Fel.
Tips:
  • Prioritize Adds:
    • Fel-Charged Obfuscator (top priority; cloaks nearby adds).
    • Fel-Infused Destructor (interrupt Artillery Strike).
    • Fel-Powered Purifier (Heroic+: tank away from adds; cleave hurts).
    • Crowd Control: Slow/root/stun small adds (Felguards, Hounds, Lords).
  • Movement:
icon Strategy:
  • Phase 1 (Portals 1–3): Single-group focus. Kill Destructors first, then small adds.
  • Phase 2 (Portals 4–7): Split raid:
    • Upper Path: Melee/ranged kill Obfuscator + Fel Lords.
    • Lower/Middle: AoE groups handle Felhounds/Felguards.
  • Phase 3 (Portals 8–12):
    • Heroic: Tank Purifiers away from adds.
    • Mythic: Adds spawn faster; coordinate cooldowns for Life Force bursts.
icon Bloodlust/Drums:

During Portal 9 (Upper), when high-health Fel Lords and Destructors spawn.

icon Eonar loot table:
Type of Armor Item Loot type
Cloth Cord of Blossoming Petals Waist
Gilded Seraph’s Robes Chest
Grim Inquisitor’s Robes Chest
Runebound Tunic Chest
Leather Bearmantle Harness Chest
Felreaper Vest Chest
Headdress of Living Brambles Head
Life-Bearing Footpads Feet
Tunic of Chi-Ji Chest
Vest of the Dashing Scoundrel Chest
Mail Robes of Venerated Spirits Chest
Sash of the Gilded Rose Waist
Serpentstalker Tunic Chest
Plate Dreadwake Bonecage Chest
Helmet of the Hidden Sanctuary Head
Juggernaut Breastplate Chest
Light’s Vanguard Breastplate Chest
Vambraces of Life’s Assurance Wrist
Any Loop of the Life-Binder Ring
Vitality Resonator Trinket

Imonar the Soulhunter

Imonar the Soulhunter

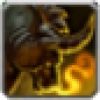
Imonar the Soulhunter is a three-phase fight across two platforms, with deadly traps on the bridge between them. In Phase 1, stack Pulse Grenades and manage Sleep Canister dispels. At 66%, dodge traps while crossing to Phase 2, where you’ll handle Shrapnel Blast mines and Charged Blasts beams. At 33%, navigate back across the bridge (now with more traps) to Phase 3, using Bloodlust to burn the boss amid empowered abilities. Key tips: assign trap-soakers, interrupt Conflagration fast, and spread for knockbacks in Phase 3.

icon Preferred Classes:
  • Tanks: High-mobility classes (e.g., Demon Hunter Vengeance Demon Hunters, Warrior Protection Warriors) for trap navigation.
  • Healers: Strong AoE healers (e.g., Druid Restoration Restoration Druids, Priest Holy Holy Priests) for raid-wide damage.
  • DPS: Ranged preferred for easier mechanics handling (e.g., Mage Mages, Hunter Hunters). Immunities (e.g., Rogue Rogues, Mage Mages) help with trap clearing.
Tips:
  • Phase 1:
  • Intermissions:
    • Assign 1 player to trigger blocked traps (e.g., Stasis Trap → dispel after).
    • Use movement cooldowns (e.g., Sprint, Divine Steed).
  • Phase 2:
  • Phase 3:
icon Strategy:
  • Tanks: Swap at 2–3 stacks of Shock Lance/Sever.
  • Healers: Prioritize dispels (Sleep Canister) and raid healing during intermissions.
  • DPS: Focus on mechanics over padding; interrupt Conflagration ASAP post-transition.
  • Intermission Traps:
    • Heroic+: Avoid rolling orbs during Conflagration.
    • Mythic: Fire edges apply 75% increased damage debuff (deadly).
icon Bloodlust/Drums:

Ideal time due to escalating raid damage from Empowered Shock Lance.

icon Imonar loot table:
Type of Armor Item Loot type
Cloth Gilded Seraph’s Leggings Legs
Grim Inquisitor’s Leggings Legs
Runebound Leggings Legs
Soulhunter’s Cowl Head
Whisperstep Runners Feet
Leather Bearmantle Legguards Legs
Felreaper Leggings Legs
Leggings of Chi-Ji Legs
Pants of the Dashing Scoundrel Legs
Spaulders of the Relentless Tracker Shoulder
Mail Deft Soulhunter’s Sabatons Feet
Leggings of Venerated Spirits Legs
Preysnare Vicegrips Hands
Serpentstalker Legguards Legs
Plate Dreadwake Legplates Legs
Imonar’s Demi-Gauntlets Hands
Juggernaut Legplates Legs
Light’s Vanguard Legplates Legs
Shoulderguards of Indomitable Purpose Shoulder
Any Drape of the Spirited Hunt Cloak

Kin’garoth

Kin'garoth

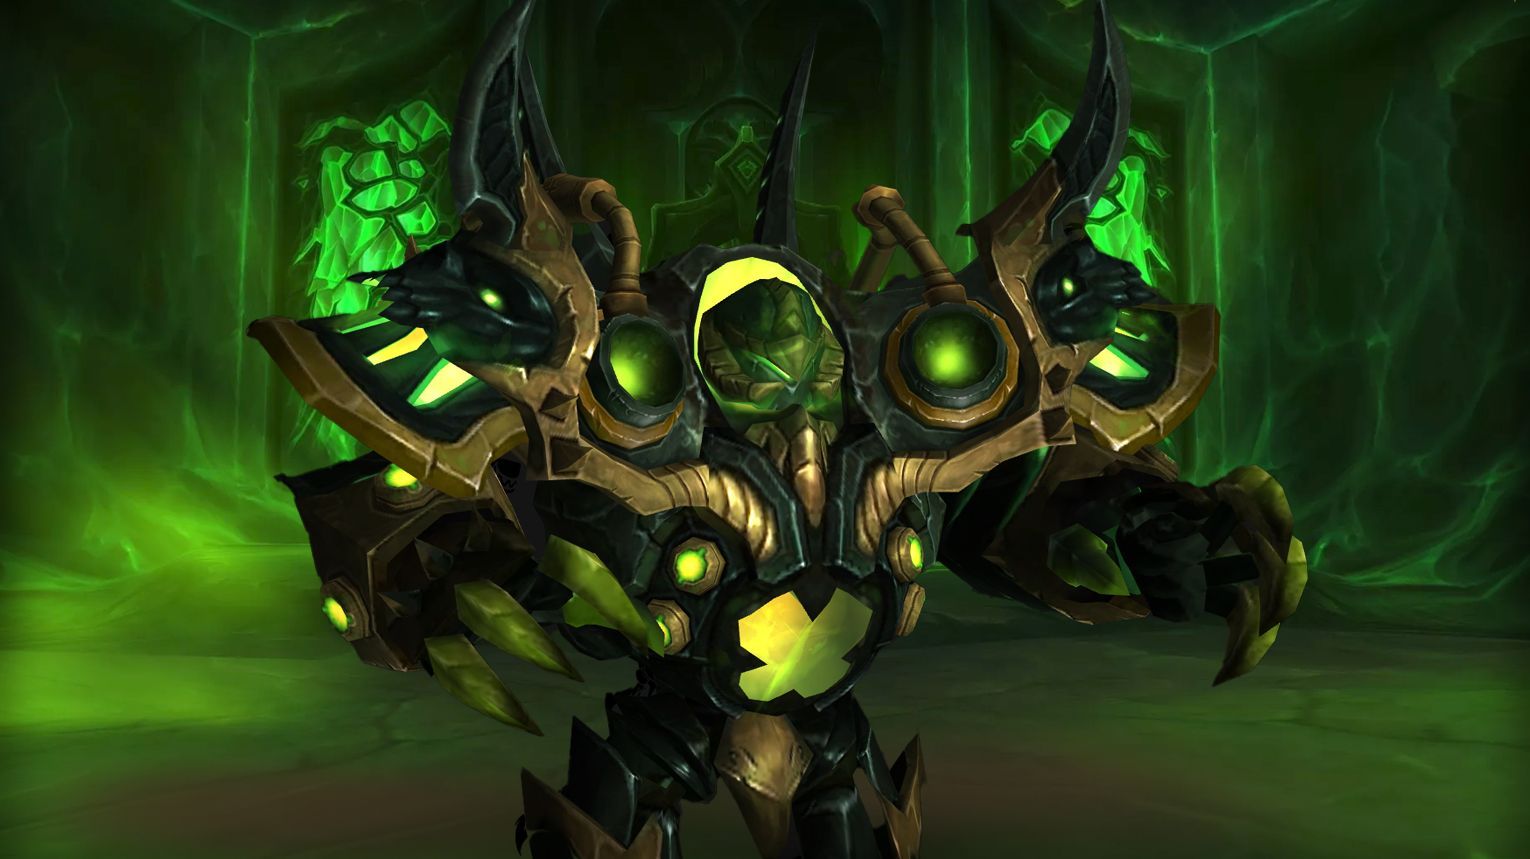
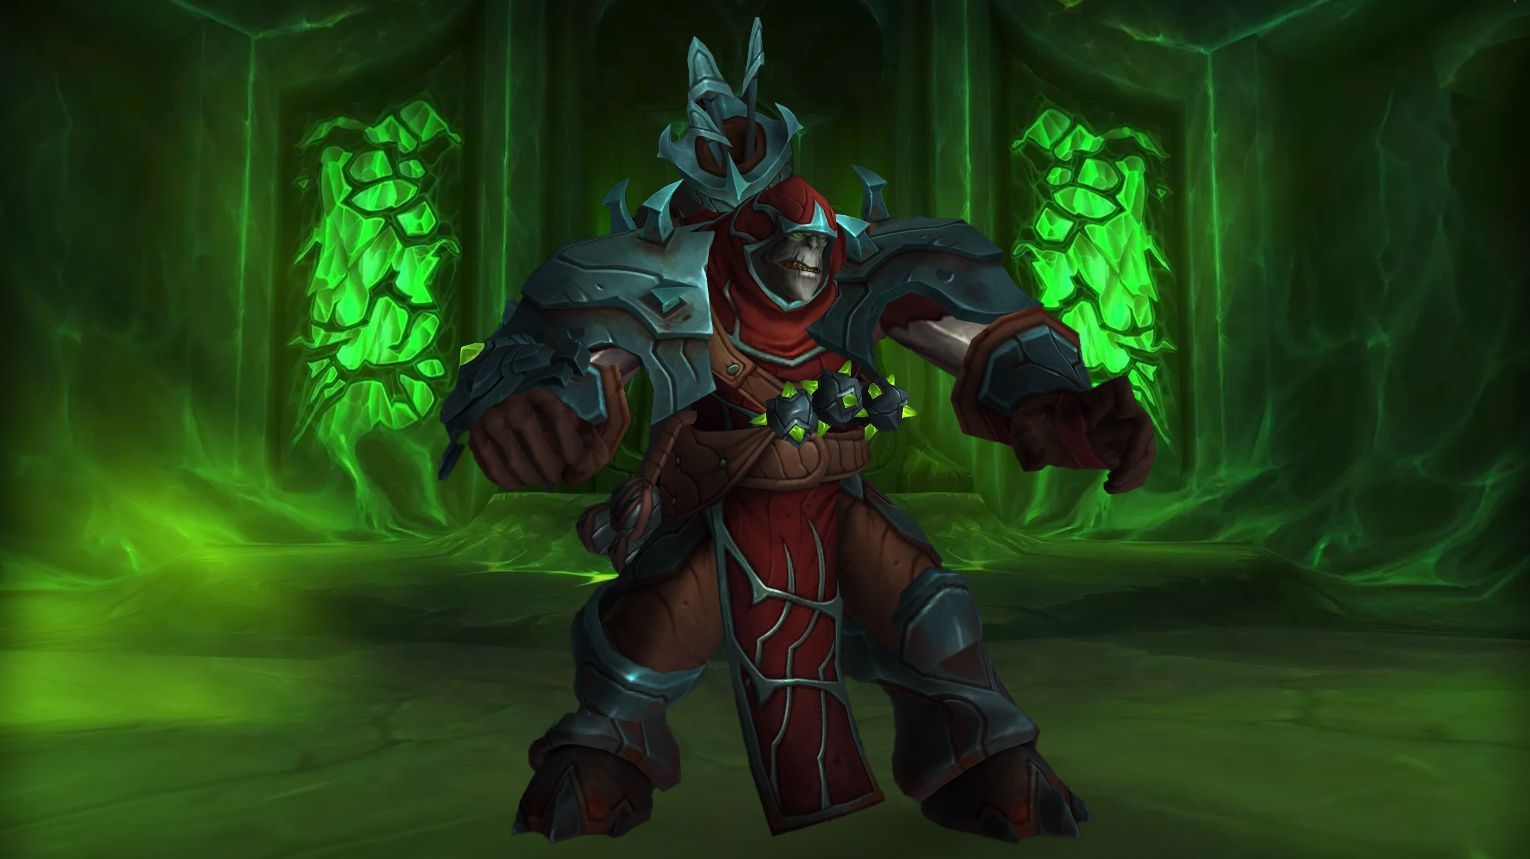
Kin’garoth alternates between two phases: Phase 1 (fight him directly, dodge Ruiner beams and Diabolic Bombs) and Phase 2 (kill Fel Reavers before they activate). Split the raid to burn down adds during Initializing (they take bonus damage). Key mechanics include soaking Annihilation orbs, spreading for Demolish, and dropping Decimation pools away from the group. Use Bloodlust in Phase 2 for maximum add damage. Heroic adds a third Fel Reaver and more Diabolic Bombs.

icon Preferred Classes:
  • Tanks: High-mitigation classes (e.g., Paladin Protection Protection Paladin, Death Knight Blood Blood DK) to handle Forging Strike stacks.
  • Healers: Strong AoE healers (e.g., Shaman Restoration Restoration Shaman, Priest Holy Holy Priest) for Flames of the Forge and Demolish splits.
  • DPS: Burst/AoE specialists (e.g., Mage Fire Fire Mage, Demon Hunter Havoc Demon Hunter) to nuke Fel Reavers during Initializing.
Tips:
  • Phase 1:
  • Phase 2:
    • Split raid to kill 2/3 Fel Reavers before they activate.
    • Assign players to soak Annihilation orbs (1 per orb).
    • Demolisher: Split Demolish debuffs among groups.
    • Decimator: Drop Decimation circles away from raid.
icon Strategy:
  • Phase 1 Priority:
  • Phase 2 Execution:
    • Normal: Kill 2 Fel Reavers before activation.
    • Heroic: Kill 2, then focus the 3rd (all 3 spawn).
    • Position adds near Kin’garoth for cleave damage.
  • Add Rotation:
    • Follow set spawn order (see guide for room assignments).
    • Prioritize killing Demolishers/Annihilators first.
icon Bloodlust/Drums:

Use BL to burn Fel Reavers during Initializing (max damage bonus).

icon Kin’garoth loot table:
Type of Armor Item Loot type
Cloth Gilded Seraph’s Handwraps Hands
Grim Inquisitor’s Gloves Hands
Magma-Spattered Smock Chest
Runebound Gloves Hands
Leather Bearmantle Paws Hands
Depraved Machinist’s Footpads Feet
Felreaper Gloves Hands
Gloves of the Dashing Scoundrel Hands
Grips of Chi-Ji Hands
Mail Gloves of Venerated Spirits Hands
Scalding Shatterguards Wrist
Serpentstalker Grips Hands
Plate Dreadwake Gauntlets Hands
Juggernaut Gauntlets Hands
Light’s Vanguard Gauntlets Hands
Titan-Subjugator’s Visage Head
Any Band of the Sargerite Smith Ring
Acrid Catalyst Injector Trinket
Apocalypse Drive Trinket
Forgefiend’s Fabricator Trinket

Varimathras

Varimathras

Varimathras is a single-phase DPS race with a 6-minute enrage. The raid must stack tightly to avoid Alone in the Darkness (shadow damage + Misery debuff). Move as a group to dodge Dark Fissures, and assign a mobile melee (e.g., Rogue/DH) to soak Marked Prey. Tanks swap after Shadow Strike (use mitigation). On Heroic, isolate Necrotic Embrace carriers and adjust for Torment of Frost/Fel. Bloodlust on pull to beat enrage.

icon Preferred Classes:
  • Tanks: High-mitigation classes (e.g., Paladin Protection Protection Paladin, Death Knight Blood Blood DK) for Shadow Strike.
  • Healers: Strong raid healers (e.g., Druid Restoration Resto Druid, Priest Holy Holy Priest) for constant Torments ticking damage.
  • DPS:
    • Mobile melee (e.g., Rogue Rogue, Demon Hunter Havoc Demon Hunter, Warrior Warrior) to handle Marked Prey knockback.
    • Ranged with good mobility (e.g., Mage Mage, Hunter Hunter) for Dark Fissure movement.
Tips:
  1. Stack tightly to avoid Alone in the Darkness.
  2. Move as a unit for Dark Fissures—pre-position on opposite sides of the boss.
  3. Assign a Marked Prey soaker (use mobility spells to counter knockback).
  4. Tanks:
    • Stand within 8yds of each other.
    • Taunt after Shadow Strike (use active mitigation).
  5. Heroic:
icon Strategy:
icon Bloodlust/Drums:

On pull (maximize DPS to beat enrage).

icon Varimathras loot table:
Type of Armor Item Loot type
Cloth Blood-Drenched Bindings Wrist
Cord of Surging Hysteria Waist
Leather Belt of Fractured Sanity Waist
Vest of Unfathomable Anguish Chest
Mail Nathrezim Shade-Walkers Feet
Robes of the Forsaken Dreadlord Chest
Plate Greaves of Mercurial Allegiance Legs
Varimathras’ Shattered Manacles Wrist
Any Riveted Choker of Delirium Amulet
Carafe of Searing Light Trinket
Seeping Scourgewing Trinket

The Coven of Shivarra

The Coven of Shivarra

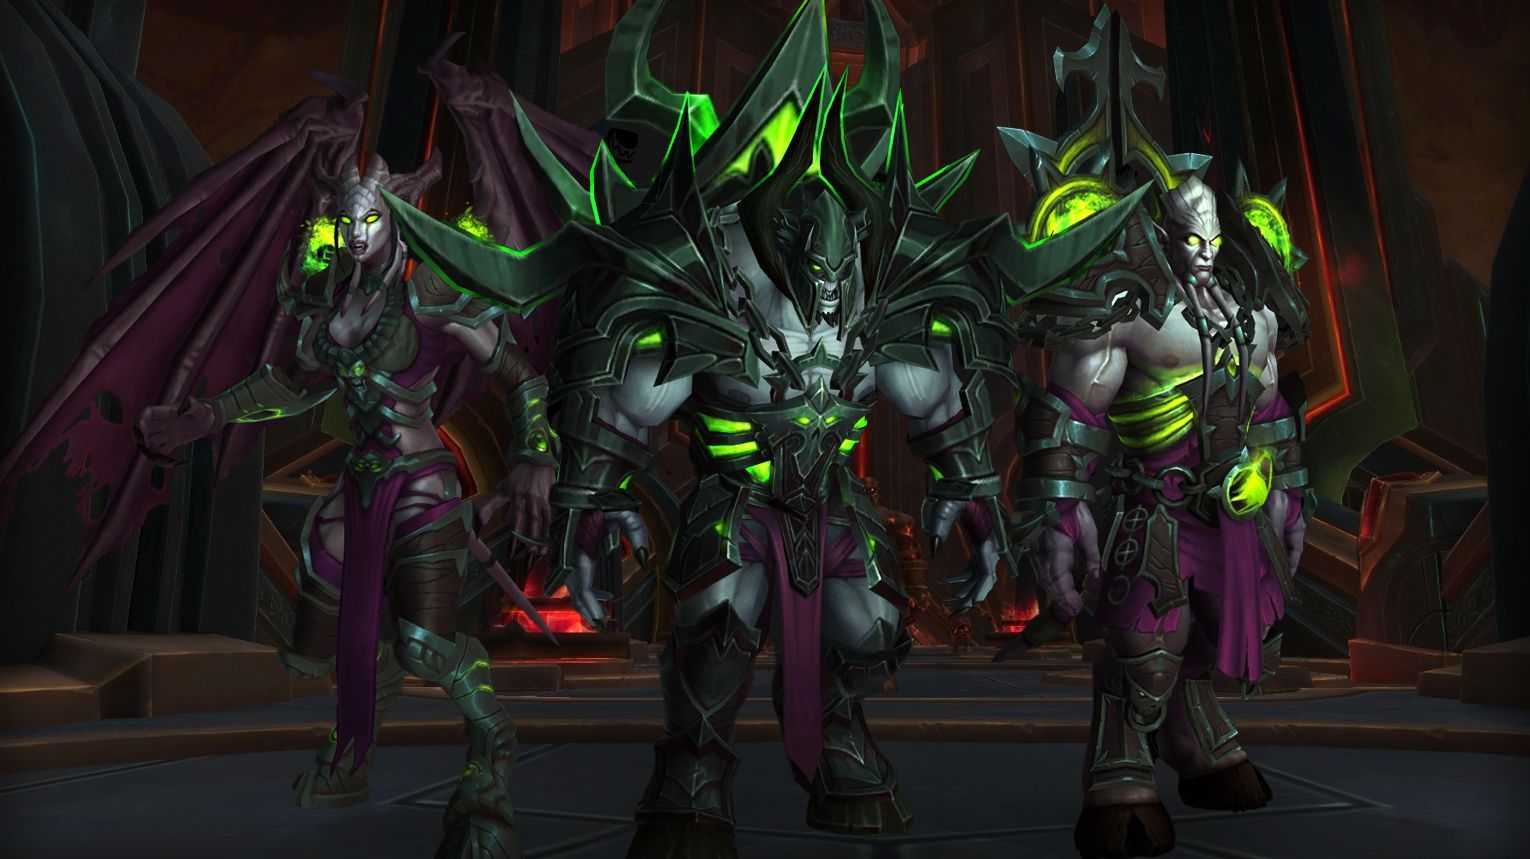
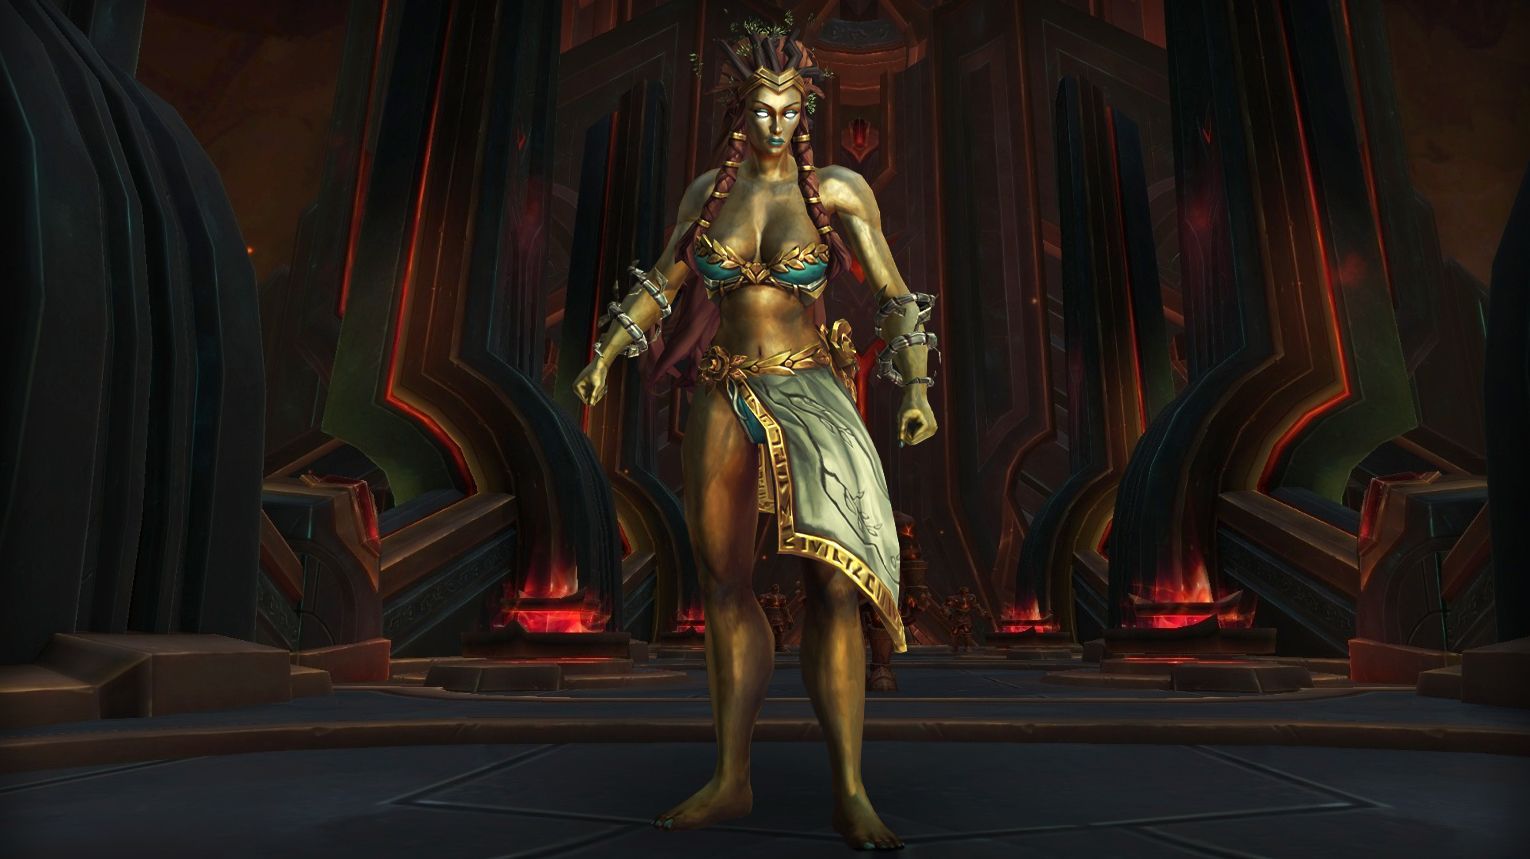
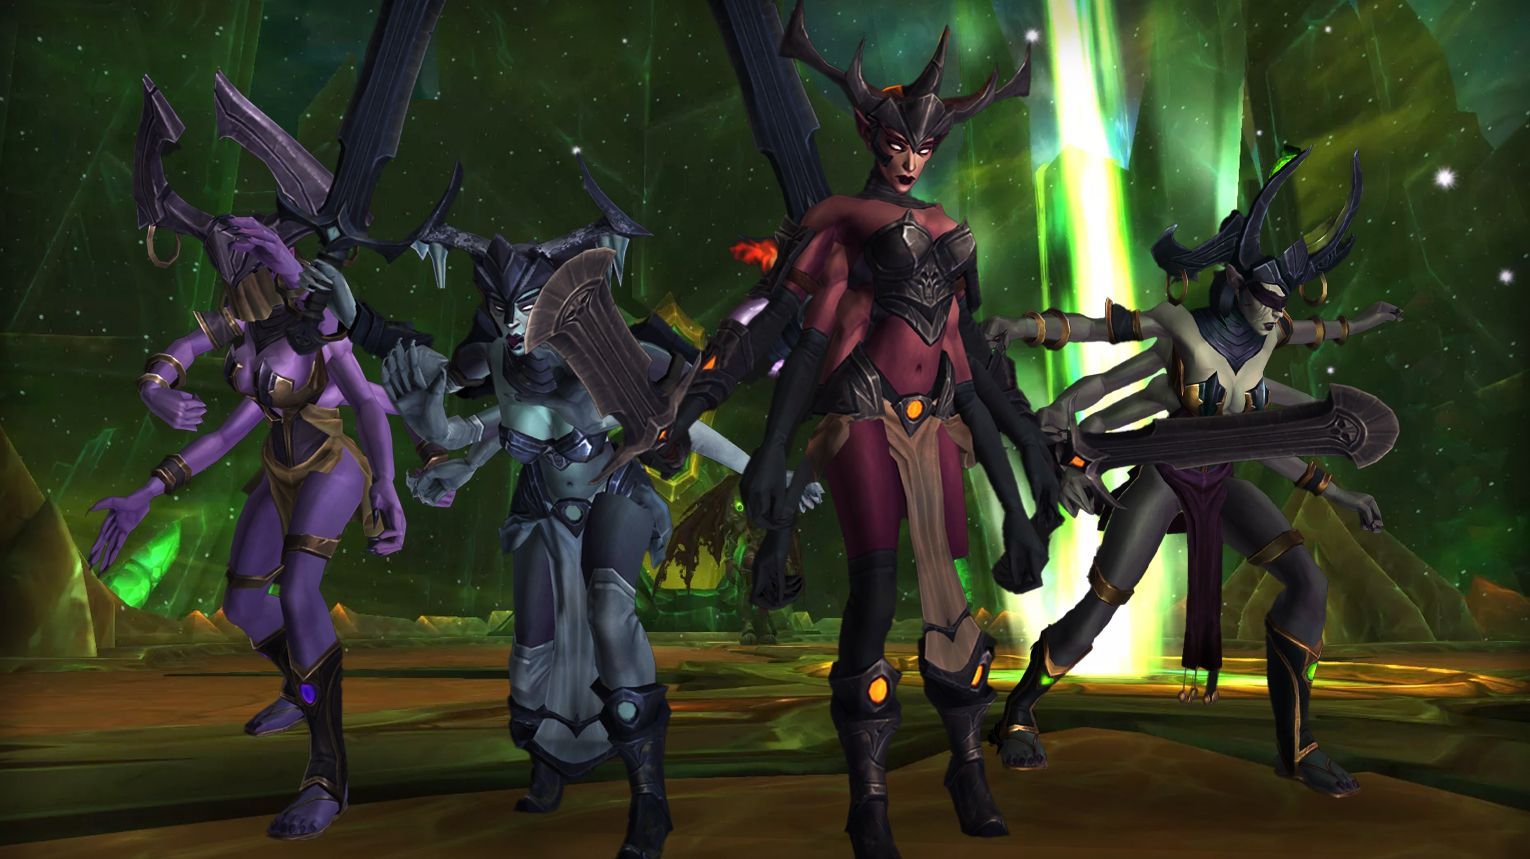
The Coven of Shivarra is a council-style fight in Antorus with three bosses sharing a health pool—only two are active at a time. The inactive boss torments a Titan (Aman’Thul, Golganneth, Khaz’goroth, or Norgannon), triggering unique mechanics every 80 seconds. Keep bosses 18+ yards apart to avoid Shivan Pact’s 99% damage reduction. Key mechanics include spreading for Fury of Golganneth, bursting Torment of Aman’Thul adds, and kiting/CCing Torment of Norgannon. Tanks must swap at 5 stacks of Fiery Strike or Flashfreeze, and Bloodlust is best used early or during critical add phases.

icon Preferred Classes:
  • Tanks: High-mobility classes (e.g., Demon Hunter Vengeance Demon Hunters, Warrior Protection Warriors) to manage boss positioning and debuff swaps.
  • Healers: Strong spot healers (e.g., Paladin Holy Holy Paladins, Priest Discipline Discipline Priests) for Chilled Blood and Touch of Darkness.
  • DPS:
    • Cleave/AoE specialists (e.g., Warlock Affliction Affliction Warlocks, Mage Frost Frost DKs) for multi-boss damage.
    • Crowd control (e.g., Hunter Hunters, Mage Mages) for Torment of Norgannon adds.
Tips:
icon Strategy:
  • Boss Positioning: Keep bosses 18+ yards apart but close enough for cleave (19–22 yards ideal).
  • Titan Mechanics:
    • Aman’Thul: Burst down adds before they finish casting.
    • Golganneth: Spread 2+ yards apart.
    • Khaz’goroth: Stand between flamethrower adds.
    • Norgannon: CC/kite adds until their 30s immunity expires.
  • Heroic+:
icon Bloodlust/Drums:

First Torment Phase: Use early to push boss health before mechanics escalate.

icon The Coven of Shivarra loot table:
Type of Armor Item Loot type
Cloth Fervent Twilight Legwraps Legs
Gilded Seraph’s Amice Shoulder
Grim Inquisitor’s Shoulderguards Shoulder
Runebound Mantle Shoulder
Leather Bearmantle Shoulders Shoulder
Bracers of Wanton Morality Wrist
Felreaper Spaulders Shoulder
Lurid Grips of the Obscene Hands
Meditation Spheres of Chi-Ji Shoulder
Shoulderpads of the Dashing Scoundrel Shoulder
Mail Legguards of Numbing Gloom Legs
Pauldrons of Venerated Spirits Shoulder
Serpentstalker Mantle Shoulder
Plate Burning Coven Sabatons Feet
Dreadwake Pauldrons Shoulder
Juggernaut Pauldrons Shoulder
Light’s Vanguard Shoulderplates Shoulder
Any Zealous Tormentor’s Ring Ring
Diima’s Glacial Aegis Trinket
Highfather’s Machination Trinket
Sheath of Asara Trinket

Aggramar

Aggramar

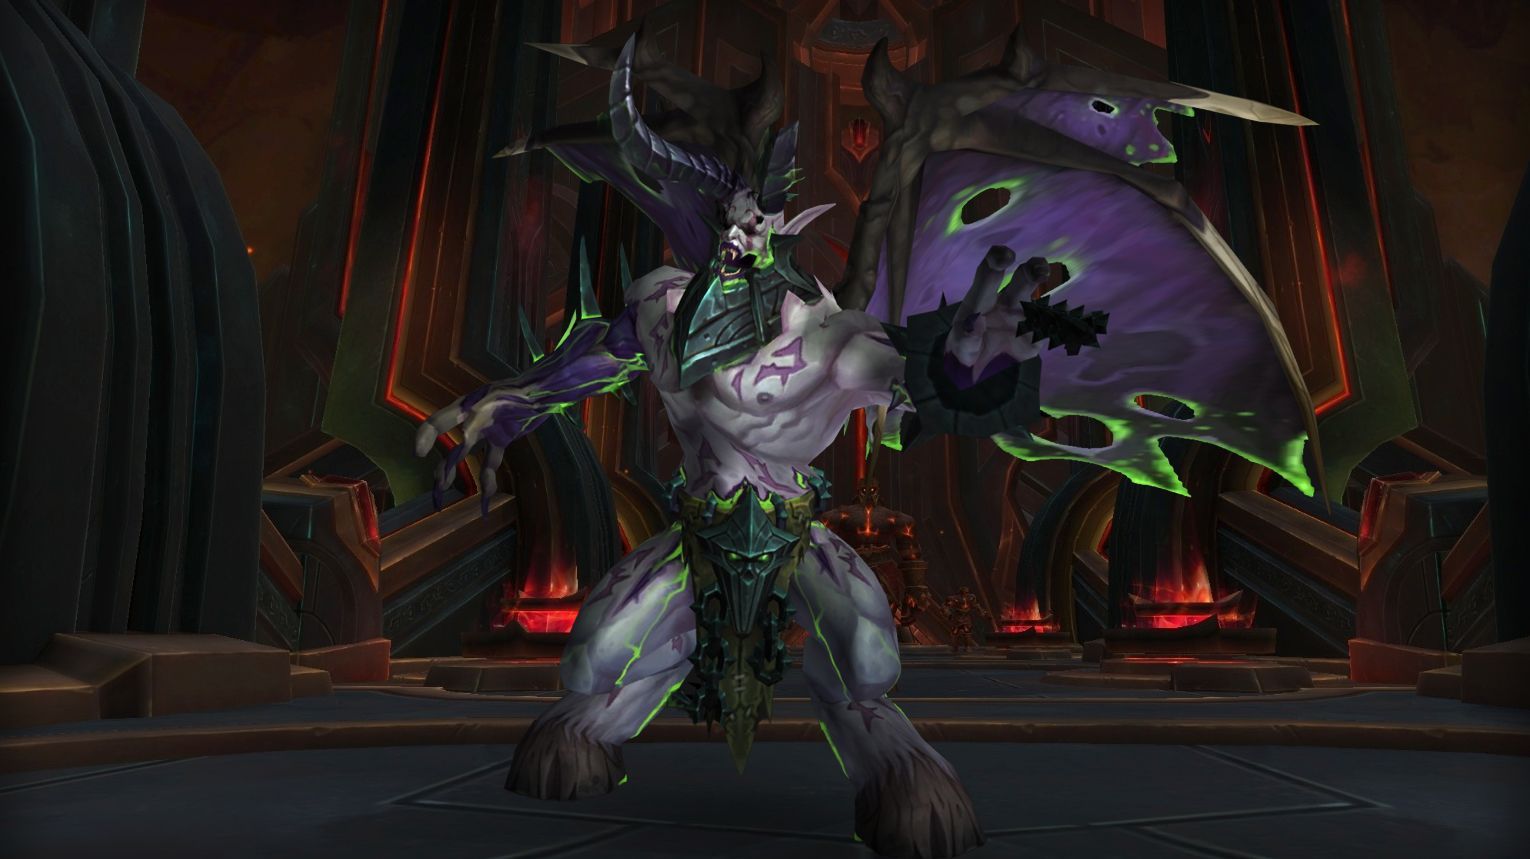
Aggramar is a three-phase boss in Antorus with two intermissions. Key mechanics include Taeshalach Technique (a deadly 5-ability combo), Scorching Blaze (spread to avoid splash damage), and Embers/Flames of Taeshalach (CC/kill adds in intermissions). Tanks must swap after Foe Breaker, while DPS stack for Flame Rend and run from Searing Tempest. Use Bloodlust in Phase 3 (40%-0%) for maximum efficiency.

icon Preferred Classes:
  • Tanks: High-mitigation classes (e.g., Paladin Protection Protection Paladin, Death Knight Blood Blood DK) for handling Foe Breaker and Taeshalach’s Reach.
  • Healers: Strong AoE healers (e.g., Shaman Restoration Restoration Shaman, Priest Holy Holy Priest) for Scorching Blaze and Flame Rend.
  • DPS:
    • Ranged with crowd control (e.g., Hunter Hunters for Frost Trap,  Mage Mages for Polymorph) to manage Embers.
    • High burst DPS to kill Flames quickly.
Tips:
  • Tanks:
    • Swap after Foe Breaker due to the 500% damage debuff.
    • Keep Flames of Taeshalach 15+ yards apart to avoid buffing Embers.
  • Healers:
  • DPS:
    • Always stack for Flame Rend to split damage.
    • Prioritize killing Embers > Flames in intermissions.
icon Strategy:
  • Phase 1 (100%-80%):
  • Intermission 1 (80%):
    • CC/kill Embers; tank Flames away from each other.
    • Kill Flames after Embers are dead.
  • Phase 2 (80%-40%):
  • Intermission 2 (40%):
    • Same as Intermission 1, but adds Meteor Swarm (dodge falling meteors).
  • Phase 3 (40%-0%):
icon Bloodlust/Drums:

Phase 3 (40%-0%): Highest damage pressure with combined mechanics.

icon Aggramar loot table:
Type of Armor Item Loot type
Cloth Fallen Avenger’s Amice Shoulder
Sandals of the Reborn Colossus Feet
Gilded Seraph’s Crown Head
Grim Inquisitor’s Death Mask Head
Runebound Collar Head
Leather Caustic Titanspite Legguards Legs
Bearmantle Headdress Head
Cavalier Hat of the Dashing Scoundrel Head
Douli of Chi-Ji Head
Felreaper Hood Head
Mail Greatboots of the Searing Tempest Feet
Headdress of Venerated Spirits Waist
Serpentstalker Helmet Head
Breastplate of Molten Rebirth Chest
Plate Grond-Father Girdle Waist
Dreadwake Helm Head
Juggernaut Helm Head
Light’s Vanguard Helm Head
Any Greatcloak of the Dark Pantheon Cloak
Gorshalach’s Legacy Trinket
Smoldering Titanguard Trinket
Taeshalach 2H Sword

Argus the Unmaker

Argus the Unmaker

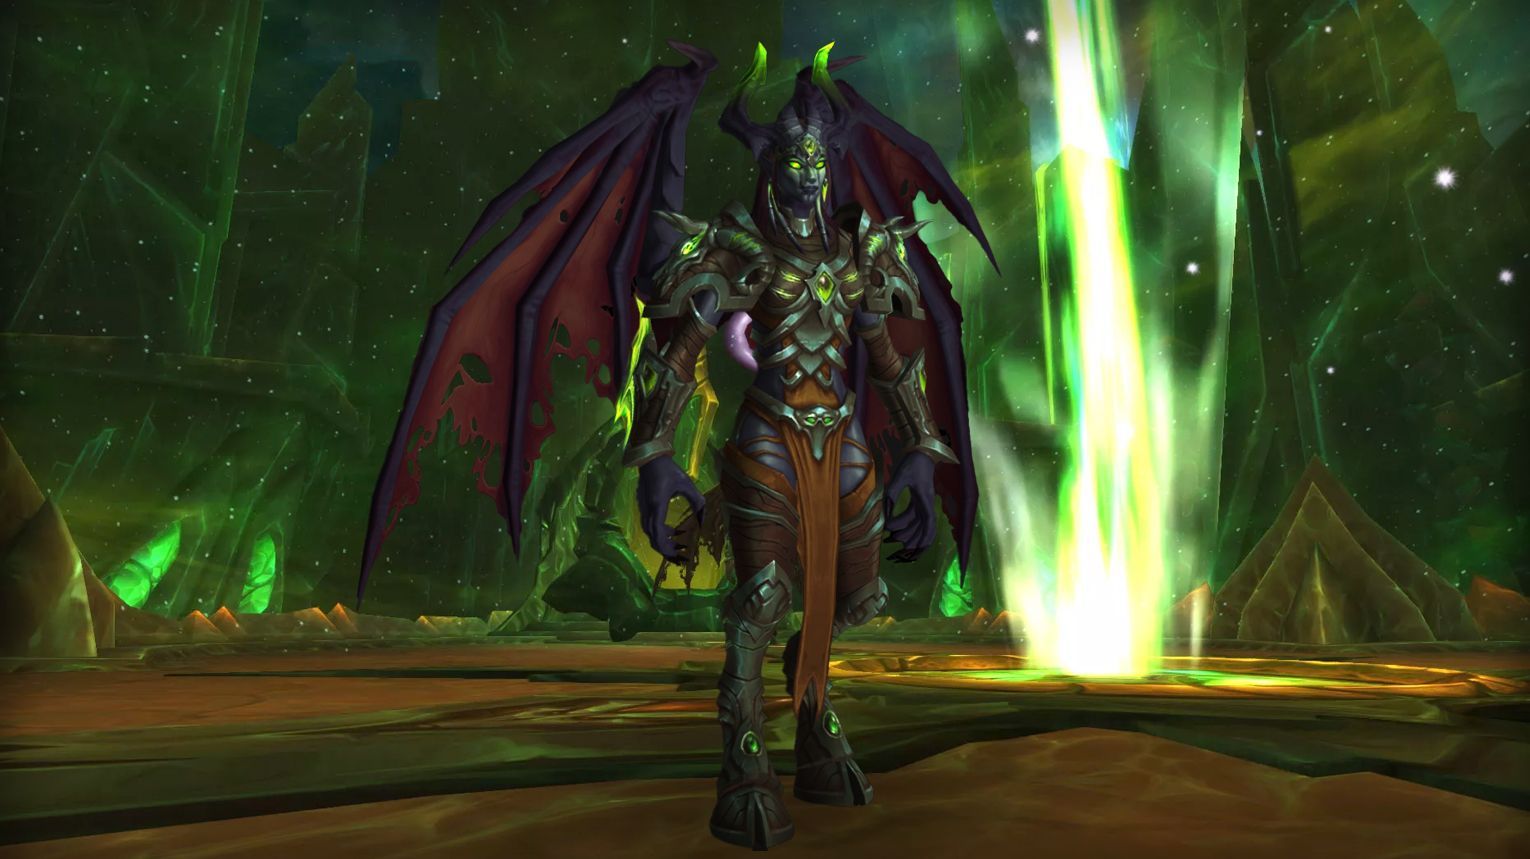
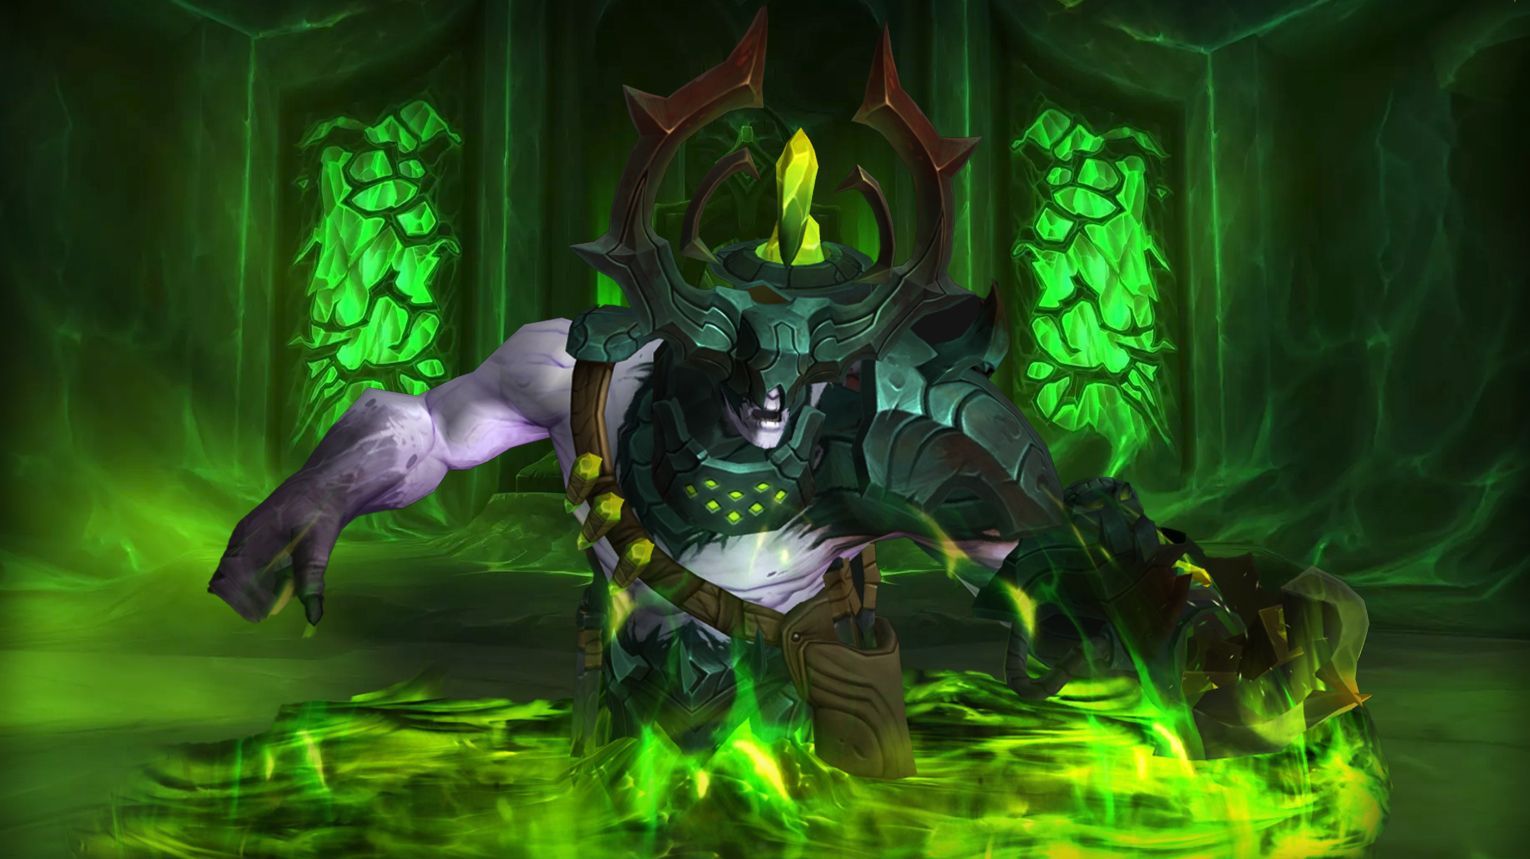
Argus the Unmaker is the final boss of Antorus, the Burning Throne, featuring four phases with escalating mechanics. In Phase 1, manage Death Fog by stacking and sidestepping Cone of Death. Phase 2 focuses on Soulburst/Soulbomb detonations, requiring ranged spreading and tank redirection. Phase 3 demands killing Constellar Designates while interrupting Cosmic Beacon. Phase 4 limits resurrects via Gift of the Lifebinder, requiring ghost players to collect Motes for buffs and dodge Embers of Rage. Use Bloodlust in Phase 3 for add burn or early Phase 4 for a kill push.

icon Preferred Classes:
  • Tanks: High-mitigation classes (e.g., Paladin Protection Protection Paladin, Death Knight Blood Blood DK) for Sweeping Scythe stacks.
  • Healers: Strong raid healers (e.g., Priest Holy Holy Priest, Shaman Restoration Restoration Shaman) for Soulburst/Soulbomb and Tortured Rage.
  • DPS:
    • Ranged preferred for Phase 3 (Constellar adds).
    • Classes with immunities (Ice Block, Divine Shield) can cheese Soulbomb in Phase 4.
Tips:
icon Strategy:
icon Bloodlust/Drums:

Best used in Phase 3 to burn Constellar adds quickly.
Alternative: Early Phase 4 to push boss before rez limits expire.

icon Argus loot table:
Type of Armor Item Loot type
Cloth Handwraps of Inevitable Doom Hands
Gambeson of Sargeras’ Corruption Chest
Leather Death-Enveloping Cincture Waist
Vest of Waning Life Chest
Mail Helm of the Awakened Soul Head
Pauldrons of Colossal Burden Shoulder
Plate Cosmos-Culling Legplates Legs
Nascent Deathbringer’s Clutches Hands
Any Shackled Ur’zul Mount
Chain of the Unmaker Amulet
Sullied Seal of the Pantheon Ring
Aggramar’s Conviction Trinket
Eonar’s Compassion Trinket
Golganneth’s Vitality Trinket
Khaz’goroth’s Courage Trinket
Norgannon’s Prowess Trinket
Aman’Thul’s Vision Trinket

Antorus Achievements List

Achievement Requirement
Forbidden Descent Defeat bosses on the second island of Antorus, the Burning Throne.
Hope’s End Kill the bosses in the depths of Antorus.
Light’s Breach Slay the bosses at the entrance to AtBT.
Seat of the Pantheon Defeat all bosses in the depths of Antorus.
Antorus, the Burning Throne Guild Run Kill all bosses on Normal difficulty or higher, while in a guild group.
Ahead of the Curve: Argus the Unmaker Slay Argus the Unmaker, on Heroic difficulty or higher, before the release of patch 8.0.
Mythic: Argus the Unmaker Defeat Argus on Mythic difficulty.
Mythic: Argus the Unmaker Guild Run Kill Argus the Unmaker on Mythic difficulty, while in a guild group.
Mythic: Aggramar Slay Aggramar on Mythic difficulty.
Realm First! Argus the Unmaker First guild on the realm to defeat Argus on Mythic difficulty, while in a guild group.
Mythic: Antoran High Command Defeat the Antoran High Command on Mythic difficulty.
Mythic: Eonar Successfully defend Eonar on Mythic difficulty.
Mythic: Garothi Worldbreaker Kill the Garothi Worldbreaker on Mythic difficulty.
Mythic: Hounds of Sargeras Slay the Hounds of Sargeras on Mythic difficulty.
Mythic: Imonar the Soulhunter Defeat Imonar the Soulhunter on Mythic difficulty.
Mythic: Kin’garoth Kill Kin’garoth on Mythic difficulty.
Mythic: The Coven of Shivarra Slay The Coven of Shivarra on Mythic difficulty.
Mythic: Varimathras Defeat Varimathras on Mythic difficulty.
Argussy Up Collect any class armor set from Antorus, the Burning Throne.
Glory of the Argus Raider Complete the raid achievements.
Don’t Sweat the Technique Kill Aggramar after slaying a Manifestation of Taeshalach on Normal difficulty or higher.
Hard to Kill Slay Imonar the Soulhunter after triggering every trap on the bridge on Normal difficulty or higher.
Hounds Good To Me Defeat the Felhounds of Sargeras on Normal difficulty or higher with both Felhounds afflicted with 5 stacks of Fel Imbuement.
Portal Combat Kill Portal Keeper Hasabel after opening a chaotic rift on Normal difficulty or higher.
Remember the Titans Slay the Coven of Shivarra on Normal difficulty or higher while at least one of each Torment survives.
Spheres of Influence Collect the 5 Orbs of Life placed around Eonar‘s sanctuary on Normal difficulty or higher.
Stardust Crusaders Collect 20 Motes of Titanic Power within 5 seconds and then defeat Argus the Unmaker on Normal difficulty or higher.
The World Revolves Around Me Defeat Kin’garoth with 9 Diabolic Bombs active on Normal difficulty or higher.
This is the War Room! Kill the Antoran High Command while placing three or fewer Felshield Emitters.
Together We Stand Slay Varimathras on Normal difficulty or higher without triggering Alone in the Darkness.
Worm-monger Defeat Garothi Worldbreaker after decimating 16 Blightscale Worms on Normal difficulty or higher.

Comments:

Related articles
All copyrights, trade marks and service marks belong to their corresponding owners. All mentioned brand names and related materials, logos and images are registered property of the respective companies. Gamingcy is not associated with or endorsed by any copyright owner in any way and offers services to players in different online games to make their gaming experience better. Gamingсy © 2025. All Rights Reserved. Flamingo Villas A-27-01-01-04 Ajman, UAE. Digital Power FZE LLC Reg. number: 3527