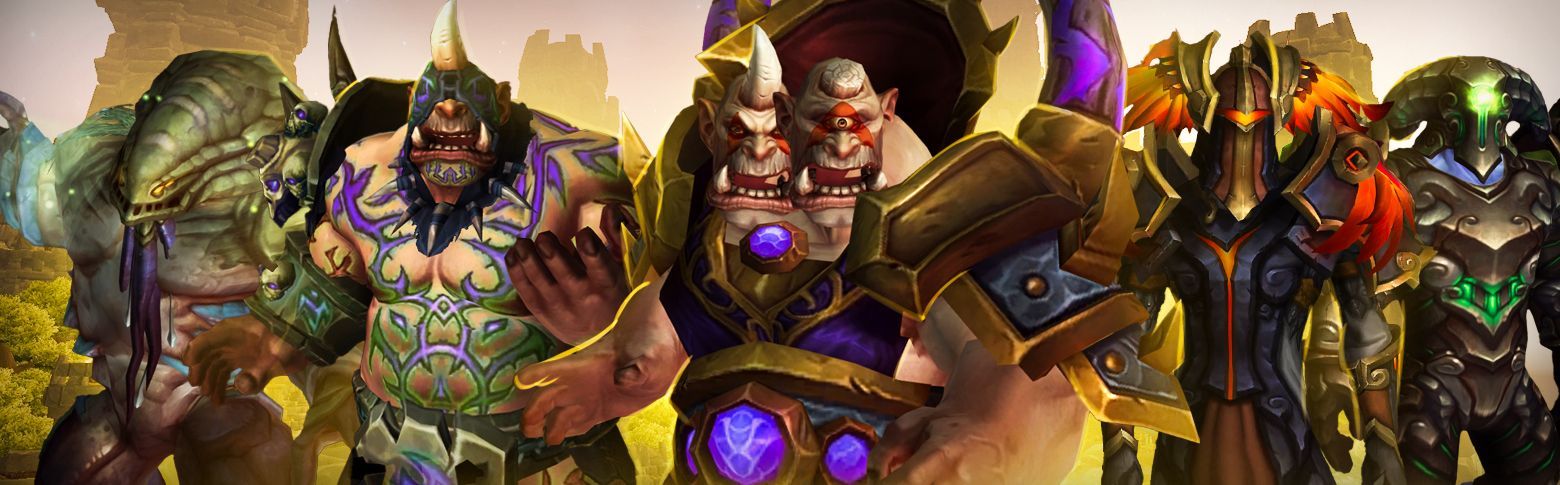
Highmaul is the first raid in Warlords of Draenor, opened in December 2014. Located in Nagrand, this ogre stronghold offers amazing transmog gear, achievements, and a chance to test your skills against powerful bosses if you want to clear it solo.
Legacy farming is fine, but if you want to stay competitive, you need the newest PvE gear. Our Manaforge Omega boost is the answer. Skilled US and EU teams finish the raid in 1–2 hours, no matter the difficulty: Normal, Heroic, or Mythic. Hourly runs are open now—grab your spot.
Whether you’re farming WoD raids for cosmetics, testing your solo skills, or want to check the Highmaul location, this guide will help you make the most of your runs in WoW Retail.
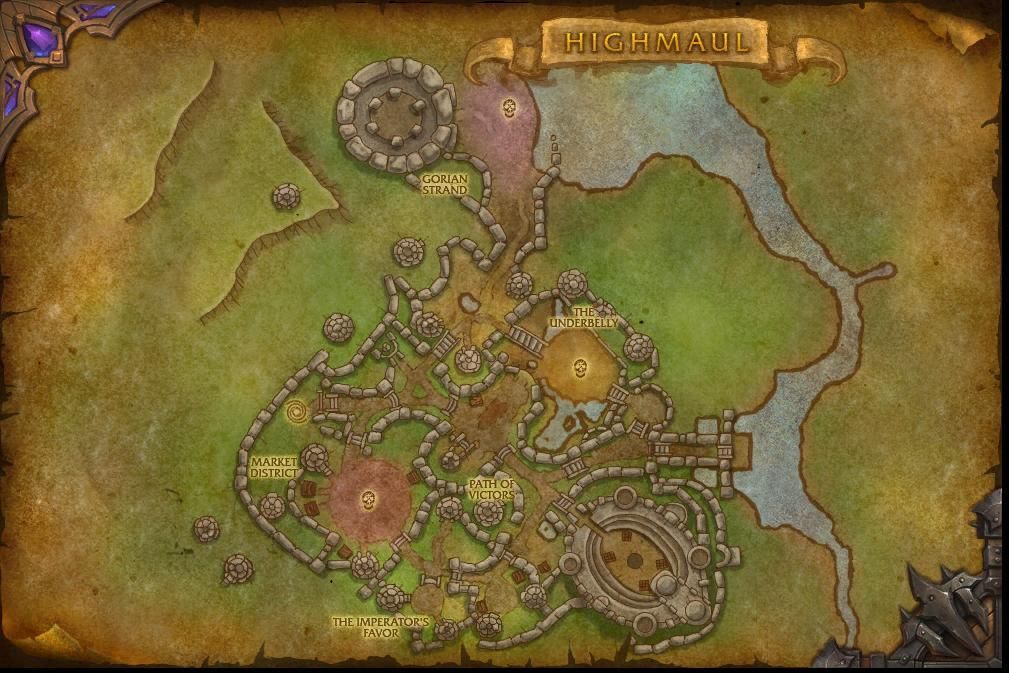
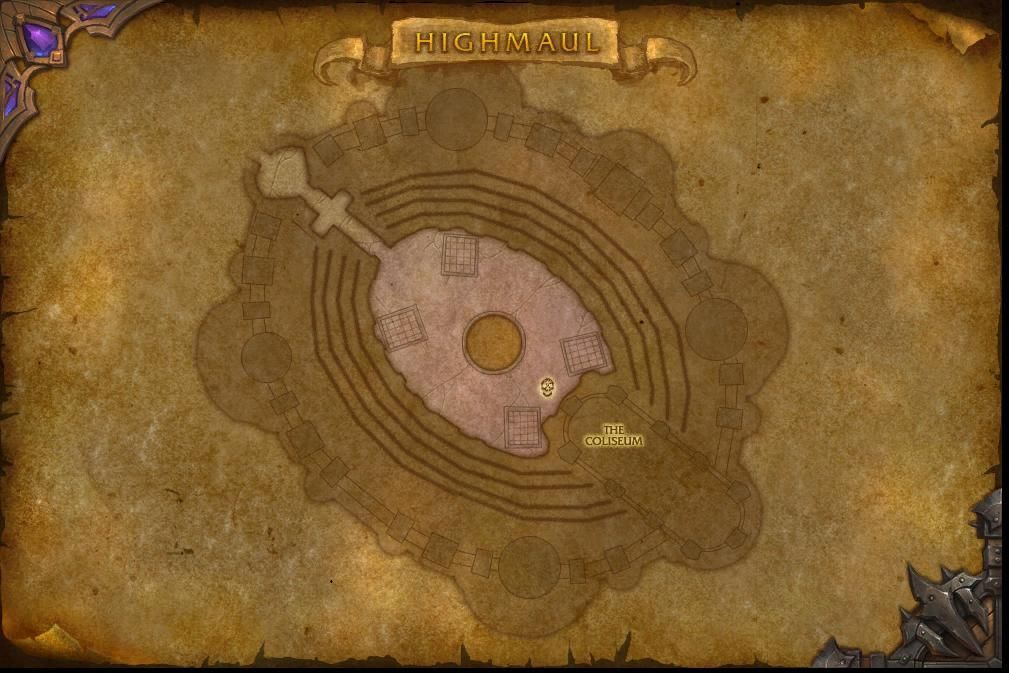
Highmaul Entrance and Subregions
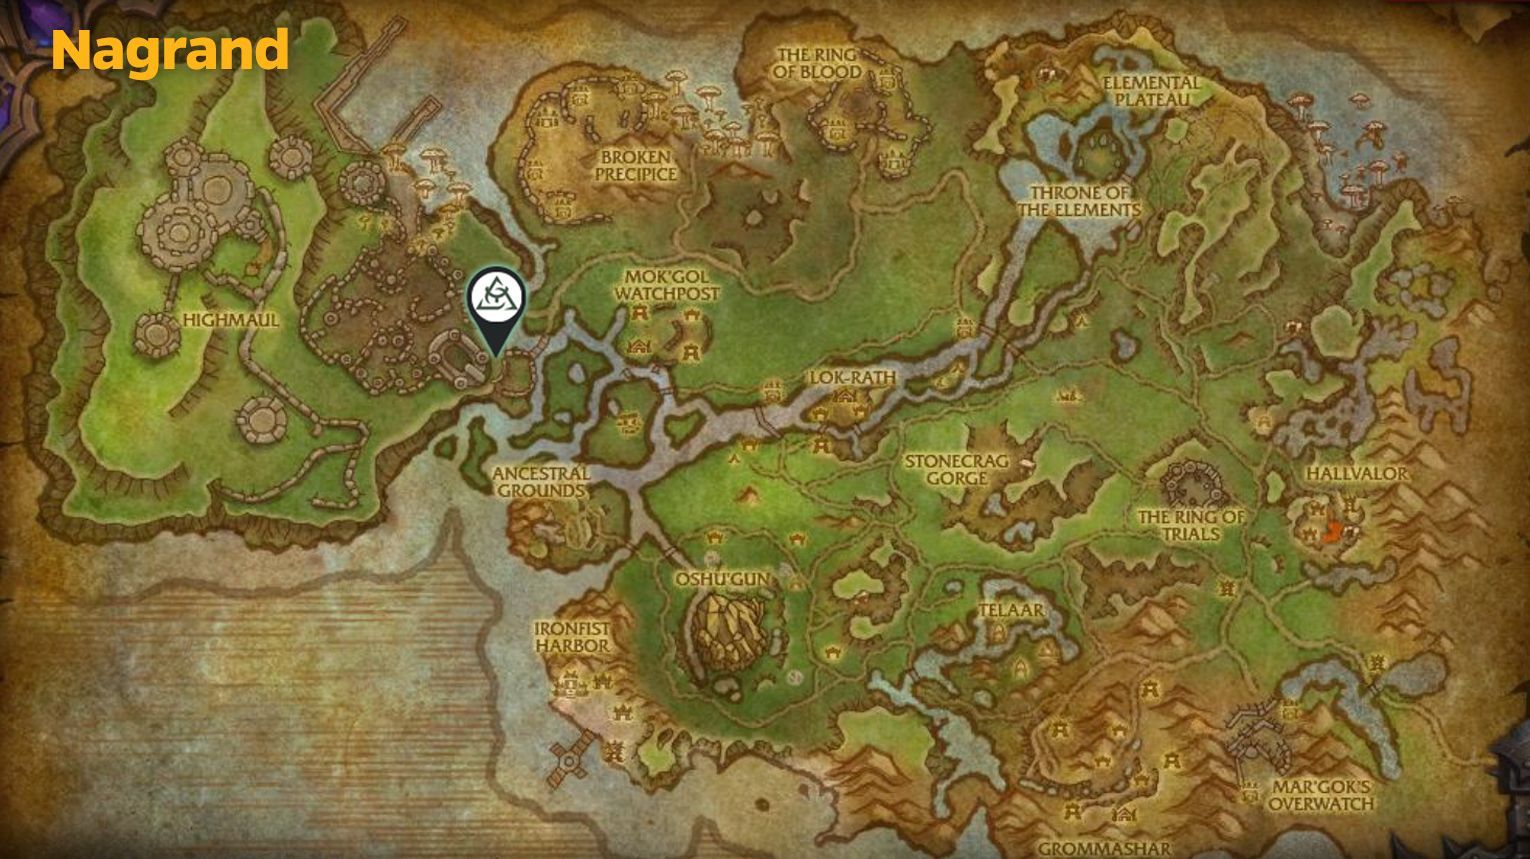
Highmaul is located in the Nagrand zone in World of Warcraft: Warlords of Draenor. Highmaul is in northwestern Nagrand (Warlords of Draenor). To get there:
The entrance is at /way Nagrand 36.2, 38.0, with a repair vendor right outside.
The entrance is guarded by Bogruk, a repair vendor, who is right outside the instance. Follow the path, be cautious of any enemies, and you’ll reach the main gates. Once at the entrance, walk through the doors to enter the raid and begin your adventure. If you want to get amazing professional teammates, buy boost in WoW at Gamingcy: we have over 2000 expert gamers ready to help you with new and old game content.
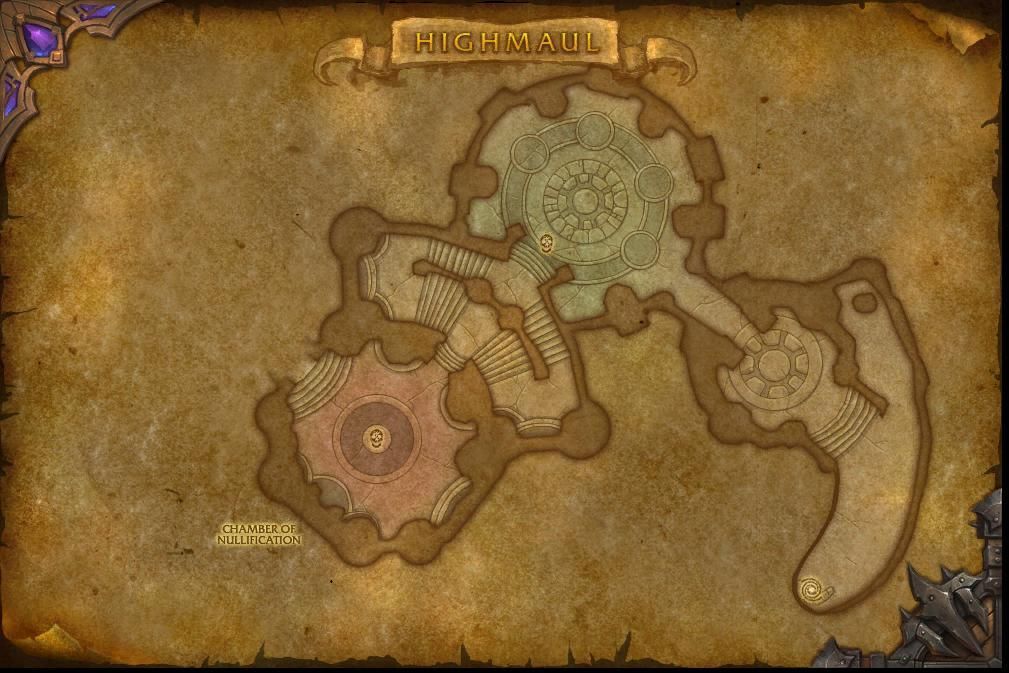
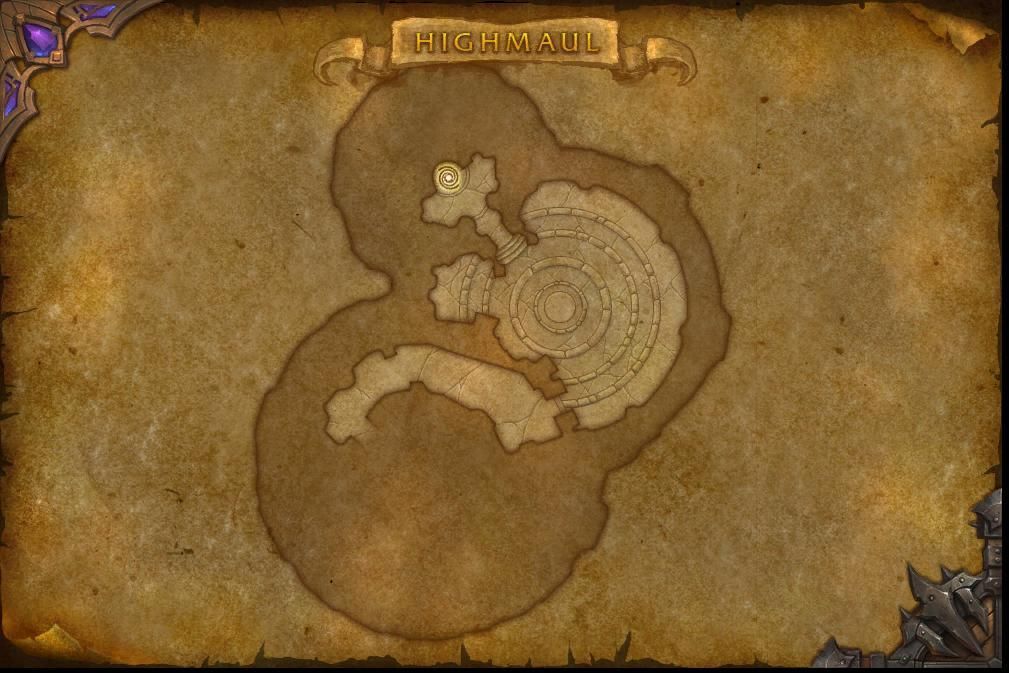
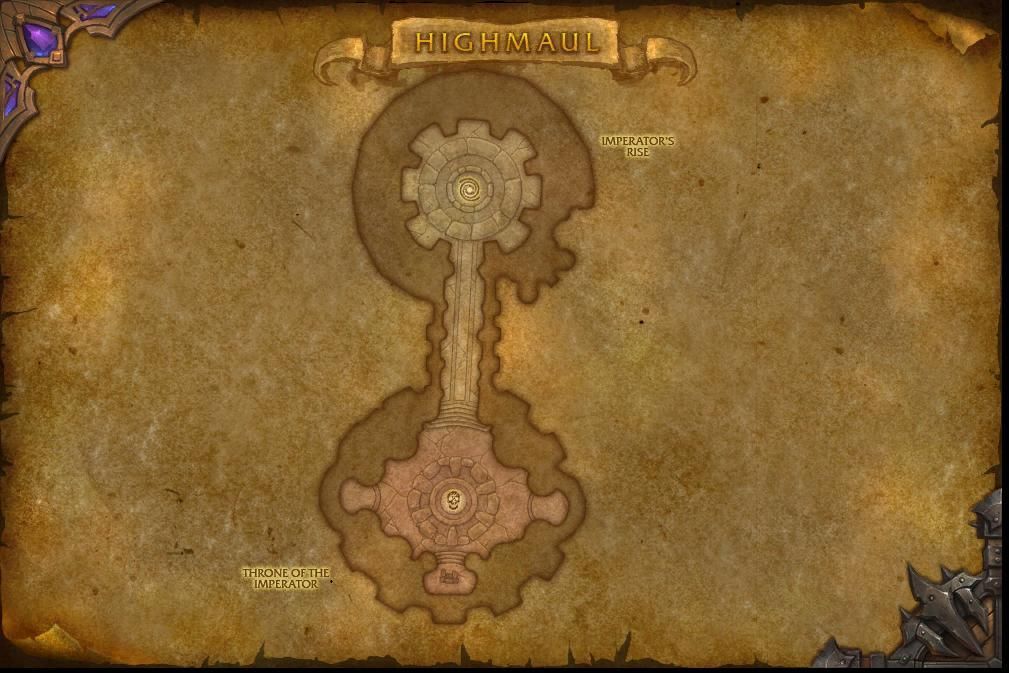
Inside, you fight through different sections of the ogre empire:
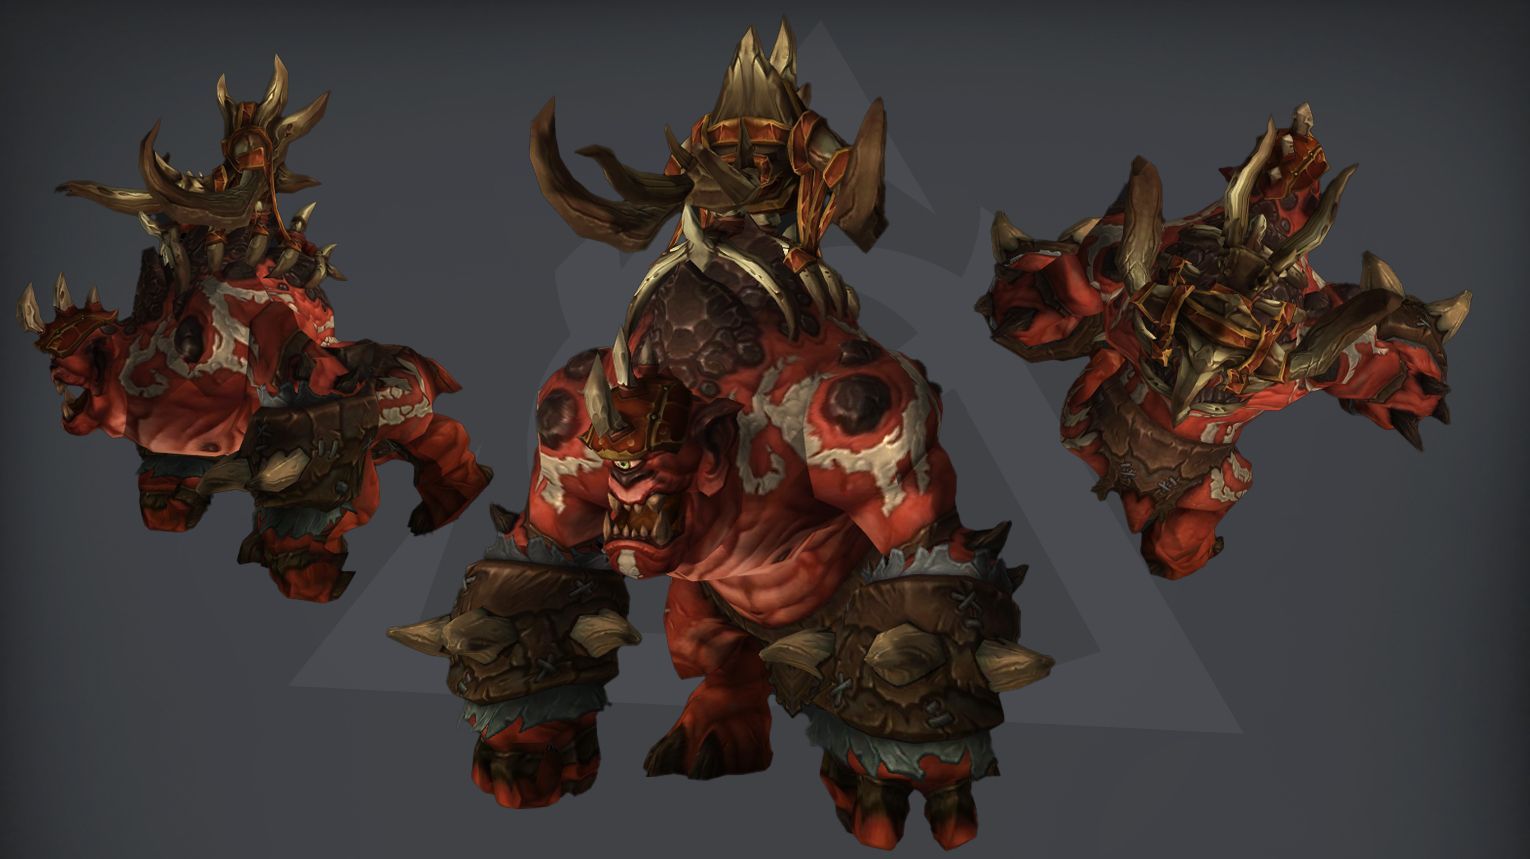
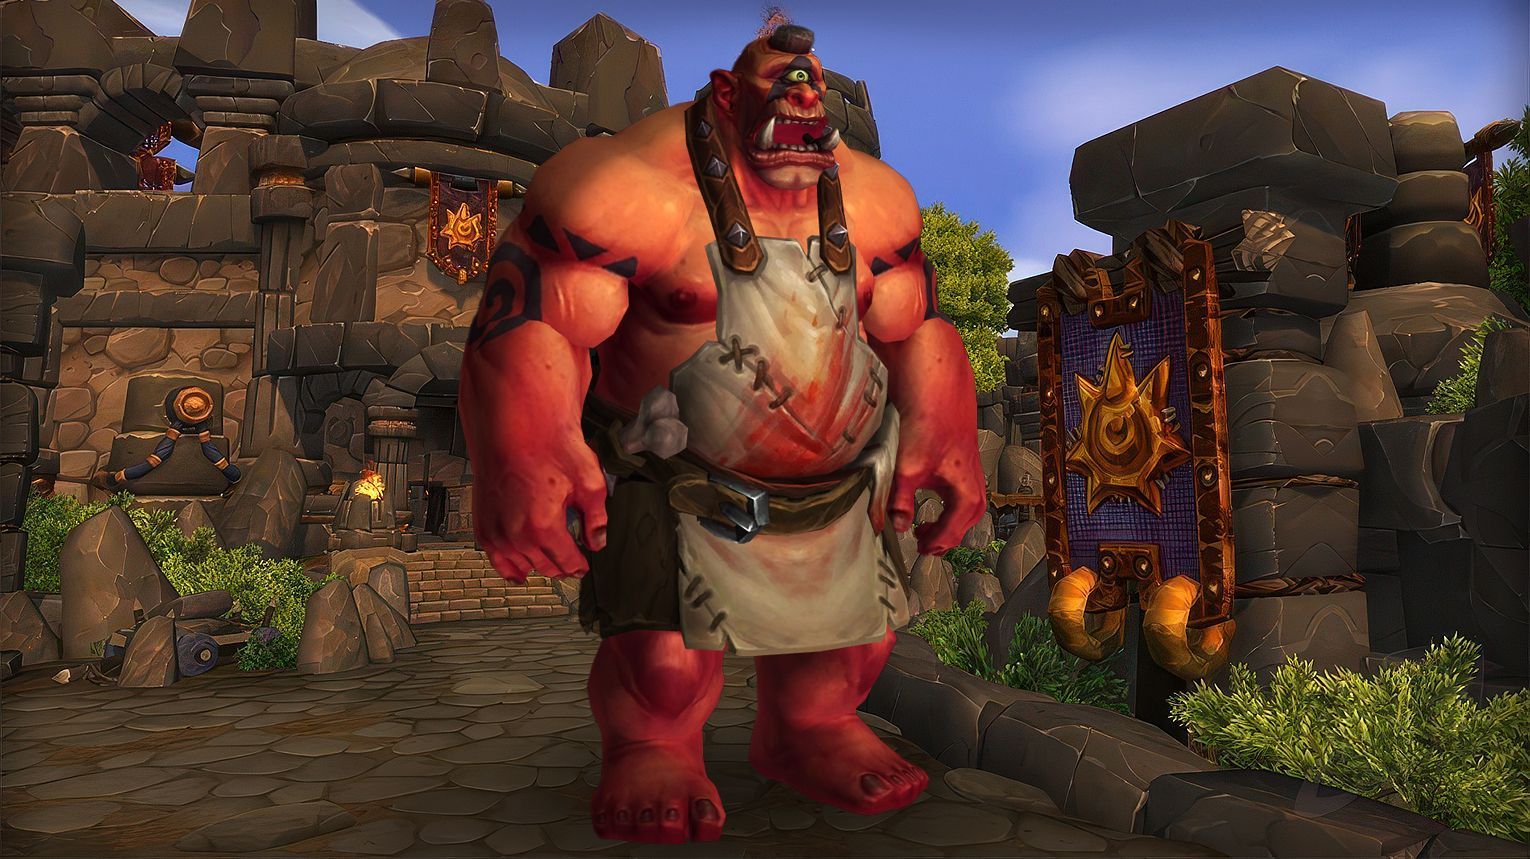
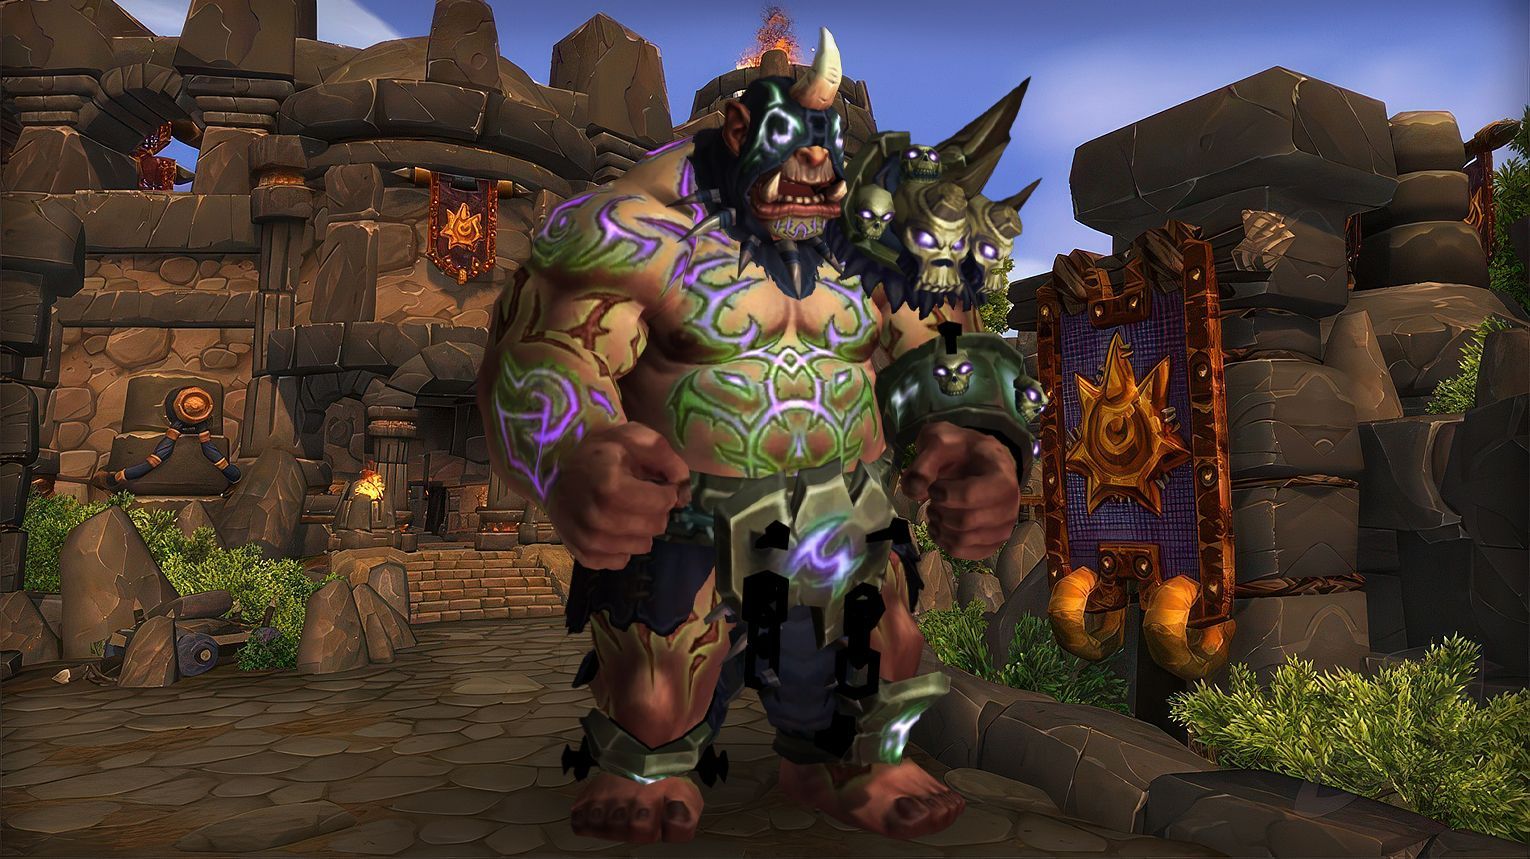
Highmaul is the brutal ogre stronghold raid from Warlords of Draenor, where players battle through seven savage encounters in the heart of Draenor. The raid starts with Kargath Bladefist, a deadly gladiator who fights you in his own coliseum, complete with traps and arena hazards. Next comes The Butcher, a mindless killing machine that forces your raid to outlast his relentless cleaves.
Fights get more complex as you progress—Tectus splits into smaller copies of himself, Brackenspore summons waves of fungal minions, and the Twin Ogron duo must be tanked carefully to avoid their devastating combined attacks. The final challenge is Imperator Mar’gok, a sorcerer-king who warps reality itself, forcing your raid to adapt to shifting mechanics in an epic throne room battle.
Below, we’ll break down each boss, their key mechanics, and the loot they drop.
Can You Solo Highmaul in The War Within?
Farming Highmaul solo in The War Within is a great method to gather transmog sets, mounts, pets, and achievements from the Warlords of Draenor expansion.
General Tips:
Recommended Level: 60+ (trivial at 80).
Difficulty: Normal/Heroic is easily soloable; Mythic may require more gear/skill.
No Mechanics Needed: Most bosses die before mechanics matter.
Fast Clearing: Use a mount with “Pathfinder” (WoD flying) or speed boosts (e.g., Druid travel form).
Kargath Bladefist is the first boss in Highmaul, featuring Chain Hurl (sending players to fight adds in stands) and Berserker Rush (kite him through Flame Pillars). Tanks must swap after Impale to manage Open Wounds, while DPS prioritize adds in stands. Ranged/healers spread to avoid Blade Dance and Mauling Brew. On Mythic, maximize Roar of the Crowd by kiting Berserker Rush longer and killing adds efficiently. Use Bloodlust early (LFR/Normal) or during high Favor (Mythic).
Preferred Classes:
Tanks: Classes with strong mitigation for Impale (e.g., Paladin, Warrior).
Healers: Strong single-target healers (e.g., Holy Paladin) for tank damage.
The Butcher is a DPS-heavy fight in Highmaul, focusing on Cleave management. Assign two melee groups to rotate soaking Cleave (3 stacks each) while ranged baits Bounding Cleave. Tanks must swap at 3–4 stacks of The Tenderizer and stack to split damage. At 30% HP, the boss Frenzies—use Bloodlust and cooldowns to burn him quickly. Avoid stacking too high on Gushing Wounds (5 stacks = instant death).
Preferred Classes:
Tanks: High-mitigation classes (e.g., Protection Paladin, Blood DK) for The Tenderizer stacks.
DPS:
Melee: Classes with cleave (e.g., Warrior, Ret Paladin) for consistent damage.
Ranged: Mobile classes (e.g., Hunter, Mage) to bait Bounding Cleave.
Healers: Strong AoE healers (e.g., Resto Druid, Holy Priest) for Gushing Wounds.
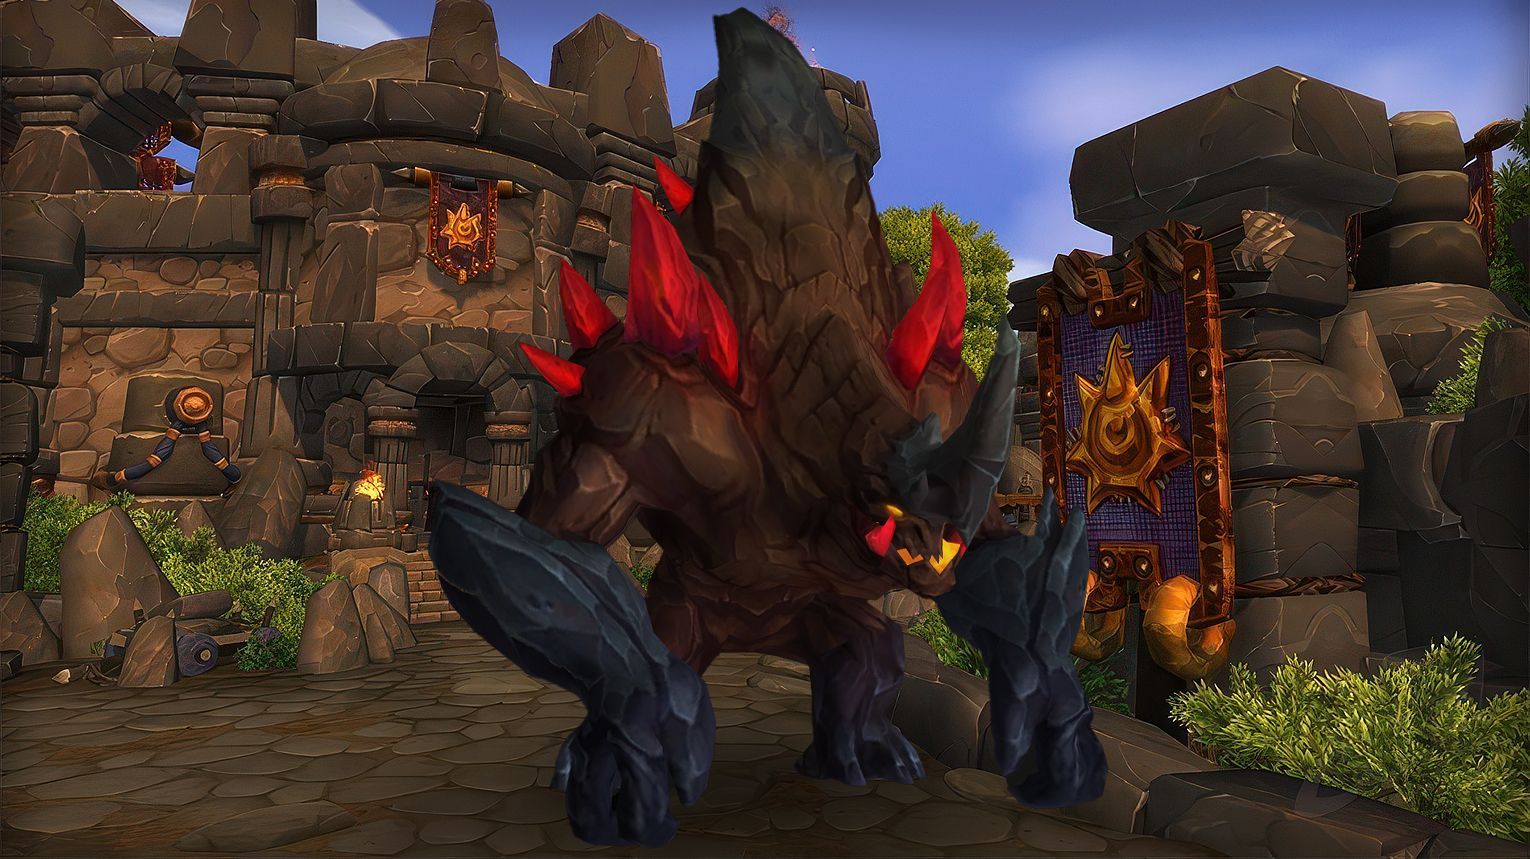
Tectus is a Highmaul boss with heavy movement and add management. He splits into 2 Shards when killed, which then split into 4 Motes each. Key mechanics include dodging Earthen Pillar (25 Energy), avoiding Crystalline Barrage, and stunning Night-Twisted Earthwarpers to block Gift of Earth. Optimal Bloodlust timing is during the Mote phase (4 Motes + 1 Shard) for quick burns. Tanks must manage Accretion stacks and split adds, while DPS focuses on burst damage during Tectonic Upheaval.
Preferred Classes:
Tanks: Strong active mitigation (e.g., Protection Paladin for stuns).
DPS: High burst/AoE (e.g., Fire Mage, Demonology Warlock, Unholy DK).
Healers: Strong raid-cooldowns (e.g., Resto Druid, Holy Paladin).
Tips:
Pillar Placement: Ranged/healers should stay near edges to avoid blocking LoS.
Barrage Handling: Move counter-clockwise to avoid cluttering pillar paths.
Adds: Stun-lock Earthwarpers to prevent Gift of Earth.
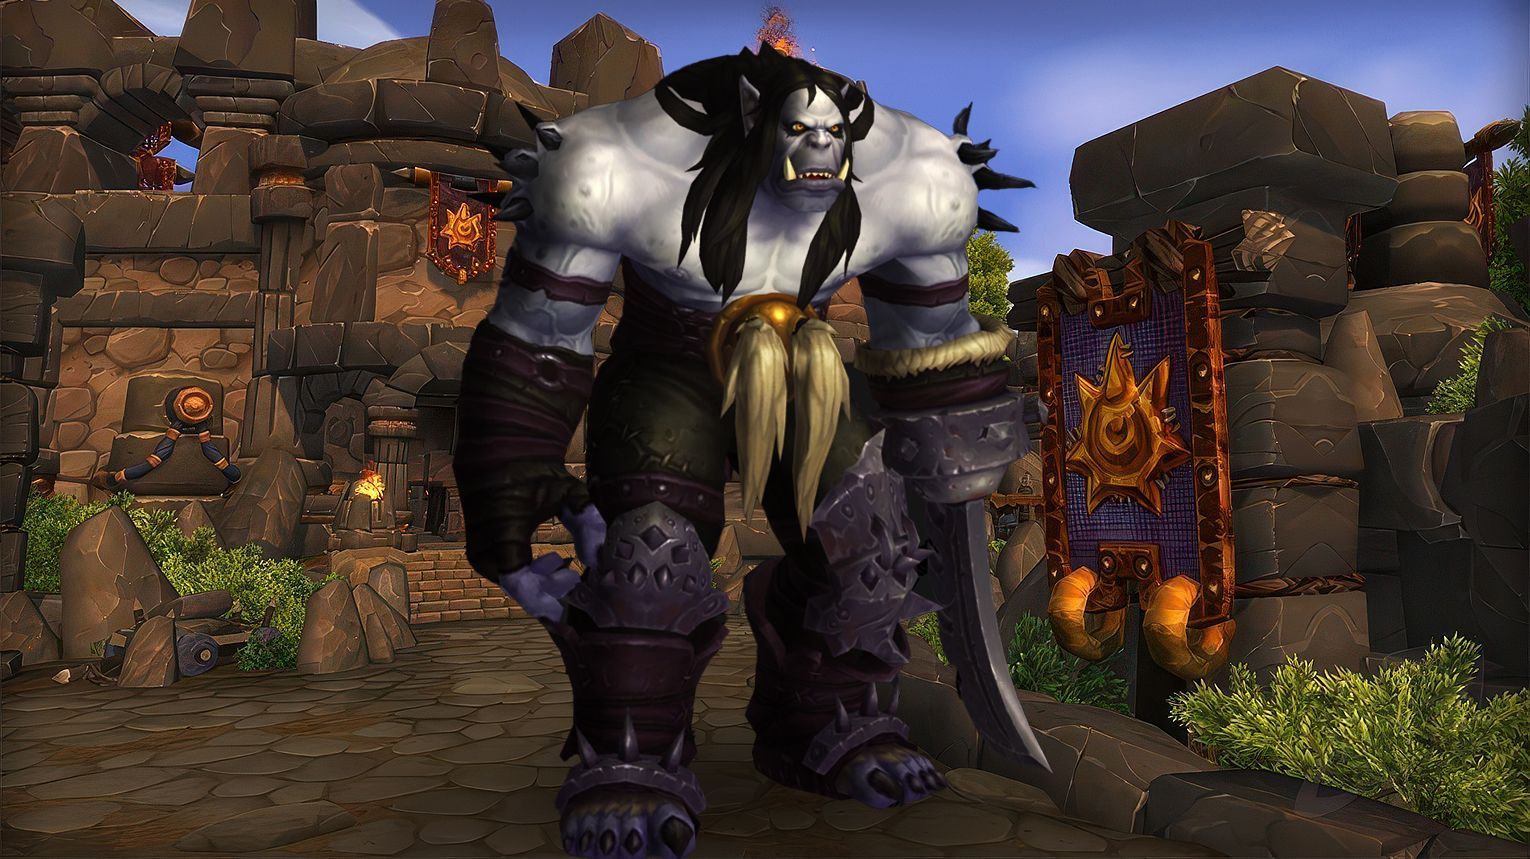
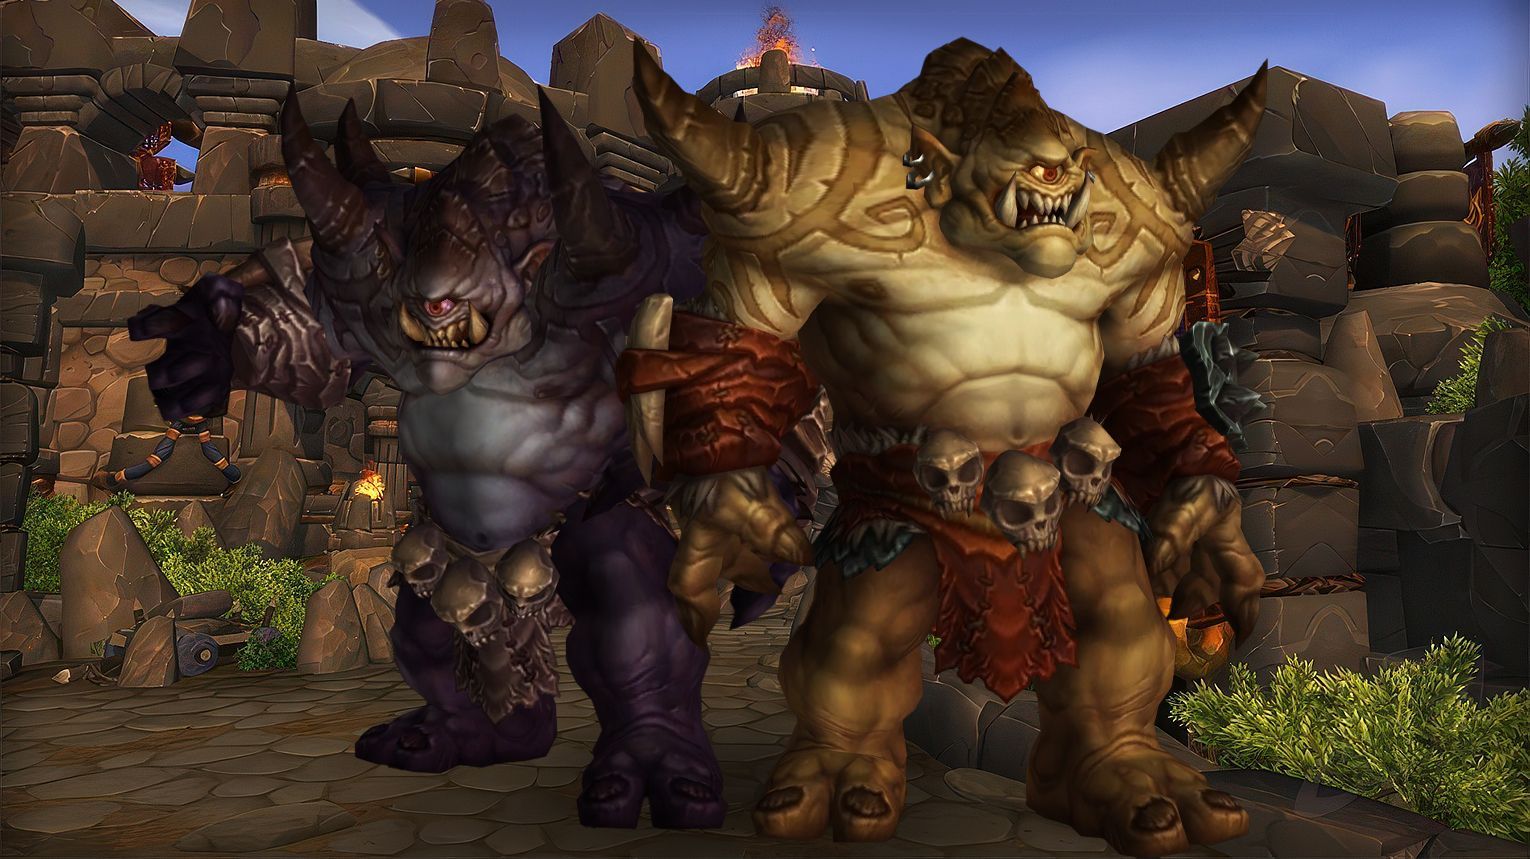
The Twin Ogron (Phemos and Pol) in Highmaul is a dynamic twin-boss fight with shared health and energy-based abilities. Key mechanics include dodging Quake/Blaze fire walls, stacking for Enfeebling Roar, and avoiding Shield Charge/Pulverize. Tanks must keep bosses together to prevent enrage, while DPS cleave both. Use Bloodlust early for max uptime, and on Mythic, watch for Arcane Twisted empowered abilities. Loot includes strong trinkets like Pol’s Blinded Eye and weapons like Phemos’ Double Slasher.
Preferred Classes:
Tanks: High-mobility tanks (e.g., Warriors, Monks) to handle boss repositioning.
DPS: Classes with strong cleave/AoE (e.g., Warlocks, Frost DKs) and multidotting (e.g., Shadow Priests).
Healers: Strong raid healers (e.g., Resto Druids, Holy Priests) for handling Enfeebling Roar and Blaze stacks.
Tips:
Quake/Blaze (Phemos): Hide behind one weapon to minimize fire walls.
Enfeebling Roar: Entire raid must stack to split damage/debuff duration.
Pulverize (Pol): Spread slightly and dodge ground effects.
Tank Note: Keep bosses together to avoid their enrage (increased attack speed when separated).
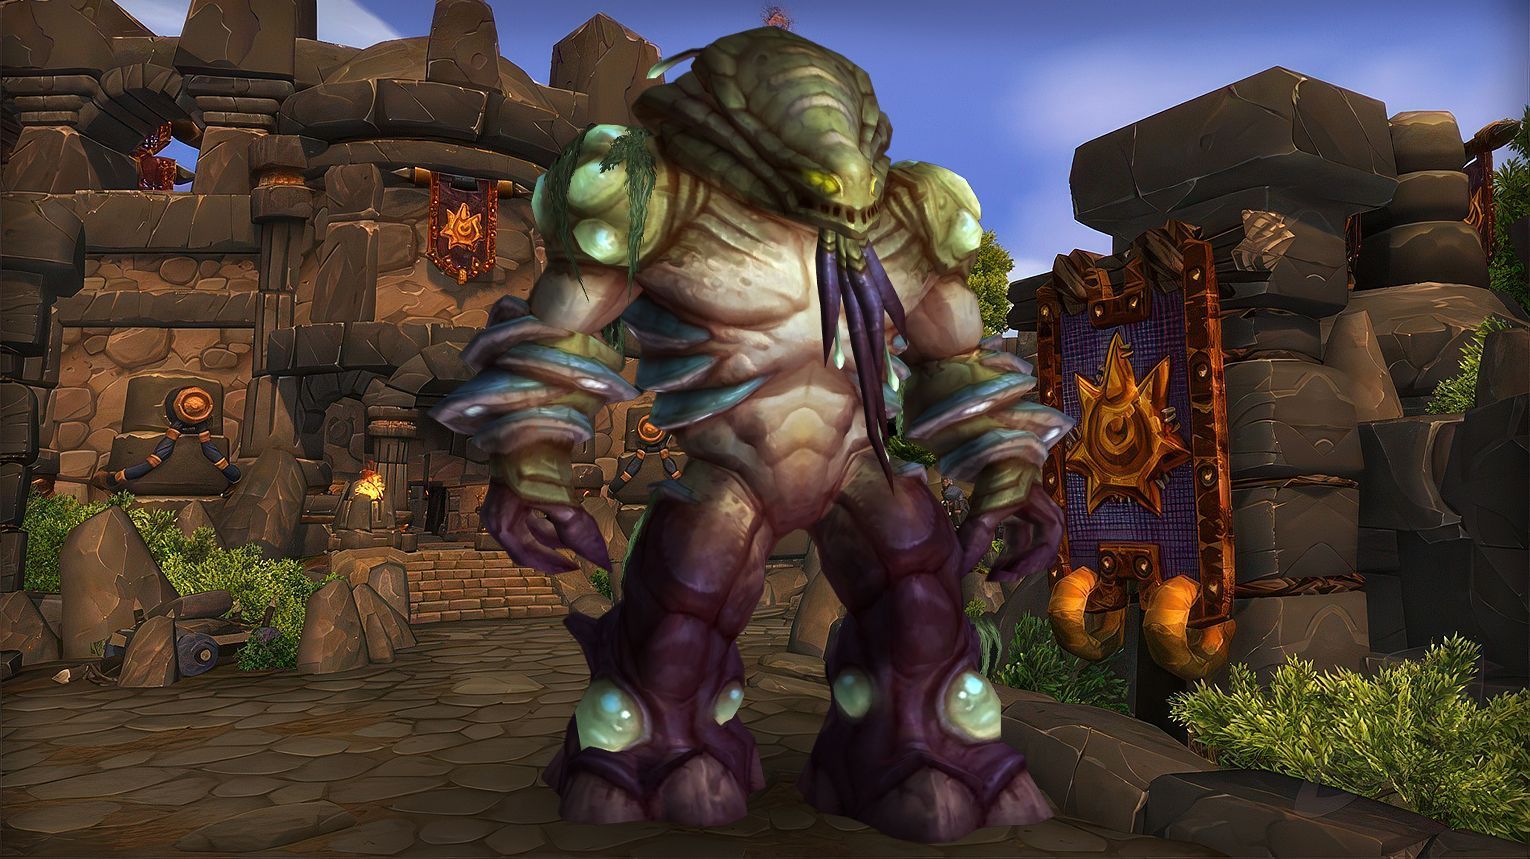
Ko’ragh is a magic-absorbing boss in Highmaul whose Nullification Barrier requires magical DPS to break while physical DPS burns his health. Key mechanics include Overflowing Energy orbs (soaked by players with barriers from standing in Rune of Nullification) and Expel Magic effects (spread for Fire, dodge Frost, taunt-swap for Arcane). Tanks must drag Volatile Anomaly adds into Suppression Fields before killing them. Use Bloodlust early to push phases before overlapping mechanics. Mythic adds Fel flames and mind-controlled orb-soakers needing physical DPS to break.
Preferred Classes:
Tanks: High-mobility classes (e.g., Warrior, Druid) to handle Expel Magic: Arcane and kite adds.
Healers: Strong single-target healers (e.g., Disc Priest, Holy Pally) for Caustic Energy damage.
Imperator Mar’gok is the final boss of Highmaul, featuring four phases with escalating mechanics. Key abilities include Branded (isolate high stacks), Mark of Chaos (tank swap + deadly AoE), Force Nova (run through waves), and Destructive Resonance (avoid mines). Intermissions (55% and 25%) add Warmages and Anomalies—kill Warmages first, stagger Anomaly deaths. Use Bloodlust in Intermission 2 to burn adds before the chaotic Phase 4 (Replication). Tanks need mobility, DPS must prioritize adds, and healers require strong raid CDs for Nova/Detonations.
Preferred Classes:
Tanks: High-mobility classes (e.g., Warrior, DK) to handle Mark of Chaos positioning.
DPS: Strong AoE (for adds like Arcane Aberrations) and interrupts (for Warmages).
Healers: Strong raid cooldowns (e.g., Druid’s Tranquility, Priest’s Hymn) for Force Nova and Destabilize.


 Tanks: Classes with strong mitigation for Impale (e.g.,

 Healers: Strong single-target healers (e.g.,
 DPS
DPS


 Tips:
Tips:


Comments: