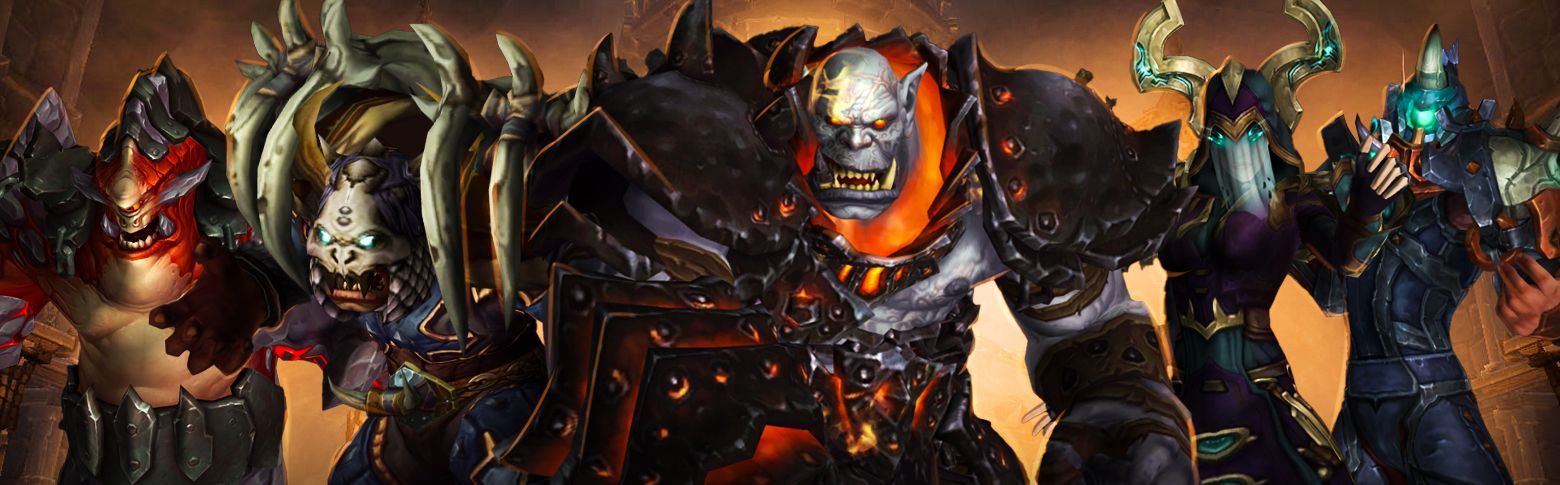
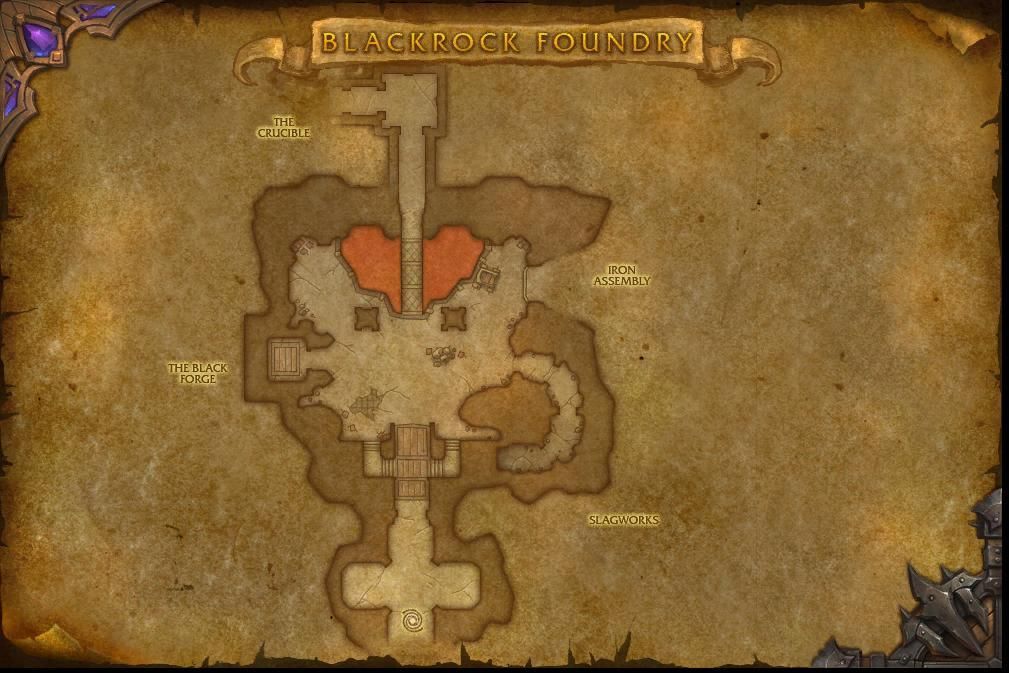
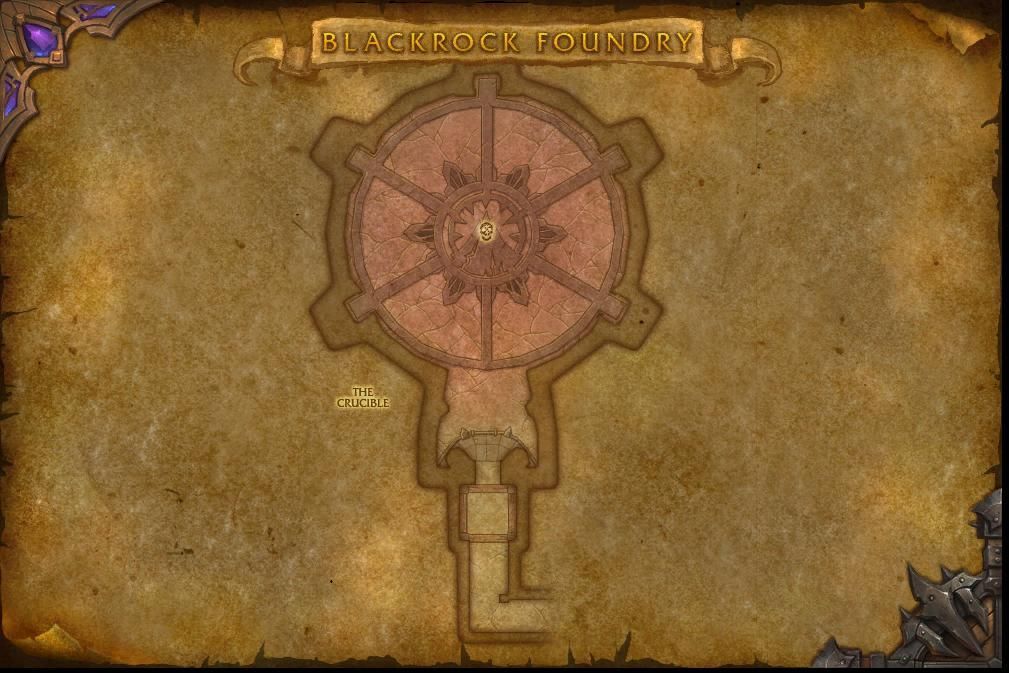
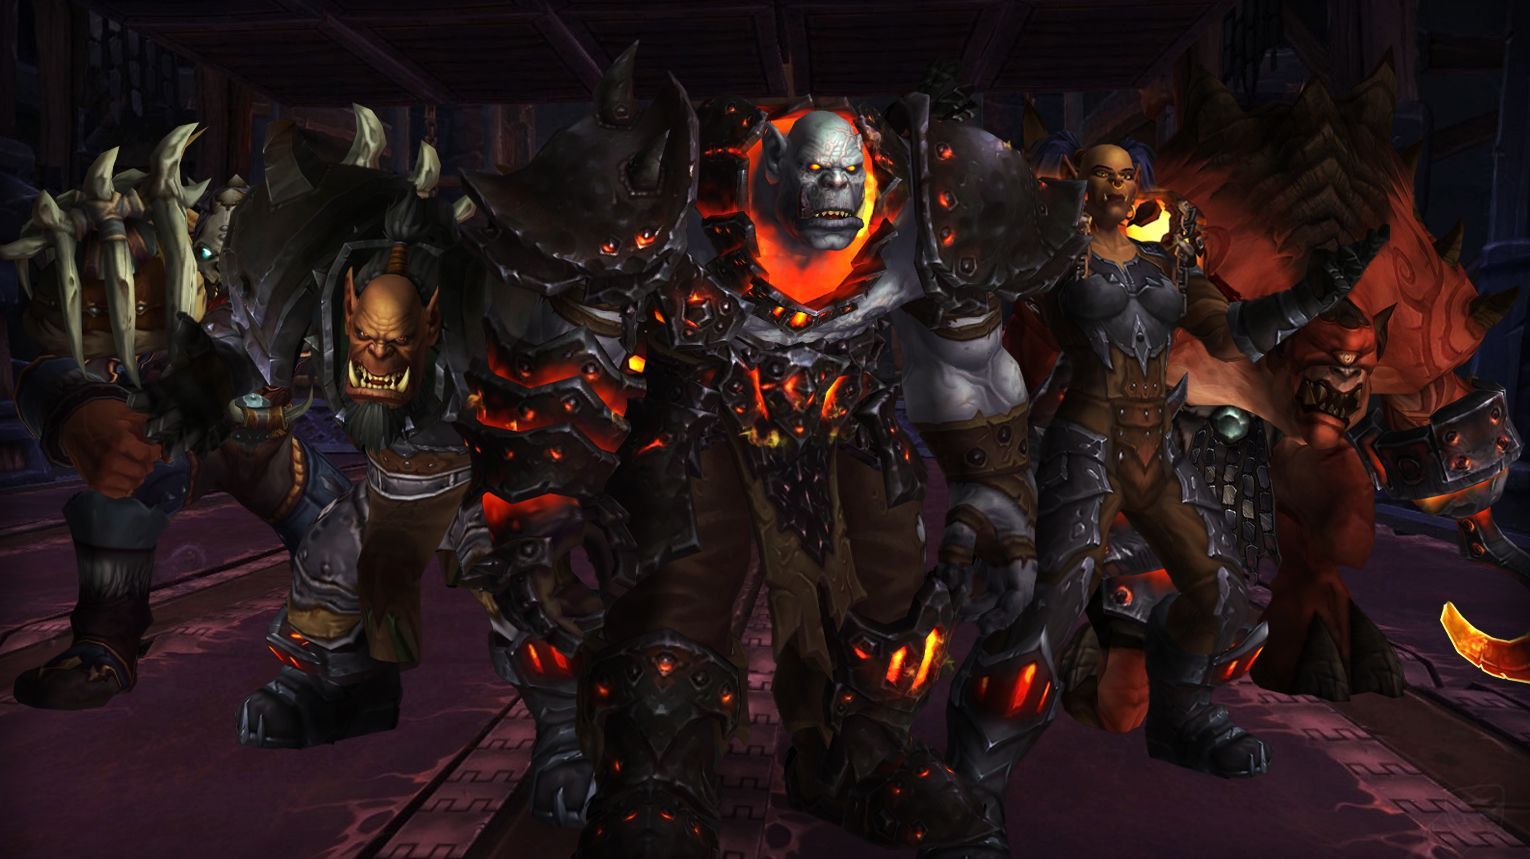
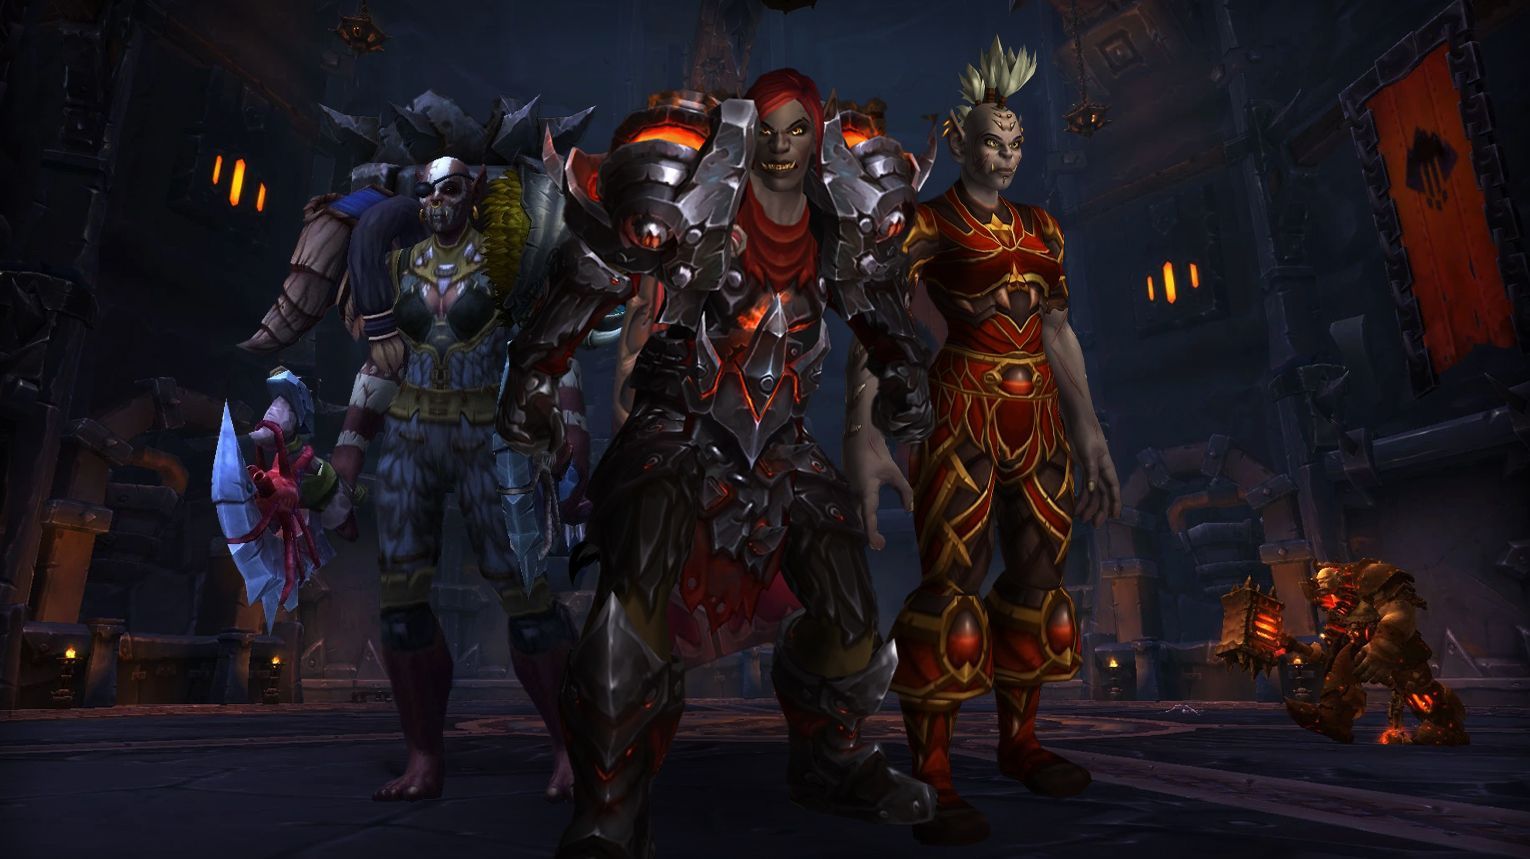
Blackrock Foundry is the second raid in Warlords of Draenor. It was released on February 3, 2015. BRF is filled with epic battles, powerful loot, and unique rewards (same as any other World of Warcraft raid). This WoD industrial fortress has 10 bosses spread across four wings, offering Tier 17 gear, mounts, and achievements.
Whether you’re prepping for PvP or pushing PvE content, having the best gear matters. Buy WoW raid boost at Gamingcy and get it fast. EU and US teams handle any active raid, and you’re done in 1–2 hours. Runs happen every hour, so it’s easy to fit into your schedule and get back to what you enjoy.
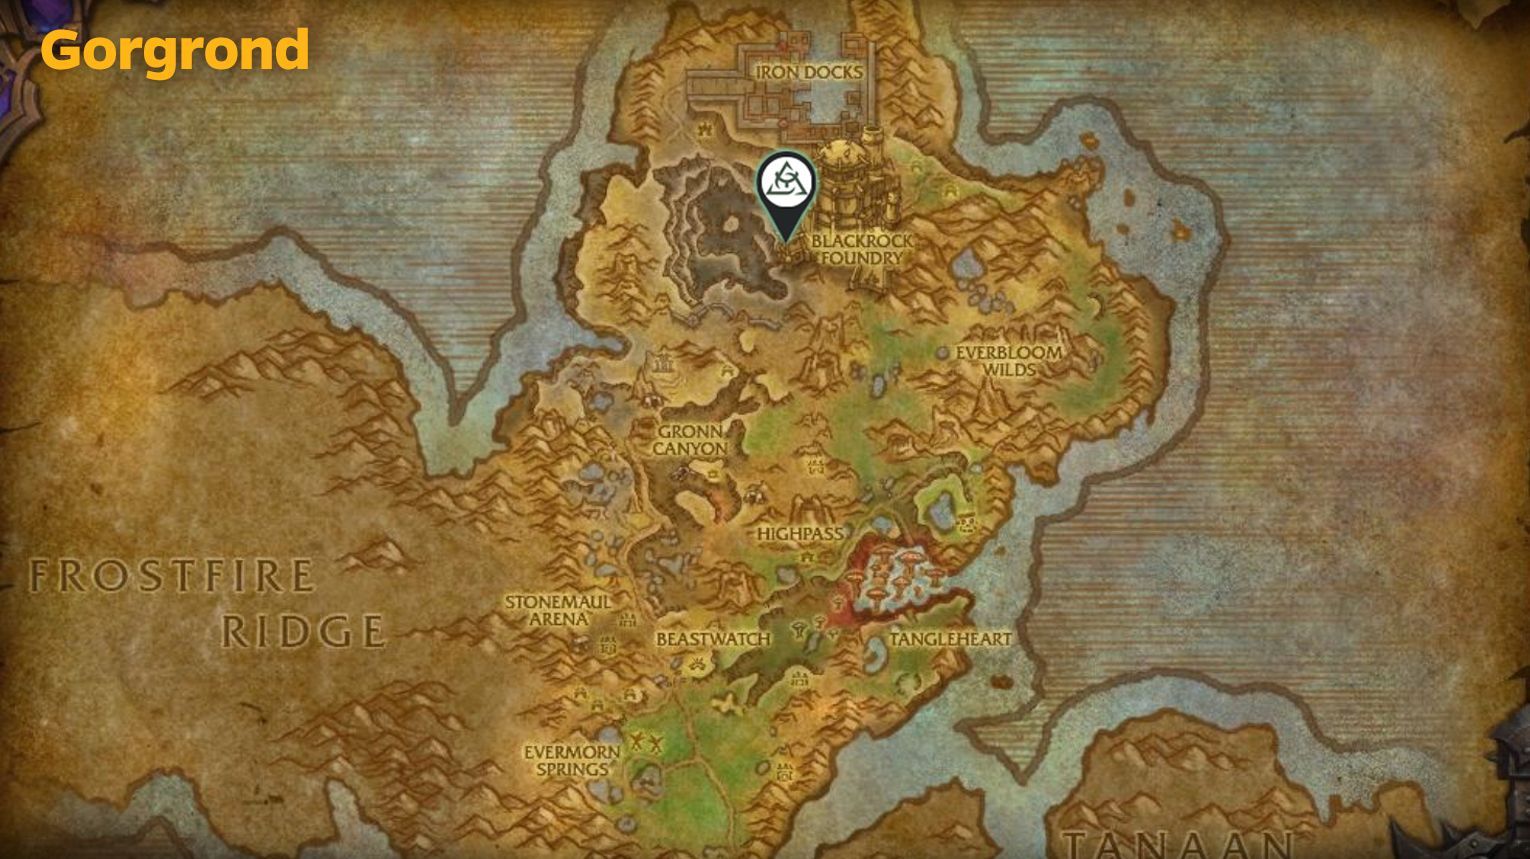
Whether you’re farming cosmetics, testing your solo skills, or want to quickly check the BRF location, this guide will help you make the most of Blackrock Foundry runs in WoW Retail.
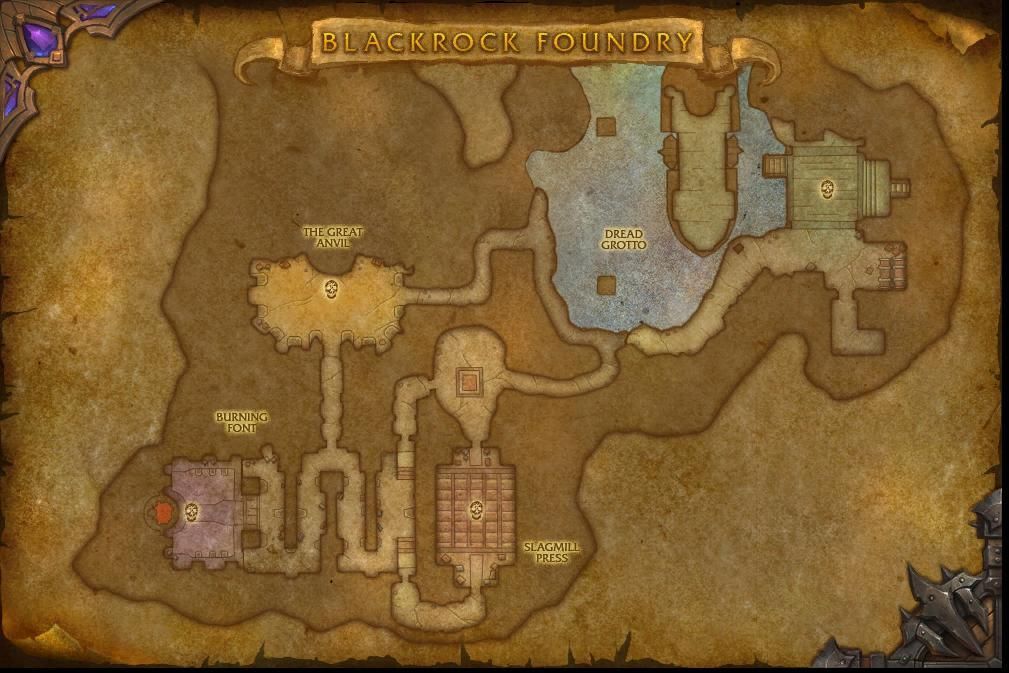
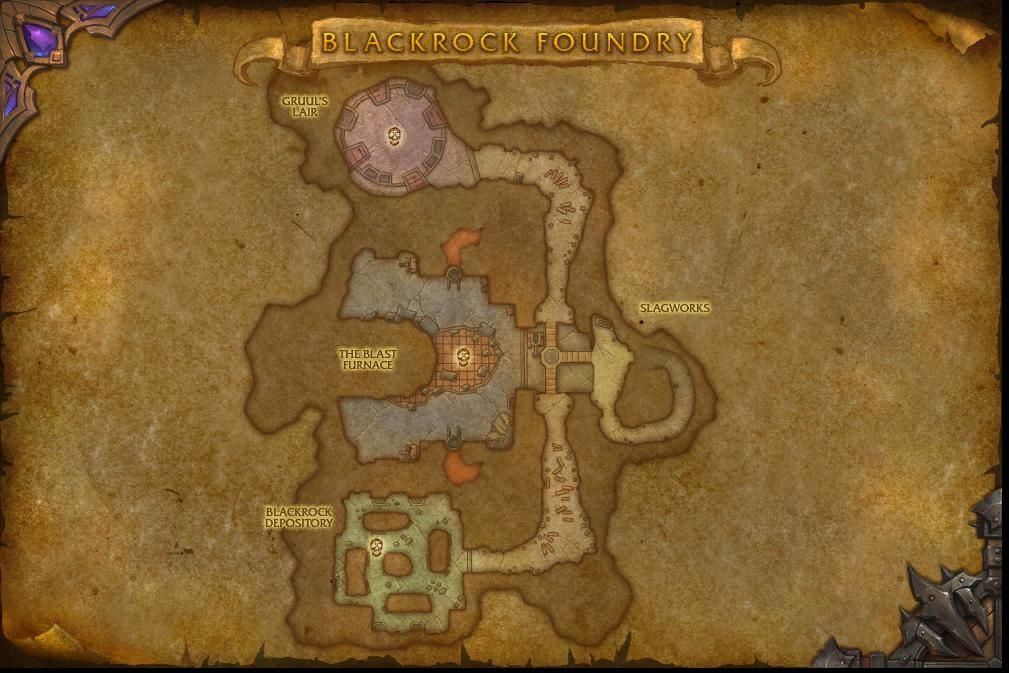
Each wing has a different atmosphere, from molten metalworks to clanking machinery. The raid doesn’t force a linear path—you can tackle some bosses in different orders, but the end-wing fights (Blast Furnace, Kromog, Iron Maidens) are the toughest before Blackhand.
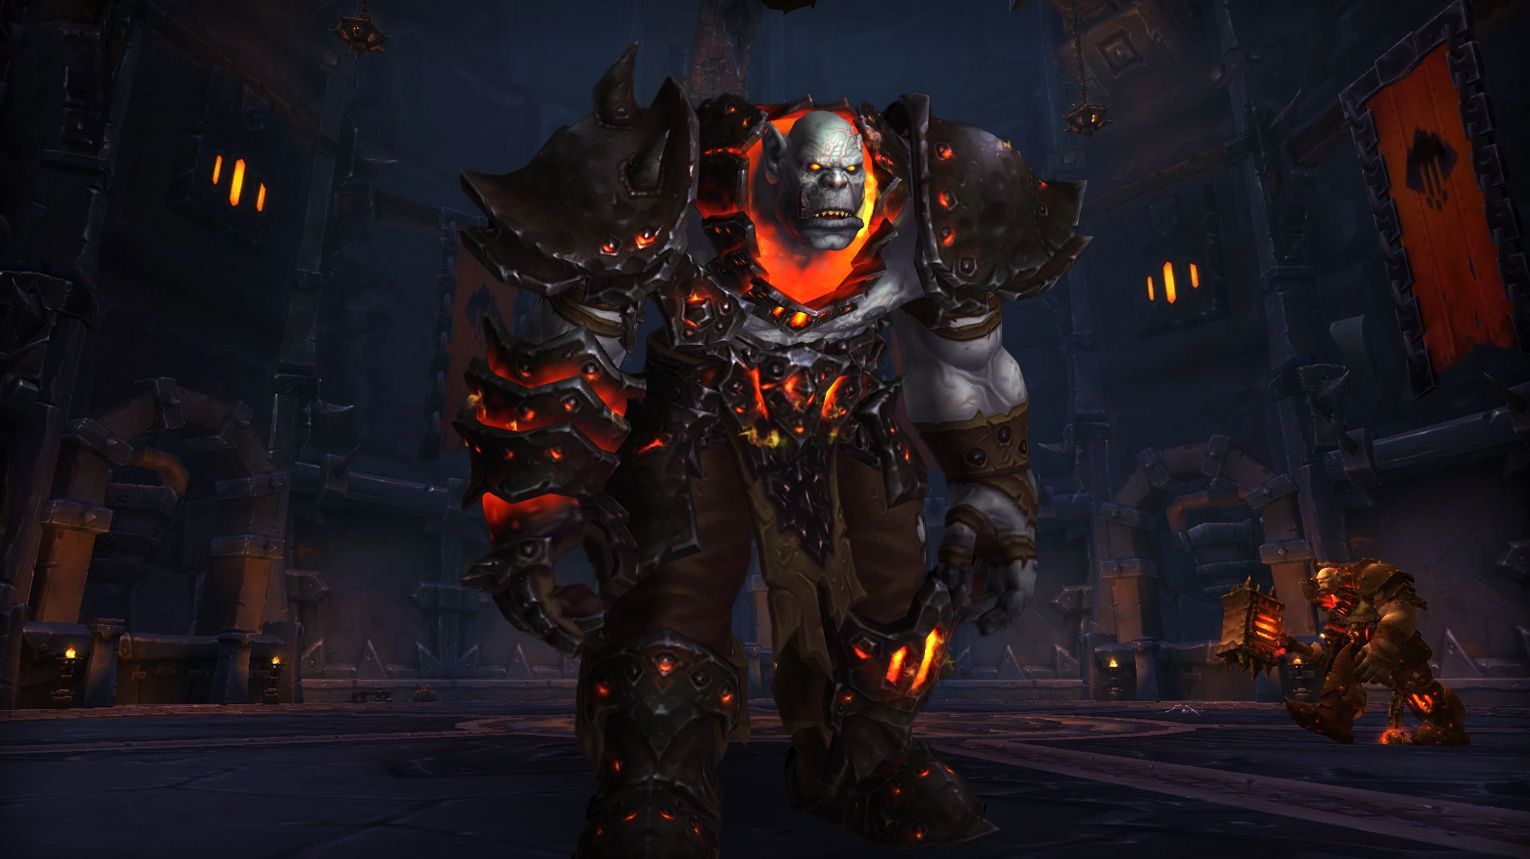
Blackrock Foundry is a Warlords of Draenor raid, where players are fighting against the Iron Horde. The BRF raid features 10 bosses, each testing different combat skills in a fiery, metal-crushing environment.
BRF Boss fights range from Gruul, a massive ogre who grows stronger as he takes damage, to Oregorger, a rolling monstrosity that devours ore piles to power up. The Blast Furnace encounter is a chaotic multi-phase fight against molten golems and furnace operators, while Flamebender Ka’graz summons a flaming wolf to hunt players down.
The Iron Maidens battle plays out on a moving warship, forcing players to dodge cannon fire, and the final showdown against Blackhand is an explosive three-phase fight across collapsing platforms in a molten crucible.
Below, we’ll overview the Blackrock Foundry boss fights and the loot they drop.
Can You Solo Blackrock Foundry in The War Within?
Farming Blackrock Foundry solo in The War Within is a great method to gather T17 transmog sets, mounts, pets, and achievements from the Warlords of Draenor expansion.
Recommended Level/Item Level:
Level 80 (even at lower gear, you massively outscale the content).
Item Level 400+ (but even lower works due to legacy damage buffs).
Legacy damage scaling ensures you deal increased damage and take reduced damage in old raids.
Difficult Bosses & Mechanics to Watch For:
Blast Furnace (requires killing adds quickly, but soloable with burst damage).
Blackhand (Phase 3) – You may need to move quickly to avoid knockbacks.
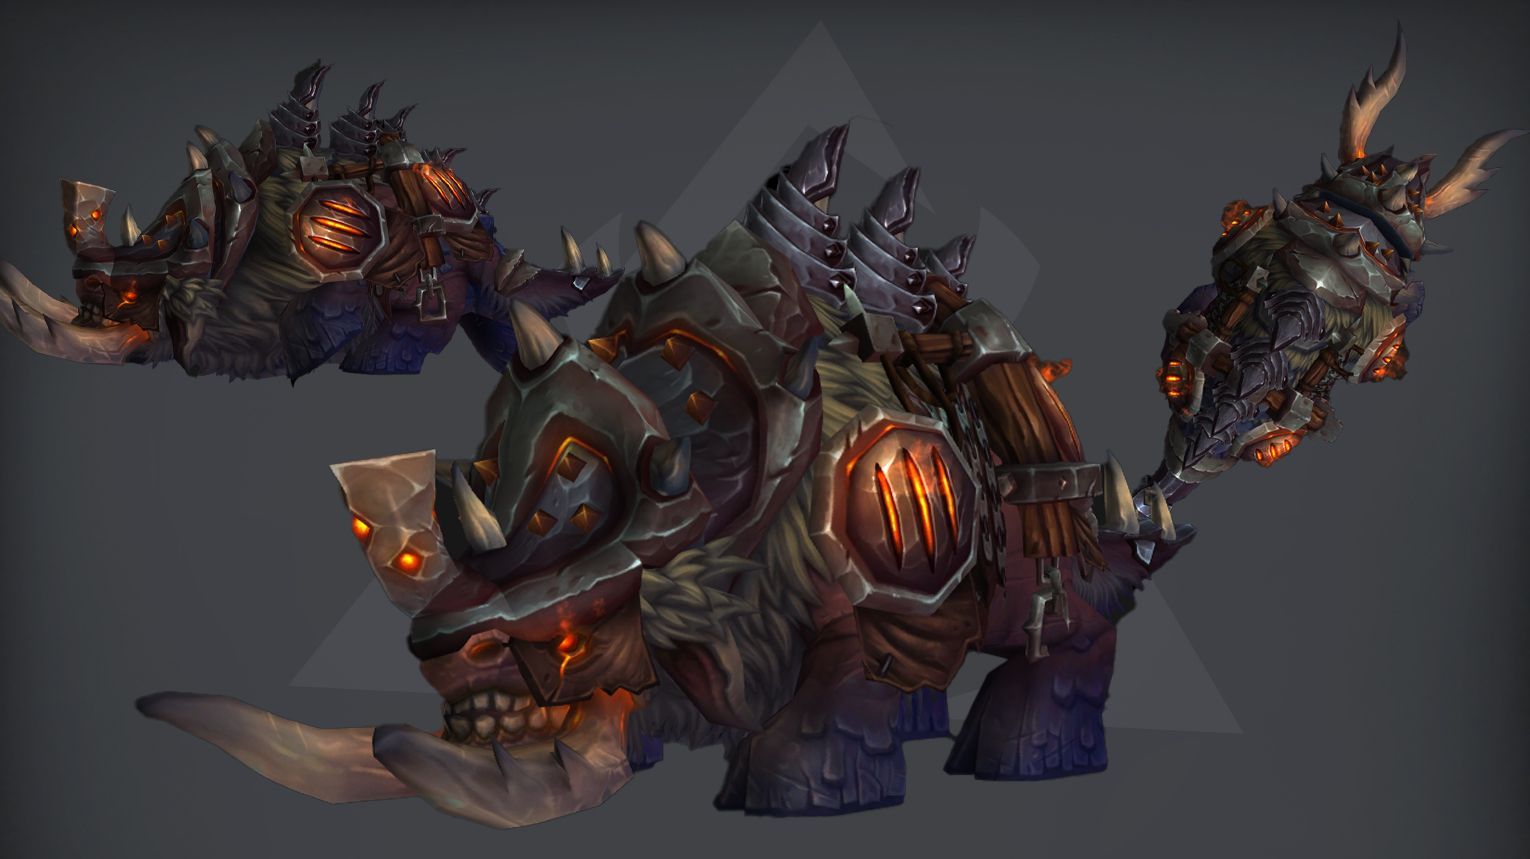
Oregorger is a two-phase boss in Blackrock Foundry. In Phase 1, interrupt Blackrock Barrage, tanks swap to soak Acid Torrent, and avoid Retched Blackrock puddles. In Phase 2, he rolls around the room—destroy Ore Crates to speed up the phase while dodging his path. Use Bloodlust/Drums in Phase 1 for max DPS. Key roles: Tanks must swap after Acid Torrent, healers focus on raid-wide damage, and DPS prioritize interrupts and crate destruction.
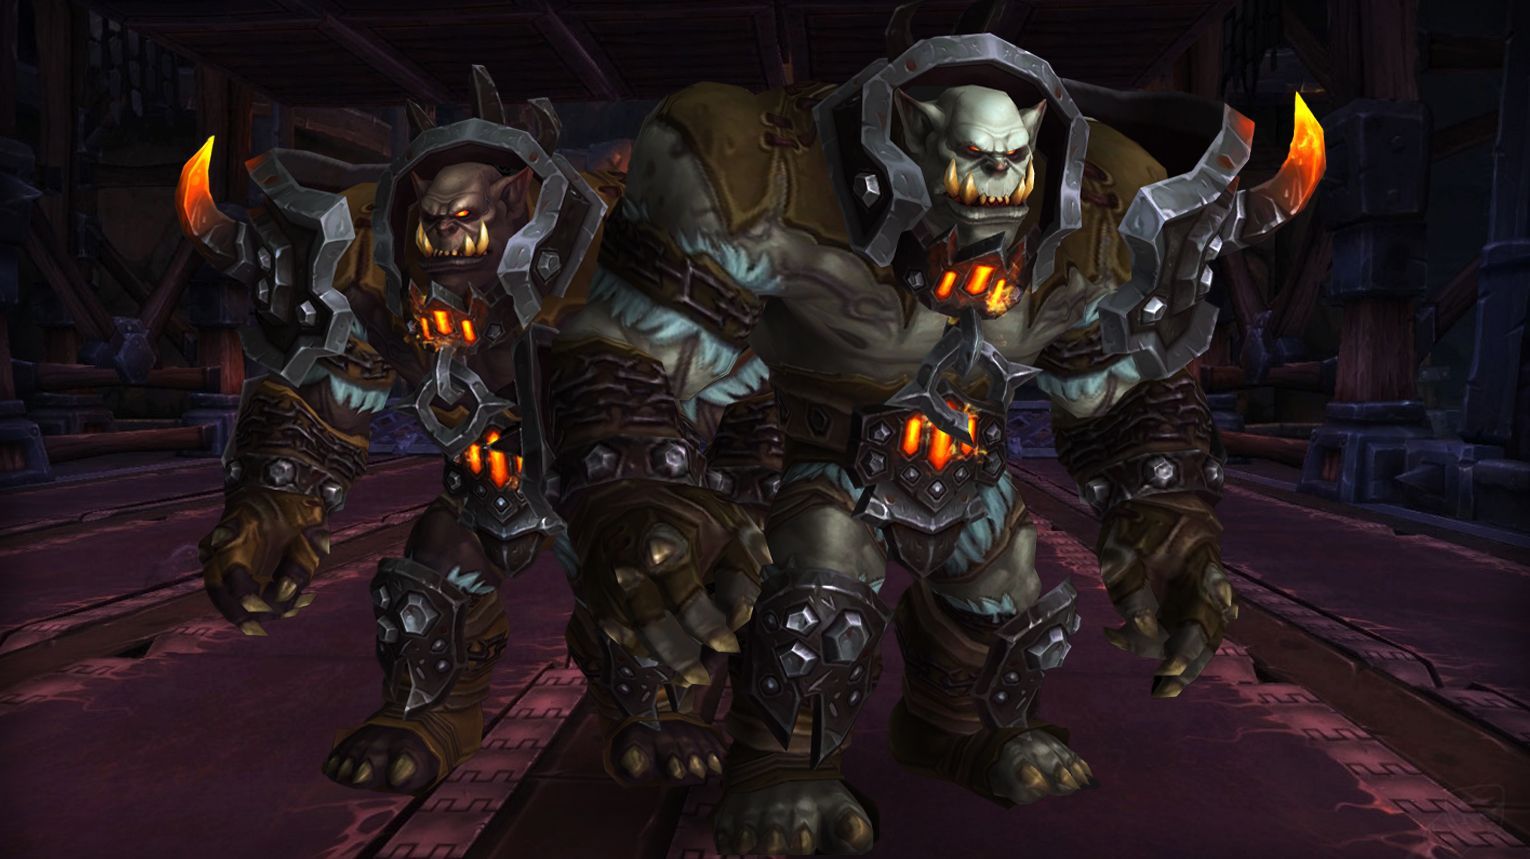
Hans’gar & Franzok is a twin-ogron fight in Blackrock Foundry with alternating phases—one boss activates conveyor belts (dodge Searing Plates or Stamping Presses) while the other is tanked. Key mechanics include Body Slam (spread to avoid debuffs), Crippling Suplex (tank cooldown check), and Disrupting Roar (stop casting). Ranged should bait leaps to controlled spots, while melee must avoid tank slams. Use Bloodlust in the hectic final phase (15%-0%) with both bosses and stampers. Prioritize movement awareness to avoid environmental one-shots.
Beastlord Darmac is a multi-phase boss in Blackrock Foundry where he mounts three Prime Beasts (Worg, Elekk, Rylak) at 85%, 65%, and 45% health, gaining their abilities permanently after each dies. Key mechanics include avoiding Rend and Tear (bleed), healing through Tantrum (AoE), and dodging Inferno Breath (fire DoT). Spread out to minimize splash damage, prioritize killing Pack Beasts/Heavy Spears, and use Bloodlust in the final phase (after 3rd Beast dies). On Mythic, a 4th Beast (Faultline) spawns at 25%, adding Epicenter (AoE zone) and Cannonball Barrage. Tanks must swap debuffs, while DPS cleave adds and focus bosses.
Preferred Classes:
Tanks: High-mitigation classes (e.g., Protection Paladin, Blood DK) for swapping debuffs (Rend and Tear, Crush Armor).
Healers: Strong AoE healers ( Resto Druid, Holy Priest) for Tantrum and Inferno Breath.
DPS:
Ranged with cleave ( Hunter, Warlock) for Pack Beasts/Heavy Spears.
Melee with mobility ( Rogue, Fury Warrior) to avoid Rend and Tear.
Utility: Enrage dispels (Hunter Tranq Shot, Druid Soothe) for Savage Howl.
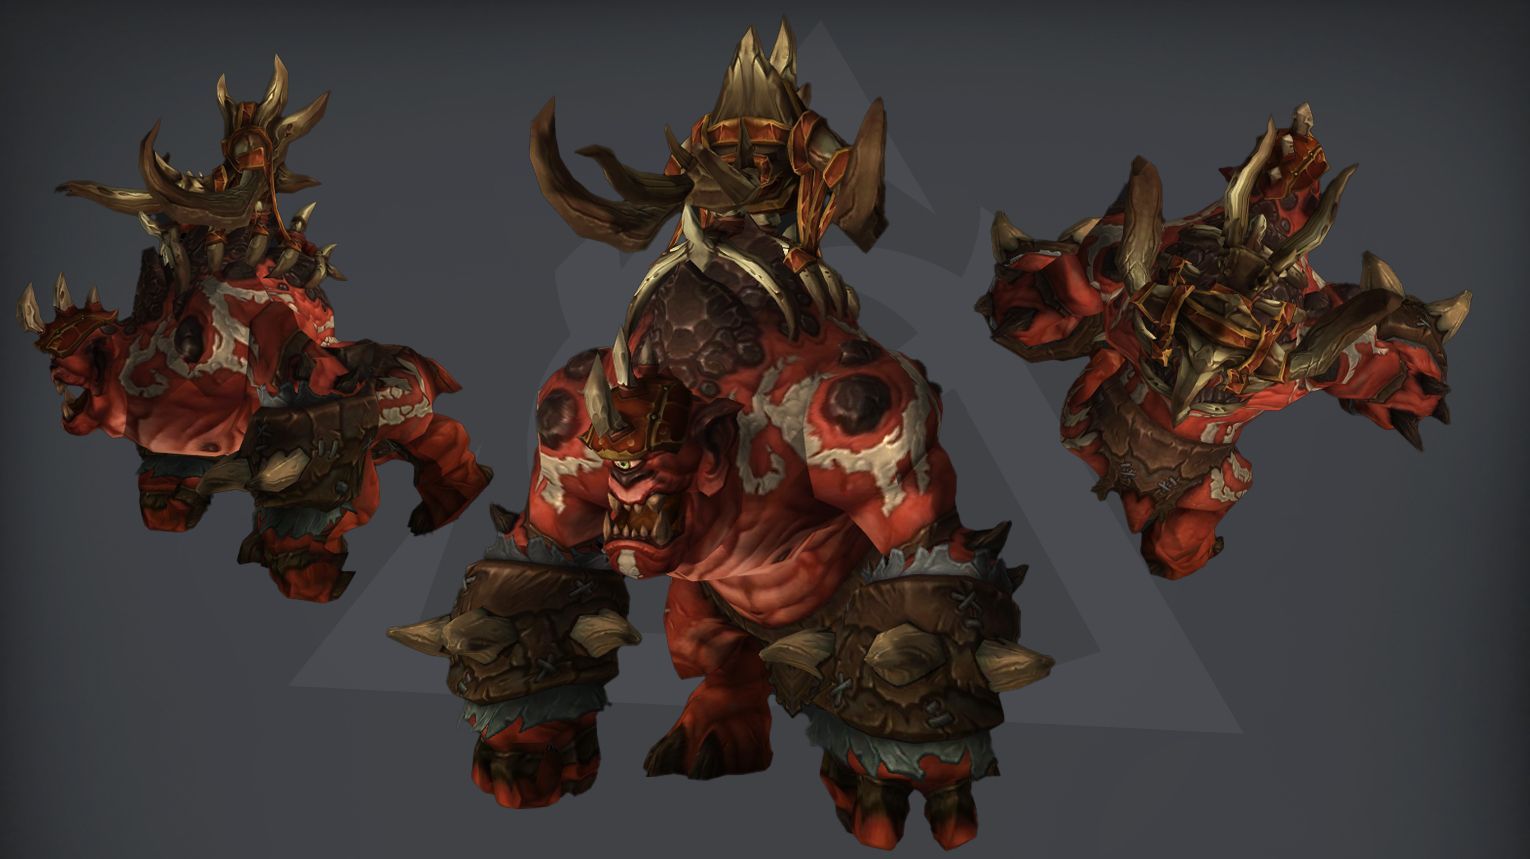
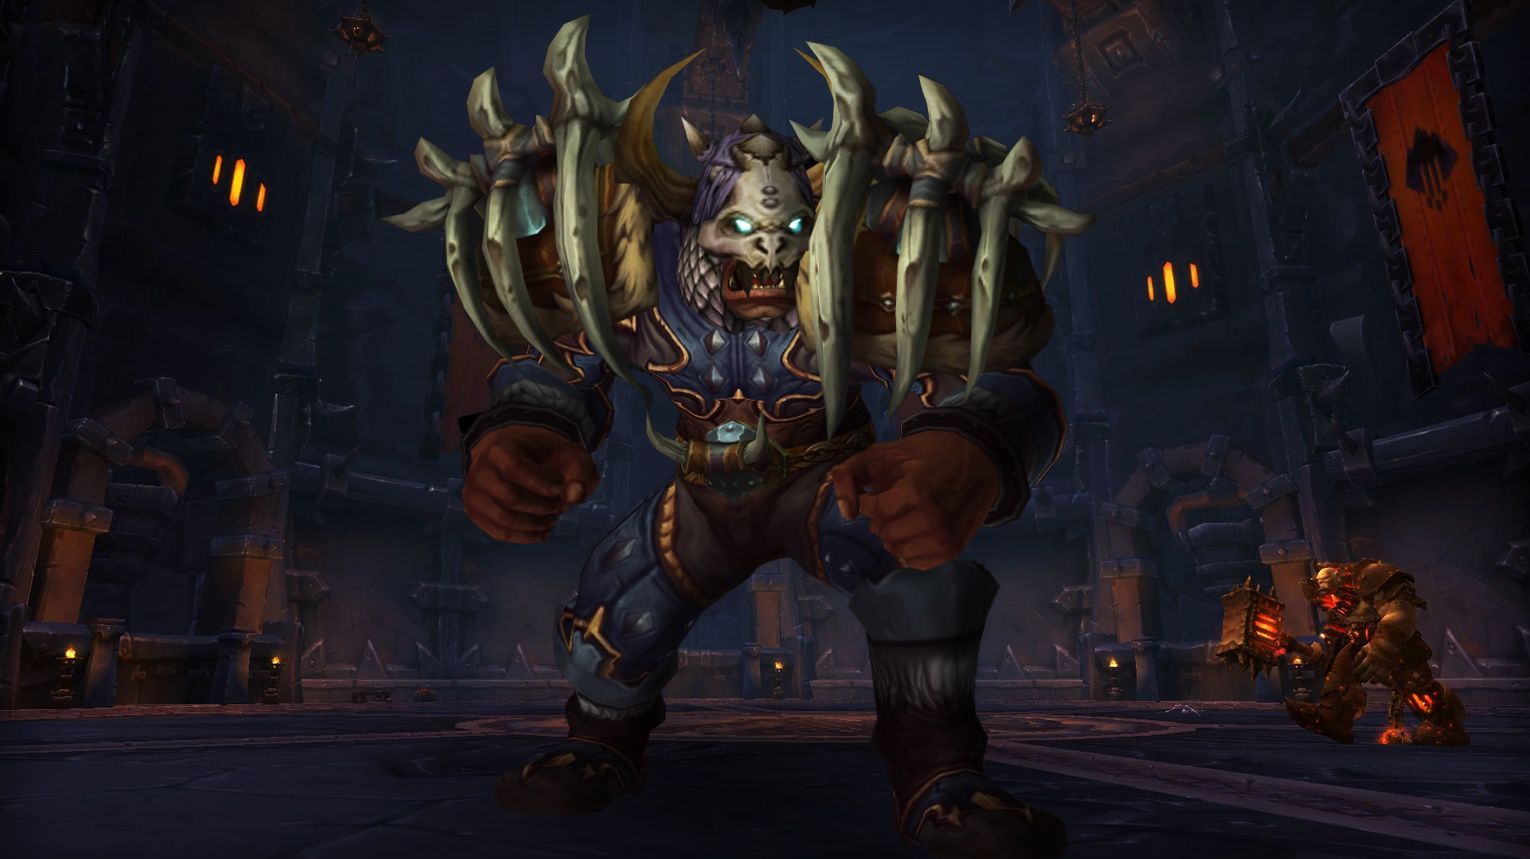
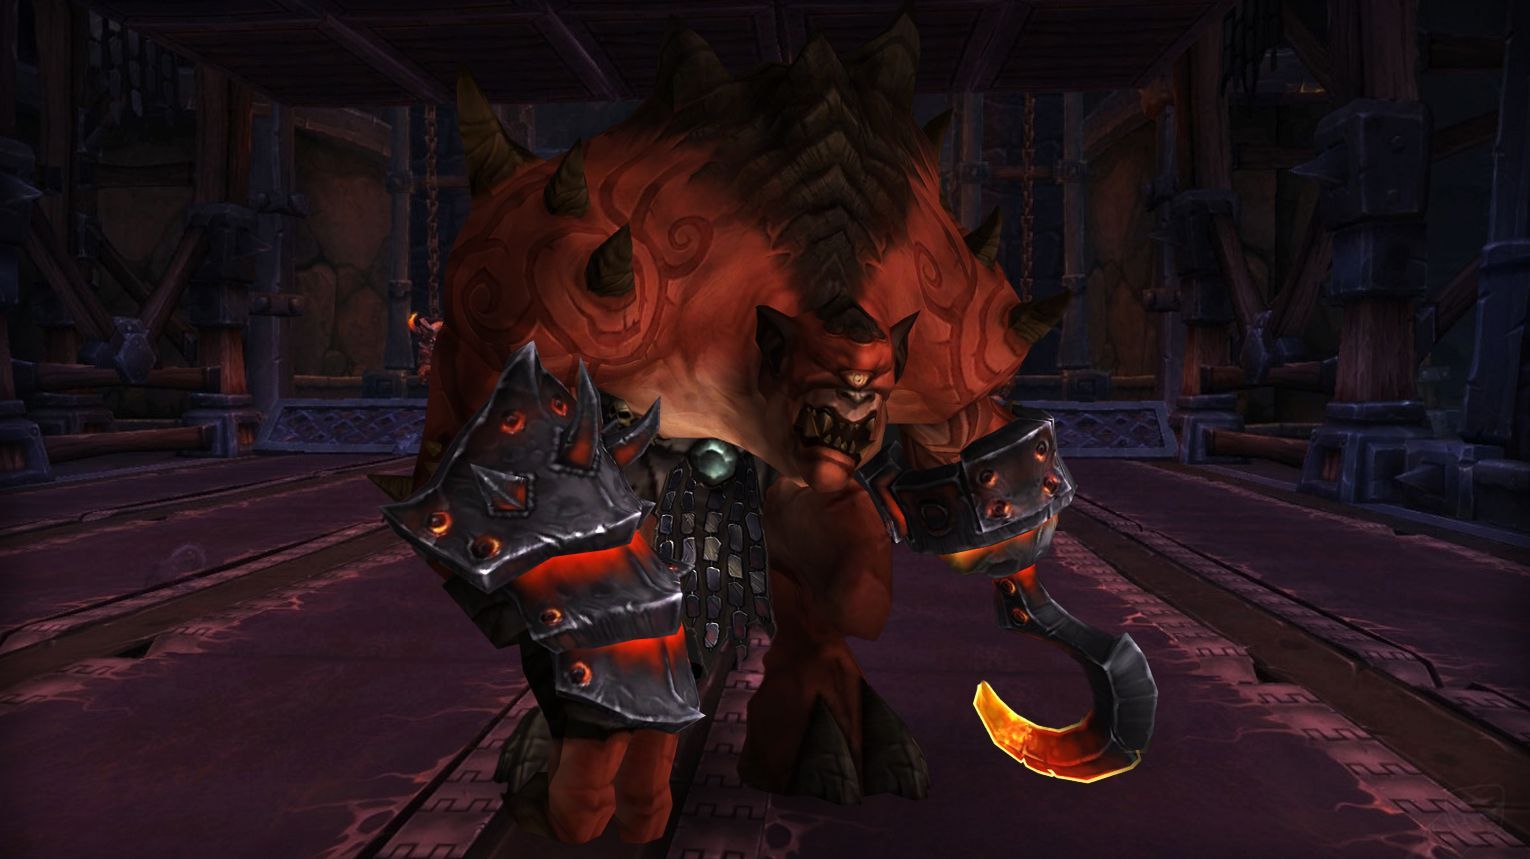
Gruul is a straightforward single-target boss in Blackrock Foundry with two key mechanics: Petrify/Shatter (spread to avoid AoE damage) and Inferno Slice (split damage by stacking in groups). Tanks must swap after 3 stacks of Inferno Strike and position Gruul carefully. Dodge Overhead Smash and Cave In while managing Destructive Rampage (untankable phase with heavy movement). Use Bloodlust/Drums at the start for maximum DPS. On Mythic, watch for Flare fireballs and spread entirely during Petrify.
Flamebender Ka’graz is a high-mobility fight in Blackrock Foundry with escalating mechanics. The raid must first kill Aknor Steelbringer, then manage Lava Slash (spread out), Molten Torrent (stack or solo soak), and Cinder Wolves (kill simultaneously). At 100 Energy, Firestorm deals heavy raid-wide damage—stack and use healing CDs. Bloodlust is best used early to burn Aknor and push phases. On Mythic, 4 Wolves spawn, and fire beams empower weapons if crossed.
Operator Thogar is the second boss in the Iron Assembly wing of the Blackrock Foundry raid. He is encountered after defeating Beastlord Darmac and is located in the Foundry Terminus, overseeing the supply trains. The fight involves managing adds, dodging deadly trains, and dealing with Thogar’s abilities.
Preferred Classes:
Tanks: Any class with strong survivability cooldowns and the ability to handle high damage intake.
Healers: Classes with strong AoE healing capabilities and the ability to manage spiky damage.
DPS: Ranged DPS are particularly useful for focusing down priority targets and handling adds. Melee DPS need to be careful with positioning to avoid certain abilities.
Tips:
Raid Awareness: Pay close attention to the train tracks and the timing of the trains. Avoiding the moving trains is crucial.
Positioning: Ranged DPS and healers should spread out to avoid splash damage from abilities like Throw Grenade. Melee DPS should stay behind the Man-at-Arms to avoid Reckless Slash.
Phase Management: The fight is a single-phase encounter with a heavy emphasis on add management and raid awareness. Players must dodge moving trains and deal with adds that spawn from the trains.
Tank Swapping: Tanks should swap aggro on Thogar at 2 stacks of Enkindle to manage the increasing damage.
Handling Mechanics: Move away from Prototype Pulse Grenades and Delayed Siege Bombs. Players targeted by Delayed Siege Bomb should run away from the raid until the debuff expires.
Bloodlust/Drums:
At the start of the fight when Track 3 is safe for at least 40 seconds. This allows the raid to focus on Thogar without much movement.
The Blast Furnace is a 3-phase fight in Blackrock Foundry. In Phase 1, destroy Heat Regulators using Bombs while managing adds like Bellows Operators. Phase 2 requires killing shielded Primal Elementalists by luring Slag Elementals to them. Phase 3 is a DPS race against the Heart of the Mountain, dodging Melt pools and frequent Blast damage. Use Bloodlust in Phase 3 (or Phase 2 on Mythic) for a clean kill. Key roles include Priests for Mind Control (Mythic) and healers for heavy raid-wide damage.
Preferred Classes:
Tanks: Strong mitigation for high physical damage (e.g., Blood DK, Prot Paladin).
Healers: Strong AoE healing (e.g., Holy Priest, Resto Druid) due to frequent Blast.
DPS:
Priority: High burst (e.g., Fire Mage, Arms Warrior) for add control.
Utility: Priests for Mind Control (Security Guards in Mythic), Hunters for kiting Slag Elementals.
Tips:
Phase 1:
Assign teams to each side (1 tank + 2 healers + balanced DPS).
Bomb carriers: Stand in red circle near Regulators before detonating.
Kromog is a tank-heavy boss in Blackrock Foundry with two key mechanics: Grasping Earth (stand on runes to avoid lethal knockbacks) and Thundering Blows (break free from hands after). Dodge Rippling Smash cones and Reverberations. At 30% HP, he enrages (Frenzy)—save cooldowns. Use Bloodlust at 30% or after a Grasping Earth phase. Mythic adds Trembling Earth, requiring DPS to destroy pillars for LOS checks.
Preferred Classes:
Tanks: High-mitigation classes (e.g., DK, Paladin) for heavy physical damage.
DPS:
Melee: Mobile classes (e.g., Rogues, Warriors) to dodge Rippling Smash.
The Iron Maidens (Admiral Gar’an, Marak, Sorka) are a council-style boss in Blackrock Foundry. Fight revolves around managing their abilities (e.g., Blood Ritual, Rapid Fire) while periodically sending a team to sabotage their Dreadnaught ship to avoid raid-wipe mechanics. At 30 and 100 Fury, bosses gain new abilities; below 20% HP, they enrage (Iron Will). Use Bloodlust in the final phase to burn them down. Key tips: stack for Penetrating Shot, dodge Bombardment patterns, and prioritize Dreadnaught interrupts.
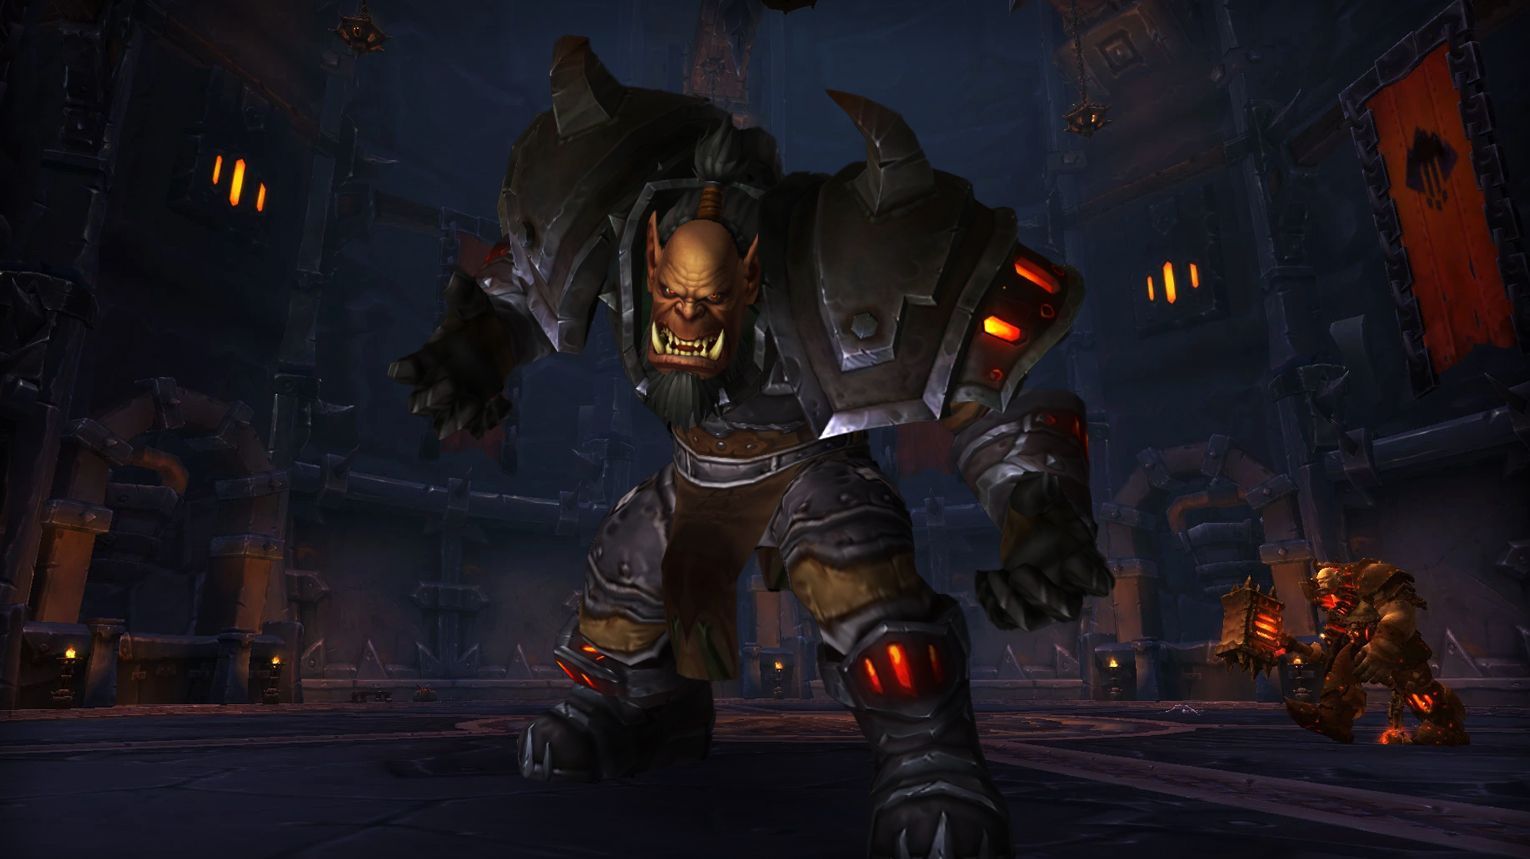
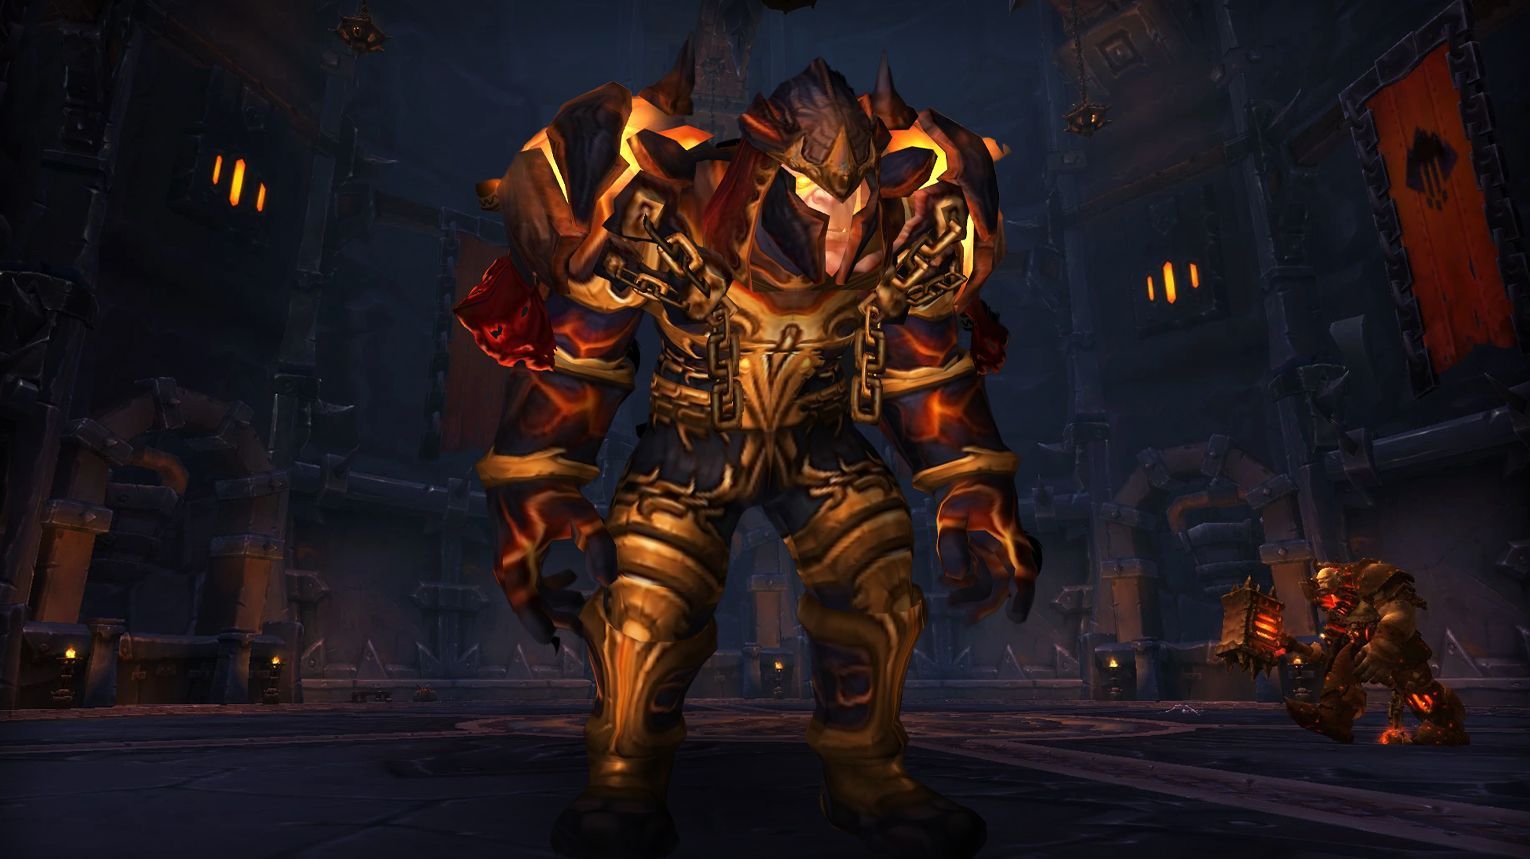
Blackhand is the final boss of Blackrock Foundry, featuring three phases with increasing difficulty. In Phase 1, avoid Molten Slag and Demolition debris while using Debris Piles to block Impaling Throw. Phase 2 introduces Siegemaker adds (kited by ranged) and balcony Iron Soldiers (cleaved by melee). Phase 3 is a tight DPS race—stack for Massive Shattering Smash, drop Slag Bombs at edges, and avoid knockbacks off the platform. Use Bloodlust/Drums in Phase 3 for maximum burst.
Preferred Classes:
Tanks: High-mobility classes (e.g., Warrior, DK) for knockback management.
DPS:
Phase 2: Hunters (kiting Siegemakers), cleave/AoE specs (balcony Iron Soldiers).
Phase 3: Burst DPS to race against enrage.
Healers: Strong raid healers (e.g., Holy Priest, Resto Druid) for AoE damage phases.
Tips:
Phase 1:
Start at edges, move inward as Molten Slag expands.
Stack for Demolition (use raid CDs) and dodge orange swirls.
Phase 2:
Assign ranged to bait Siegemaker Fixate; kite over Slag Bombs to remove their armor.
Send melee/healers to balconies via Shattering Smash knockback.
Phase 3:
Marked for Death: Targets stand near boss to avoid knockback off-platform.
Slag Bombs: Drop at edges; avoid overlapping with Slag Eruption zones.
Massive Shattering Smash: Stack 4+ players to split damage.
Strategy:
Tanks:
Swap after Shattering Smash; position boss near edges in Phase 3.
DPS:
Prioritize Siegemakers in Phase 2 after armor is stripped.
Phase 3: Burst boss while managing bombs and knockbacks.
Healers:
Focus on Impaled targets (Phases 1–2) and Slagged players (Phase 3).
Use CDs during Demolition (Phase 1) and Massive Shattering Smash (Phase 3).
Bloodlust/Drums:
Can be used in Phase 1 to push past 70% quickly and minimize Molten Slag.


 Tanks: High-mitigation classes (e.g.,

 Healers: Strong AoE healers (e.g.,

 DPS:
DPS:


 Tips:
Tips:


Comments: