The Nighthold, the third raid in World of Warcraft: Legion, opened on January 17th, 2017, for US servers and January 18th, 2017, for EU servers. It remains a great place to get transmogs, mounts, and collectibles. Located in Suramar, this grand palace features ten bosses, including Gul’dan, and offers unique armor sets, weapons, and achievements.
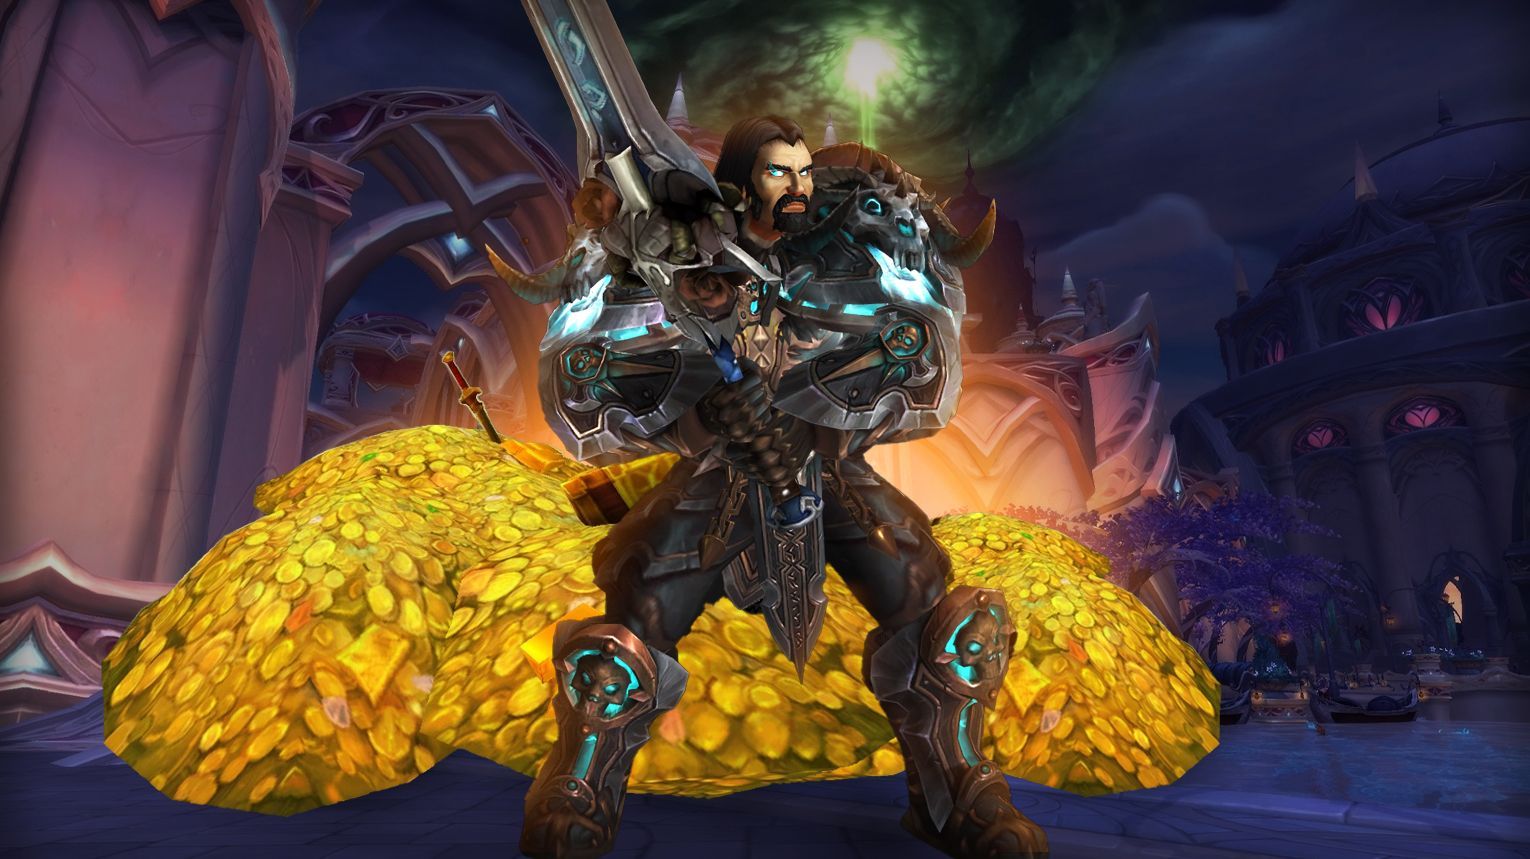
If you want the strongest items available, stop grinding old content and jump into the newest raid. Buy WoW raid carry at Gamingcy and get BIS gear fast and hassle-free. Elite EU and US teams handle the raid in 1–2 hours. Runs happen every hour, so you can start when it works for you.
Whether you’re farming cosmetics, want to check the raid location, or challenge yourself solo, this guide will help you make the most of the Nighthold in WoW Retail.
Nighthold Entrance and Subregions
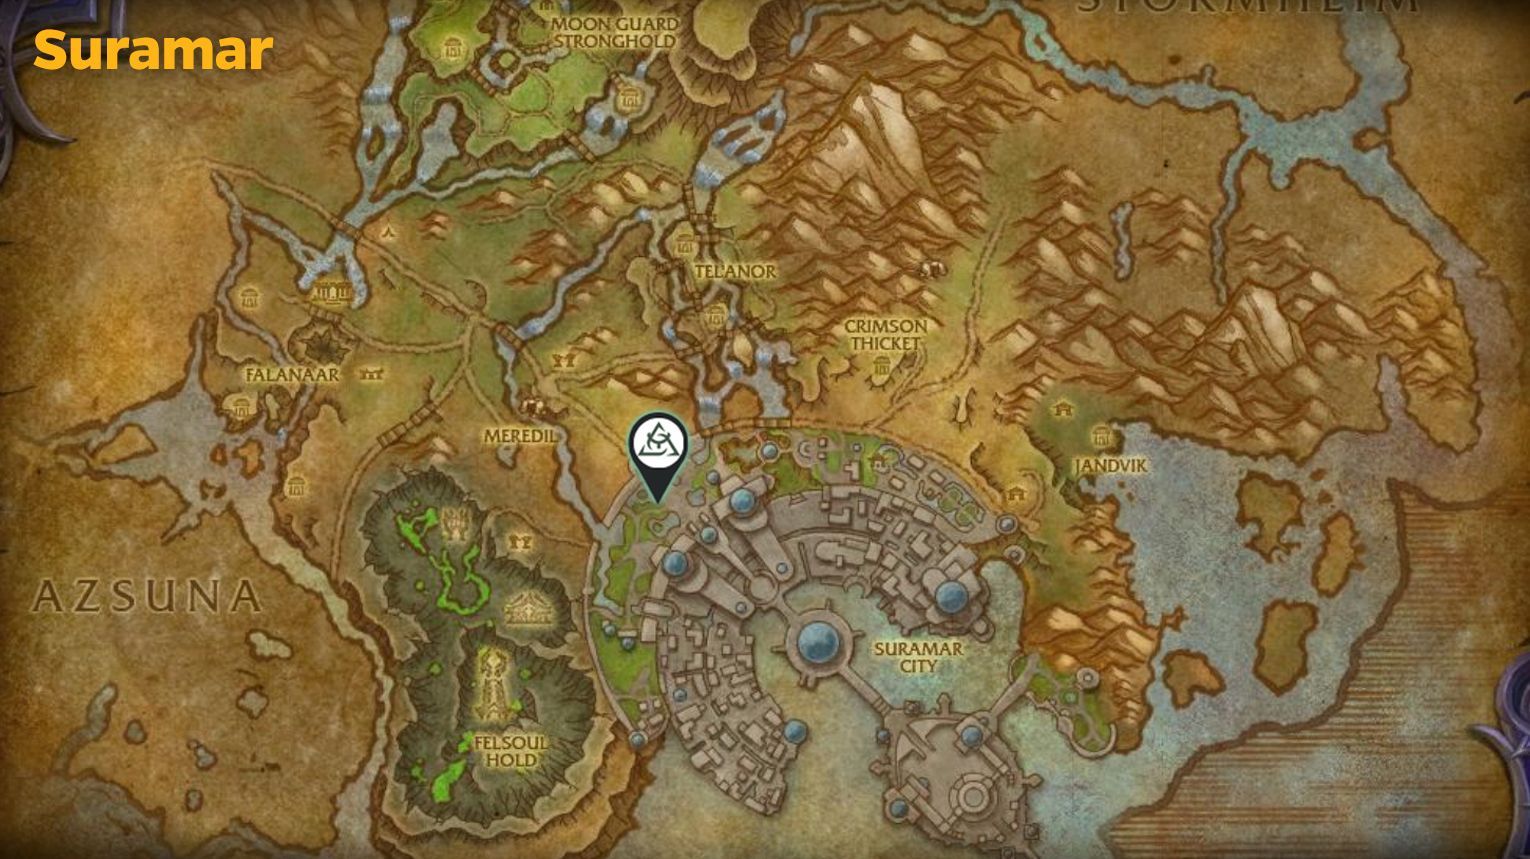
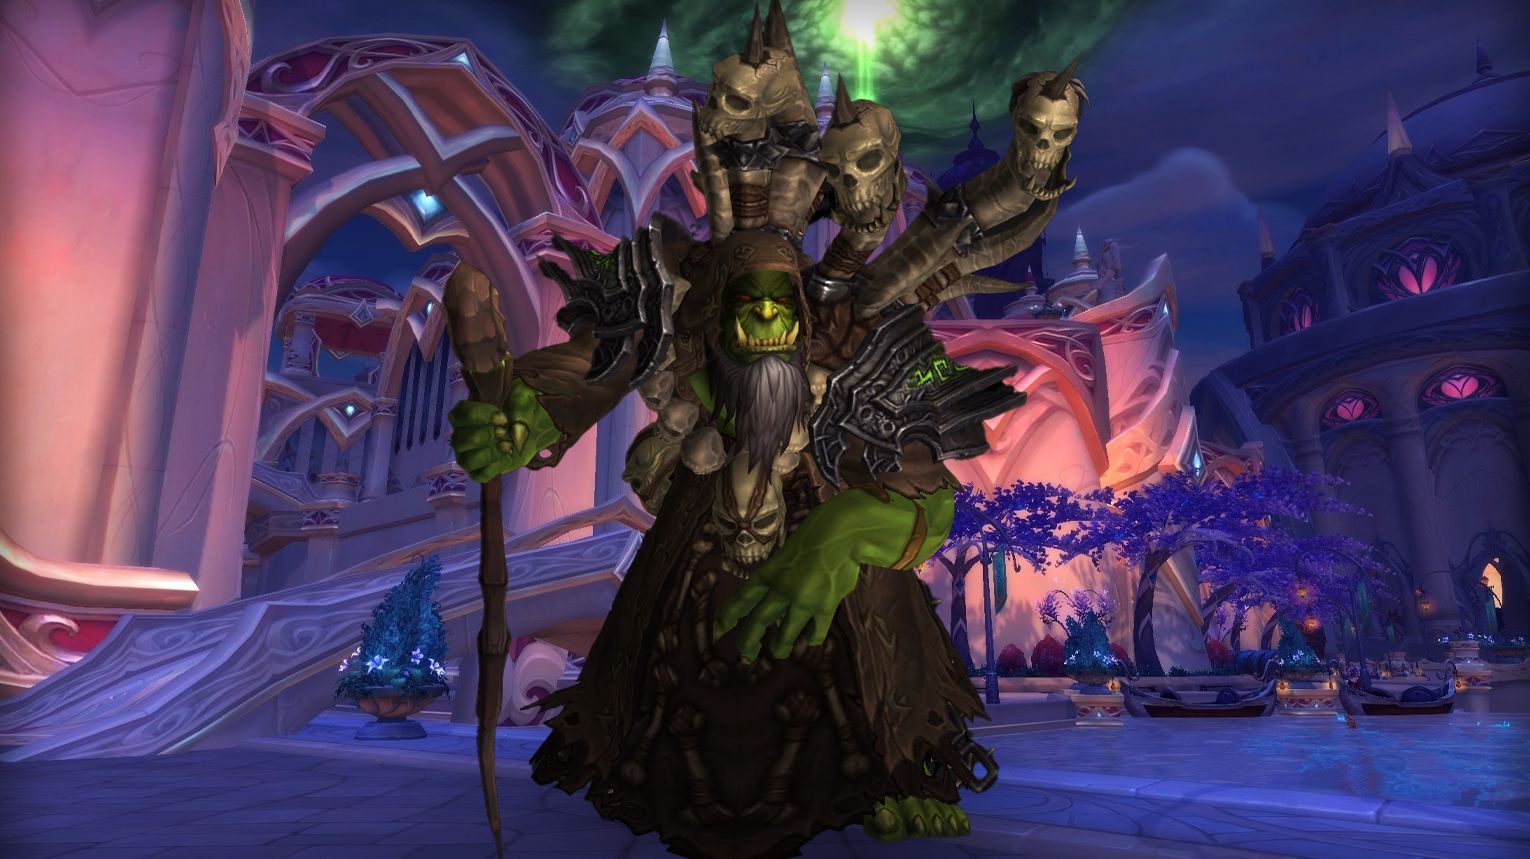
The Nighthold is located in the Suramar zone in World of Warcraft: Legion. To reach it, travel to Suramar, which can be accessed via Dalaran in the Broken Isles. From there, head to the northern part of Suramar City, near the Nightwell. The entrance to The Nighthold is at the base of the grand palace, marked by a large, ornate doorway. Follow the path, avoid or defeat any enemies, and you’ll arrive at the raid entrance. Walk through the massive gates to begin your exploration of the raid.
Inside, you’ll progress through different sections as you fight your way to Gul’dan.
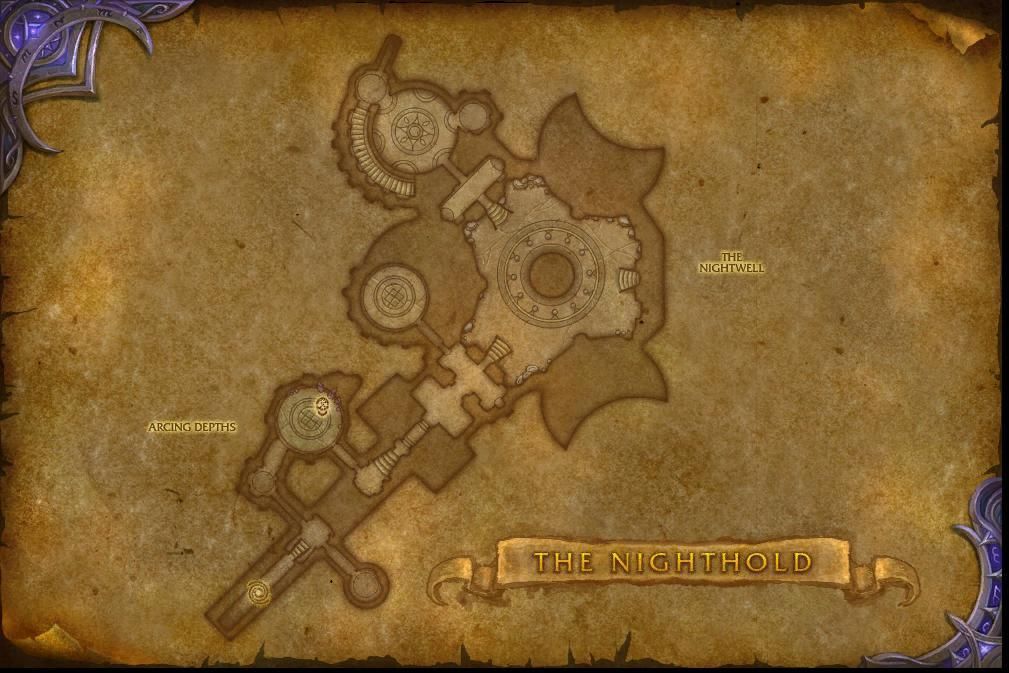
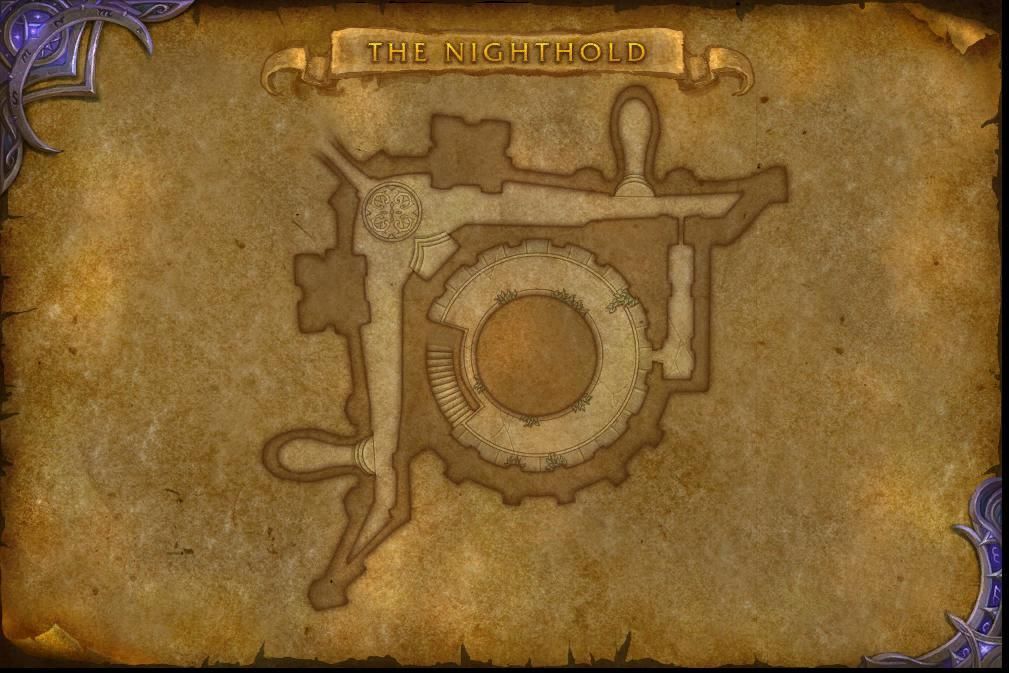
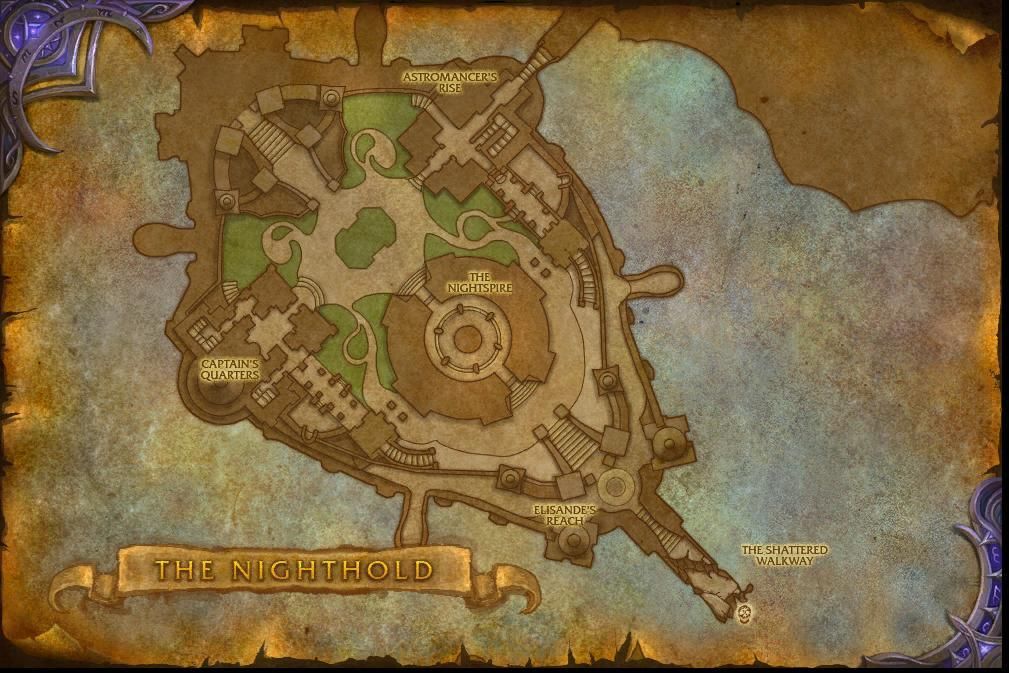
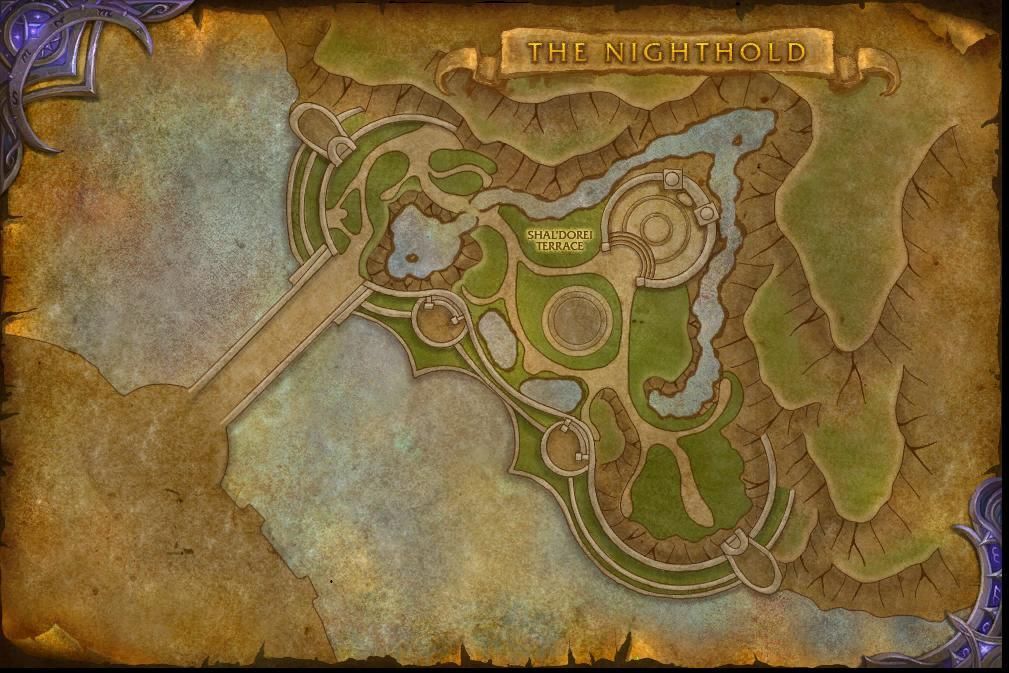
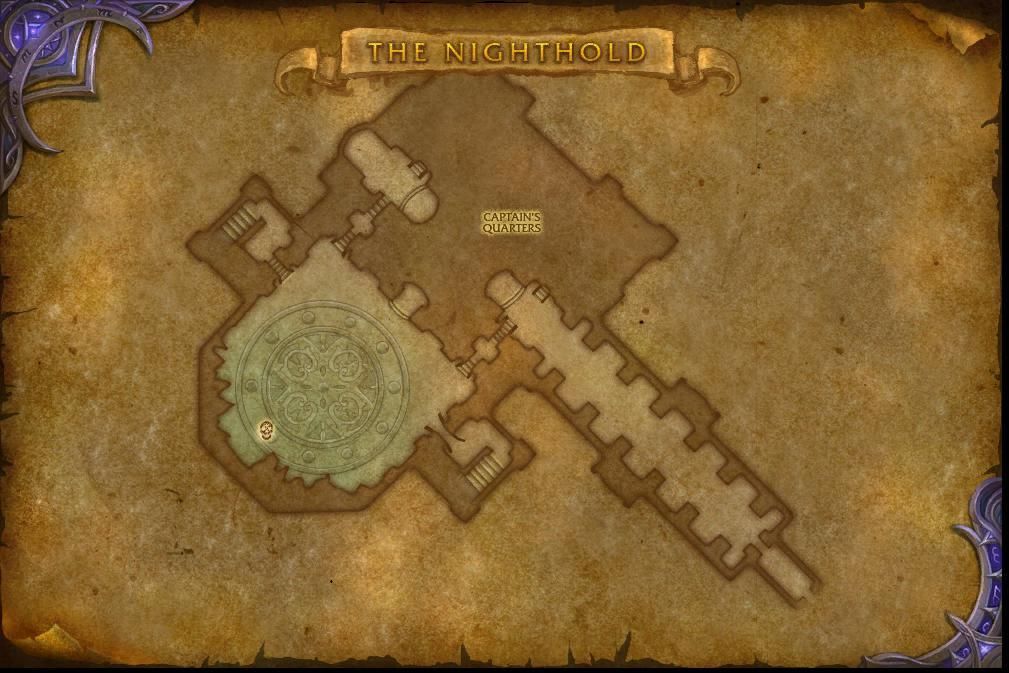
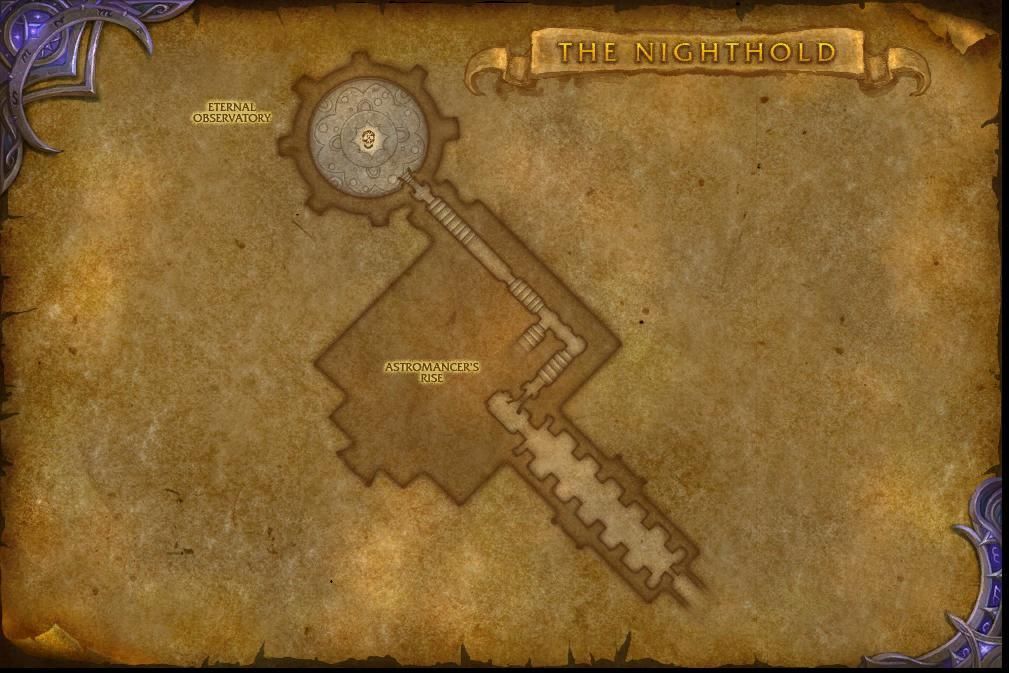
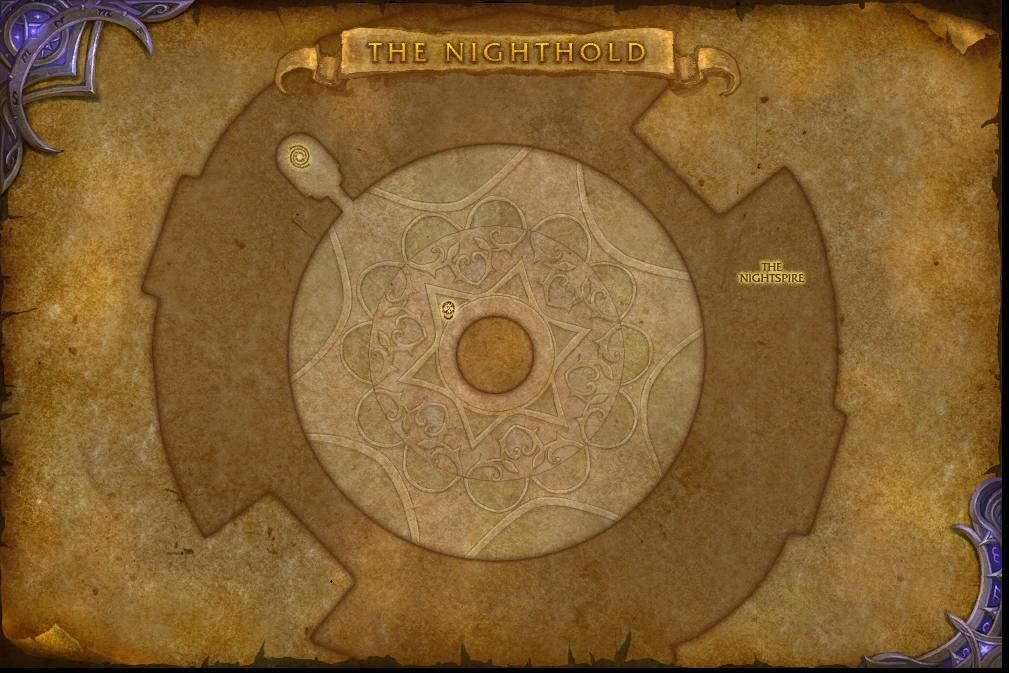
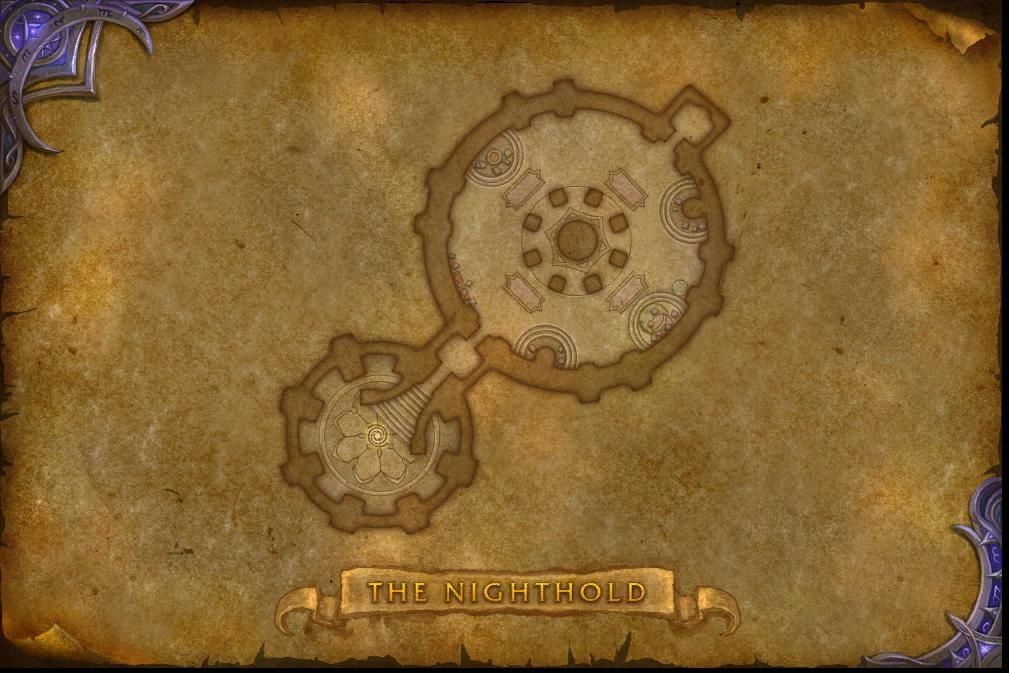
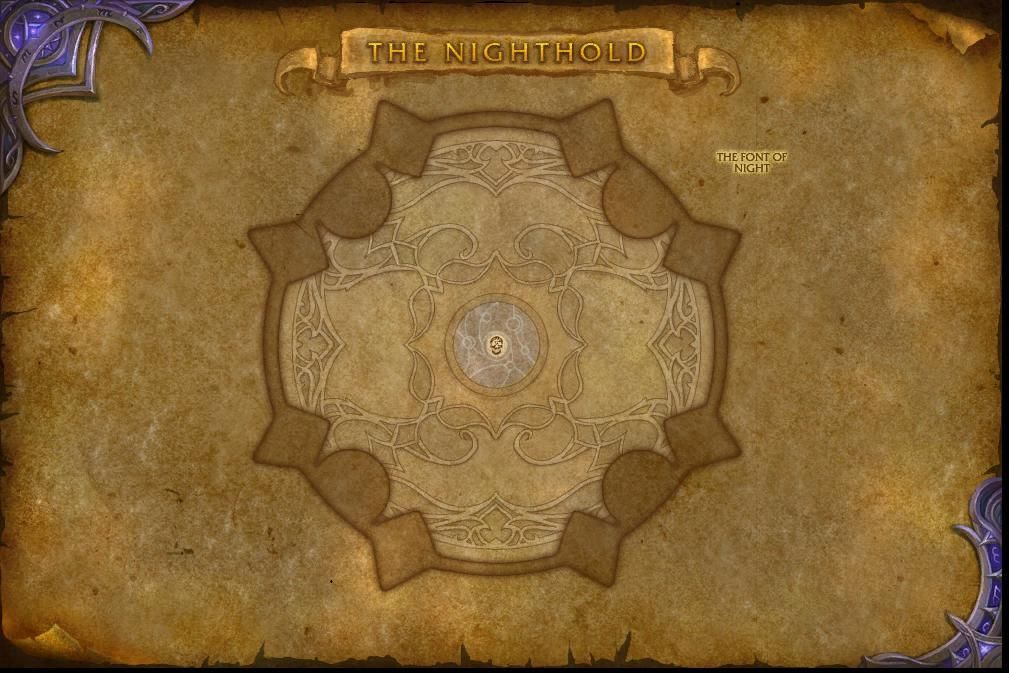
The Nighthold has the following subregions (check the gallery below):
The Nightwell,
Arcing Depths,
The Nighthold,
Shal’Dorei Terrace,
Captain’s Quarters,
Astromancer’s Rise,
The Nightspire,
Elisande’s Quarters,
The Font of Night.
The Nightwell
Arcing Depths
The Nighthold
Shal’Dorei Terrace
Captain’s Quarters
Astromancer’s Rise
The Nightspire
Elisande’s Quarters
The Font of Night
Each section has its own challenges and bosses, which we’ll briefly overview below.
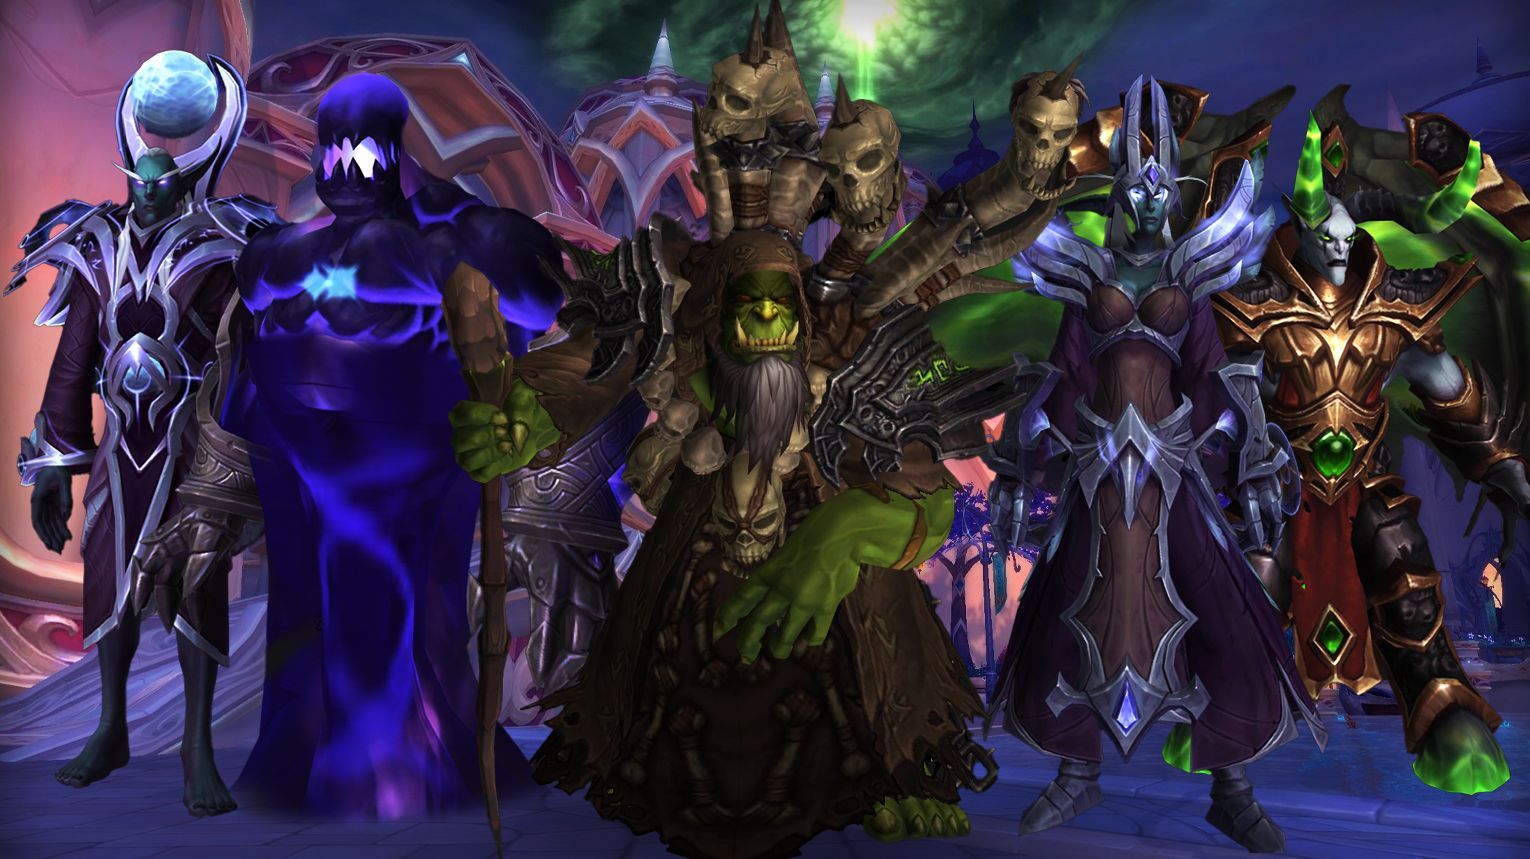
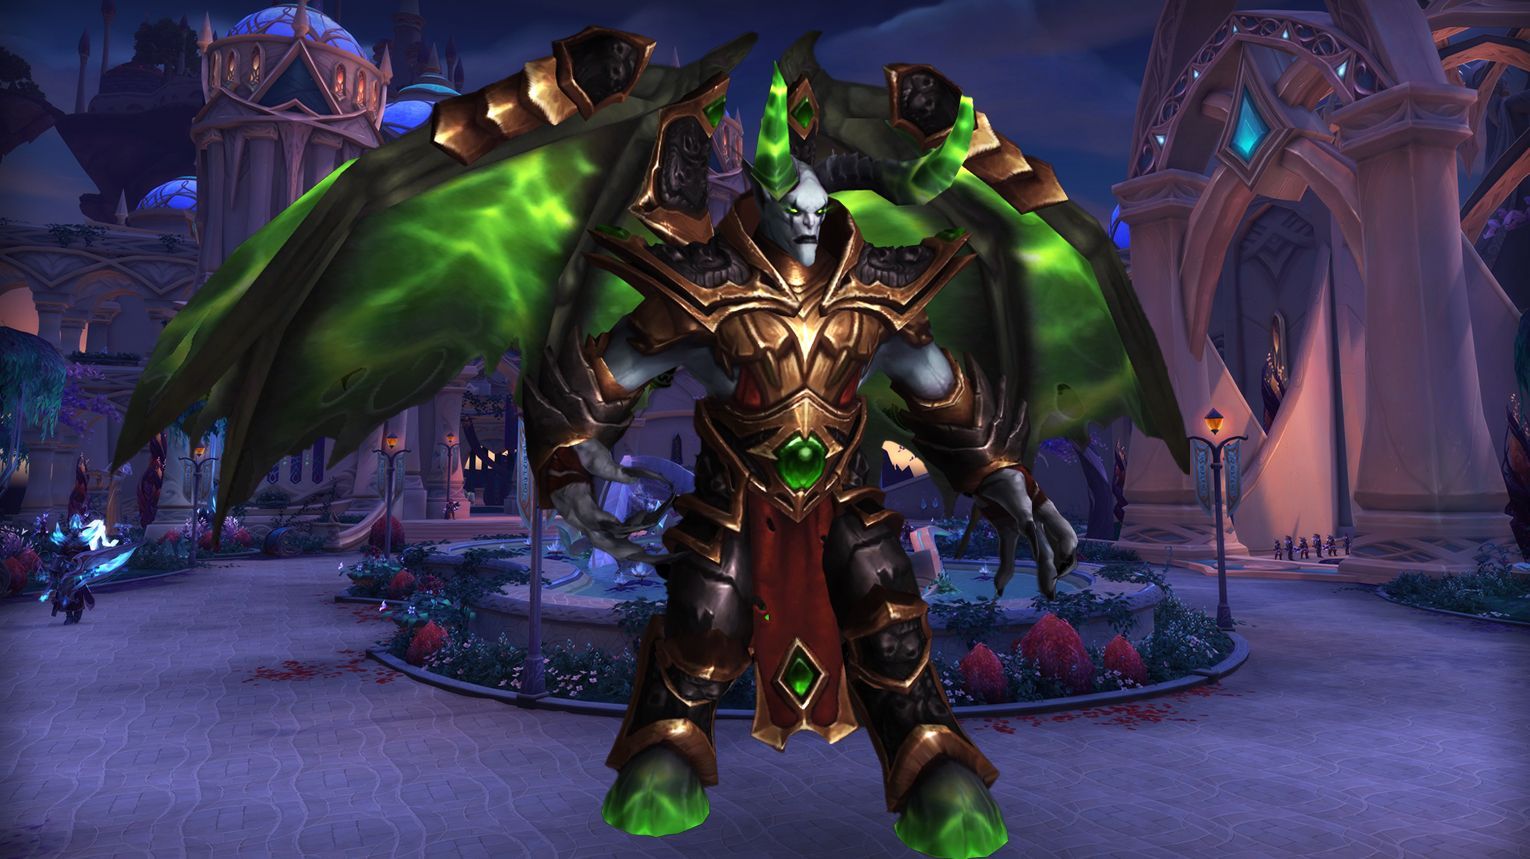
The Nightholdis a grand palace raid in World of Warcraft: Legion, where players confront Gul’dan and his minions in Suramar. This raid includes ten bosses, each connected to the enchanting and mysterious themes of the Nightborne culture. From Skorpyron, a giant scorpion-like creation, to Krosus, a huge demonic beast that destroys bridges, the battles are diverse and demanding. Encounters like Spellblade Aluriel need careful teamwork, while Star Augur Etraeus challenges players with cosmic abilities. The final fight against Gul’dan is a dramatic confrontation in the Twisting Nether, where players must prevent him from releasing the Burning Legion’s full might.
Below, we’ll review the Nighthold boss fights and their loot tables.
Can You Solo Nighthold in The War Within?
Farming The Nighthold solo in The War Within is an excellent way to collect transmog sets, mounts, pets, and achievements from Legion.
Level and Gear:
Be at least level 80 (current max level in The War Within).
Equip high item-level gear (preferably above 600+ for smoother runs).
Use consumables like food, flasks, and potions if needed.
Class and Spec:
Tanks and self-healing classes (e.g., Blood DK, Vengeance DH, Protection Paladin) are ideal for soloing.
DPS specs with strong survivability (e.g., Beast Mastery Hunter, Demonology Warlock) can also work well.
Know the Mechanics:
Some bosses have mechanics that require specific strategies, even when soloing.
Research the fights beforehand if you’re unfamiliar.
General Tips
Use Pets or Minions: If you’re a class with pets (e.g., Hunter, Warlock), use them to tank and distract enemies.
Cooldowns: Use your defensive and offensive cooldowns liberally.
Patience: Some fights may take longer, especially if you’re undergeared.
Legacy Loot Mode: Ensure you’re in Legacy Loot Mode (if applicable) to maximize your loot drops.
Why Solo Nighthold?
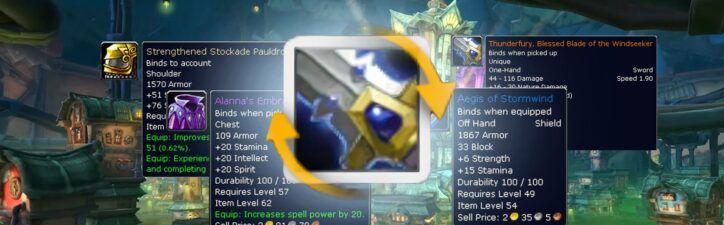
Transmog gear (Tier 19 sets and unique appearances).
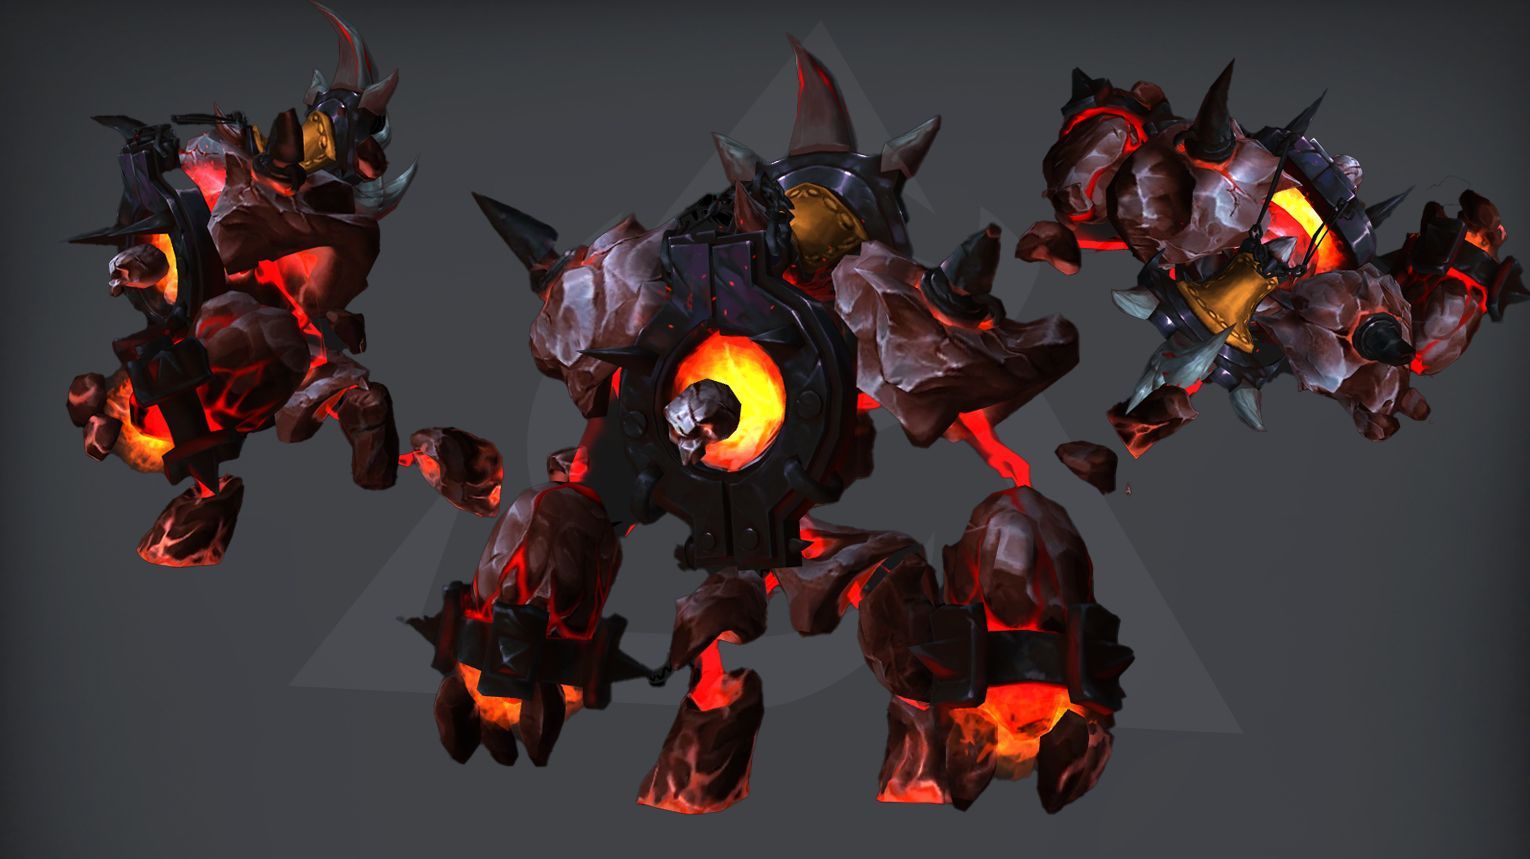
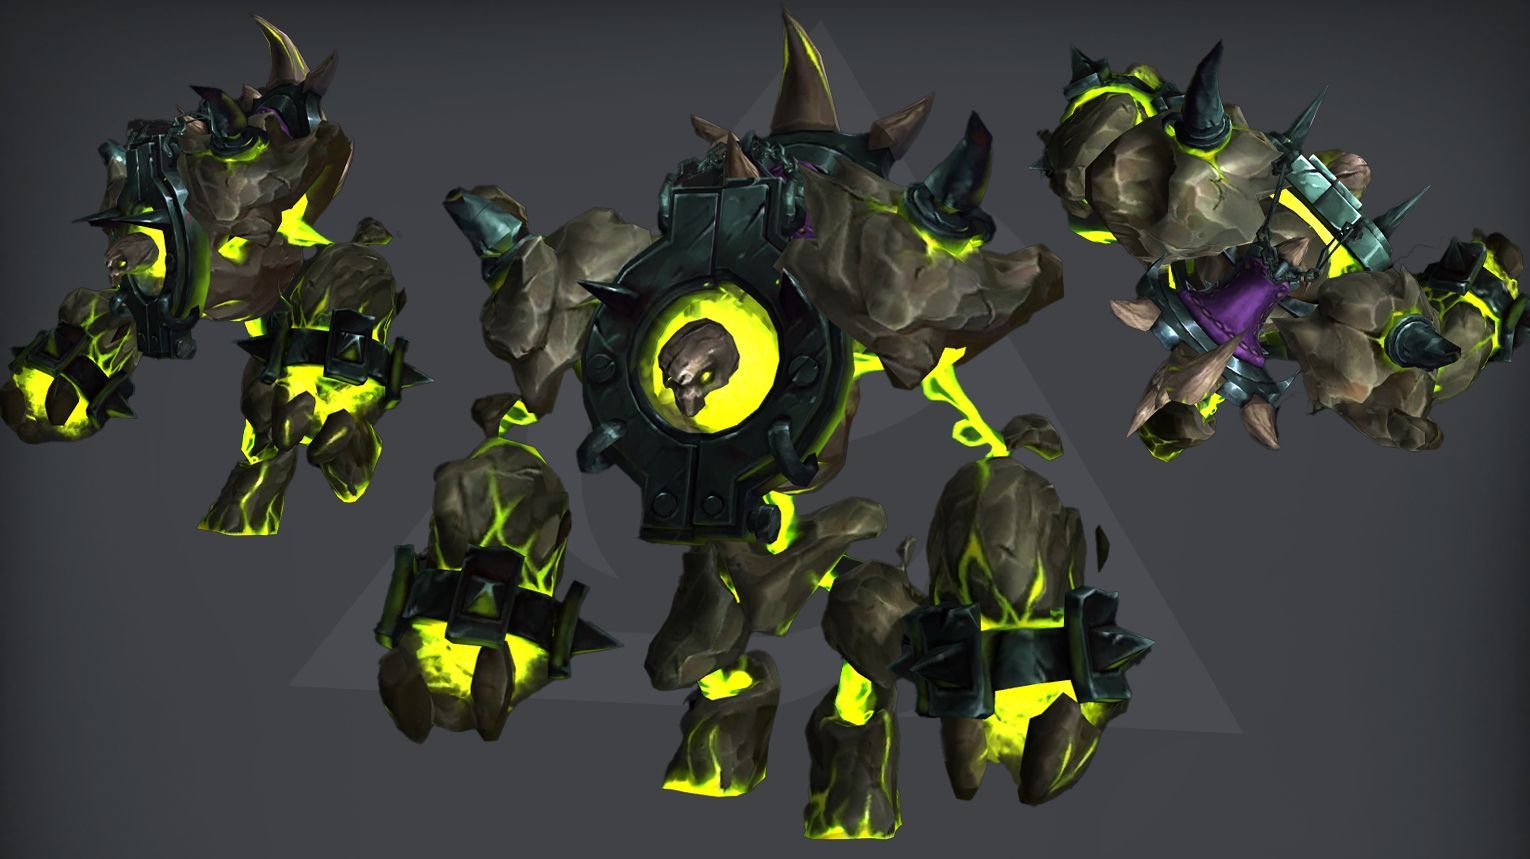
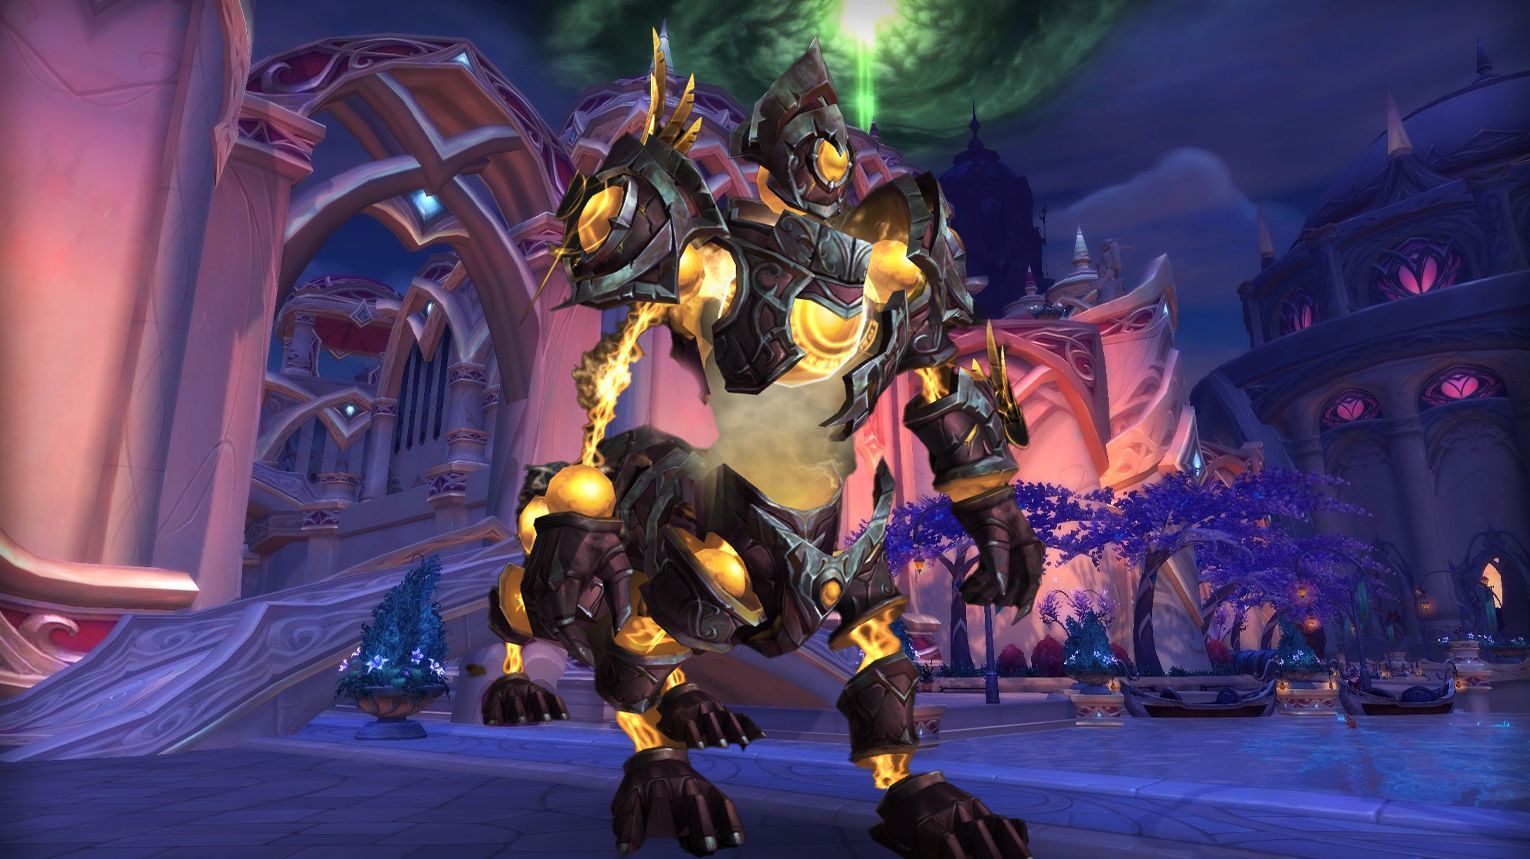
Skorpyron, the first boss in The Nighthold’s Arcing Aqueducts, is a single-target fight with waves of low-health Crystalline Scorpids. Key mechanics include breaking his Chitinous Exoskeleton for damage phases, avoiding Shockwave by hiding behind Crystalline Shards, and dodging FocusedBlast. Tanks must manage Arcane Tether and adds, while DPS should cleave adds and save cooldowns for Exoskeletal Vulnerability phases. Use Bloodlust/Drums at 25% health for the final burn. On Heroic and Mythic, watch for Volatile Scorpids and Acidmaw Scorpids, which add explosive and toxic mechanics.
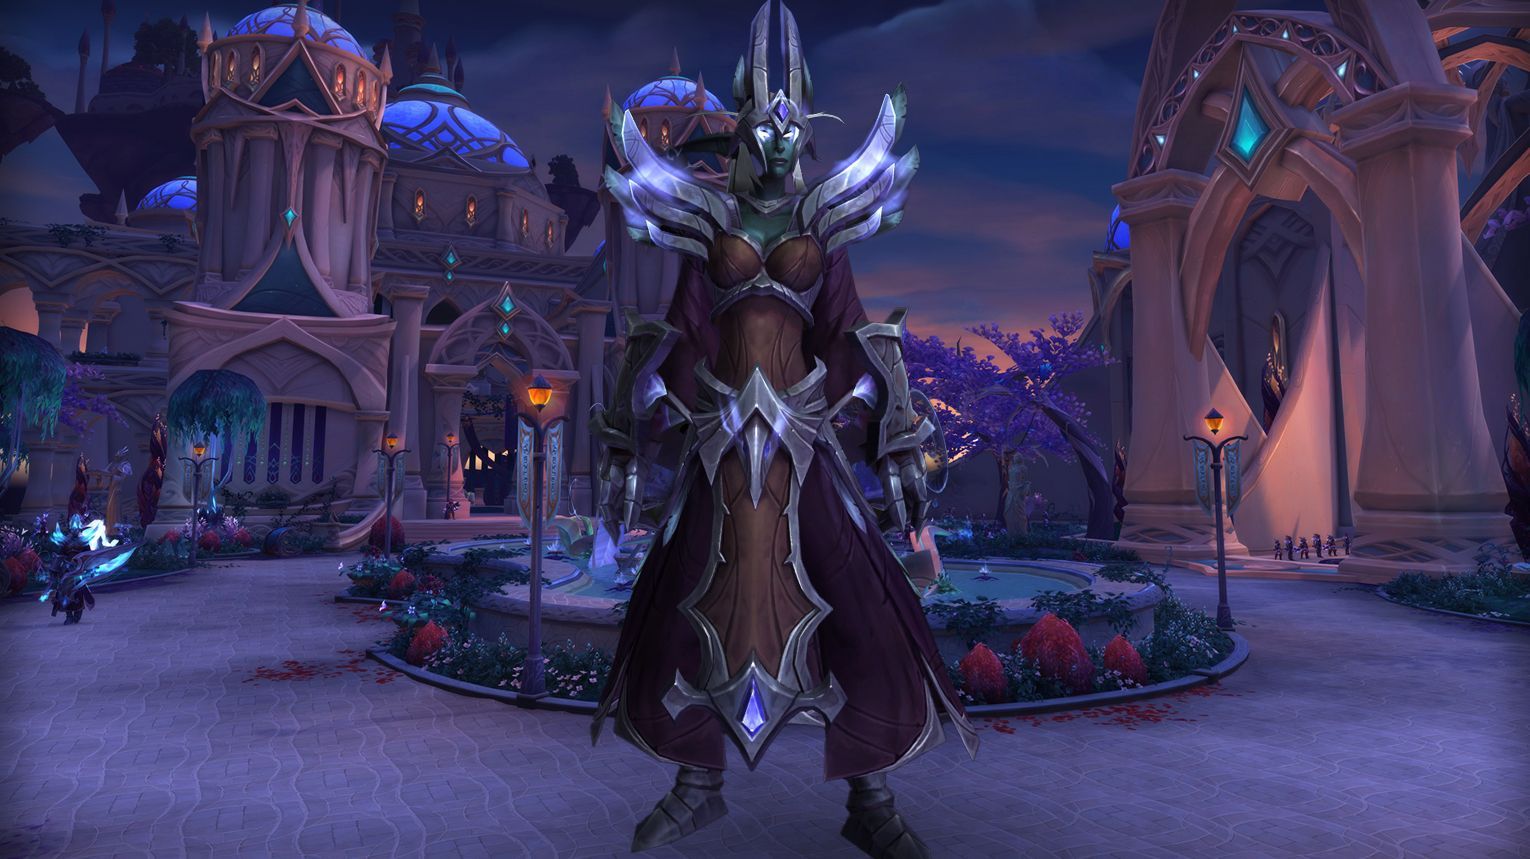
Spellblade Aluriel is a three-phase boss in The Nighthold, cycling through Frost, Fire, and Arcane enchantments. Each phase introduces unique mechanics like Mark of Frost, Searing Brand, and Arcane Orb, requiring players to spread, stack, or move strategically. Adds spawn during Animate abilities and must be killed quickly to avoid raid-wide damage. Tanks must swap at 2 stacks of Annihilated, while healers focus on debuffed players and raid-wide damage during Detonate mechanics. Use Bloodlust at the start or during critical phases (e.g., Arcane Phase on Mythic) to handle adds effectively.
Preferred Classes:
Tanks:
Classes with strong active mitigation (e.g., Protection Paladin, Blood Death Knight) to handle Annihilate.
A third tank is required for Mythic difficulty to handle the Fel Soul.
Healers:
Classes with strong AoE healing (e.g., Restoration Druid, Holy Priest) to manage Mark of Frost and Searing Brand.
Classes with raid cooldowns (e.g., Holy Paladin, Restoration Shaman) for Detonate: Arcane Orb.
Damage Dealers:
Classes with strong burst AoE (e.g., Frost Mage, Destruction Warlock) to quickly kill adds.
Krosus is a single-phase boss in The Nighthold raid with a 6-minute enrage timer. The fight revolves around managing Slam (tanks soak the first two, avoid the third), soaking Burning Pitch to prevent adds, dodging Fel Beam, and running away with Orb of Destruction. Tanks must swap at 5-7 stacks of Searing Brand, while DPS focus on single-target damage and killing Burning Embers. Use Bloodlust at the start, and be mindful of the shrinking bridge space. On Heroic and Mythic, mechanics like Felburst and Accelerated Burning Embers add extra complexity.
Preferred Classes:
Tanks: Classes with strong active mitigation (e.g., Protection Paladin, Blood DK) to handle Slam and Searing Brand.
Healers: Classes with strong raid-wide healing cooldowns (e.g., Restoration Shaman, Holy Priest) to manage Slam, Orb of Destruction, and Burning Pitch damage.
DPS: High single-target DPS classes (e.g., Affliction Warlock, Marksmanship Hunter) to meet the tight enrage timer.
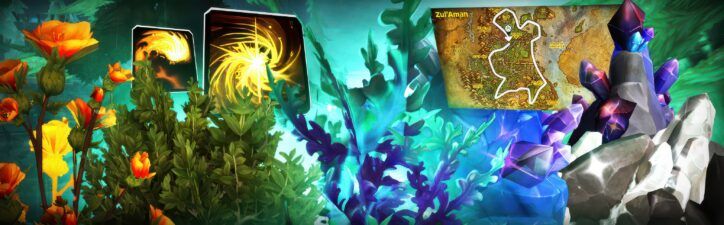
High Botanist Tel’arn is a three-phase boss in The Nighthold, using Arcane, Nature, and Solar magic. In Phase 1, handle Solar Collapse, Parasitic Fetter, and Controlled Chaos while swapping tanks at 7 stacks of Recursive Strikes. Phase 2 introduces Solarist Tel’arn and Plasma Spheres—kill them staggered to avoid raid-wiping explosions. Phase 3 adds Naturalist Tel’arn, requiring players to manage Call of Night, Grace of Nature, and Toxic Spores. Use Bloodlust/Drums in Phase 3 for maximum DPS, and on Mythic, kill bosses in the order: Naturalist → Solarist → Arcanist.
Preferred Classes:
Tanks: Classes with strong active mitigation and cooldowns (e.g., Protection Paladin, Blood DK).
Healers: Strong single-target healers for tank healing (e.g., Holy Paladin, Discipline Priest).
DPS: Classes with strong cleave, multi-DoT, and mobility (e.g., Affliction Warlock, Fire Mage, Havoc Demon Hunter).
Tips:
Damage Dealers:
Avoid Controlled Chaos and Solar Collapse.
Kill Parasitic Lashers quickly and kite them if targeted.
Stagger Plasma Sphere deaths to avoid lethal Plasma Explosion damage.
Spread out to minimize Chosen Fate and Pillars of Night damage.
Tanks:
Swap at 7 stacks of Recursive Strikes.
Position bosses together for cleave damage but avoid stacking during Flare.
Move bosses out of Grace of Nature pools.
Healers:
Dispel Parasitic Fetter carefully.
Use raid cooldowns for Plasma Explosion and Controlled Chaos.
Focus healing on Call of Night and Toxic Spores targets.
Strategy:
Phase 1 (100%-75% Health):
Abilities:
Solar Collapse: Run out of the expanding rings.
Parasitic Fetter: Dispel and kill spawned Lashers quickly.
Controlled Chaos: Move away from the growing explosions.
Tank Swap: At 7 stacks of Recursive Strikes.
Phase 2 (75%-50% Health):
Solarist Tel’arn joins the fight.
Abilities:
Summon Plasma Spheres: Kill one quickly, the second after the first debuff expires, and let the third die naturally.
Flare: Tanks should not stack.
Tank Positioning: Keep bosses together for cleave damage.
Phase 3 (50%-0% Health):
Naturalist Tel’arn joins the fight.
Abilities:
Call of Night: Non-debuffed players must stand near debuffed players to soak damage.
Grace of Nature: Move bosses out of the healing pool.
Toxic Spores: Avoid and use immunities to clear if necessary.
Bloodlust/Drums:
Start of Phase 3 (50% health), as it is the most complex and dangerous phase.
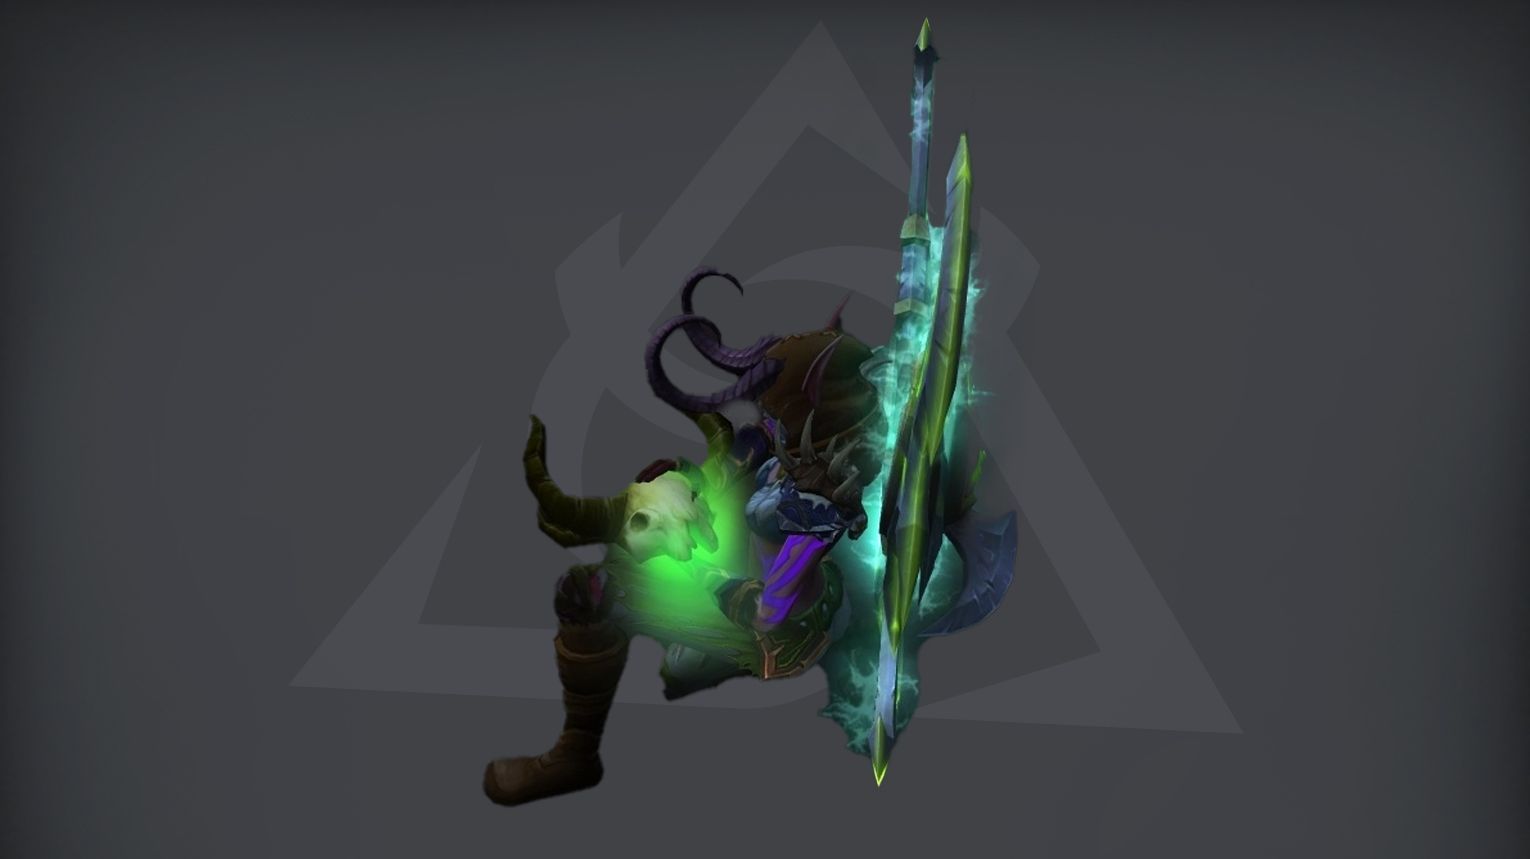
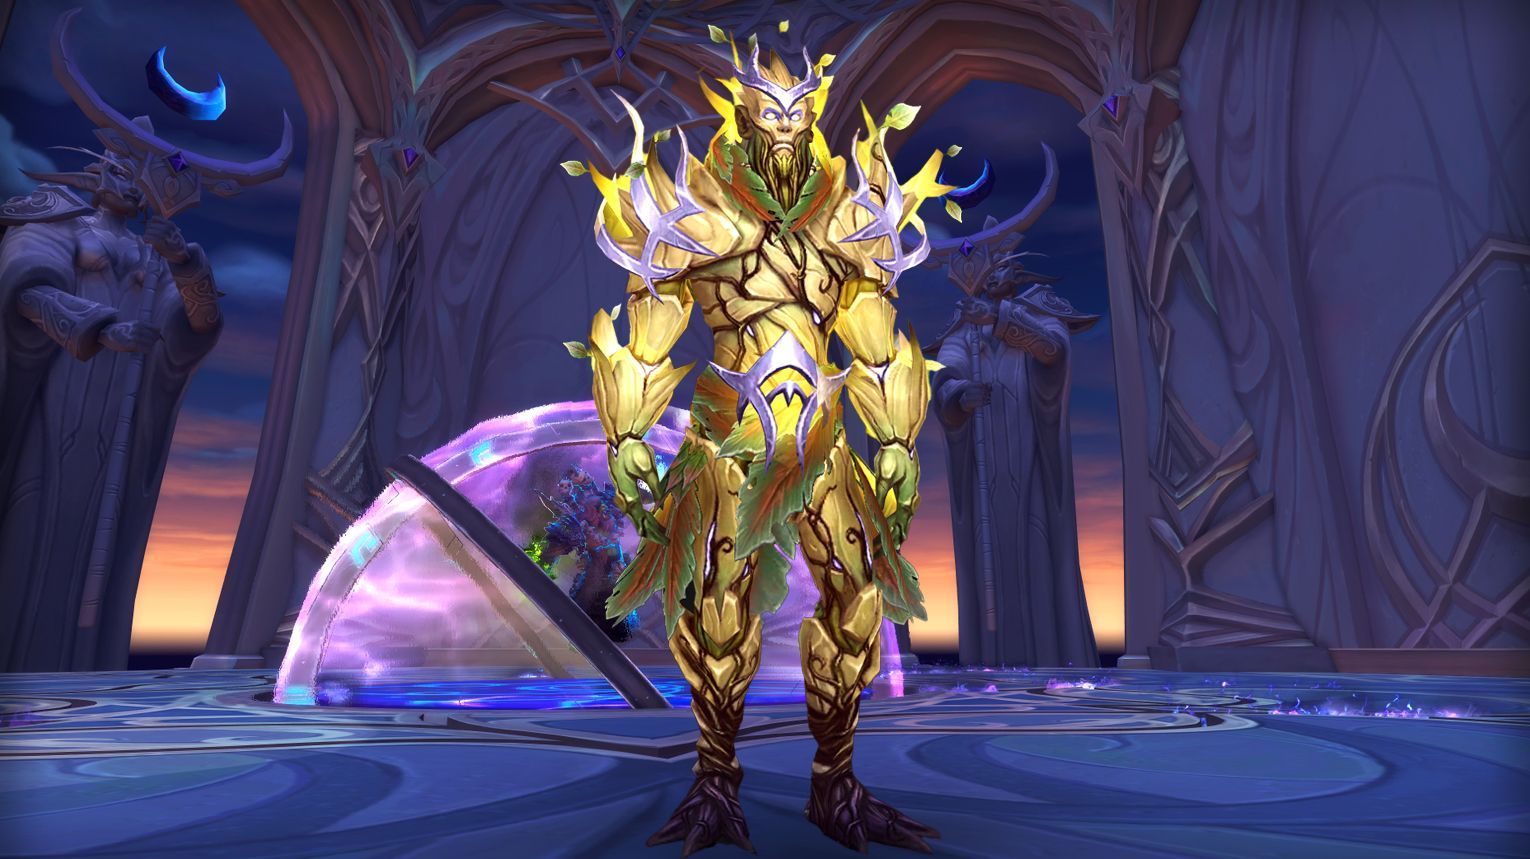
Star Augur Etraeus is a visually stunning boss in The Nighthold raid with four phases (0-3) triggered at 90%, 60%, and 30% health. Each phase introduces new mechanics: Phase 1 focuses on Frost abilities like Icy Ejection and Absolute Zero, Phase 2 introduces Fel-themed mechanics like Fel Ejection and Felflame, and Phase 3 revolves around Shadow abilities, priority adds (Thing That Should Not Be), and high raid damage from Voidburst. Use Bloodlust/Heroism in Phase 3 to burn priority adds and manage raid-wide damage. Key strategies include proper positioning, handling Ejection mechanics, and coordinating tank swaps for Gravitational Pull.
Preferred Classes:
Tanks: Classes with strong magic damage mitigation (e.g., Paladins, Druids).
Healers: Classes with strong AoE healing and cooldowns (e.g., Holy Priests, Restoration Druids).
DPS: Classes with strong single-target and cleave/AoE capabilities (e.g., Mages, Warlocks, Rogues).
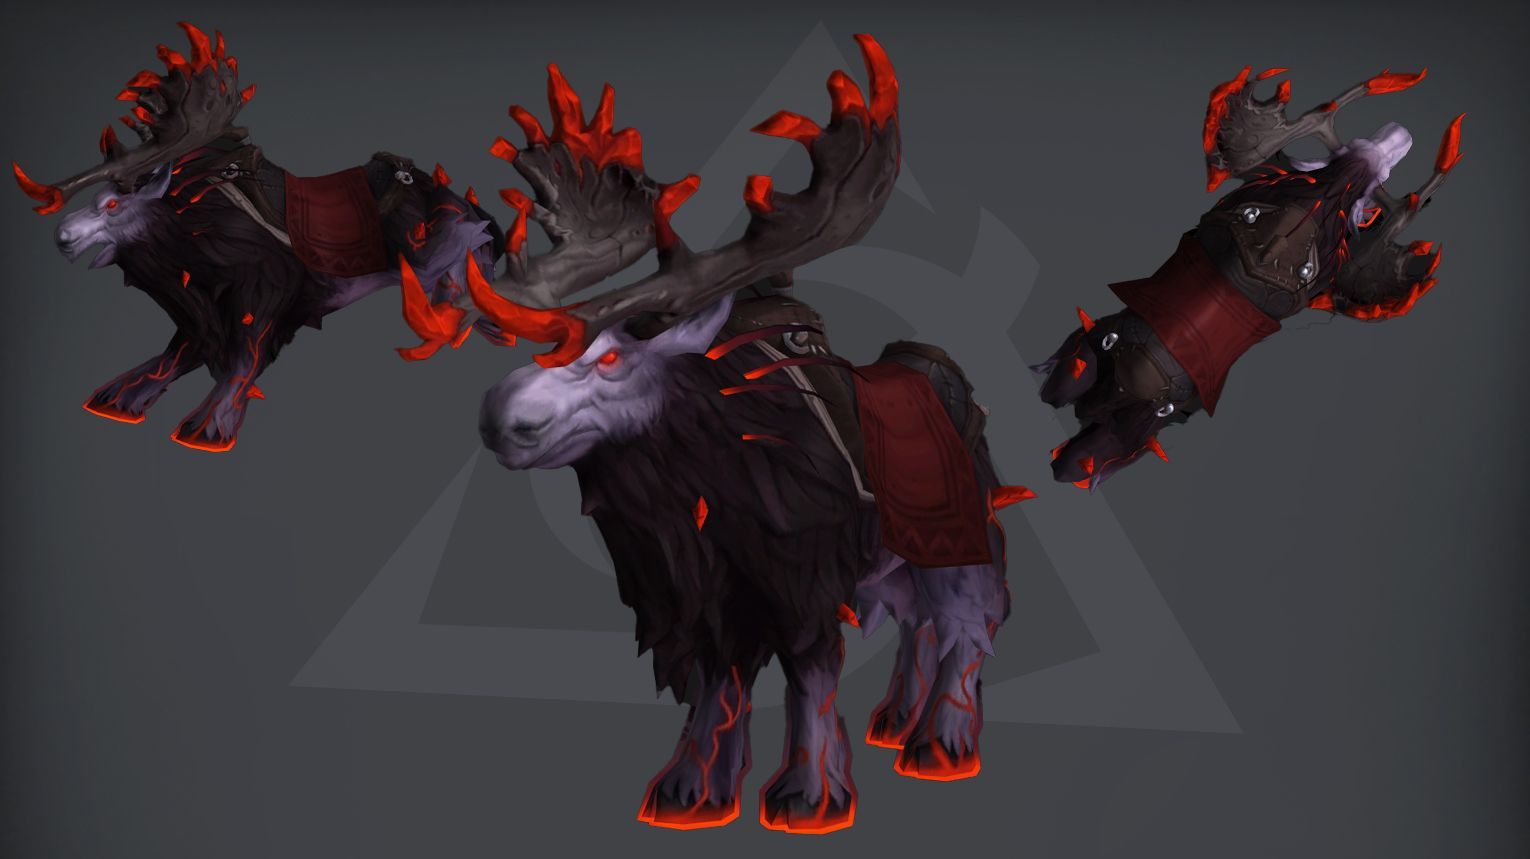
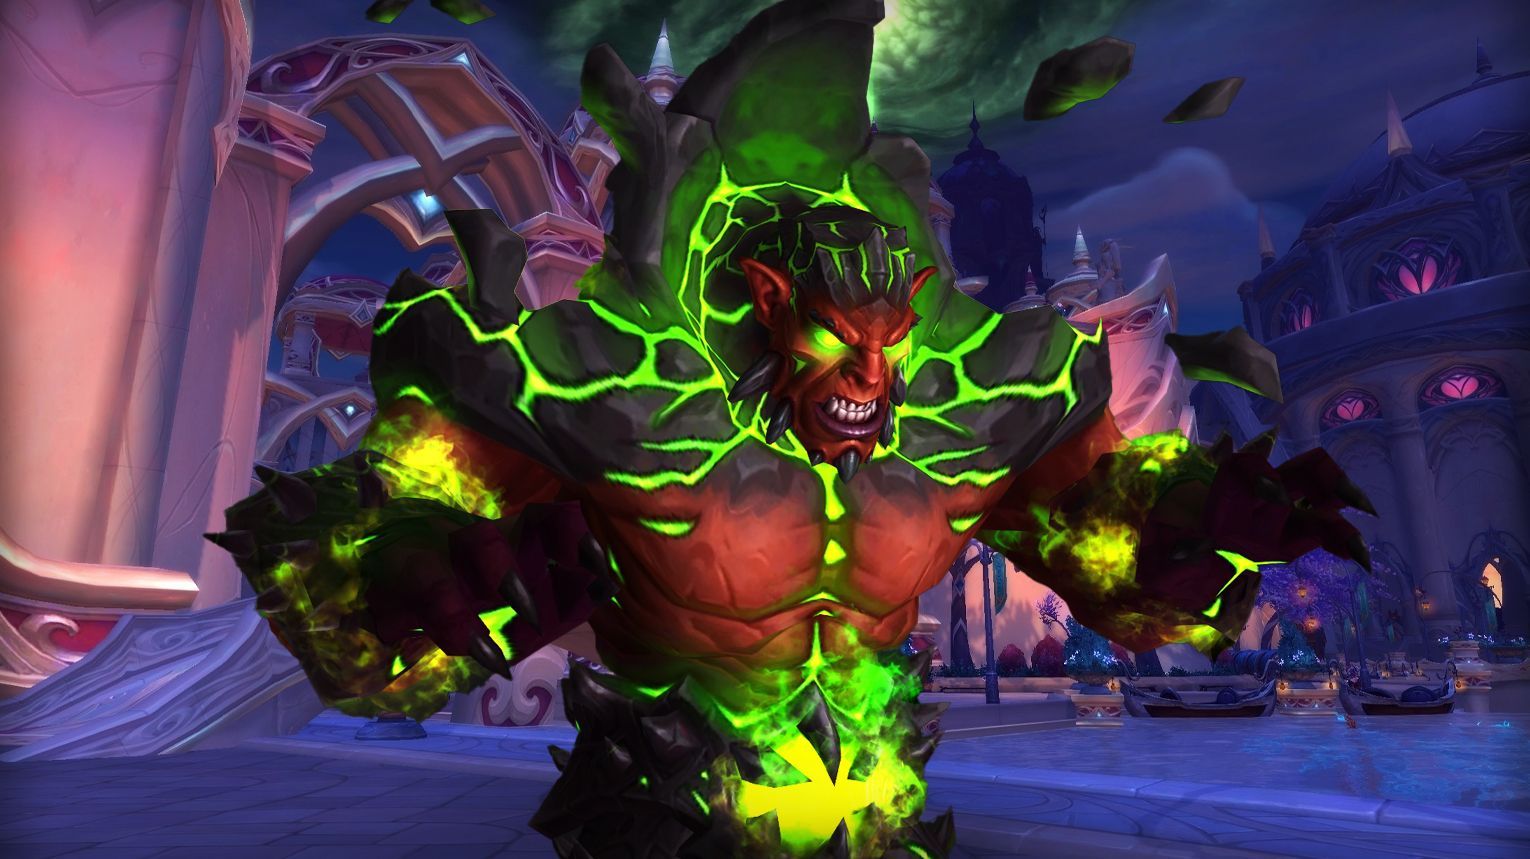
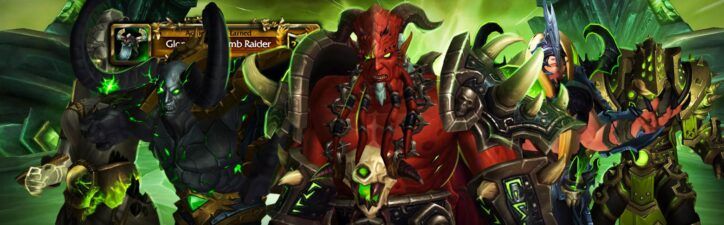
Gul’dan is the final boss of The Nighthold, featuring three phases: fighting mini-bosses, confronting Gul’dan directly, and surviving his empowered form. Key mechanics include Liquid Hellfire, Bonds of Fel, and Eye of Gul’dan, with role-specific abilities from the Essence of Aman’Thul. Tanks must manage Shatter Essence and Fel Scythe, while DPS prioritize killing adds and breaking bonds. Healers focus on mitigating raid-wide damage and dispelling debuffs. Use Bloodlust early in Mythic or during high-pressure moments in Phase 2/3 for optimal DPS. Unique rewards include the Arcanist’s Manasaber mount and Fiendish Hellfire Core.
Preferred Classes:
Tanks: Classes with strong active mitigation (e.g., Protection Paladin, Blood Death Knight).
Healers: Classes with strong raid-wide healing and dispels (e.g., Restoration Druid, Holy Priest).
DPS: High burst damage for mini-bosses and Eyes of Gul’dan (e.g., Fire Mage, Demon Hunter).
Utility: Classes with interrupts (e.g., Rogues, Shamans) for Dreadlord’s Carrion Wave (Heroic+).
Engage and defeat Spellblade Aluriel in the following areas of The Nighthold on Normal difficulty or higher. She must reach her destination within 120 seconds of entering combat and remain there until defeated:


 Tanks and self-healing classes (e.g.,

 DPS specs with strong survivability (e.g.,


 Healers:
 Tips:
Tips:


Comments: