
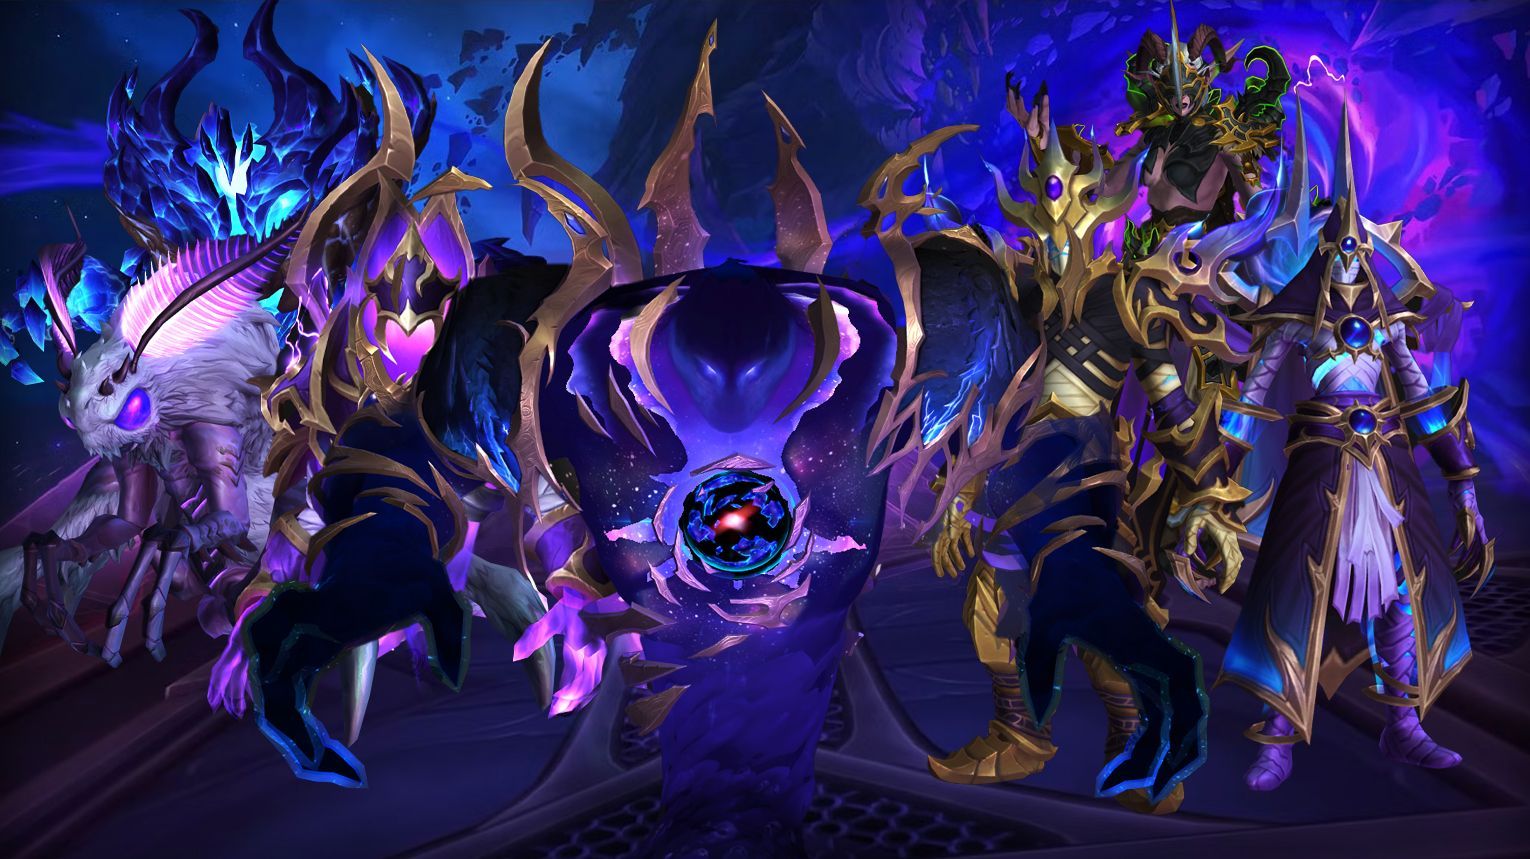
Manaforge Omega is the final raid of The War Within, released in Patch 11.2 (Shadows of K’aresh). Set in the shattered remains of the Ethereal homeworld, K’aresh, this raid pits players against the Shadowguard—a faction trying to resurrect the Void Lord Dimensius, the All-Devouring, WoW’s largest raid boss ever.

- Manaforge Omega location
- Bosses and their rewards
- Available mounts, weapons, and transmogs
- Achievements you can earn
If you want to get new BiS PvE gear, achievements, mounts, and more, our Manaforge Omega carry services are the perfect choice. You’ll complete the raid with one of our professional teams who know this new TWW raid inside out, on any difficulty, from Normal to Heroic and Mythic.

Manaforge Omega Entrance and Subregions
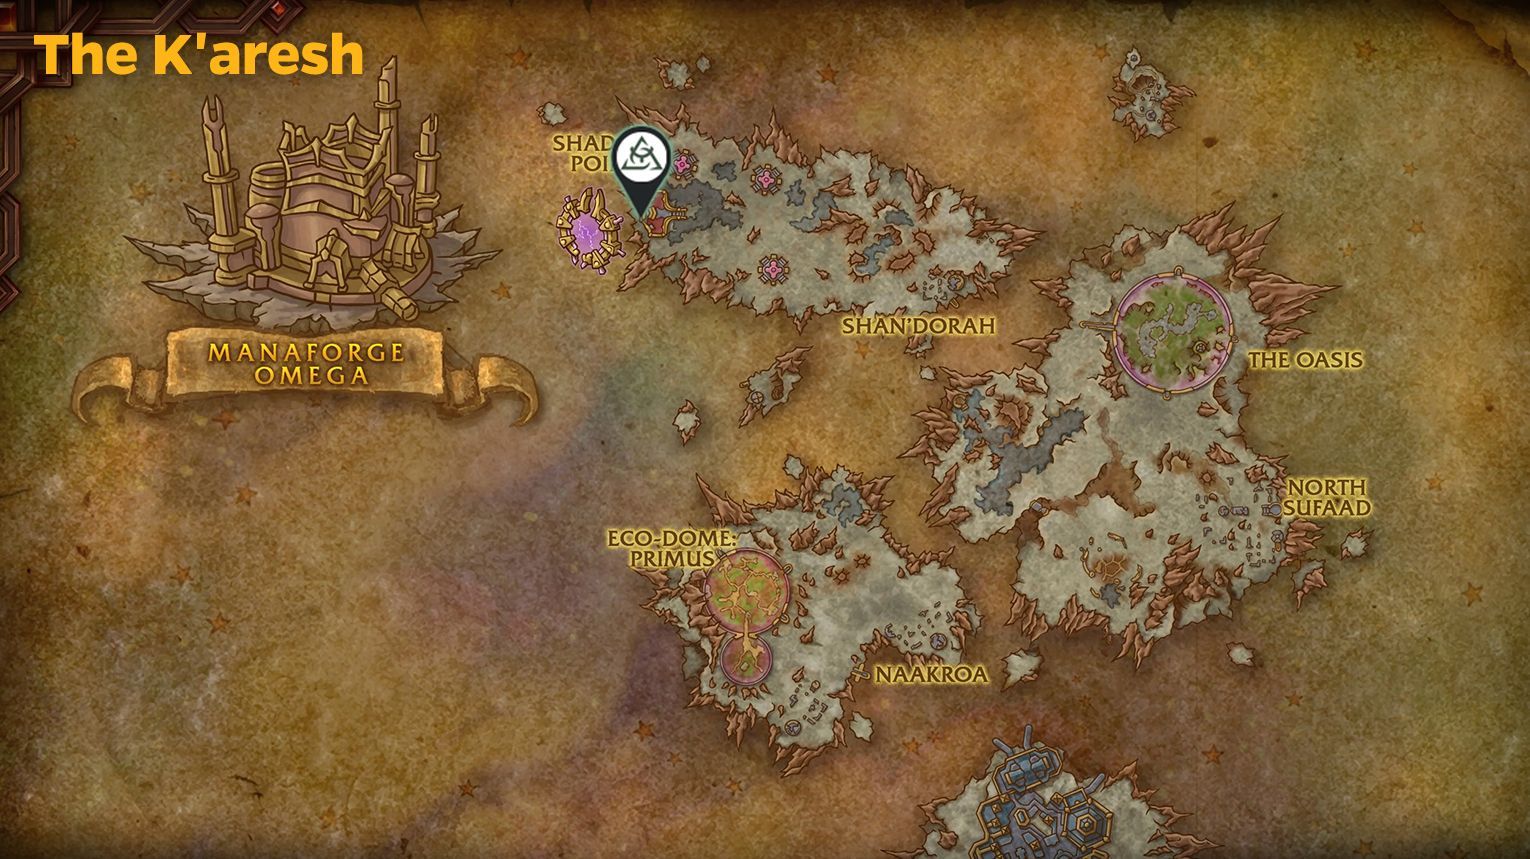
Manaforge Omega is on the shattered world of K’aresh, the ruined home of the Ethereals. To get there, use the Reshii Wraps cloak (unlocked via the Patch 11.2 campaign) to transform into energy and bypass the forge’s deadly defenses. Without it, the raid’s security systems will kill you instantly.
The entrance is at the Shadow Point staging area, where you’ll phase-dive into the raid through a void rift. Teleports from Stormwind or Orgrimmar will likely be available during Season 3 for quick access.
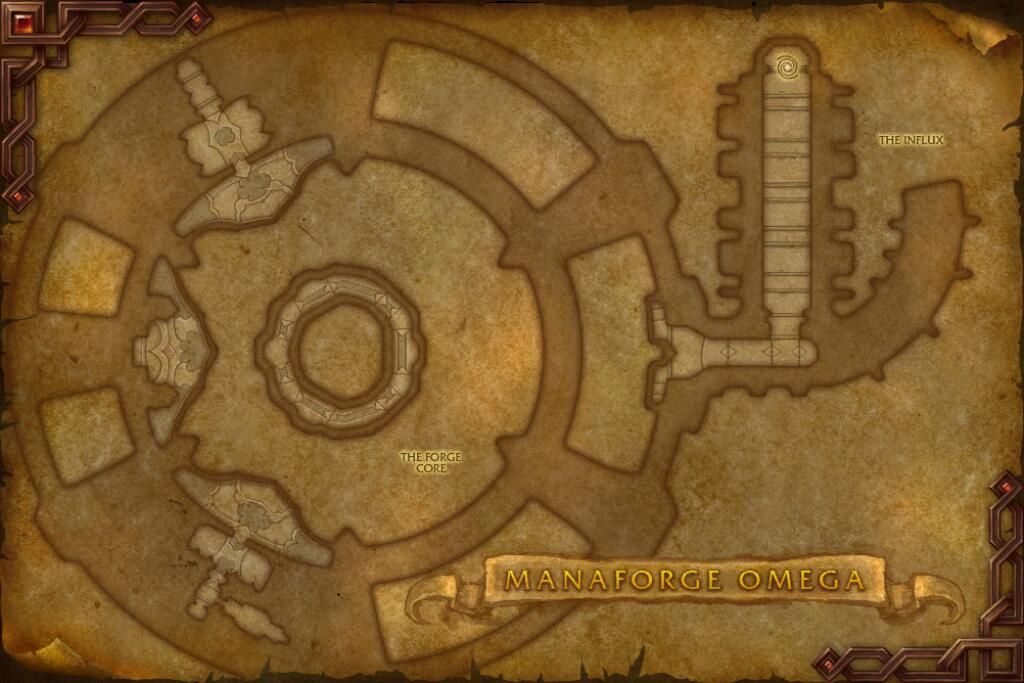
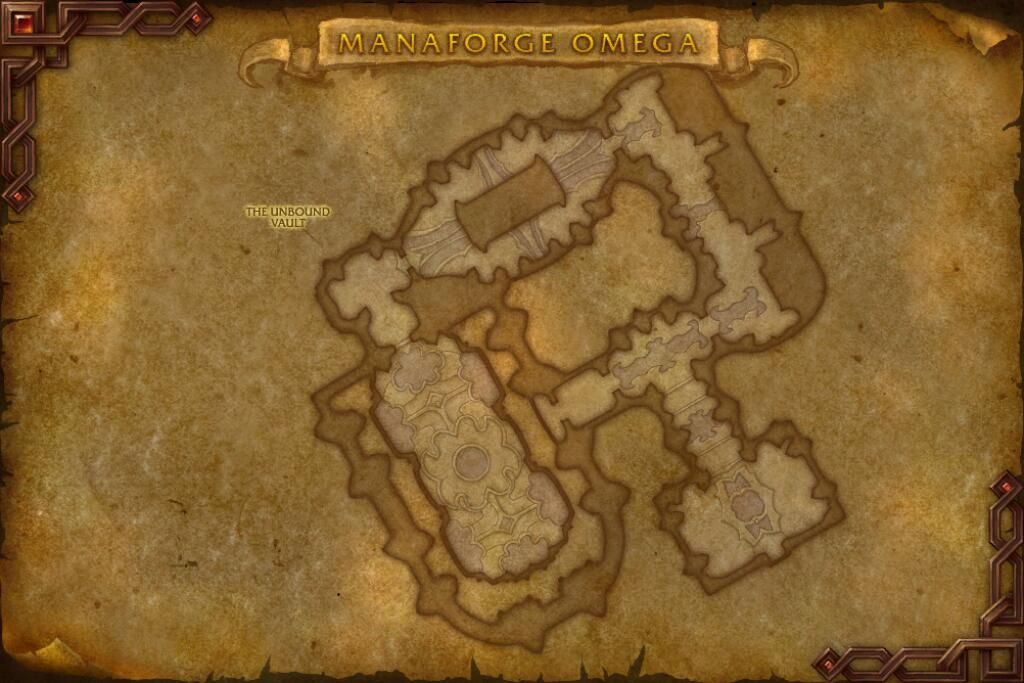
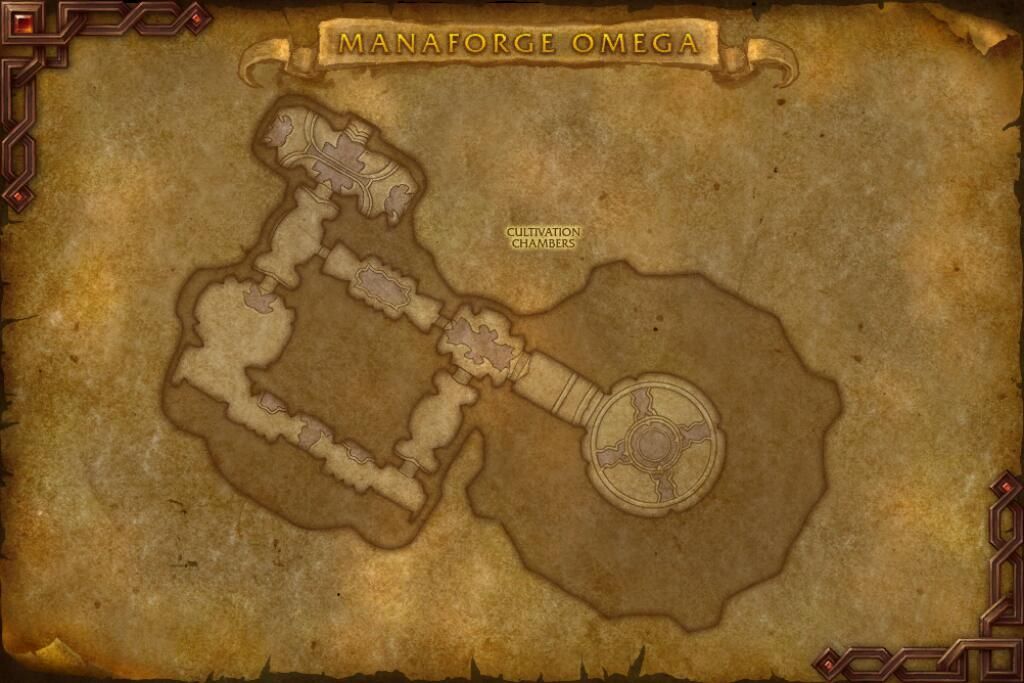
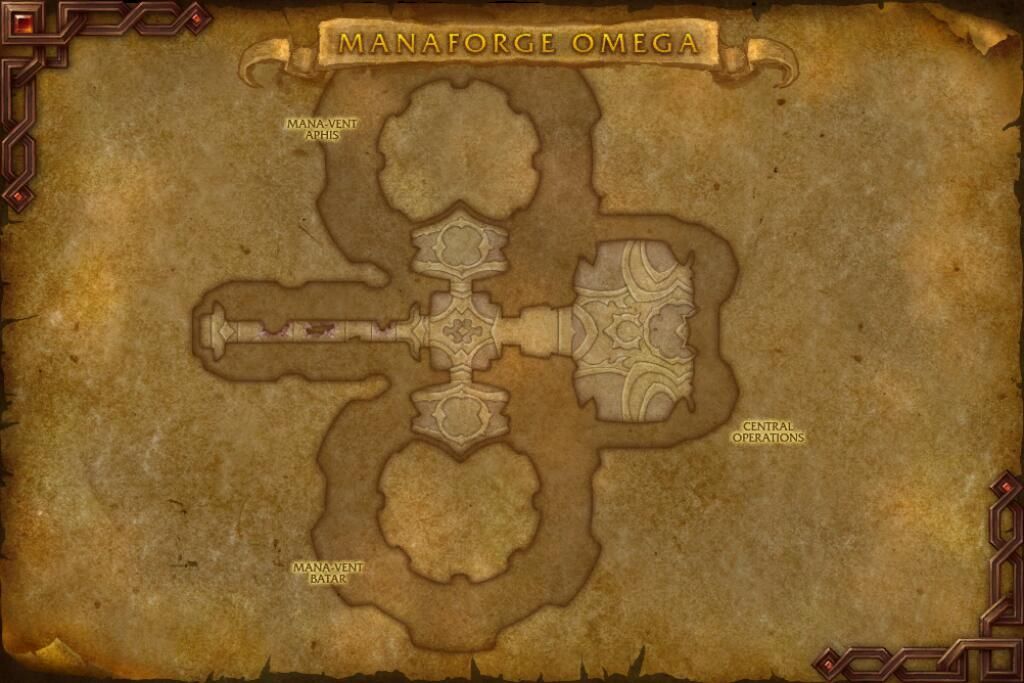
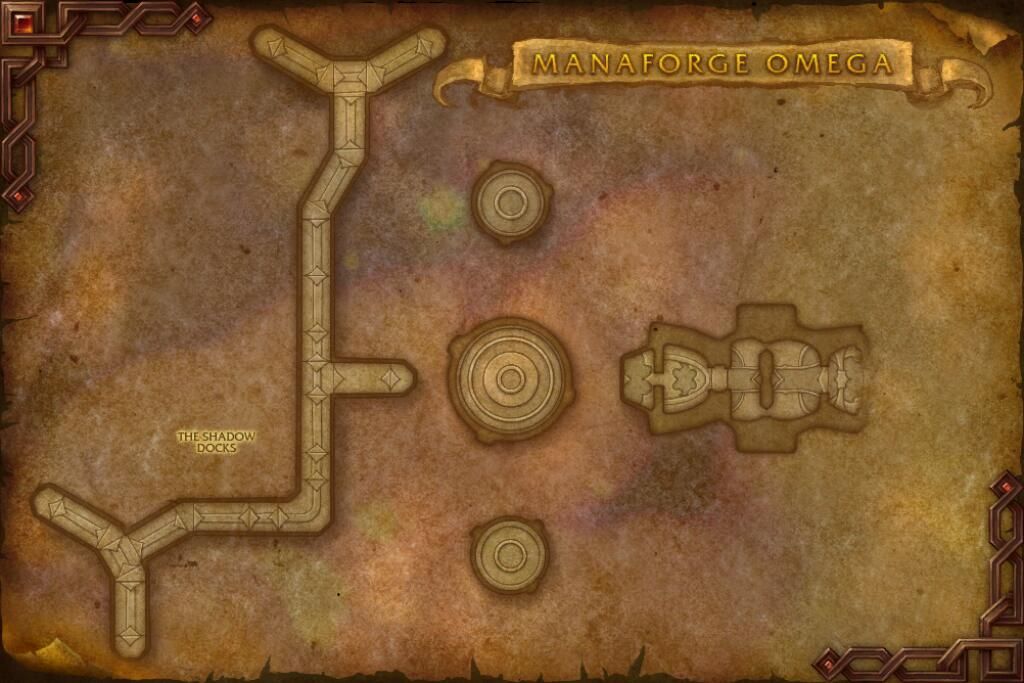
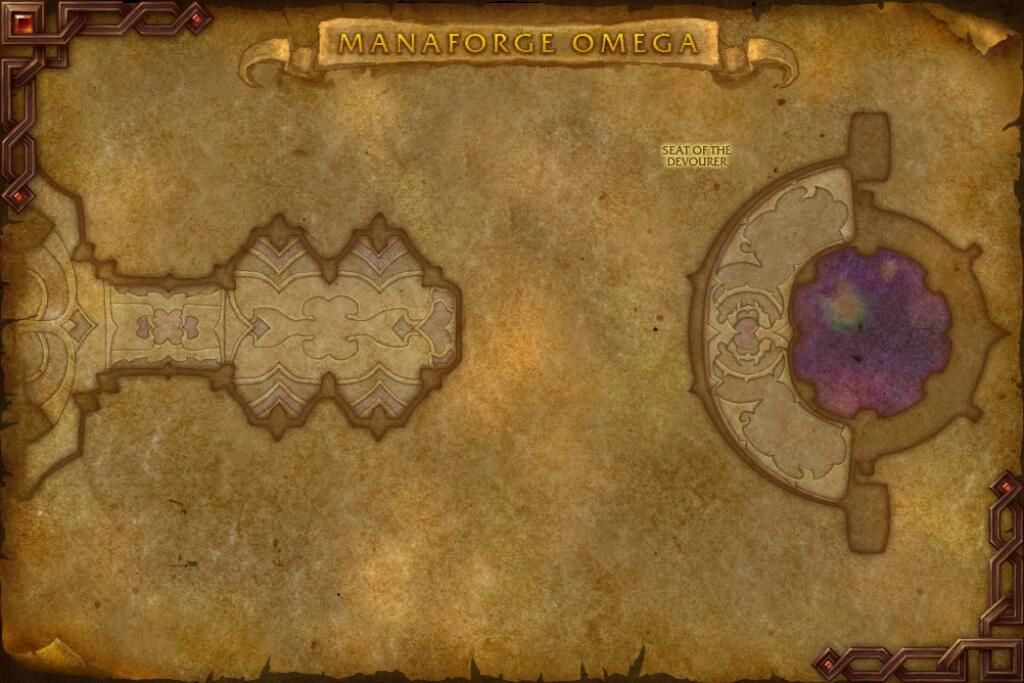
Manaforge Omega is a massive arcane facility divided into interconnected chambers, each with unique hazards and bosses.

- The Forge Core (opening encounter)
- The Unbound Vault (Soulbinder Naazindhri)
- Cultivation Chambers (Loom’ithar fight)
- Technomancers’ Terrace
- Central Operations (Forgeweaver Araz)
- Wastes of Karesh (Fractillus, The Soul Hunters )
- The Shadow Docks (Nexus-King Salhadaar)
- Seat of the Devourer (final boss arena)
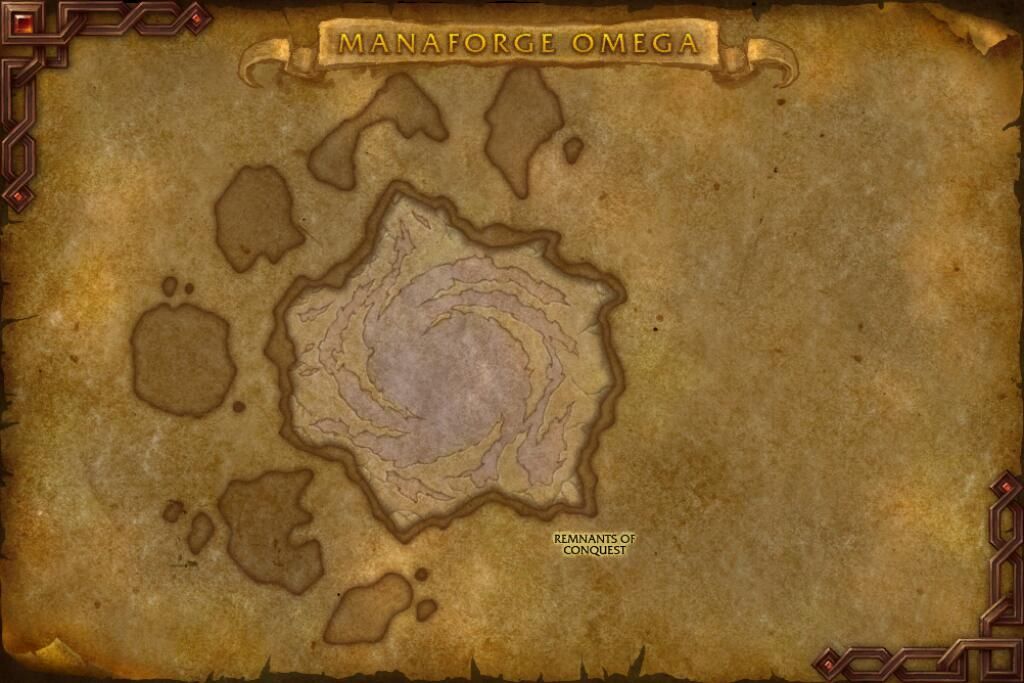
- Remnants of Conquest
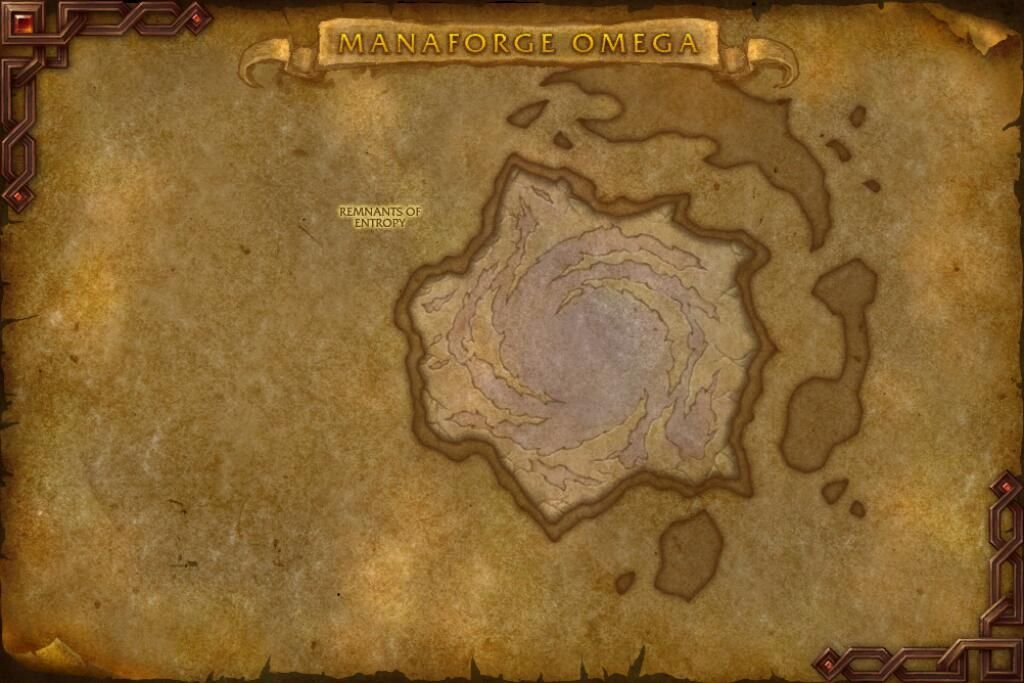
- Remnants of Entropy
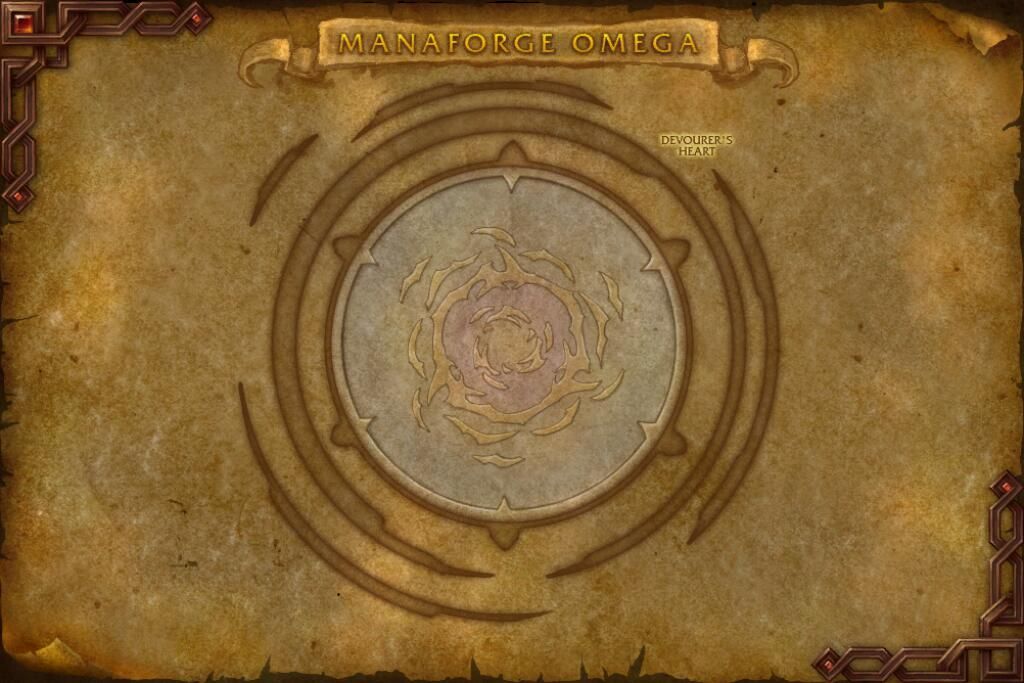
- Devourer’s Heart
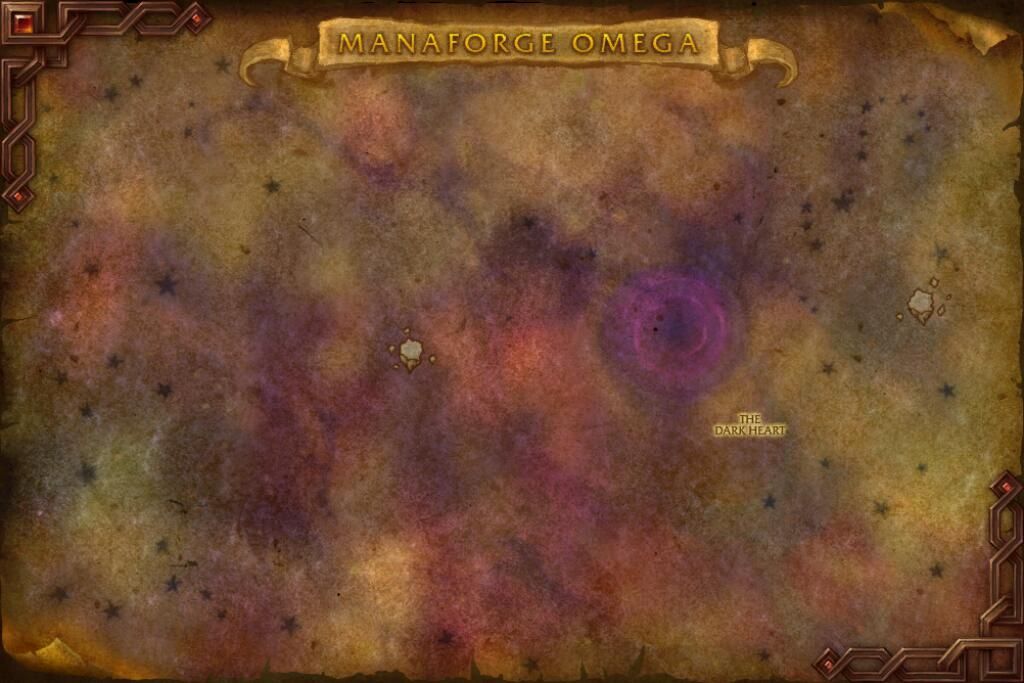
- The Dark Heart


Each area has its own challenges and bosses, which we’ll briefly cover below.
Manaforge Omega Collectibles: Mounts, Pets, Transmogs
| Collectible | Source (% drop rate) | Obtainable / Not Obtainable |
| Manaforge Omega Tier Sets | ||
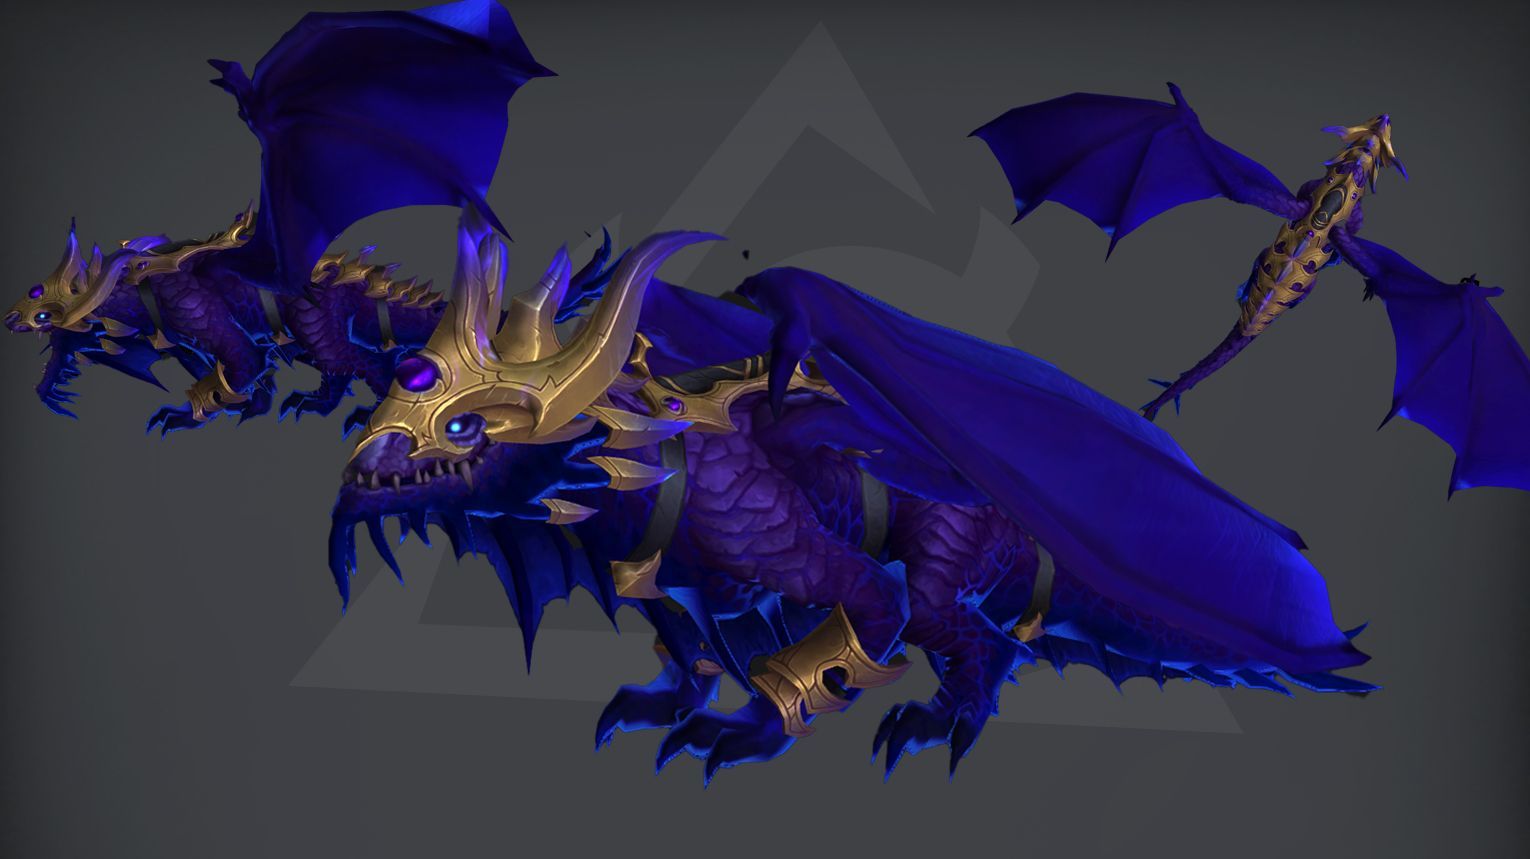
| Unbound Star-Eater | Dimensius, the All-Devouring 1% | Yes |
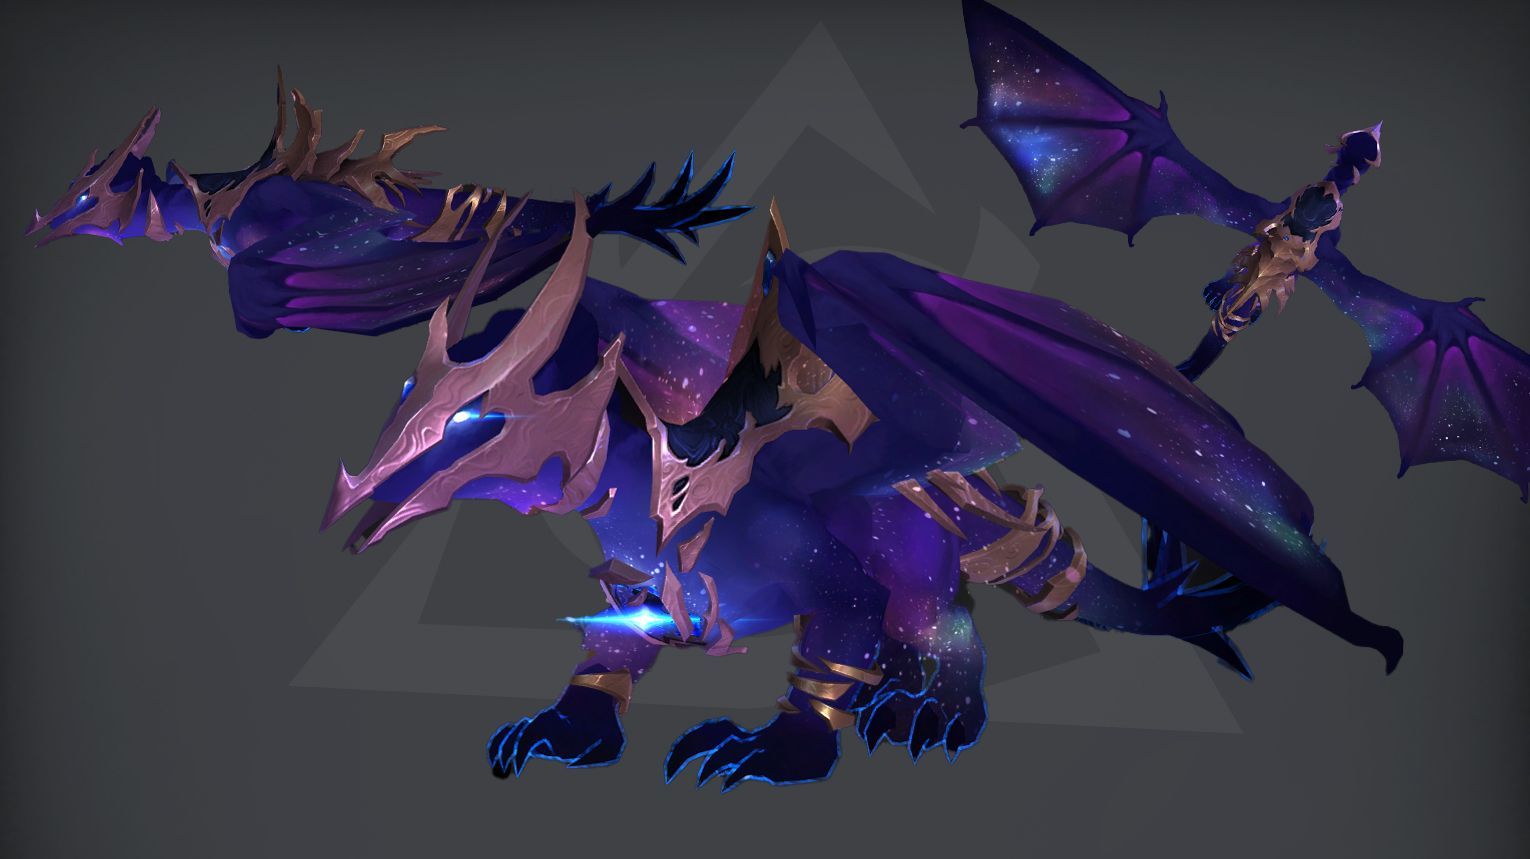
| Royal Voidwing | Ahead of the Curve: Dimensius, the All-Devouring | Yes |
| Cosmic Hearthstone | Dimensius, the All-Devouring 5% | Yes |
Manaforge Omega Item Levels
| Difficulty | 1-3 Bosses | 4-6 Bosses | 7-8 Bosses | Crests |
| LFR | 671 | 675 | 678 | Weathered Ethereal Crest |
| Normal | 684 | 688 | 691 | Carved Ethereal Crest |
| Heroic | 697 | 701 | 704 | Runed Ethereal Crest |
| Mythic | 710 | 714 | 717 | Gilded Ethereal Crest |
Manaforge Omega Bosses Overview
Manaforge Omega is the final raid in The War Within expansion (Patch 11.2), and stands as one of the most dramatic and visually striking raid wings in WoW history.
What makes Manaforge Omega stand out
- Eight epic encounters – Players face eight bosses, including one optional fight (The Soul Hunters), delivering both challenge and choice.
- Unique raid entry – Only the Reshii Wraps cloak can grant access, letting players phase into the forge as pure energy.
- Arcane-void aesthetic – Set in a corrupted Ethereal forge on shattered K’aresh, the raid mixes arcane tech with void horrors for a distinct atmosphere.
- Three-wing layout – Divided into three wings, each with layered rooms and escalating difficulty. The Final Wing brings the bosses Nexus-King Salhadaar and Dimensius.
- Massive final boss – Dimensius is World of Warcraft’s largest raid boss ever. His fight manipulates space, gravity, and reality itself.
Boss Highlights
- Plexus Sentinel – A mechanical sentry enforcing “pure energy” presence, introducing the Reshii Wraps mechanic.
- Loom’ithar – A massive silk-borne creature that weaves living webs and splits at 50%, creating chaotic arena hazards.
- Soulbinder Naazindhri – Binds ethereal souls into silk servitors, forcing tight add and positioning play.
- Forgeweaver Araz – A technomancer siphoning arcane power to fuel Dimensius, requiring interrupt and disruption coordination.
- The Soul Hunters (optional) – A trio encounter that skippable but packed with aggressive coordination phases.
- Fractillus – An elemental of sand and glass, introducing environmental mechanics and arena control.
- Nexus-King Salhadaar – Corrupted ethereal king riding a Voidwing, builds up to Dimensius’ arrival.
- Dimensius, the All-Devouring – The final, reality-shaping boss whose defeat seals the fate of Azeroth.
Plexus Sentinel
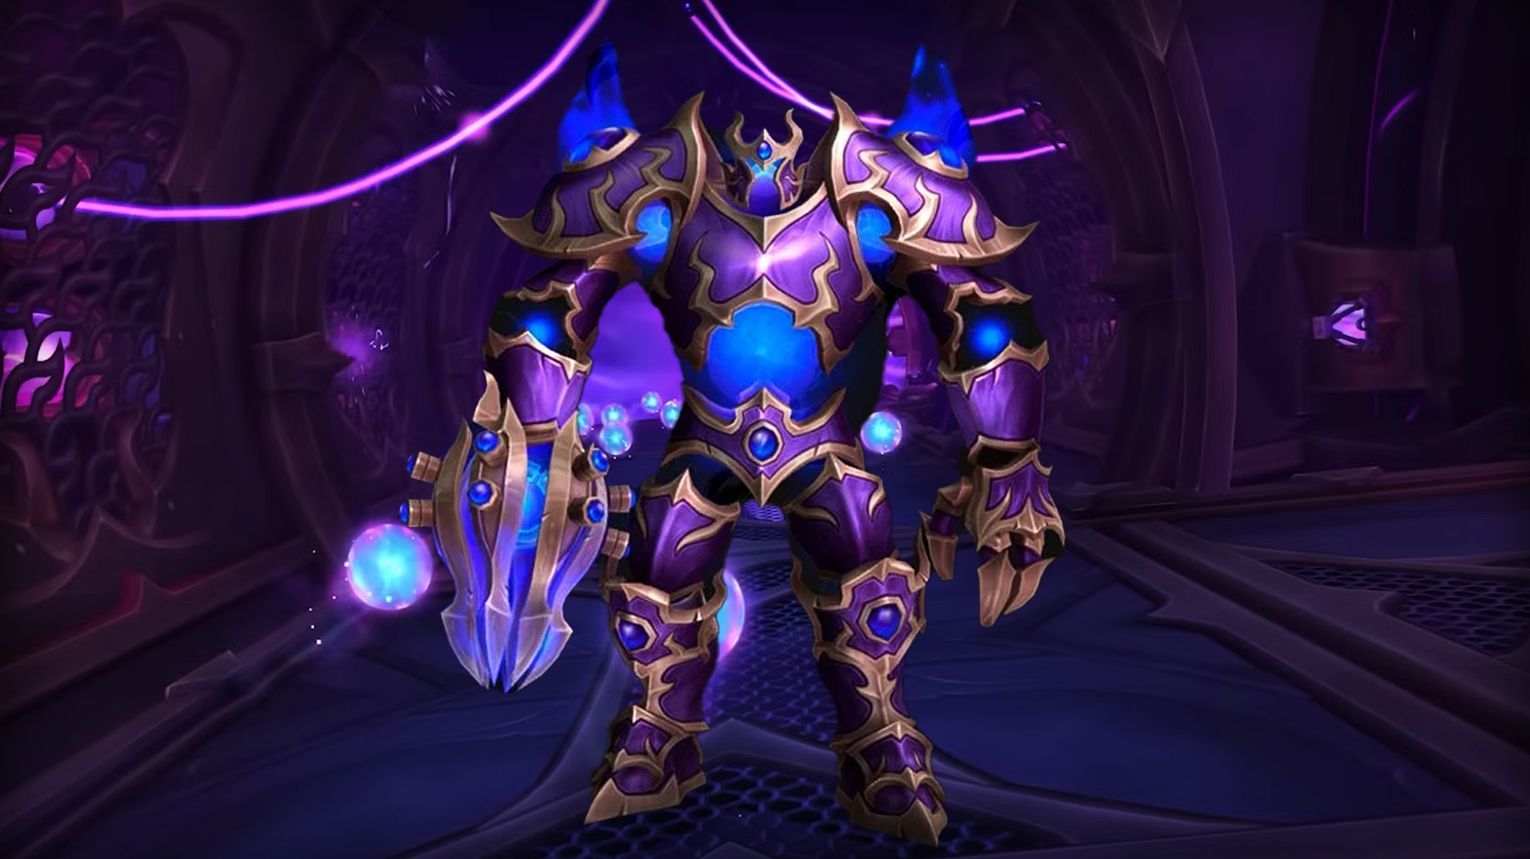
The Plexus Sentinel in Manaforge Omega is a two-phase arcane construct that activates the deadly Arcanomatrix Sieve at full energy, instantly killing non-energy players (Atomize). In Phase 1, it summons Displacement Matrices (teleport traps), fires Obliteration Arcanocannon (tank-buster with residue pools), and forces players to stack for Eradicating Salvo. Phase 2 triggers when the boss shields itself and floods the room with Energy Cutters (lethal beams) and Expulsion Zones (knockbacks). Players must use Phase Blinking (Reshii Wraps) to survive the Sieve and break the boss’s shield to interrupt its wipe mechanic. Mythic adds Overloading Attendants, which must be killed quickly to prevent escalating raid damage.

 Tanks: High-mobility classes (e.g.,

 Healers: Strong AoE healers (e.g.,

 DPS: Ranged preferred for easier Displacement Matrix management; melee need careful positioning.
![]() Tips:
Tips:
- Phase Blinking: Use Reshii Wraps (or similar) to reduce Atomize damage during Sieve phase.
- Displacement Matrix: Step on it intentionally to teleport away from group (avoid AoE stun damage).
- Potent Residue: Avoid standing in the lingering pools (slow + heavy DoT).
- Mythic Note: Eradicating Salvo must hit 5+ players or raid-wide wipe.

- Stage 1 (Purge The Intruders):
- Tanks: Swap after Obliteration Arcanocannon (debuff increases Arcane damage taken).
- DPS/Healers: Spread for Manifest Matrices, then stack for Eradicating Salvo (share damage).
- Displacement Matrix: Designated players trigger it to clear space; others avoid teleport zones.
- Stage 2 (The Sieve Awakens):
- Priority: Burn boss’s shield to interrupt Protocol: Purge.
- Dodge: Energy Cutters (lethal beams) and Expulsion Zones (knockbacks).
- Mythic: Kill Overloading Attendant adds quickly (their Energy Overload stacks raid damage).

- Phase 1: If your group struggles with mechanics, use early to push boss faster.
- Phase 2: Save for shield burn (interrupting Protocol: Purge) or final burn if boss is low.

| Type of Armor | Item | Loot type |
| Cloth | Mounted Manacannons | Shoulder |
| Singed Sievecuffs | Wrist | |
| Leather | Irradiated Impurity Filter | Head |
| Atomic Phasebelt | Waist | |
| Arcanotech Wrist-Matrix | Wrist | |
| Chambersieve Waistcoat | Legs | |
| Plate | Manaforged Displacement Chassis | Chest |
| Sterilized Expulsion Boots | Feet | |
| Any | Eradicating Arcanocore | Trinket |
| Logic Gate: Alpha | Ring | |
| Obliteration Beamglaive | Polearm | |
| Overclocked Plexhammer | Mace | |
| Factory-Issue Plexhammer | Mace |
Loom’ithar
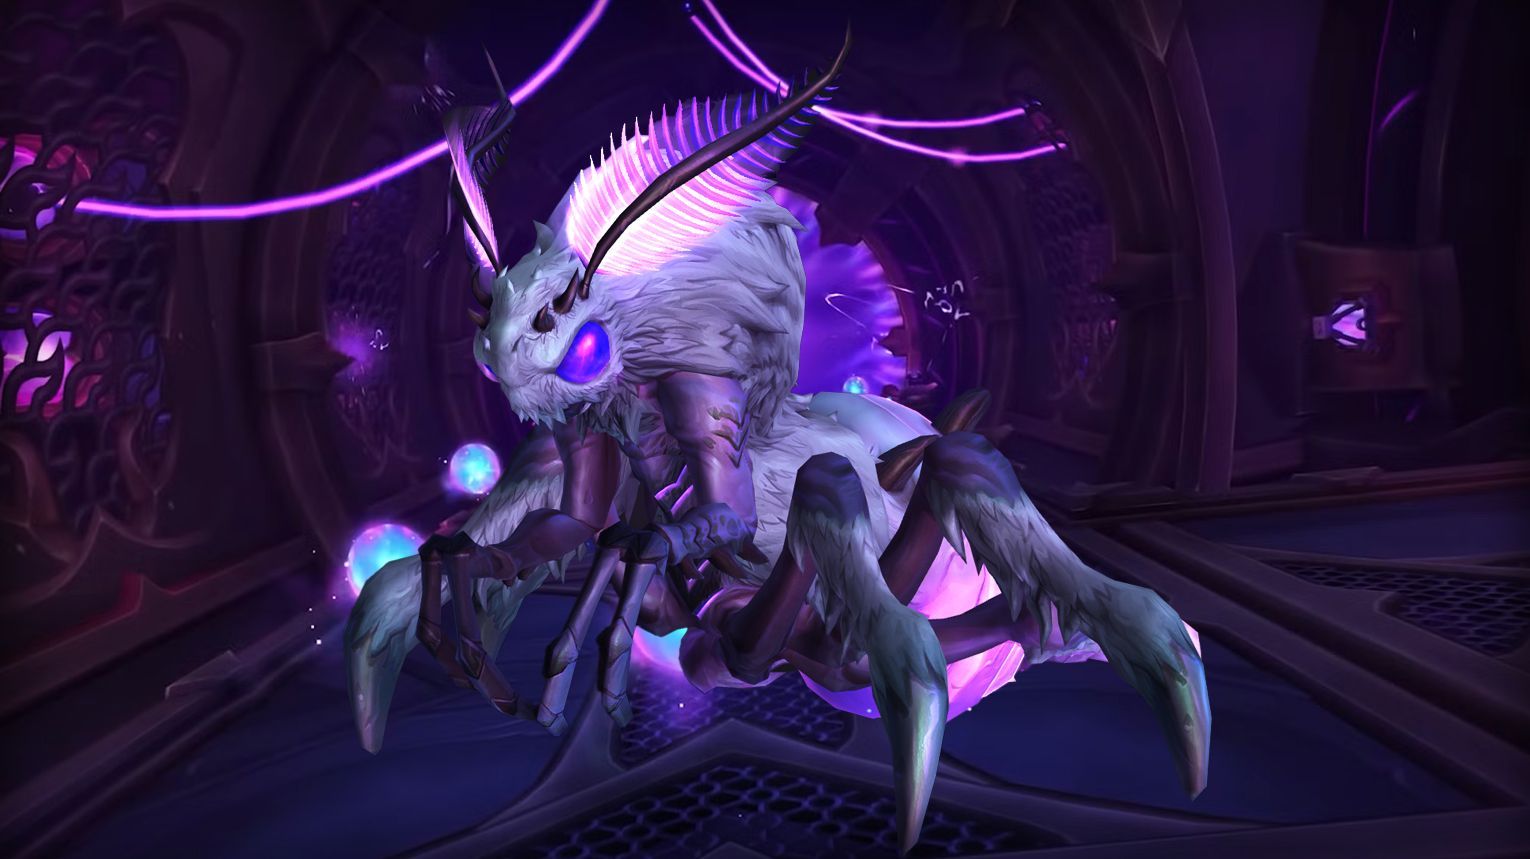
Loom’ithar is a genetically engineered arcane predator in Manaforge Omega, bred to produce “living silk” for the Shadowguard’s rituals. The fight is a two-phase encounter: Phase 1 focuses on managing Infused Tangles, Infusion Tethers, and avoiding Overinfusion Burst, while Phase 2 triggers at 50% health, where the boss splits in half, unleashing Arcane Ichor and gaining mobility. Key mechanics include breaking Woven Ward-protected tangles (Heroic/Mythic), pulling tethers 40 yards to snap them, and stacking for Writhing Wave damage splits in Phase 2. The fight demands precise positioning, raid coordination, and burst damage during the Unbound Rage phase. Rewards include Loombeast Silk for cloak appearances, tied to the raid’s Renown track.
- Tanks: High-mobility classes (e.g.,
- DPS:
- Ranged preferred for Primal Spellstorm (avoiding AoE) and breaking Infused Tangles.
- Classes with immunities (e.g.,


- Healers: Strong AoE healing (e.g.,
![]() Tips:
Tips:
- General:
- Assign groups to break Infused Tangles quickly to create safe paths.
- Always dodge Primal Spellstorm impacts (6-yard AoE).
- Phase 1:
- Tanks: Swap after Piercing Strand (100% increased damage debuff).
- Infusion Tether: Tethered players must run 40 yards immediately or wipe the raid.
- Overinfusion Burst: Stack and heal through the 8-second channel, then spread to mitigate the final explosion.
- Phase 2:
- Dodge Arcane Ichor pools (lethal contact damage).
- Tanks: Face Writhing Wave toward melee to split damage (5+ players required on Mythic).
Phase 1 (100–50% HP)
- Tanks:
- Swap after Piercing Strand to manage debuffs.
- Position boss away from Living Silk pools.
- DPS:
- Prioritize breaking Infused Tangles (Heroic/Mythic: wait for Piercing Strand to remove Woven Ward).
- Avoid standing between boss and tethered players.
- Healers:
- Focus heal tethered players (high Nature/Arcane damage).
- Cooldowns for Overinfusion Burst (e.g., Barrier, Aura Mastery).
Intermission (50% HP)
- Boss knocks everyone back and becomes mobile. Spread to avoid Arcane Ichor splash damage.
Phase 2 (<50% HP)
- Tanks:
- Face boss away from raid for Writhing Wave (split damage among melee).
- Kite boss away from Arcane Ichor trails.
- DPS/ Healers:
- Stack for Writhing Wave (Mythic: Ensure 5+ players hit).
- Use personal defensives for Arcane Outrage (Mythic: Spread after to avoid 6-yard explosions).
- Phase 2 (after 50% HP) when boss takes 25% increased damage and mechanics intensify.
- Alternative: Phase 1 if struggling with Overinfusion Burst healing checks.
| Type of Armor | Item | Loot type |
| Cloth | Laced Lair-Steppers | Feet |
| Leather | Deathbound Shoulderpads | Shoulder |
| Colossal Lifetether | Waist | |
| Plate | Discarded Nutrient Shackles | Wrist |
| Any | Piercing Strandbow | Bow |
| Prodigious Gene Splicer | Dagger | |
| Venerated Silken Offering | Legs Tier Token | |
| Dreadful Silken Offering | Legs Tier Token | |
| Zenith Silken Offering | Legs Tier Token | |
| Mystic Silken Offering | Legs Tier Token | |
| Ward of the Weaving-Beast | Shield | |
| Pattern: Duskthread Lining | Tailoring Pattern | |
| Loom’ithar’s Living Silk | Trinket | |
| Astral Antenna | Trinket |
Soulbinder Naazindhri

Soulbinder Naazindhri is the third boss in Manaforge Omega, a master of soulcraft who enslaves lost Ethereal souls, transforming them into loyal Shadowguards using arcane-infused “living silk”. Her mechanics revolve around Soulfray Annihilation (deadly orbs that destroy players and Binding Machines) and Soulweave Chrysalis (Unbound Souls evolving into dangerous Ethereals). The fight demands add control, spatial awareness to dodge Soulrend Orbs, and precise interrupts to manage Silk Shields on Mythic. Healers face intense raid-wide damage from Essence Implosion and Voidblade Ambush, while tanks must swap due to stacking Mystic Lash debuffs. The encounter escalates as the arena fills with transformed adds and volatile arcane hazards, requiring coordinated burst phases.
- Tanks: High-mitigation classes (e.g.,


- DPS:
- Strong burst for Soulrend Orbs and add control (e.g.,


- Ranged preferred for orb/kiting mechanics.
- Strong burst for Soulrend Orbs and add control (e.g.,
- Healers: High throughput (e.g.,
![]() Tips:
Tips:
- Unbound Souls: Kill them before they finish Soulweave Chrysalis (prevents stronger Ethereals).
- Soulrend Orbs: Dodge or assign players to intercept (slow debuff).
- Binding Machines: Break Silk Shield (Mythic-only) quickly to stop soulbinding.
- Soulfray Annihilation: Avoid orbs—they one-shot and destroy machines.
- Phase 1 (Add Control):
- Focus Unbound Souls before they transform.
- Tanks swap after Mystic Lash stacks (20% increased damage per stack).
- Phase 2 (Orb Management):
- Spread for Soulfire Convergence—expelled orbs must not hit others.
- On Mythic, use orbs to break Silk Shield.
- Phase 3 (Binding Machines):
- Destroy machines but avoid Essence Implosion splash damage.
- Healers prep for raid-wide damage during Arcane Expulsion (Mythic).
- Start of Phase 2 (after first Unbound Souls die) to burn boss before more adds spawn.
- Mythic: During Silk Shield break to maximize DPS on machines.
| Type of Armor | Item | Loot type |
| Cloth | Frock of Spirit’s Reunion | Chest |
| Leather | Bindings of Lost Essence | Wrist |
| Deathspindle Talons | Feet | |
| Plate | Fresh Ethereal Fetters | Waist |
| Any | Chrysalis of Sundered Souls | Amulet |
| Unbound Training Claws | Fist Weapon | |
| Venerated Binding Agent | Hands Tier Token | |
| Mystic Binding Agent | Hands Tier Token | |
| Zenith Binding Agent | Hands Tier Token | |
| Dreadful Binding Agent | Hands Tier Token | |
| Voidglass Spire | Staff | |
| Naazindhri’s Mystic Lash | Trinket | |
| Soulbinder’s Embrace | Trinket |
Forgeweaver Araz

Forgeweaver Araz is the forth boss of Manaforge Omega, a powerful arcane wielder who seeks to channel energy to Dimensius. The fight revolves around managing Arcane Collectors, which spawn deadly Astral Manifestations and empower Araz if left unchecked. Players must handle Astral Harvest debuffs, avoid overlapping Echoing Tempest AoEs, and prevent Araz from buffing himself via Mark of Power by keeping him separated from his echoes. The battle transitions into chaotic intermissions with Focusing Iris and Volatile Surge, culminating in a desperate final phase where a Dark Singularity pulls players in while Void adds spawn. Victory requires precise positioning, add control, and high burst damage during Mana Splinter (his 100% damage taken vulnerability).
- DPS:
- High burst (e.g.,

- Strong AoE for add control (e.g.,


- Mobility to dodge Echoing Tempest and Photon Blast.
- High burst (e.g.,
- Healers:
- Strong raid-wide healing (e.g.,
- Dispel/cleanse capabilities for Astral Mark (if applicable).
- Strong raid-wide healing (e.g.,
- Tanks:
- Strong mitigation for Overwhelming Power stacks (e.g.,
- Mobility to reposition Araz away from echoes (Mark of Power).
- Strong mitigation for Overwhelming Power stacks (e.g.,
![]() Tips:
Tips:
- Collector Management:
- Kill Arcane Collectors ASAP to prevent Arcane Convergence raid damage.
- Assign interrupts/stuns for Photon Blast (Mythic).
- Echo Control:
- Keep Araz and echoes >20yds apart to avoid Mark of Power buff.
- Tanks must swap after Overwhelming Power stacks get high.
- Movement:
- Stack for Arcane Obliteration to split damage.
- Spread for Astral Harvest to avoid overlapping manifestations.
- Intermission:
- Avoid Focusing Iris zones. Use immunities if trapped.
- Soak Volatile Surge strategically (don’t overstack).
- Phase 1 (100–70%):
- Focus on killing collectors and manifestations.
- Tanks swap at ~5 stacks of Overwhelming Power.
- Intermission (Priming the Forge):
- Dodge Focusing Iris while DPS burns collectors.
- Use personal cooldowns for Volatile Surge.
- Phase 2 (70–40%):
- Repeat Phase 1 mechanics, but with more echoes.
- Prioritize interrupting Echoing Tempest.
- Stage Two (40–0%):
- Stack to counter Dark Singularity pull-in.
- Burst Araz during Mana Splinter (100% damage taken).
- Option 1: During Mana Splinter (40% HP) for maximum burst.
- Option 2: In the final phase (Darkness Hungers) to burn Araz before Void Surge overwhelms the raid.
| Type of Armor | Item | Loot type |
| Cloth | Forgeweaver’s Journal Holster | Waist |
| Leather | Laboratory Test Slippers | Feet |
| Harvested Attendant’s Uniform | Chest | |
| Plate | Breached Containment Guards | Hands |
| Any | Photon Sabre Prime | 2H Sword |
| Plans: Siphoning Stiletto | Blacksmithing Plans | |
| Mystic Foreboding Beaker | Head Tier Token | |
| Zenith Foreboding Beaker | Head Tier Token | |
| Dreadful Foreboding Beaker | Head Tier Token | |
| Venerated Foreboding Beaker | Head Tier Token | |
| Iris of the Dark Beyond | Off-hand Frill | |
| Logic Gate: Omega | Ring | |
| Marvel of Technomancy | Staff | |
| Araz’s Ritual Forge | Trinket |
The Soul Hunters

The Soul Hunters consist of three elite void-infused Demon Hunters—Adarus Duskblaze (void magic), Velaryn Bloodwrath (fel flames), and Ilyssa Darksorrow (soul manipulation)—who attack simultaneously with synergistic abilities. Adarus marks players with Devourer’s Ire, forcing them to manage void zones, while Velaryn charges prey with The Hunt and unleashes Eye Beam. Ilyssa shatters tanks with Fracture, requiring fragment collection to avoid raid-wide explosions. At 100 Fury, each boss enters Metamorphosis, empowering their attacks, and intermissions trigger unique arena-wide hazards like Collapsing Star and Fel Rush. The fight demands precise coordination, role-specific mechanics, and adaptive positioning, especially on Mythic with added Soul Tether.
- Tanks:
- DPS:
- Ranged DPS preferred to avoid Hungering Slash and Blade Dance.
- High burst DPS to quickly kill fragments from Fracture.
- Immunities (e.g.,
- Healers:
- Strong AoE healing for Fel Inferno, Spirit Bomb, and Consume.
- Dispels/absorbs for Soulcrush and Unending Hunger.
![]() Tips:
Tips:
- Devourer’s Ire Management:
- Designated players should intercept orbs but swap before stacks get too high.
- Affected players can shrink Encroaching Oblivion pools.
- Fragment Collection (Ilyssa):
- Non-tanks should collect Soul Fragments to prevent tank debuff stacking.
- Avoiding Voidstep/Hungering Slash:
- Stay spread to minimize AoE damage from Adarus’s images.
- The Hunt (Velaryn):
- Group up to split damage; in Mythic, avoid stacking Weakened Prey.
Phase 1 (100%-70% HP):
- Adarus:
- Tanks must move him away from Encroaching Oblivion.
- DPS/healers with Devourer’s Ire should stand near void zones to shrink them.
- Velaryn:
- Ilyssa:
- Tanks swap after Fracture to manage Shattered Soul.
- Collect fragments quickly to prevent Expulsed Soul.
Intermission (70%/40% HP):
- Collapsing Star (Adarus):
- Dodge falling fragments; soak before they reach the center.
- Fel Rush (Velaryn):
- Move out of charging demon hunter paths.
- Infernal Strike (Ilyssa):
- Spread to avoid knockbacks into hazards.
Phase 2 (Post-Intermission):
- Bosses gain Metamorphosis at 100 Fury.
- Priority Kill Order: Typically Ilyssa first (to stop Spirit Bomb), then Velaryn, Adarus last.
Mythic Adjustments:
- Soul Tether: Tethered players must stay within 15 yards.
- Eradicate: Dodge the scythe shadow’s dash.
- Opening Burst: If executing a burn strategy (e.g., killing Ilyssa before first Spirit Bomb).
- During Intermission: If struggling with add control (e.g., Collapsing Star fragments).
- Final Burn Phase: When bosses are below 30% and enrage is a risk.
| Type of Armor | Item | Loot type |
| Cloth | Interloper’s Silken Striders | Feet |
| Bloodwrath’s Gnarled Claws | Hands | |
| Leather | Darksorrow’s Corrupted Carapace | Chest |
| Interloper’s Reinforced Sandals | Feet | |
| Interloper’s Chain Boots | Feet | |
| Clasp of Furious Freedom | Waist | |
| Plate | Interloper’s Plated Sabatons | Feet |
| Yoke of Enveloping Hatred | Wrist | |
| Any | Duskblaze’s Desperation | Amulet |
| Dreadful Yearning Cursemark | Shoulders Tier Token | |
| Zenith Yearning Cursemark | Shoulders Tier Token | |
| Venerated Yearning Cursemark | Shoulders Tier Token | |
| Mystic Yearning Cursemark | Shoulders Tier Token | |
| Pattern: Adrenal Surge Clasp | Leatherworking Pattern | |
| Event Horizon | Shield | |
| Sigil of the Cosmic Hunt | Trinket | |
| Brand of Ceaseless Ire | Trinket | |
| Collapsing Phaseblades | Warglaive |
Fractillus
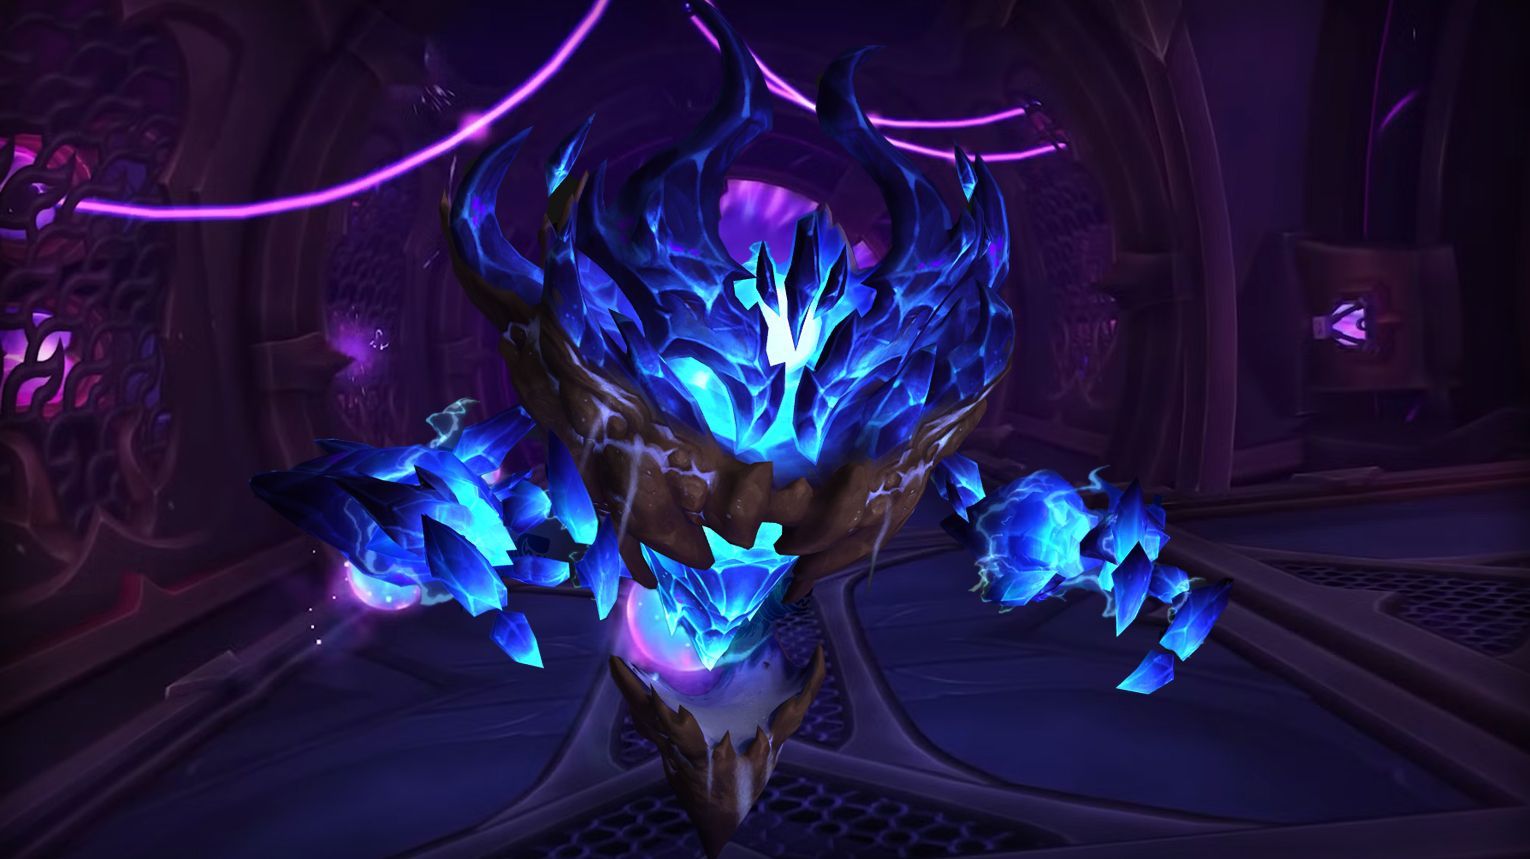
Fractillus is a brutal crystalline elemental boss in Manaforge Omega, wielding void-infused shockwaves and crystal mechanics. The fight revolves around managing Crystal Nexuses, which spawn from abilities like Entropic Conjunction—if six Nexuses connect to Fractillus, he enrages with Crystalline Overcharge, triggering a wipe mechanic. Players must strategically shatter Nexuses by baiting Crystalline Backhand knockbacks into them while avoiding lethal Refracted Entropy and Nexus Shrapnel AoEs. Tanks face high pressure from Shockwave Slam stacks, while healers combat raid-wide damage from Entropic Shockwaves and Nether Crystallization. The encounter is fast-paced, demanding precise movement and coordination, especially on Heroic/Mythic with added mechanics like Null Consumption explosions or stacking Crystal Lacerations.
- DPS:
- Ranged preferred for easier Nexus management.
- Classes with immunities/short-CD mobility (e.g.,
- Healers:
- Strong AoE healing (e.g.,
- Dispel coordination for Mythic Crystal Lacerations.
- Strong AoE healing (e.g.,
- Tanks:
- High-mitigation tanks (e.g.,
- Taunt swaps required due to stacking debuff.
- High-mitigation tanks (e.g.,
![]() Tips:
Tips:
- Nexus Management:
- Always leave 1–2 Nexuses alive for Crystalline Backhand to shatter.
- Melee DPS with Hardened should bait knockbacks into Nexuses.
- Avoid Overcharge:
- Prevent 6 Nexuses from linking to Fractillus.
- Movement:
- Spread for Null Consumption (Heroic) to avoid overlapping Null Explosion.
- Dodge Nexus Shrapnel (4-yard AoE).
- Phase 1 (Energy Build):
- Tanks: Swap after 2–3 Shockwave Slam stacks.
- DPS: Break most Nexuses but leave 1–2 for Crystalline Backhand.
- Healers: Focus on raid-wide damage from Entropic Shockwave.
- 100 Energy (Knockback Phase):
- Players with Crystallized get knocked into Nexuses—position intentionally.
- Shattering Nexuses removes them; failing to break enough triggers Enraged Tantrum.
- Mythic/Heroic Mechanics:
- Heroic: Null Consumption targets must move out before explosion.
- Mythic: Brittle Nexus applies stacking Crystal Lacerations—heal through or mitigate.
- Optimal Timing:
- On pull (for burn phase before mechanics escalate).
- After first Crystalline Backhand if the group struggles with Nexus management.
- Alternative:
- If DPS is low, use at ~30% HP to push before additional Entropic Conjunctions.
| Type of Armor | Item | Loot type |
| Cloth | Conjoined Glass Bracers | Wrist |
| Leather | Kinetic Dunerunners | Feet |
| Bite of the Astral Wastes | Head | |
| Plate | Shrapnel-Fused Legguards | Legs |
| Any | Lacerated Current Caster | Crossbow |
| Voidglass Kris | Dagger | |
| Design: Magnificent Jeweler’s Setting | Jewelcrafting Design | |
| Venerated Voidglass Contaminant | Chest Tier Token | |
| Dreadful Voidglass Contaminant | Chest Tier Token | |
| Zenith Voidglass Contaminant | Chest Tier Token | |
| Mystic Voidglass Contaminant | Chest Tier Token | |
| Fractillus’ Last Breath | Off-hand Frill | |
| Unyielding Netherprism | Trinket | |
| Diamantine Voidcore | Trinket |
Nexus-King Salhadaar

Nexus-King Salhadaar is the penultimate boss in Manaforge Omega, a raid encounter in World of Warcraft: The War Within. As the leader of the Ethereum, he wields void-infused abilities across three phases, testing players with mechanics like Oath-Bound (converting failures into mind-controlled thralls) and Dark Stars (requiring precise positioning to avoid catastrophic damage). The fight escalates when he mounts the Royal Voidwing, unleashing Dimension Breath and Cosmic Maw, while intermissions introduce adds like Manaforged Titans (which must be killed before Self-Destruct). Rewards include high-ilvl gear (up to 723 on Mythic) and achievements, making him a key target for progression. The encounter blends tactical coordination with punishing mechanics, serving as a gateway to the final boss, Dimensius.
- Tanks: High-mitigation tanks (e.g.,
- DPS: Burst classes for add control (e.g.,
- Healers: Strong raid healers (e.g.,
![]() Tips:
Tips:
- Oath-Bound Management:
- Stand in Conquer (8-yard cleave) to lose stacks. Avoid becoming King’s Thrall.
- On Mythic, face Vengeful Oath spirits or regain stacks.
- Royal Voidwing Mechanics:
- Dodge Behead (drag effect) and Cosmic Rip (ground AoE).
- Tanks: Swap after Cosmic Maw (200% increased Dimension Breath damage).
- Intermission Priority:
- Kill Manaforged Titans before Self-Destruct.
- Interrupt Netherblast from Nexus-Princes.
- Stage 3 (Twilight):
- Use Dark Stars to absorb Starkiller Novas.
- Avoid Twilight Spikes and Stars Collide (Mythic).
- Phase 1: Stack for Conquer to drop Oath-Bound, then spread for Vanquish.
- Phase 2: Tank the Voidwing near the raid for Dimension Breath soaking (but avoid overlapping).
- Intermission: Assign DPS to Titans and Princes. Healers focus on Reap targets.
- Phase 3:
- Tanks taunt-swap after Starshattered.
- Position Dark Stars to intercept Starkiller Novas.
- Mythic: Dodge Dark Orbit reversal and Nexus Collapse.
- Heroic/Mythic: Use during Stage 3 when Dark Stars and Starkiller Novas overlap for maximum DPS.
- Progress Pulls: Alternatively, use in Stage 2 to burn the Voidwing before King’s Hunger.
| Type of Armor | Item | Loot type |
| Cloth | Sandals of Scarred Servitude | Feet |
| Twilight Tyrant’s Veil | Head | |
| Leather | Elite Shadowguard Legwraps | Legs |
| Reaper’s Dreadbelt | Waist | |
| Royal Voidscale Gauntlets | Hands | |
| Pactbound Vambraces | Wrist | |
| Plate | Darkrider Sabatons | Feet |
| Beacons of False Righteousness | Shoulder | |
| Any | Oath-Breaker’s Recompense | 1H Axe |
| Voidglass Sovereign’s Blade | 1H Sword | |
| Maw of the Void | 2H Mace | |
| Salhadaar’s Folly | Amulet | |
| Vengeful Netherspike | Dagger | |
| Perfidious Projector | Trinket | |
| Nexus-King’s Command | Trinket |
Dimensius, the All-Devouring
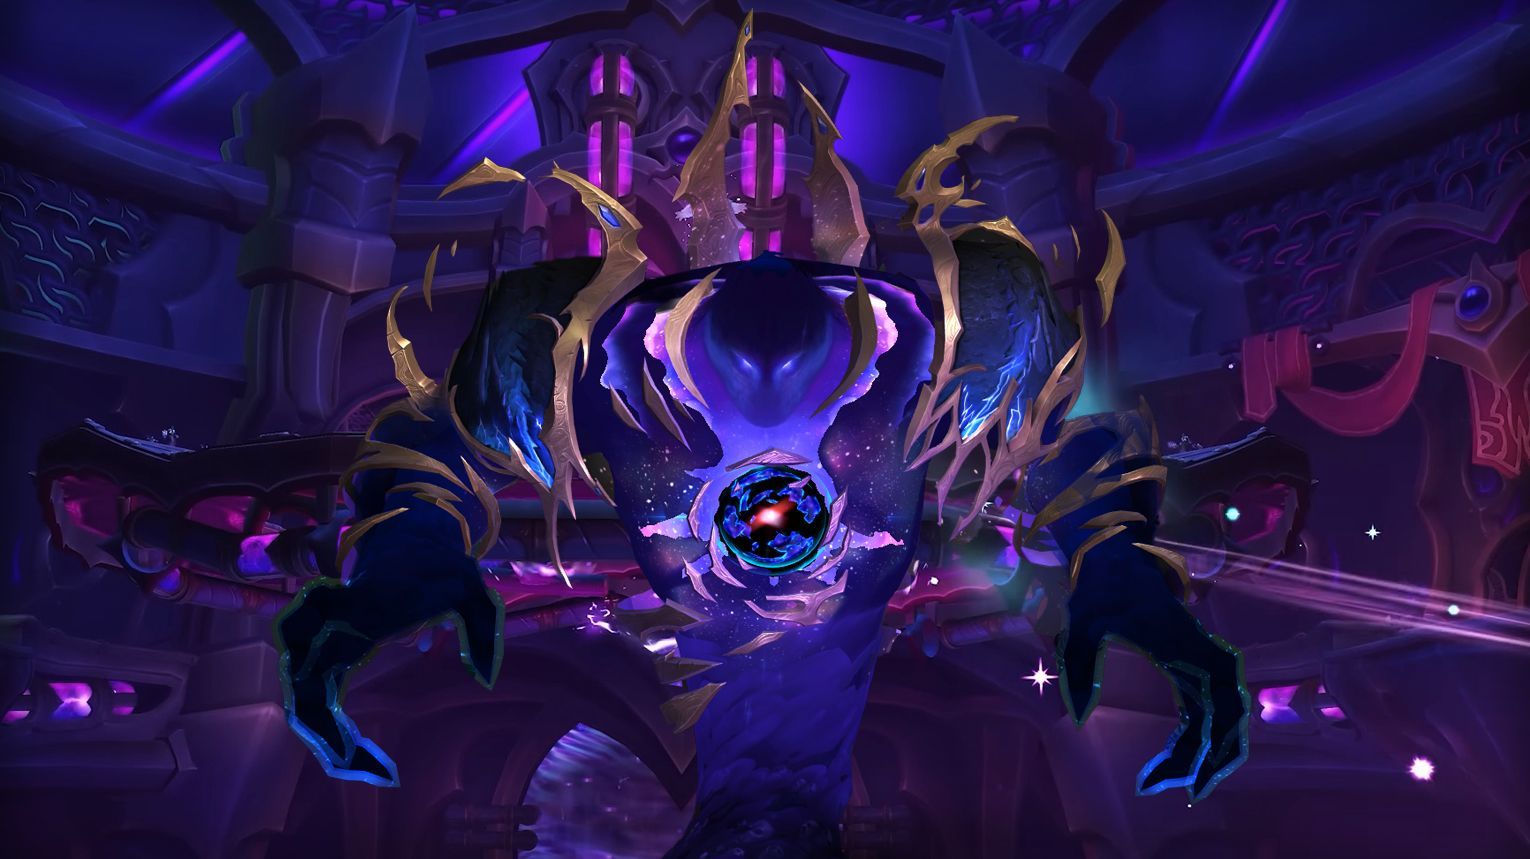
Dimensius is a cosmic void boss in Manaforge Omega with three intense phases. The fight revolves around managing Collective Gravity (gained from Excess Mass) to resist his Devour mechanic, which pulls players in at 100 Energy. Phase 1 features Antimatter pools and Reverse Gravity, while an intermission forces players to fly with Xal’atath, dodging Black Holes and Astrophysical Jets. In Phase 2, Dimensius summons Voidlord adds (Artoshion, Pargoth) with lethal abilities like Eclipse and Stardust Nova. The final phase overwhelms players with orbiting Voidstars, Supernova explosions, and Darkened Sky meteor impacts, requiring tight positioning to survive.
- Tanks: High-mobility tanks (e.g.,

- DPS: Ranged preferred (e.g.,
- Healers: Strong AoE healers (e.g.,
![]() Tips:
Tips:
- Collective Gravity: Always pick up Excess Mass (dropped by Living Mass) to survive Devour.
- Antimatter: Stand inside spheres to reduce raid-wide damage before they explode.
- Reverse Gravity: Designate players with Excess Mass to rescue airborne allies.
- Intermission: Use Umbral Gates to refresh flight duration and avoid Black Holes.
- Voidstars (Phase 3): Spread to avoid Stellar Overload (6+ players in one Gravity Well = explosion).
- Phase 1 (Critical Mass):
- Tanks: Swap at ~5 stacks of Touch of Oblivion.
- Raid: Stack for Shattered Space, then spread for Spatial Fragments.
- Devour: Group up with Collective Gravity to resist the pull.
- Intermission (Event Horizon):
- Fly through Umbral Gates to extend buff.
- Collect Stellar Cores to damage Voidlords in Phase 2.
- Phase 2 (The Dark Heart):
- Prioritize killing Voidlords (avoid Eclipse ritual).
- Dodge Extinction (stun) and Gamma Burst (knockback).
- Phase 3 (Singularity):
- Voidstars: Keep 2–3 players per Gravity Well to survive Devour.
- Supernova: Run away from exploding Voidstars.
- Darkened Sky: Dodge sequential impacts (stacking debuff).
- Optimal Use:
- Alternative: Use during Intermission if struggling with Voidlord DPS.
| Type of Armor | Item | Loot type |
| Cloth | Stellar Navigation Slacks | Legs |
| Singularity Cincture | Waist | |
| Leather | Winged Gamma Handlers | Hands |
| Time-Compressed Wristguards | Wrist | |
| Greaves of Shattered Space | Feet | |
| Claws of Failed Resistance | Shoulder | |
| Plate | Artoshion’s Abyssal Stare | Head |
| Ultradense Fission Girdle | Waist | |
| Any | Unbound Star-Eater | Mount |
| Ergospheric Cudgel | 1H Mace | |
| Supermassive Starcrusher | 2H Mace | |
| Formula: Enchant Weapon – Authority of the Depths | Enchanting Formula | |
| Cosmic Hearthstone | Toy | |
| Hungering Void Curio | Reagent | |
| Band of the Shattered Soul | Ring | |
| Screams of a Forgotten Sky | Trinket | |
| All-Devouring Nucleus | Trinket |
Manaforge Omega Achievements List
| Achievement | Requirement |
| Monsters of the Sands | Defeat the Forgeweaver Araz, The Soul Hunters, Fractillus. |
| Might of the Shadowguard | Defeat the Plexus Sentinel, Loom’ithar, Soulbinder Naazindhri. |
| Heart of Darkness | Defeat the Nexus-King Salhadaar, Dimensius, the All-Devouring. |
| Manaforge Omega | Defeat all bosses on any difficulty. |
| Manaforge Omega Guild Run | Defeat all bosses on Normal difficulty or higher while in a guild group. |
| Heroic: Manaforge Omega | Defeat all bosses on Heroic difficulty. |
| Heroic: Manaforge Omega Guild Run | Defeat all bosses on Heroic difficulty or higher while in a guild group. |
| Mythic: Manaforge Omega | Defeat all on Mythic difficulty. |
| Ahead of the Curve: Dimensius, the All-Devouring | Defeat Dimensius, the All-Devouring on Heroic difficulty or higher, before the release of the next raid tier. |
| Cutting Edge: Dimensius, the All-Devouring | Defeat Dimensius, the All-Devouring on Mythic difficulty, before the release of the next raid tier. |
| Hall of Fame: Dimensius, the All-Devouring | Among the first two hundred guilds worldwide to defeat the following bosses on Mythic difficulty. |
| Mythic: Dimensius, the All-Devouring | Defeat Dimensius, the All-Devouring on Mythic difficulty. |
| Mythic: Dimensius, the All-Devouring Guild Run | Defeat Dimensius, the All-Devouring on Mythic difficulty or higher while in a guild group. |
| Mythic: Forgeweaver Araz | Defeat Forgeweaver Araz on Mythic difficulty. |
| Mythic: Fractillus | Defeat Fractillus on Mythic difficulty. |
| Mythic: Loom’ithar | Defeat Loom’ithar on Mythic difficulty. |
| Mythic: Nexus-King Salhadaar | Defeat Nexus-King Salhadaar on Mythic difficulty. |
| Mythic: Plexus Sentinel | Defeat the Plexus Sentinel on Mythic difficulty. |
| Mythic: Soulbinder Naazindhri | Defeat Soulbinder Naazindhri on Mythic difficulty. |
| Mythic: The Soul Hunters | Defeat The Soul Hunters on Mythic difficulty. |
| Glory of the Omega Raider | Complete the Manaforge Omega raid achievements. |
| Breaking the Fourth Wall | Defeat Fractillus after destroying a fourth wall 20 times on Normal difficulty or higher. |
| Cheat Meal | Defeat Forgeweaver Araz after feeding a Void Forged Echo to the Dark Singularity on Normal difficulty or higher. |
| Defying Gravity | Defeat Dimensius, the All-Devouring after allowing every member of your raid to be hit by Reverse Gravity at least once in Manaforge Omega on Normal difficulty or higher. |
| I See… Absolutely Nothing | Defeat The Soul Hunters after all players have worn Adarus’ spare blindfold at least 4 times in Manaforge Omega on Normal difficulty or higher. |
| Mother of All Tantrums | Defeat Soulbinder Naazindhri after defeating all Little Unbound Souls on Normal difficulty or higher. |
| Of Mice and Manaforges | Defeat the Plexus Sentinel after saving all mice from atomization on Normal difficuty or higher. |
| Swing and a Miss | Defeat Nexus-King Salhadaar without any Dark Stars being hit by Starkiller Swing on Normal difficulty or higher. |
| Time to Vote! Cute or Scary? | Defeat Loom’ithar after everyone decides whether they would rather /cower from it or /cuddle it before starting the battle in Manaforge Omega on Normal difficulty or higher. |


Comments: