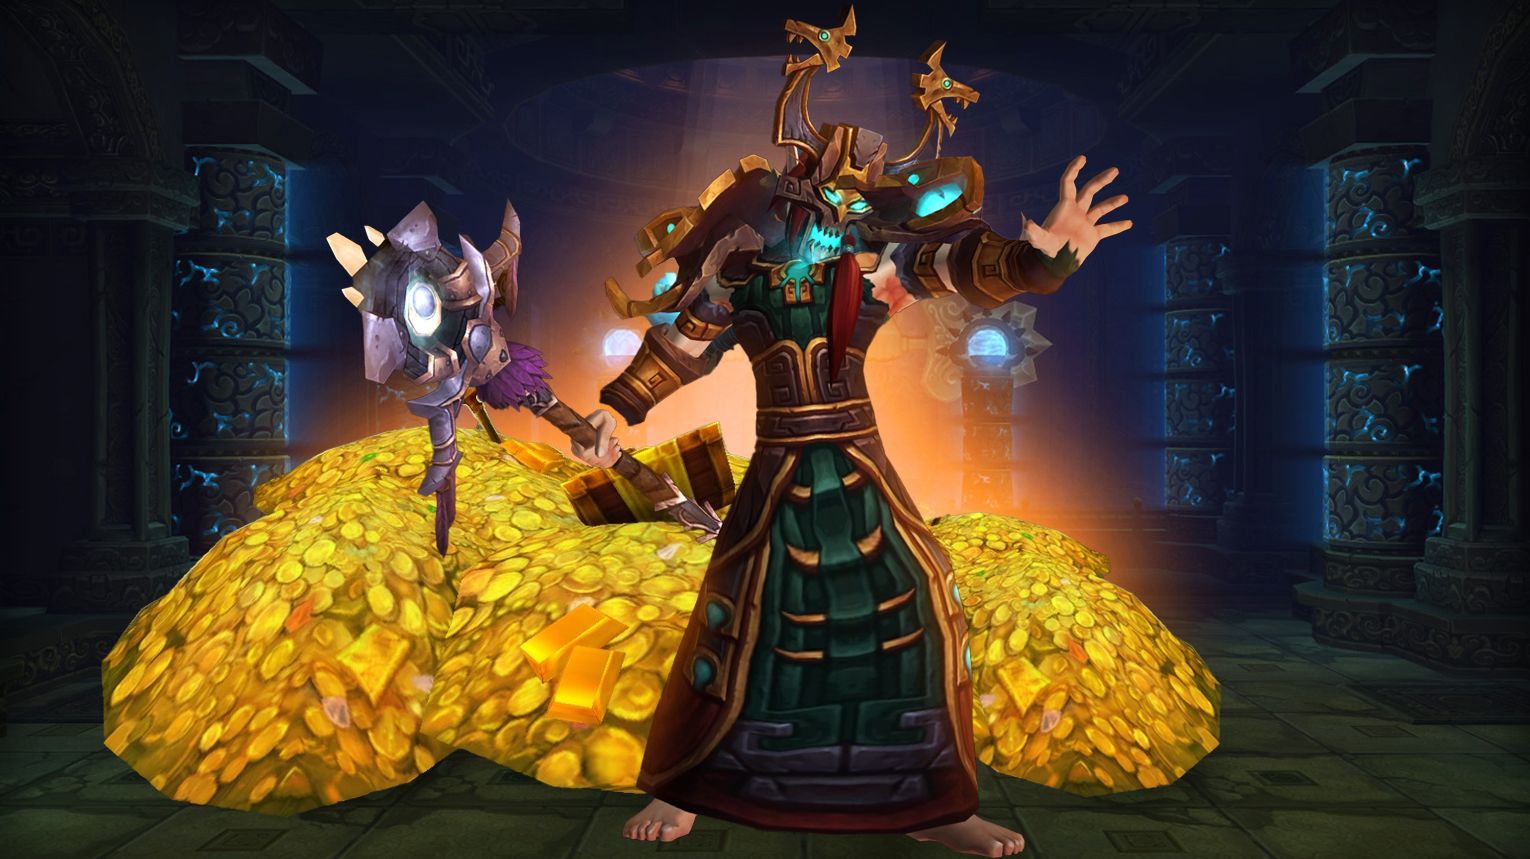
Throne of Thunder, the major raid of World of Warcraft: Mists of Pandaria, launched in Patch 5.2. This massive troll and mogu fortress on the Isle of Thunder remains one of the best raids for unique transmogs, rare mounts, and challenging achievements.
If you’re short on time, grinding transmogs and mounts from Throne of Thunder might not be the best use of your play session. Instead, use our boost in World of Warcraft to clear the newest raids and earn top gear in just 1–2 hours. We’ve got US and EU teams running every hour—no stress, no waiting. Now let’s get back to the guide.
The Throne of Thunder raid has 13 bosses, including the secret heroic-only Ra-den, with epic tier sets, weapons, and special rewards.
Whether you’re farming cosmetics or testing your solo skills, this guide will help you make the most of Throne of Thunder in WoW Retail.
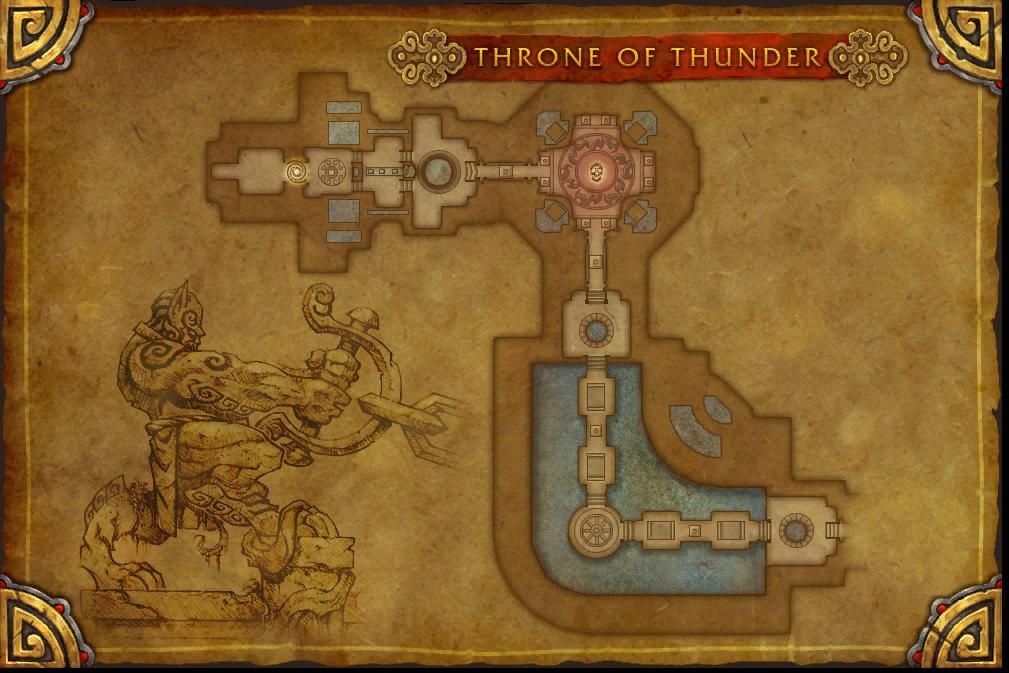
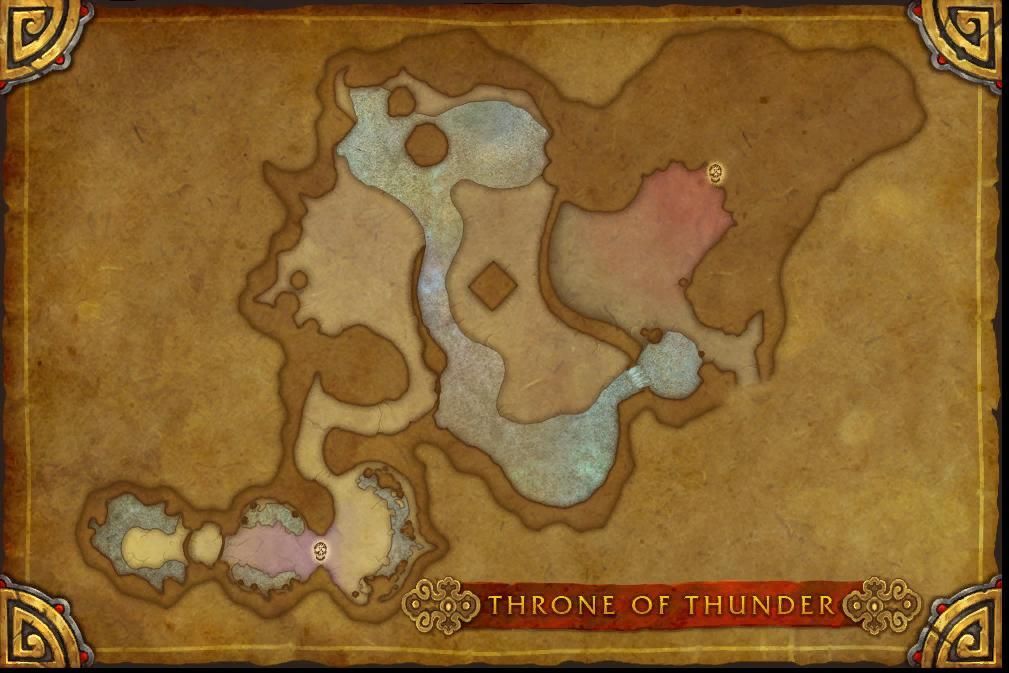
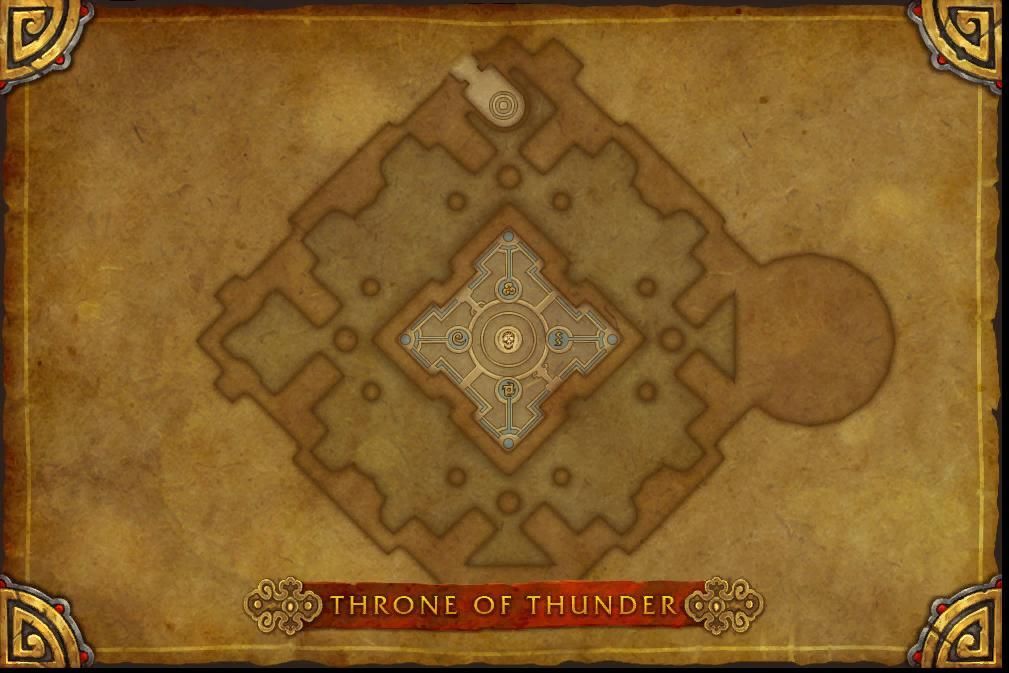
Throne of Thunder Entrance and Subregions
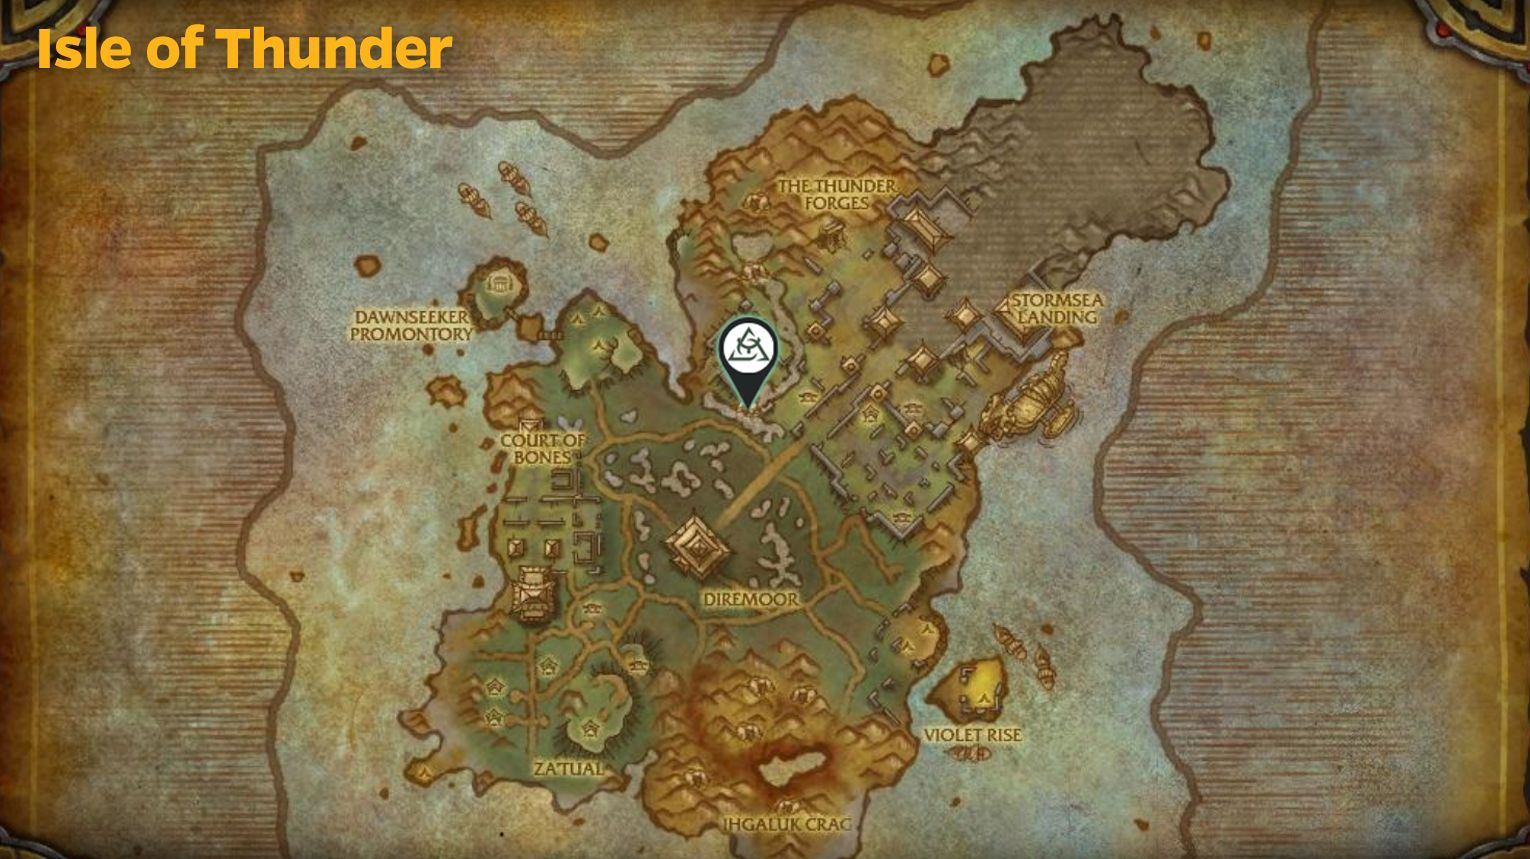
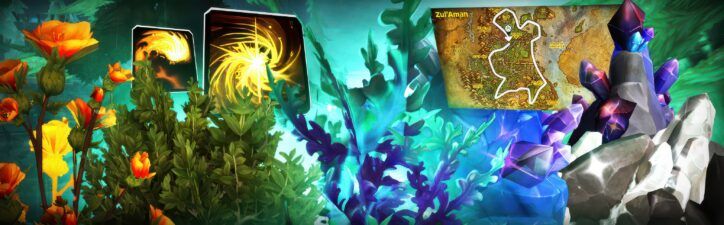
Throne of Thunder is located on the Isle of Thunder in World of Warcraft. To reach it, travel to the Isle of Thunder, which can be accessed via a portal in your faction’s capital city in Pandaria. Once there, head toward the massive fortress visible from a distance.
Throne of Thunder is found on the Isle of Thunder, a zone added in Mists of Pandaria. To get there:
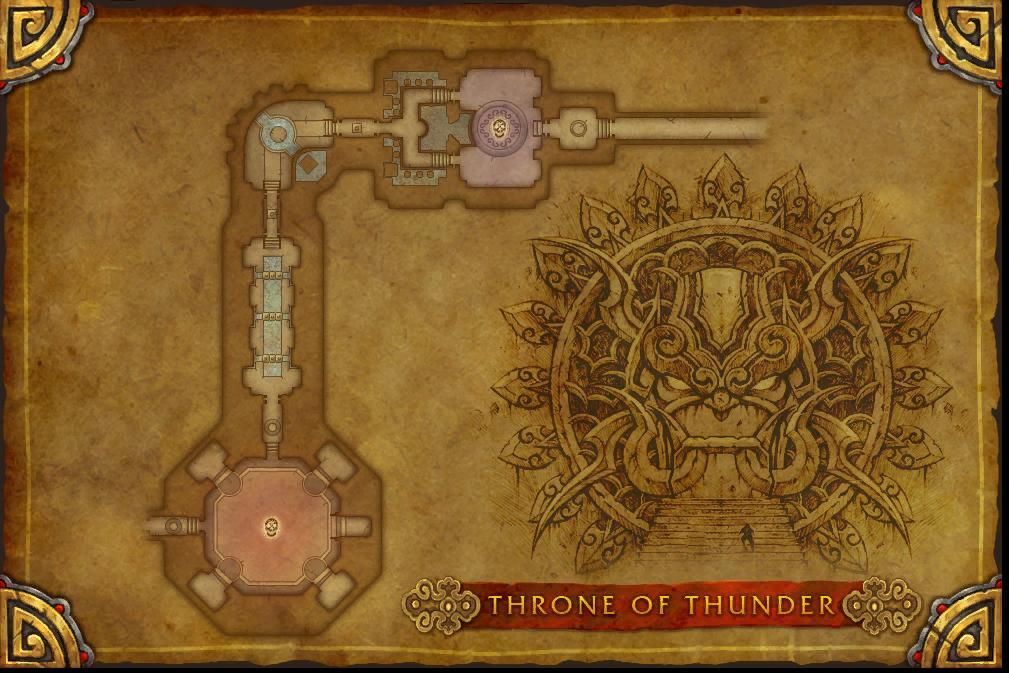
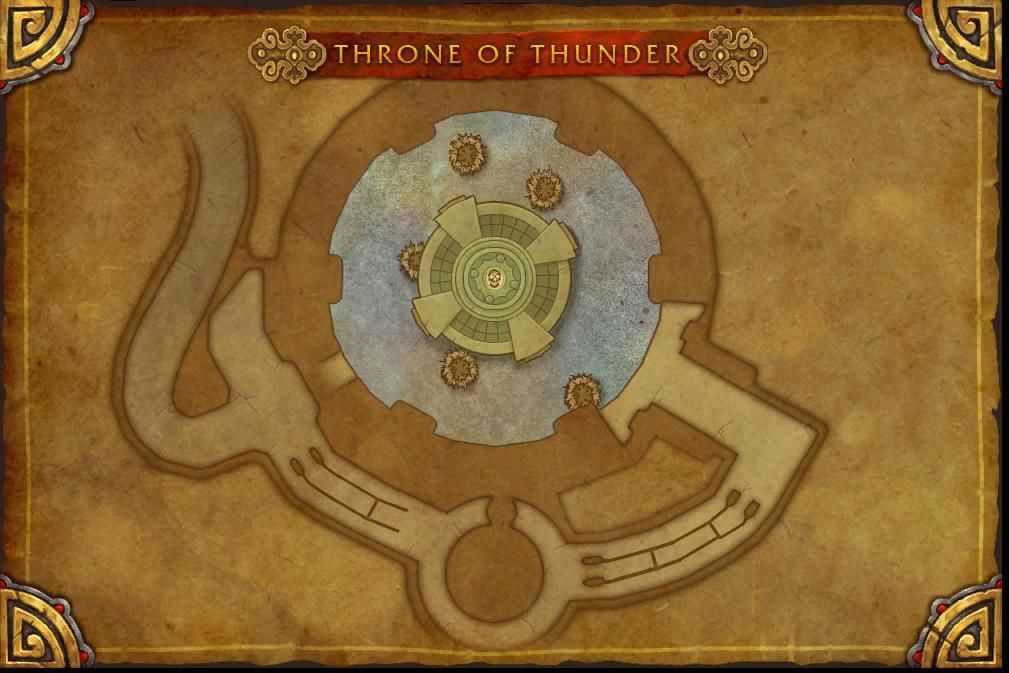
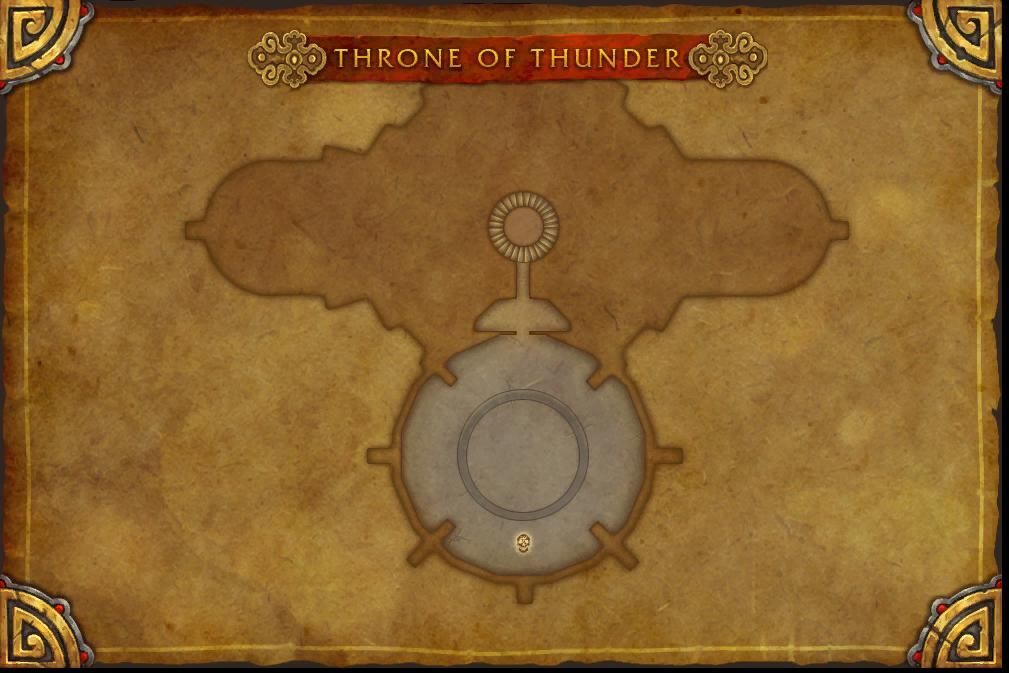
Pinnacle of Storms – The final climb to face Lei Shen, the Thunder King.
Overgrown Statuary
Royal Amphitheater
Forgotten Depths
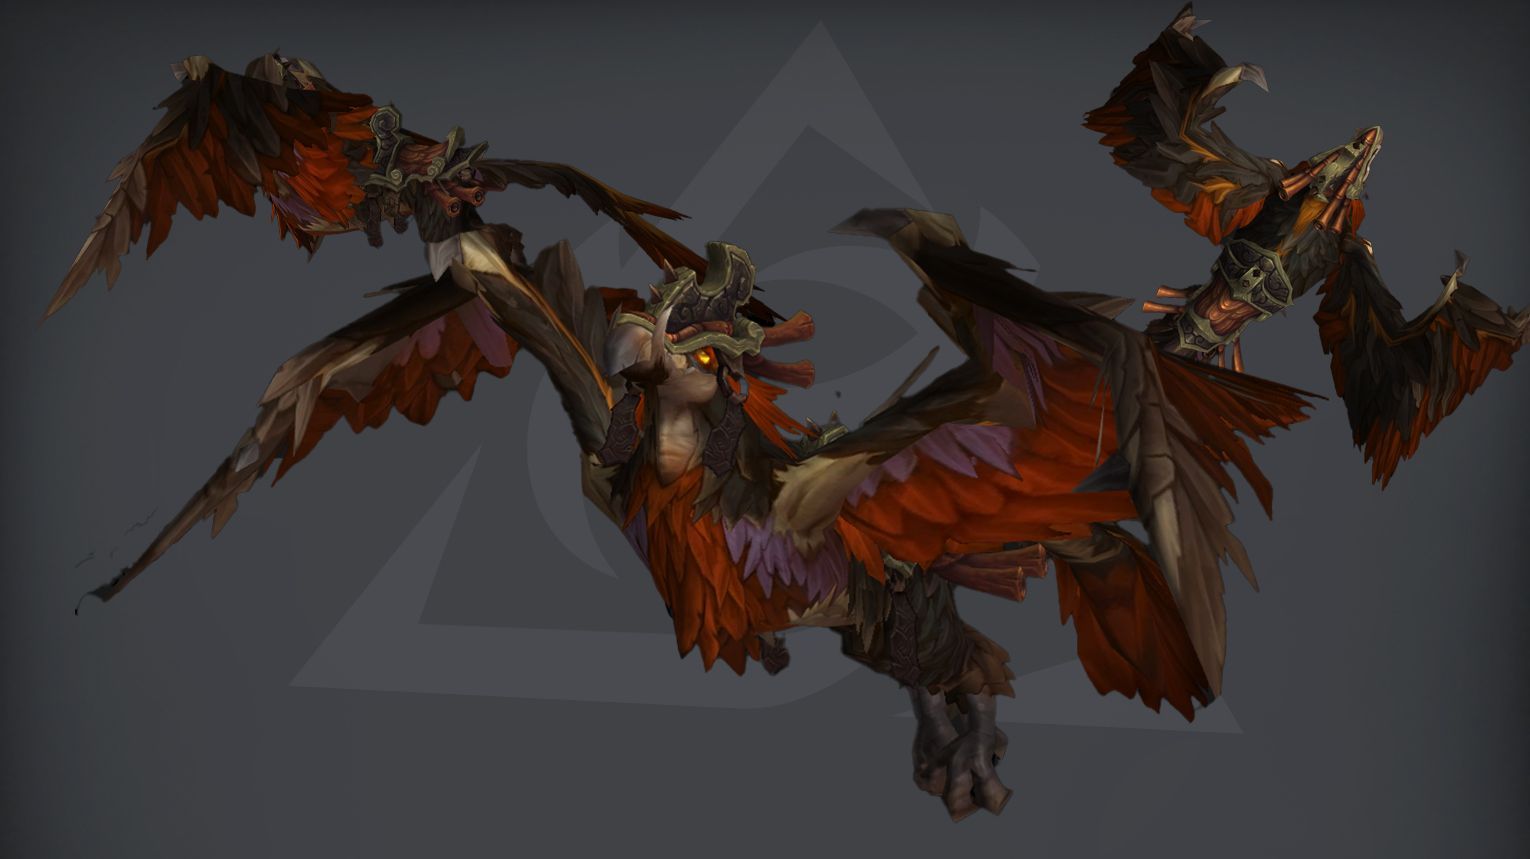
Roost of Ji-Kun
Halls of Flesh-Shaping
Hall of Kings
Pinnacle of Storms
Hidden Cell
Each area has its own theme, enemies, and loot. Whether you’re here for transmogs, mounts, or achievements, Throne of Thunder offers plenty to explore.
Throne of Thunder Collectibles: Mounts, Pets, Transmogs
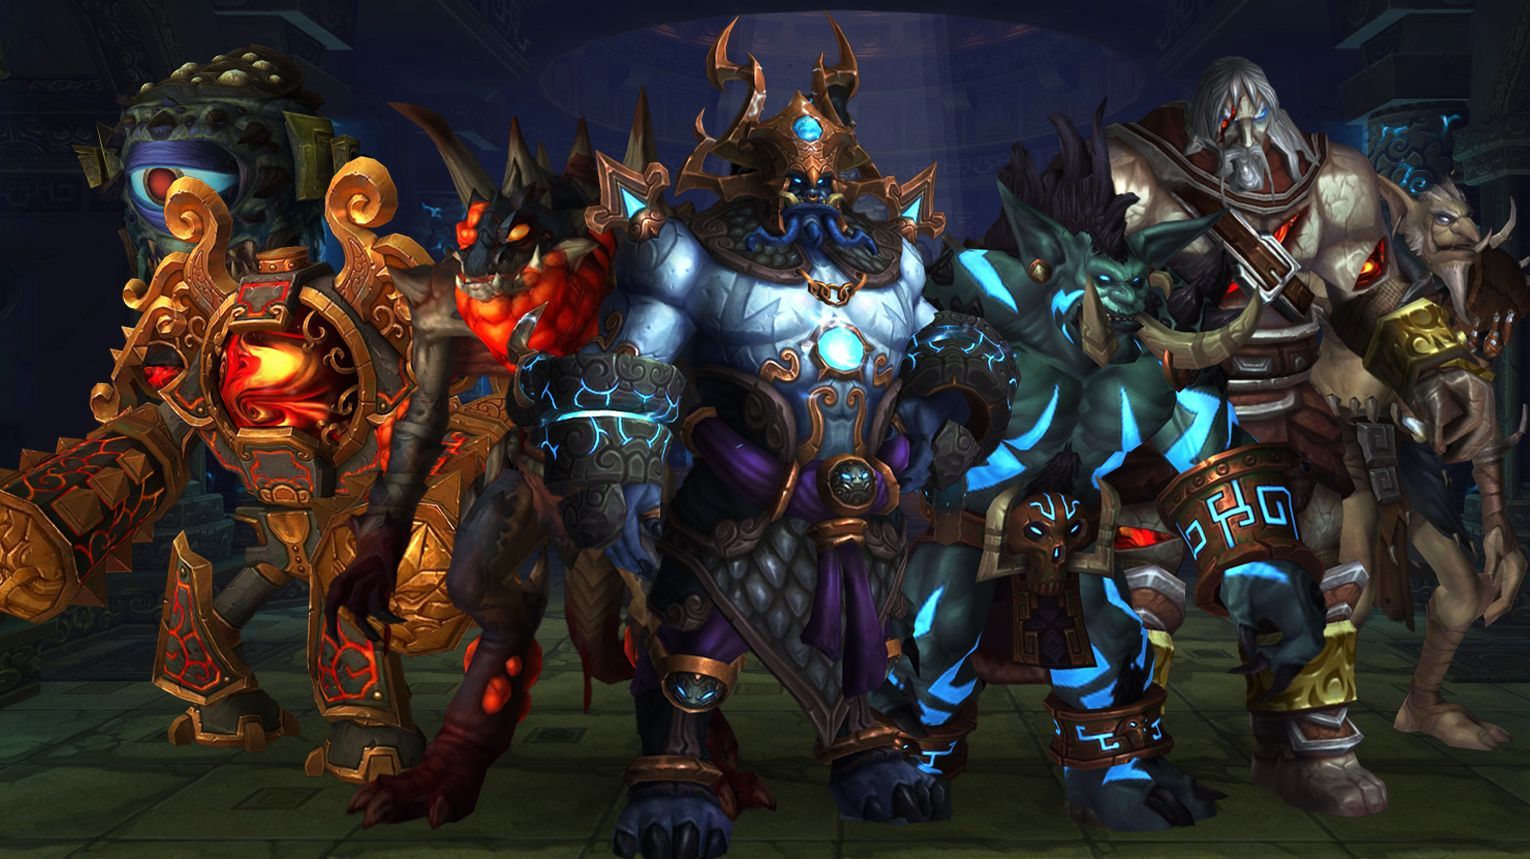
Throne of Thunder is a massive troll and mogu-themed raid in Mists of Pandaria, where players storm Lei Shen‘s fortress to stop his return to power. The raid has 12 standard bosses plus the secret heroic-only Ra-den, each with unique mechanics and loot.
Fights range from chaotic battles like Horridon, where waves of trolls and dinosaurs attack, to puzzle-style encounters such as Dark Animus, where players must carefully manage deadly orbs. The Twin Empyreans fight blends celestial mechanics with a dual-boss challenge, while Lei Shen delivers an epic final showdown full of thunderous abilities.
Below, we’ll break down each boss, their mechanics, and the loot they drop—from tier gear to rare mounts like Ji-Kun‘s Clutch.
Can You Solo Throne of Thunder in The War Within?
Farming Throne of Thunder solo in The War Within is an excellent way to collect transmog sets, mounts, pets, and achievements from the Mists of Pandaria expansion.
Requirements:
Level 60+ (scales up to level 35 in legacy mode).
Heroic Mode? Set raid difficulty to Heroic before entering (if you want better loot/mounts).
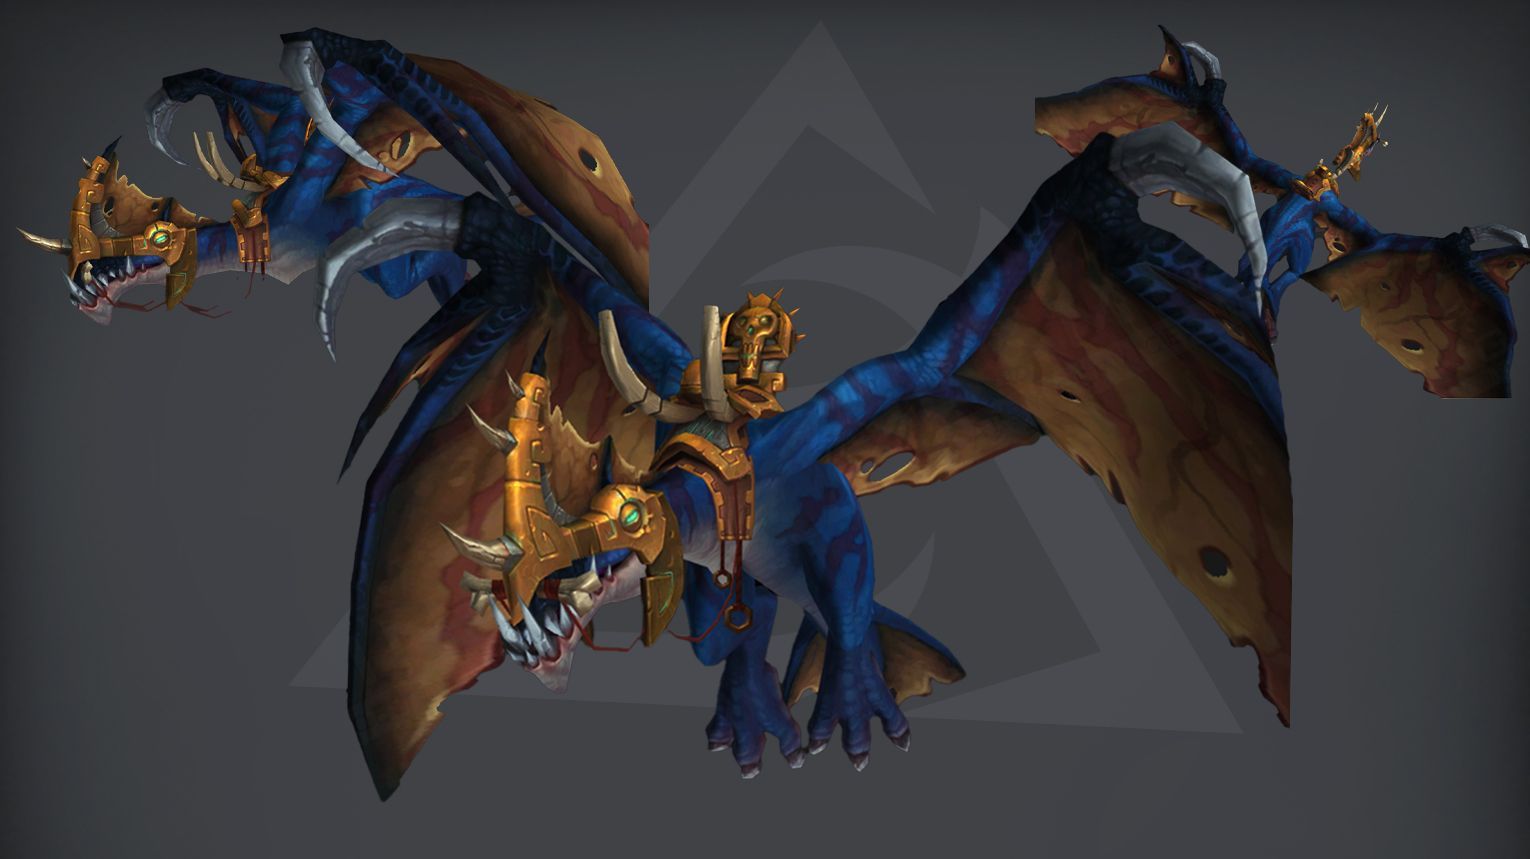
Lei Shen – Astral Cloud Serpent (flying mount, Heroic only).
Ra-den – No mount, but cool transmog (Heroic-only boss).
Tips for Smooth Solo Run
Use AoE – Helps clear trash quickly.
Heroic = Better Loot – Set difficulty before zoning in.
Skip Trash – Many packs can be avoided (use stealth/mount).
Ra-den Bug? – If he doesn’t spawn, reset the instance.
Jin’rokh the Breaker
Jin’rokh the Breaker is a single-phase fight centered around Conductive Water zones that boost damage/healing but increase Nature damage taken. Tanks must swap on Static Wound, while ranged players kite Focused Lightning orbs away from the group and void zones. The room fills with electrified water over time, forcing a DPS race. Use Bloodlust ~20 seconds after the first water zone spawns. In Heroic, dodge Lightning Strike sparks and manage Ionization debuffs by spreading before dispels.
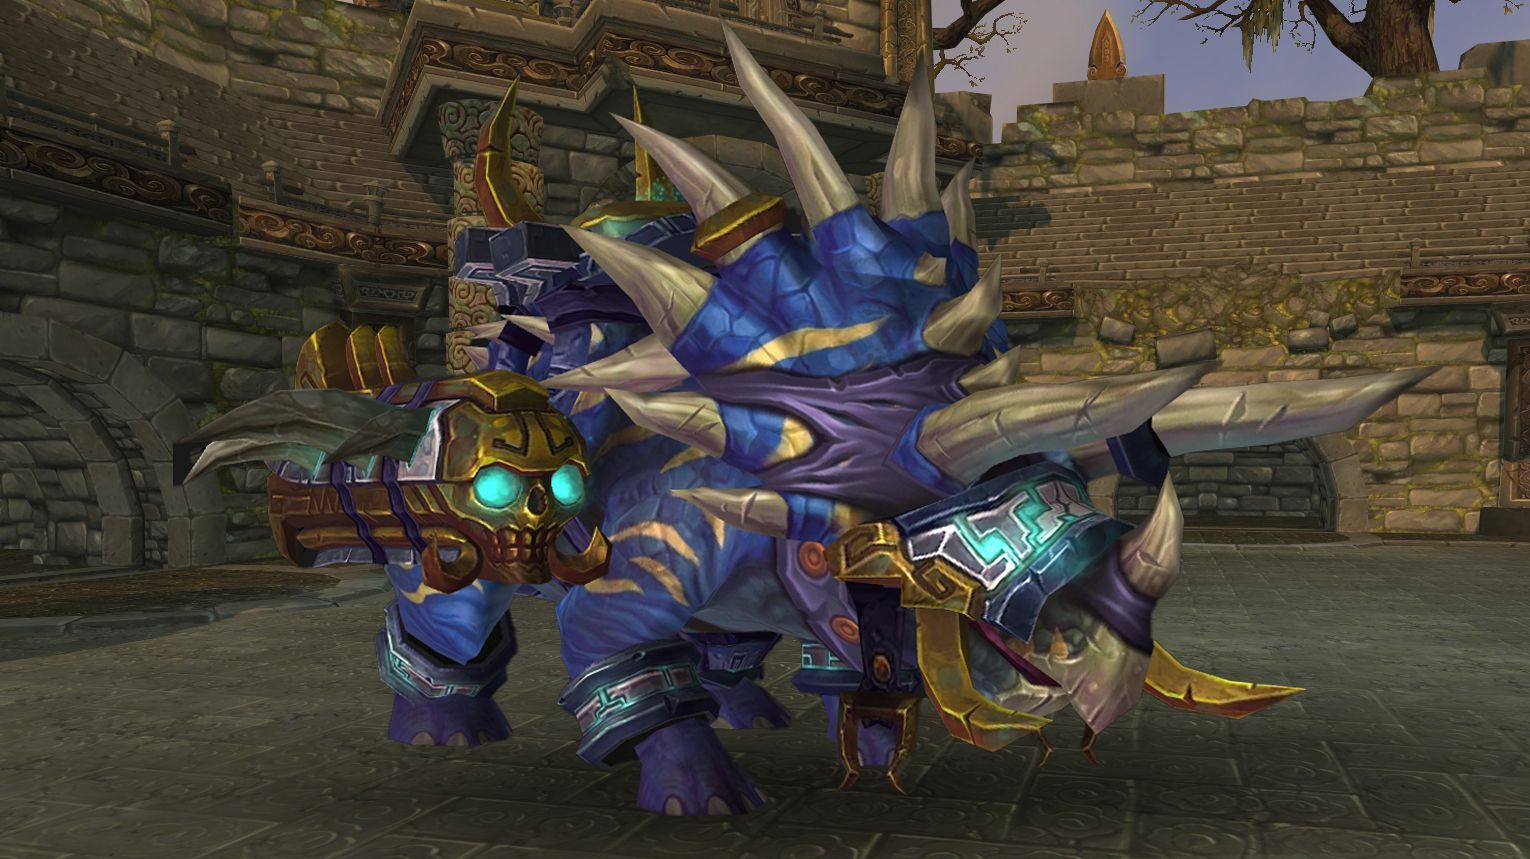
Horridon is a multi-phase fight where you battle the dinosaur and waves of Troll adds from four doors, each with unique mechanics (sand traps, poison, frost orbs, lightning totems). Kill the Zandalari Dinomancer each phase to close doors, stacking Cracked Shell on Horridon for increased damage. After all doors are destroyed, burn War-God Jalak (use Bloodlust here), then finish enraged Horridon. Key challenges include add control, avoiding Double Swipe, and managing tank swaps for Triple Puncture. Heroic adds Direhorn Spirits that must be kited.
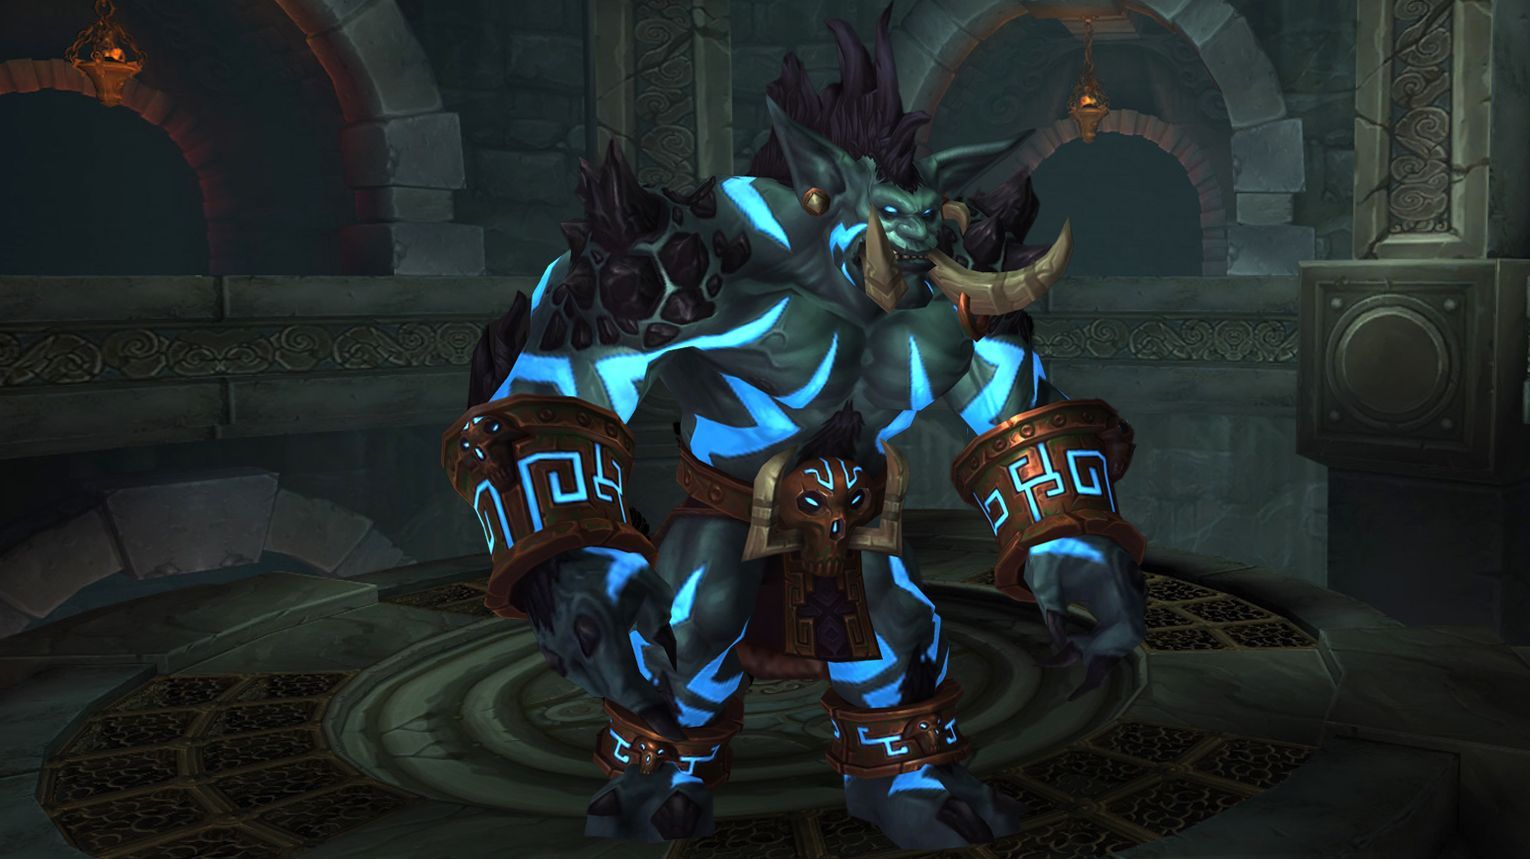
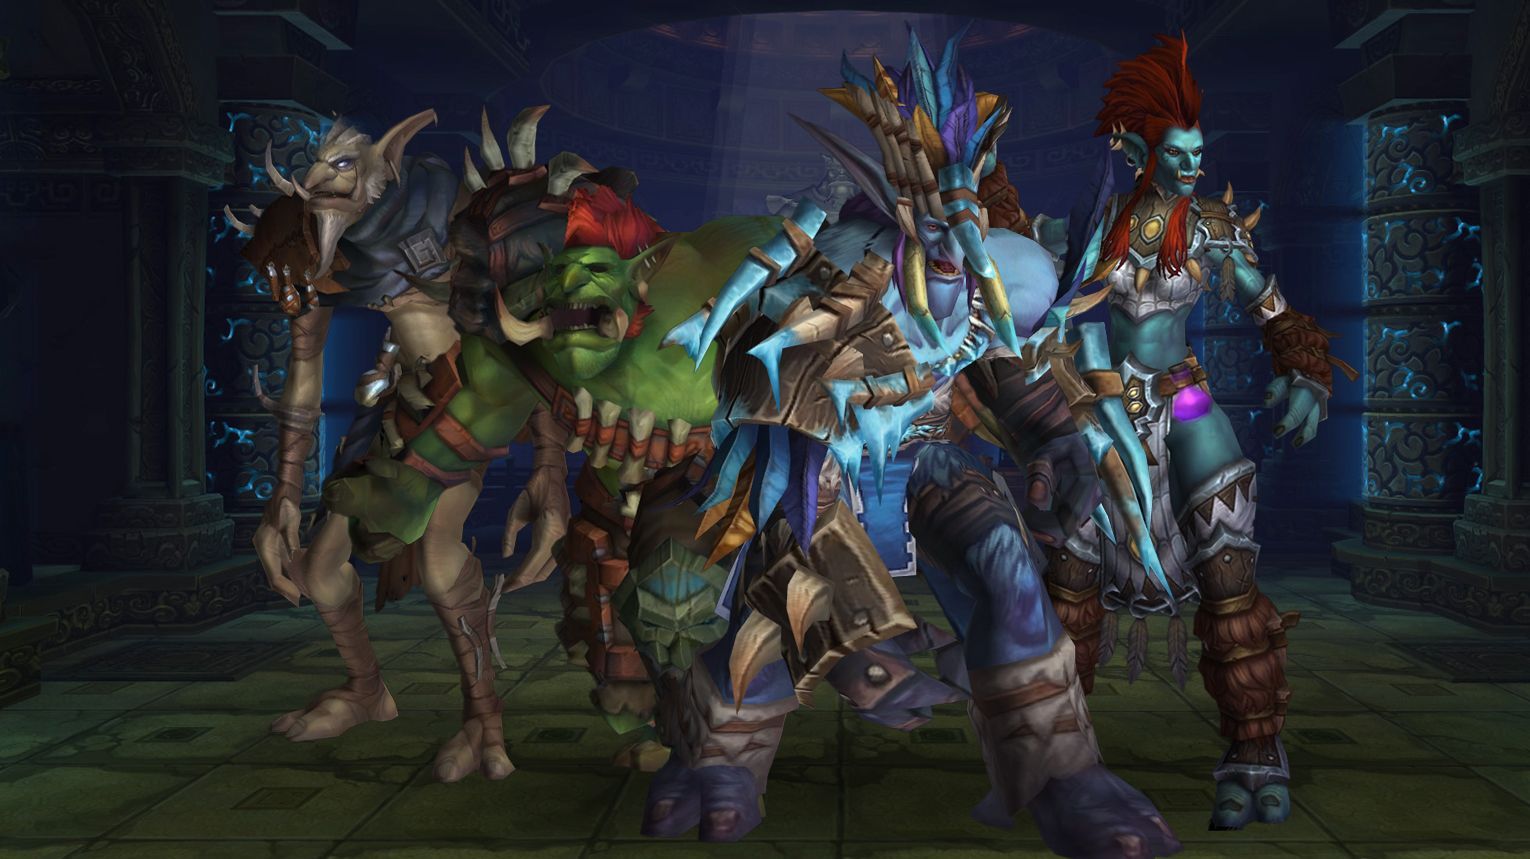
The fight against the Council of Elders involves defeating four Trolls: Frost King Malakk, Kazra’jin, Sul the Sandcrawler, and High Priestess Mar’li. Each Troll has unique abilities and must be managed simultaneously. The Spirit of Gara’jal empowers one Troll at a time, making them more dangerous until they are damaged by 25% of their health. The empowerment cycle continues until all Trolls are defeated.
Preferred Classes:
All classes can contribute effectively to this fight, but certain roles are crucial:
Tanks: Needed to manage the bosses and Living Sands.
Healers: Essential for handling the sustained raid damage and intense moments.
DPS: Must prioritize targets and manage interrupts.
Tips:
Positioning: Spread out to minimize damage from abilities like Biting Cold and Sand Bolt.
Cooldowns: Use defensive cooldowns during intense damage phases, such as when Kazra’jin is empowered.
Communication: Clear communication is key for managing empowerments and target switching.
Strategy:
Tanking: One tank handles High Priestess Mar’li and Sul the Sandcrawler, while the other manages Frost King Malakk and Kazra’jin. Tanks must switch to avoid the stun from Frigid Assault.
Healing: Focus on tank healing when Frost King Malakk is active and use cooldowns during high damage phases.
DPS: Prioritize killing Blessed Loa Spirit and Shadowed Loa Spirit, then Living Sands, and finally the empowered boss. Avoid burning down bosses too quickly to maximize the empowerment cycle.
Empowerment Management: Break empowerments before the Trolls reach 100 Dark Energy to avoid heavy raid damage from Dark Power.
Tortos is a single-phase fight where you DPS the stationary boss while managing two adds: Whirl Turtles (kick them at Tortos to interrupt Furious Stone Breath) and Vampiric Bats (tank and cleave). Ranged focus turtles, melee cleave bats/Tortos. Avoid Rockfall circles and heal through Quake Stomp (deadly in Heroic). Use Bloodlust during Shell Concussion (25% damage buff after kicking a turtle). Heroic adds Humming Crystals—attack them for shields to survive Quake Stomp.
Preferred Classes:
Tanks:
High-mitigation tanks (e.g., Blood DK, Prot Paladin) for Snapping Bite.
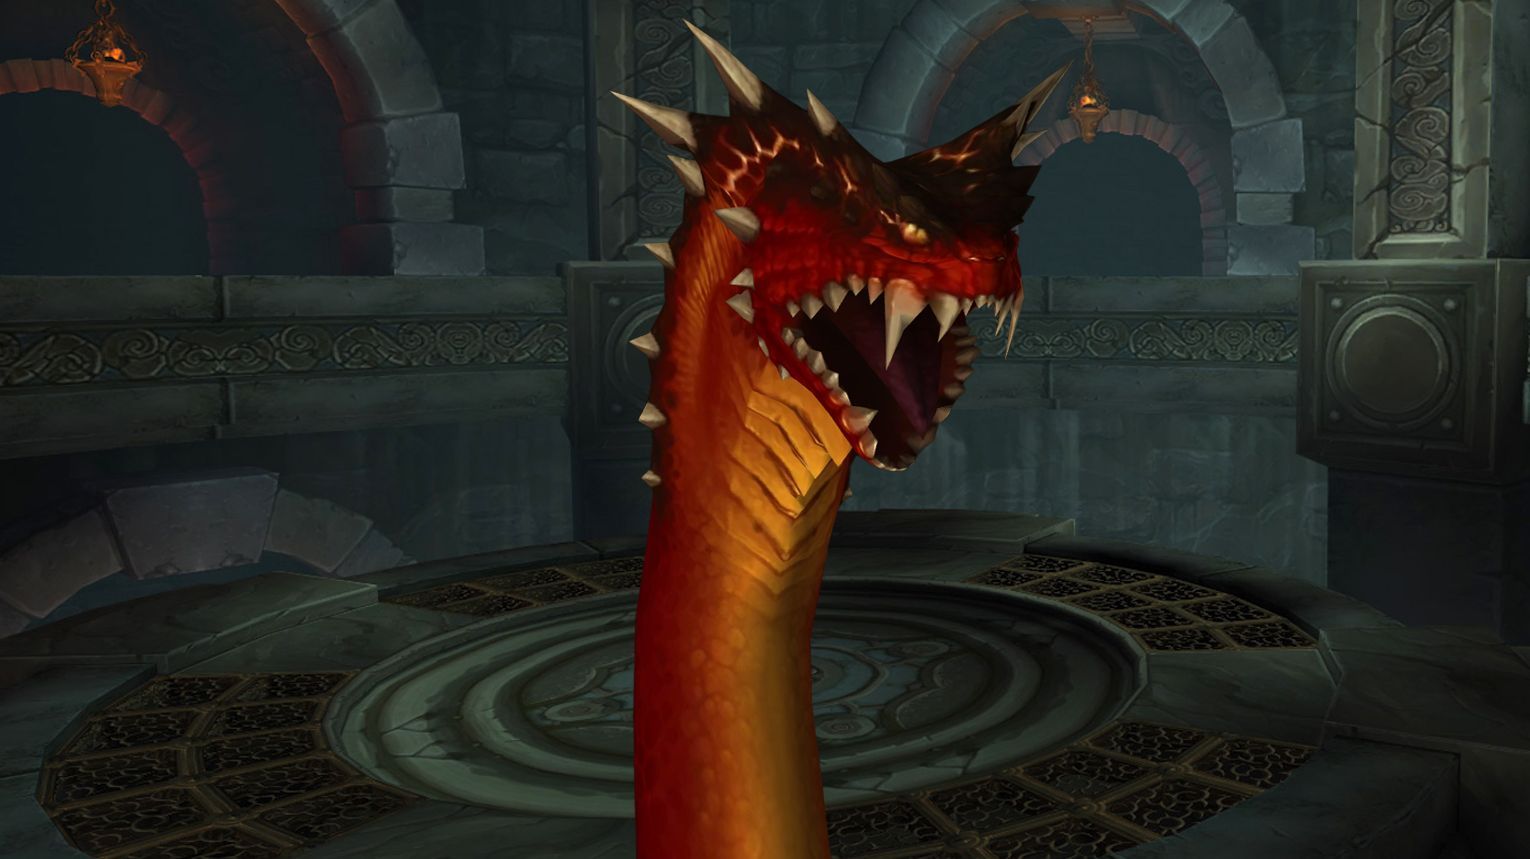
Megaera is a hydra boss where you kill 7 heads to win. Two heads attack at a time (Flaming, Frozen, or Venomous); killing one spawns two more of that type at the back, which cast raid-wide abilities. Stack during Rampage (heavy AoE), then spread to handle mechanics: dispel Cinders over ice patches, kite Torrent of Ice, and dodge Acid Rain. Tanks must swap heads after 2 breath stacks to manage debuffs. Use Bloodlust late in the fight when damage peaks, and avoid killing Venomous Heads in Heroic mode.
Preferred Classes:
Tanks: High-mobility classes (e.g., Monks, Warriors) for quick swaps.
Healers: Strong AoE healers ( Resto Druids, Holy Priests) for Rampage phases.
DPS: Ranged preferred to handle mechanics; Hunters/ Mages excel at kiting/clearing adds.
Tips:
Stack during Rampage to ease healing. Spread afterward.
Prioritize killing Frozen Heads first (slow mechanics are deadly).
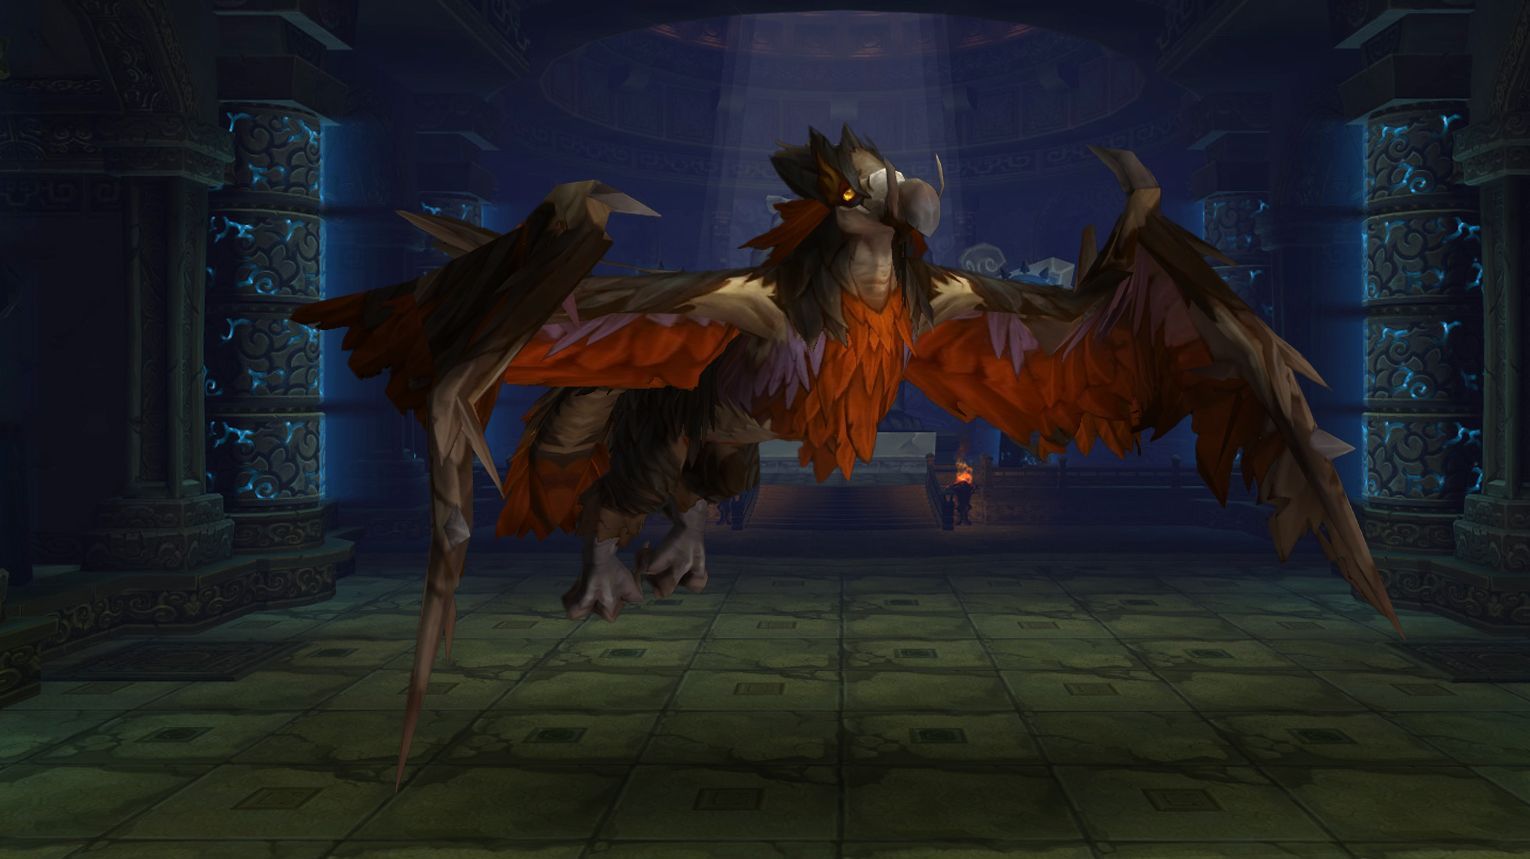
Ji-Kun is a single-phase fight where players battle the boss on a central platform while managing adds from upper/lower nests. Lower nests spawn Hatchlings (kill fast or they become deadly Fledglings/Juveniles), while upper nests contain Mature Eggs that must be destroyed. Use Flight (from feather drops) to travel between nests and intercept Feed Young slime for a damage buff. Tanks swap to handle Infected Talons/Talon Rake, and the raid stacks for Down Draft to avoid knockbacks. Use Bloodlust late (~30% HP) to burn the boss before adds overwhelm.
Durumu the Forgotten is a three-phase fight in Throne of Thunder. The Normal Phase involves tank swaps and dodging void zones/knockbacks. The Colorblind Phase requires revealing/killing invisible adds using colored beams while managing raid damage. The Disintegration Beam Phase forces the raid to rotate with a safe zone to avoid deadly floor hazards. Use Bloodlust early or during a late Colorblind Phase for optimal DPS. Heroic adds ice walls, an extra add (Amber Fog), and a DoT mechanic (Dark Parasite).
Preferred Classes:
Tanks: Paladins (for debuff removal via Divine Shield/Hand of Protection).
DPS:
Melee (for Crimson Fog kills in Colorblind Phase).
Ranged with strong AoE (e.g., Warlocks, Elemental Shamans) for Heroic’s ice walls.
Healers: Strong raid healers (e.g., Restoration Druids, Holy Priests) due to high AoE damage.
Tips:
Normal Phase:
Tanks swap to manage Arterial Cut (heal to full to clear).
Drop Lingering Gaze void zones at edges/under Durumu to avoid clutter.
Intercept Life Drain beams to minimize boss healing.
Colorblind Phase:
Red beam player: Move to reveal Crimson Fogs (melee focus these).
Blue beam player: Avoid revealing Azure Fog (causes raid damage).
Yellow beam: Ranged stand here; avoid revealing Amber Fog (Heroic only).
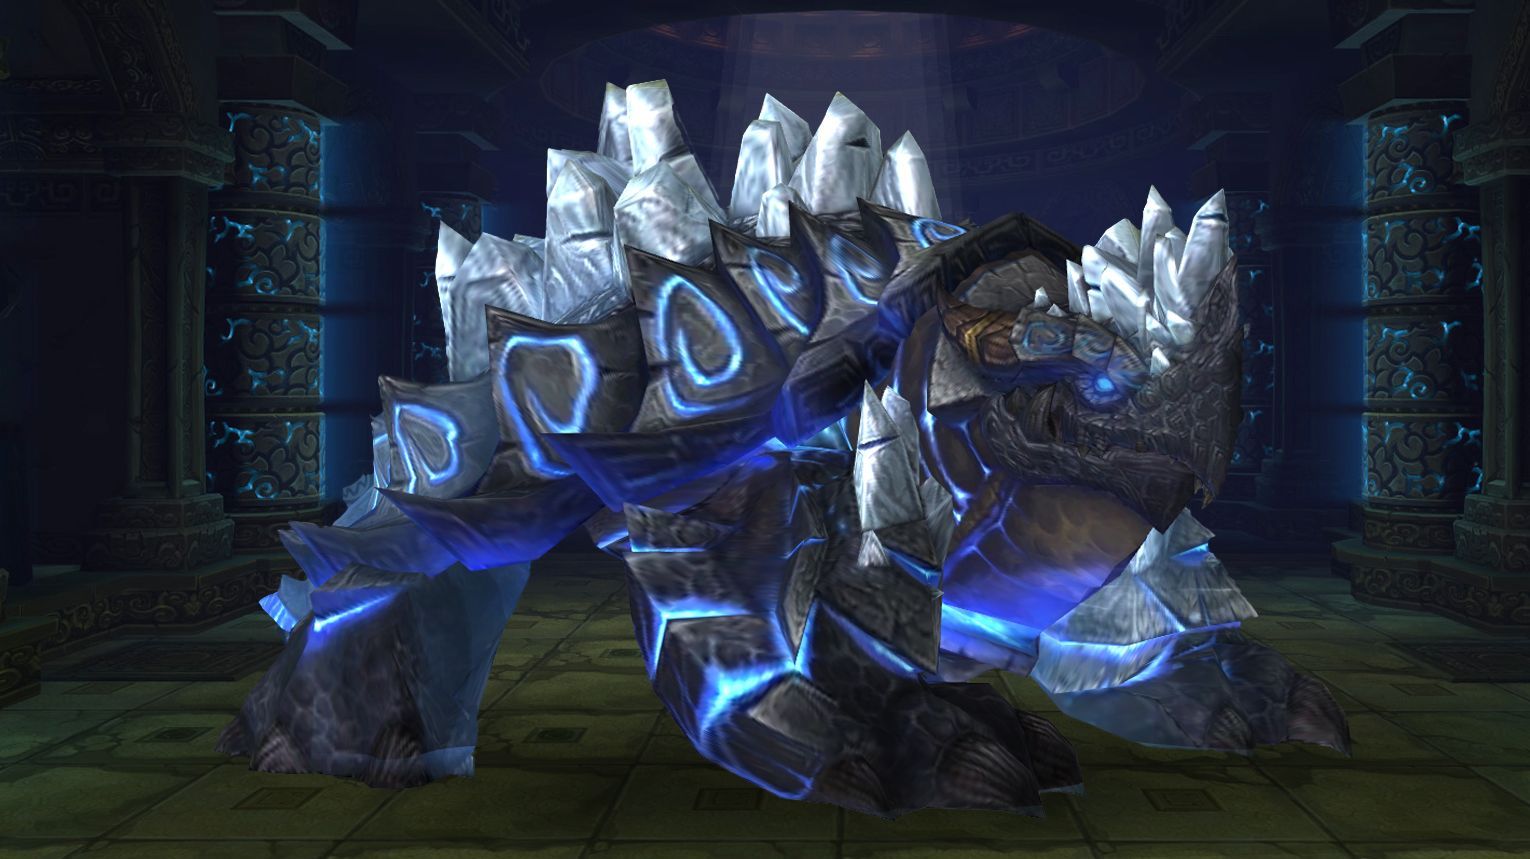
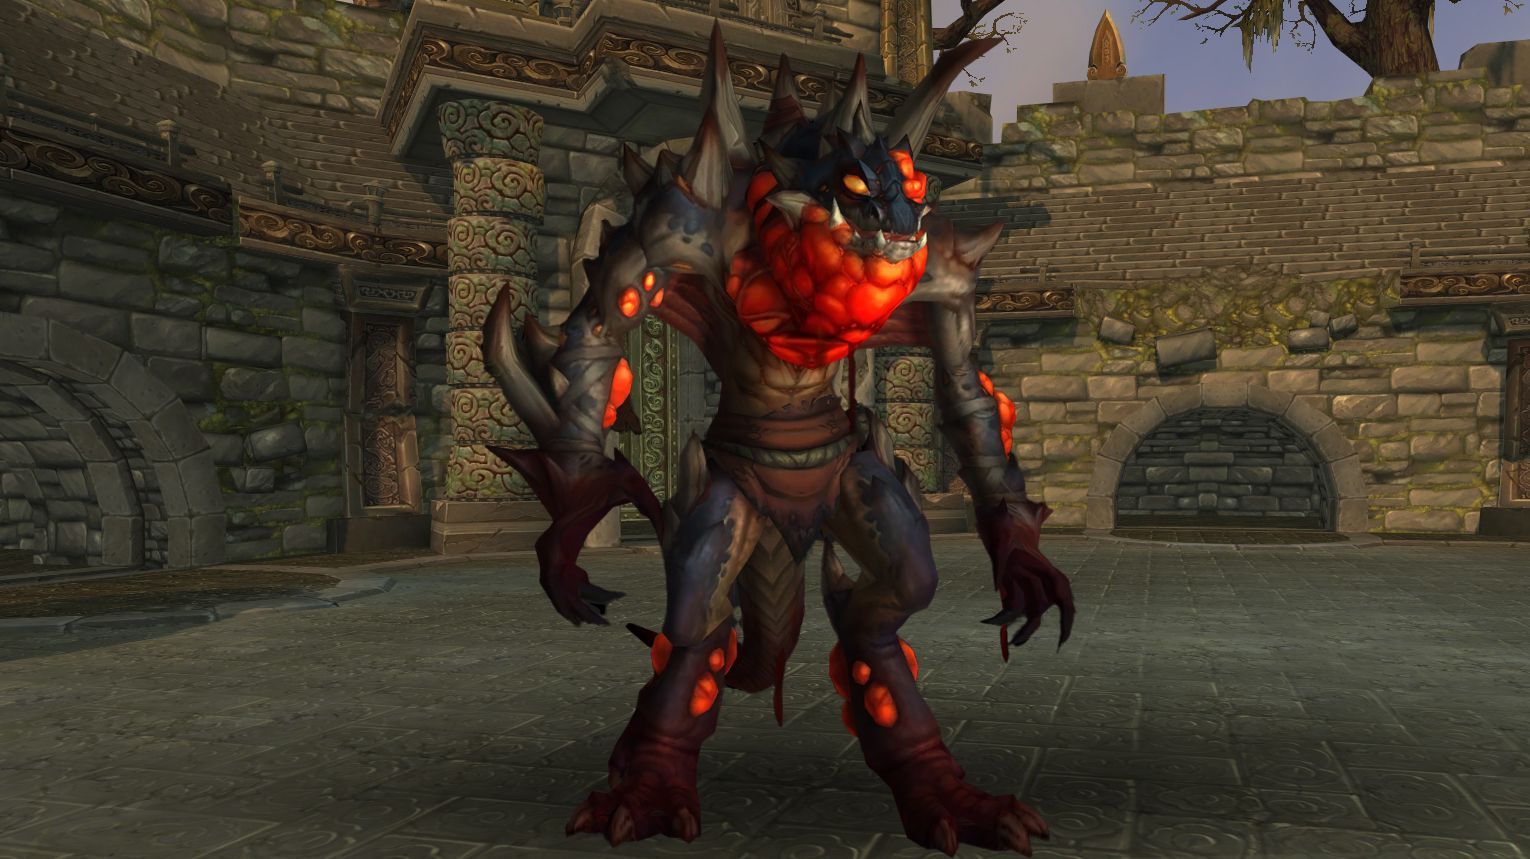
Primordius is a single-phase fight with multiple mechanics, but only a few are critical. Players deal reduced damage to Primordius unless they become Fully Mutated (5 stacks of buffs). Living Fluids (adds) spawn continuously and must be killed to gain buffs. If they reach the boss, they empower him. Players must manage buffs carefully—once Fully Mutated, additional buffs turn into debuffs. Primordius gains temporary abilities as he mutates (max 3 in Normal, 4 in Heroic).
Preferred Classes:
High Mobility & Burst DPS ( Hunters, Mages, Rogues, Warlocks) are ideal for quickly killing adds and switching to boss DPS.
Strong AoE Classes ( Frost DKs, Balance Druids, Elemental Shamans) help clear Living Fluids efficiently.
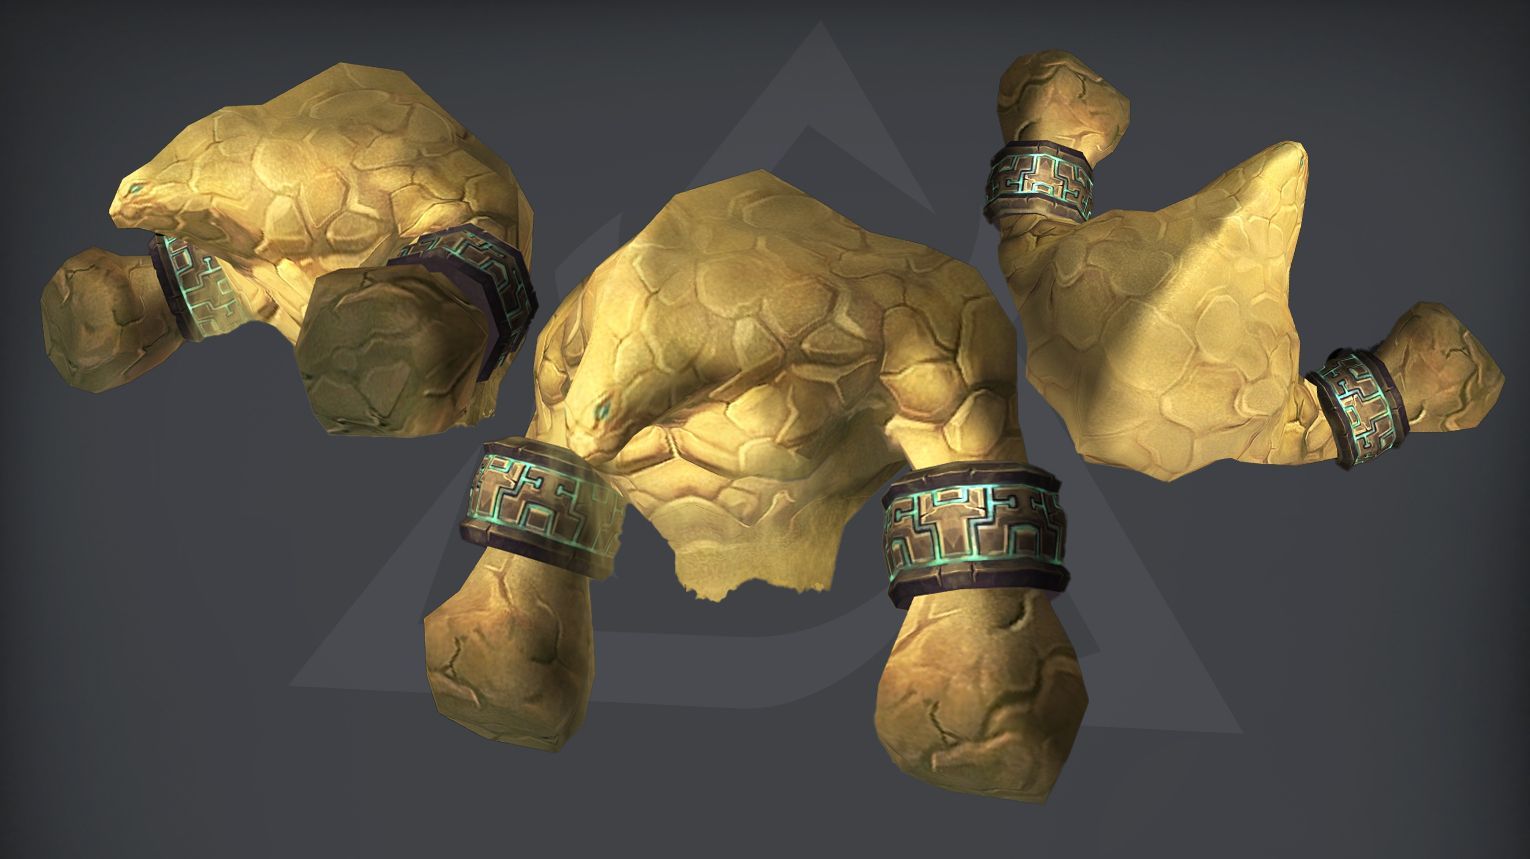
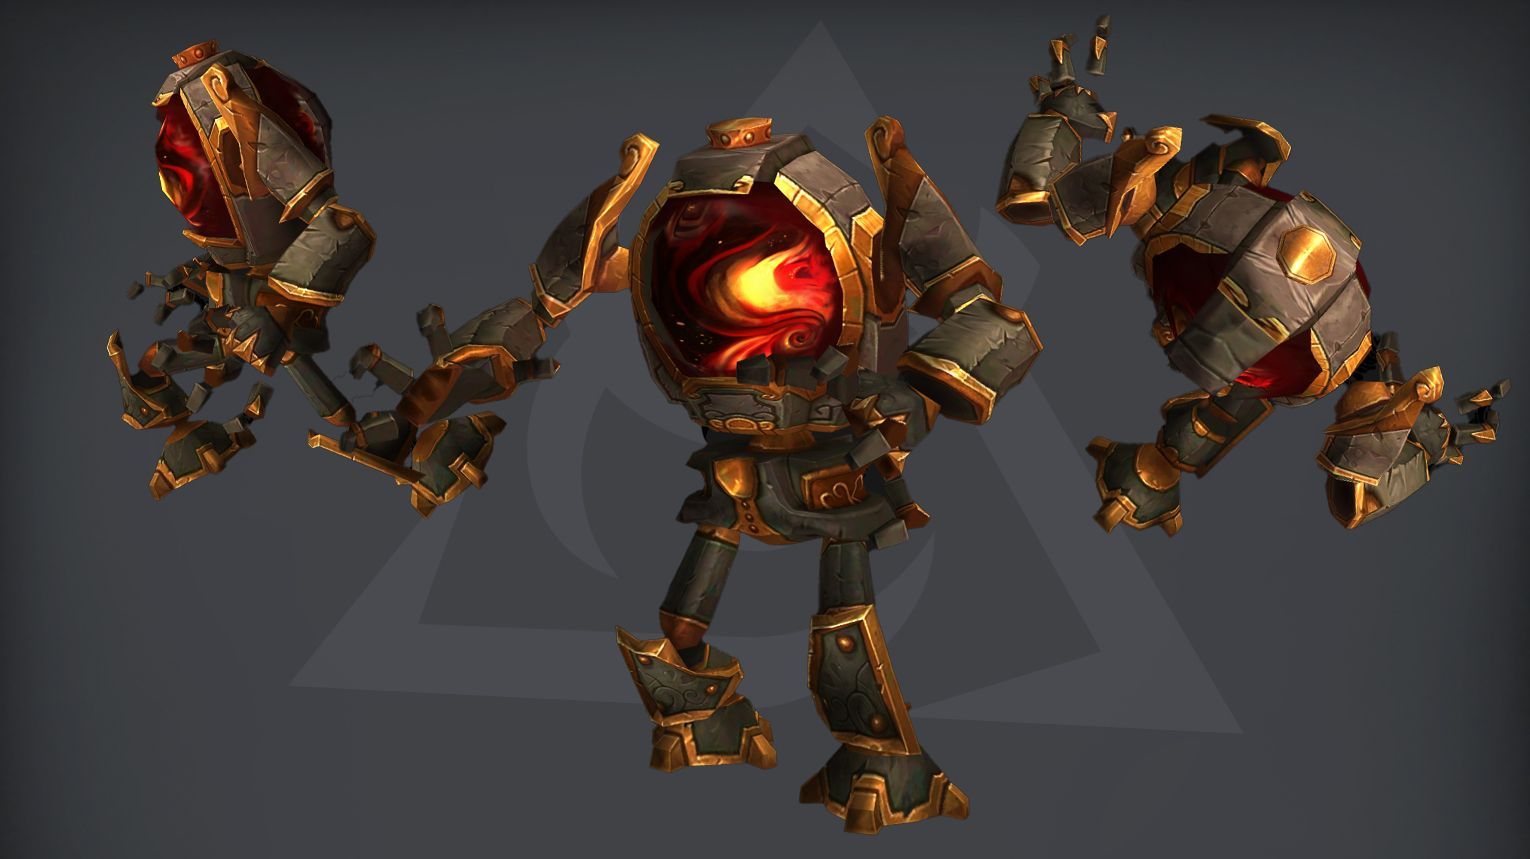
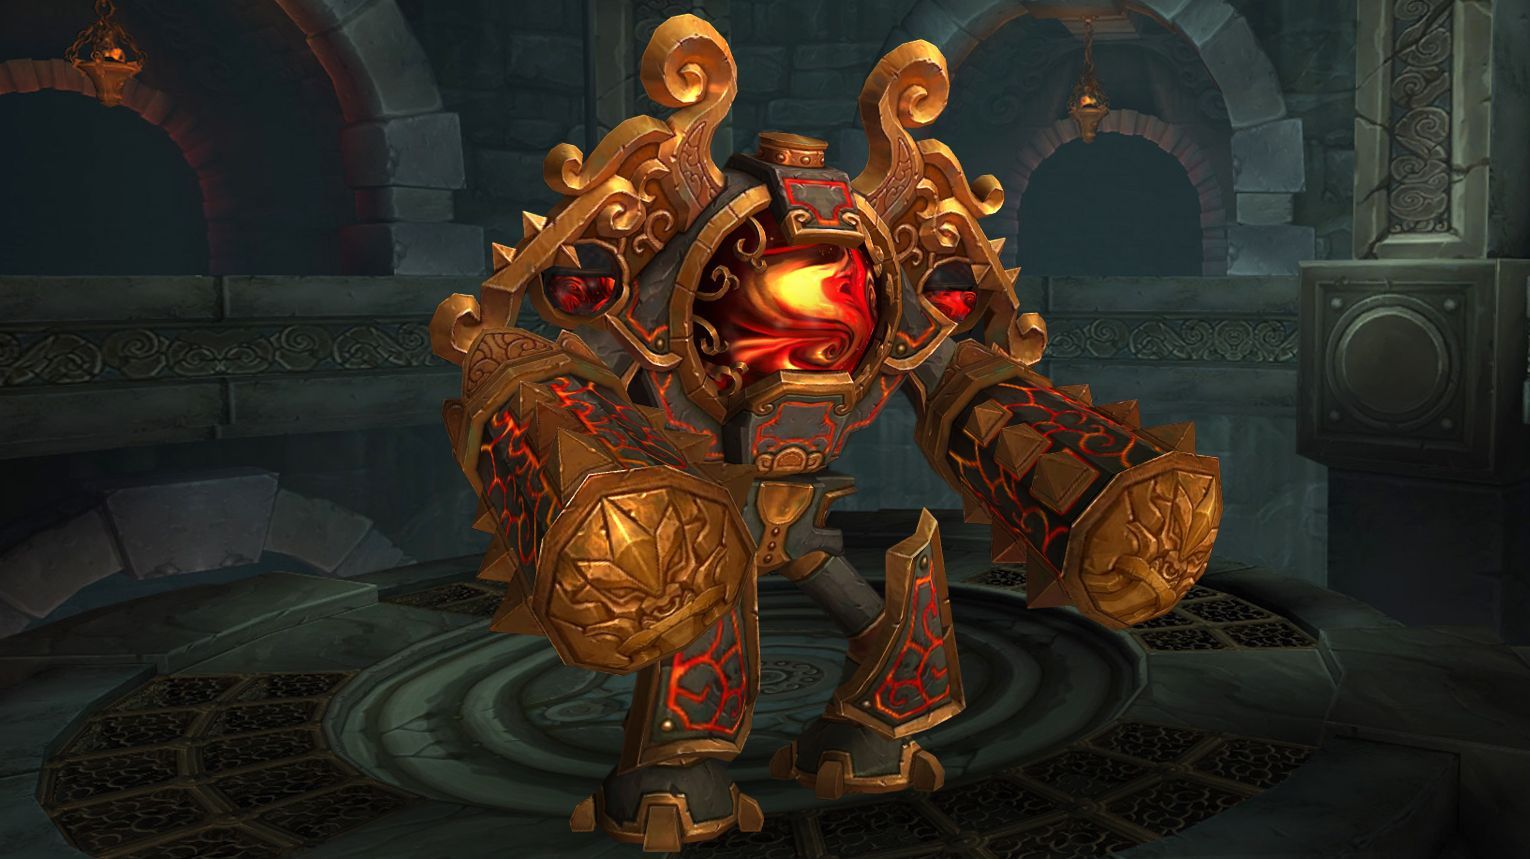
The Dark Animus encounter involves facing the boss along with various golems: Anima Golems, Large Anima Golems, and Massive Anima Golems. The fight revolves around managing Anima, a resource that activates these golems and the boss. The goal is to balance killing golems to prevent overwhelming numbers while ensuring the boss doesn’t gain too much Anima.
Preferred Classes:
Tanks: Death Knights, Druids, Monks, Paladins, Warriors.
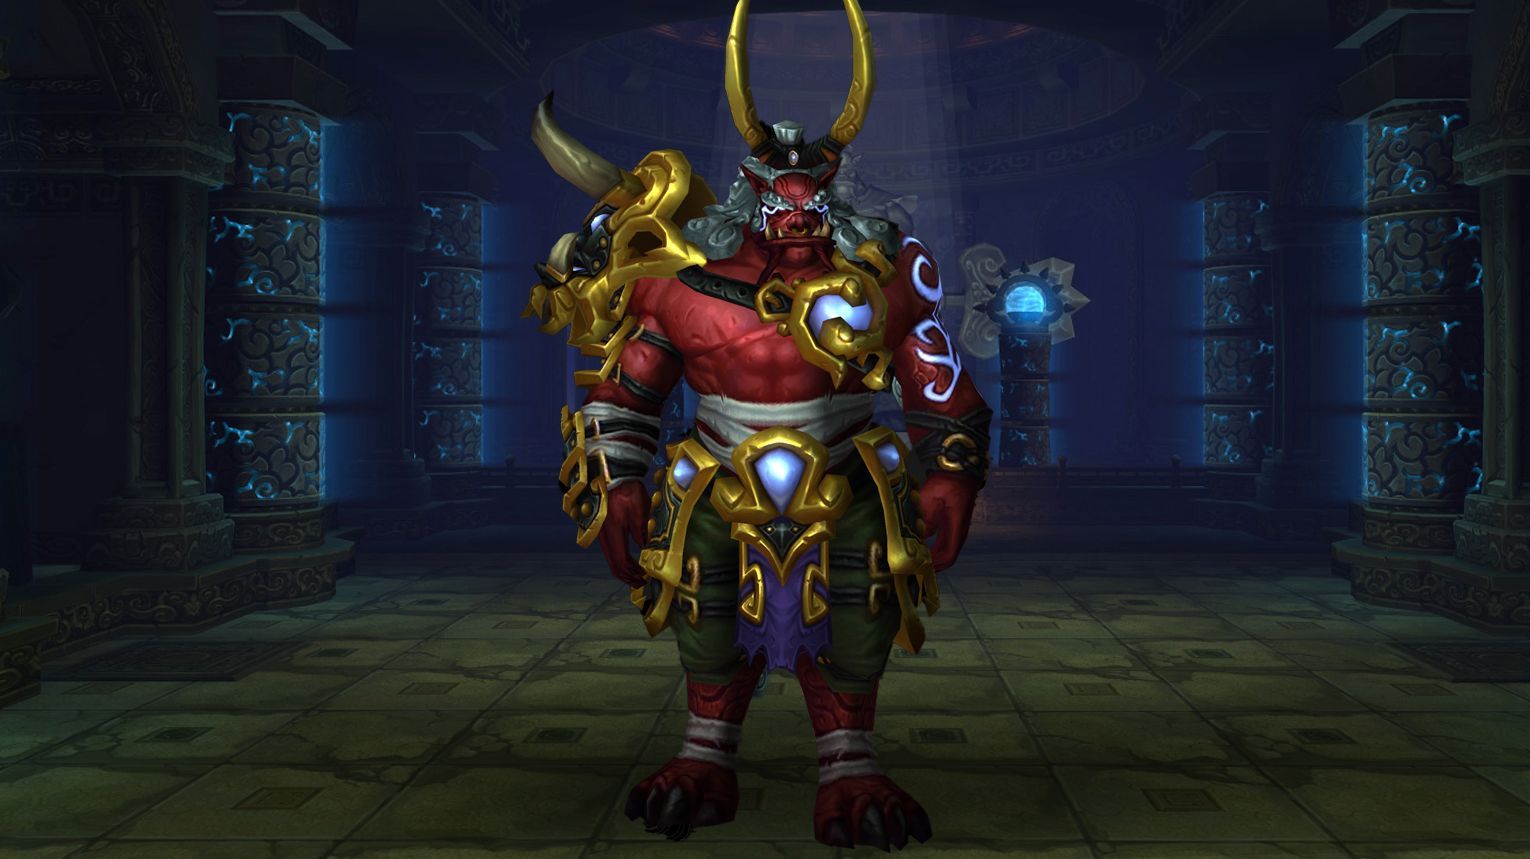
Iron Qon is a 4-phase fight in Throne of Thunder where you battle him and his three Quilen champions (Ro’shak, Quet’zal, Dam’ren) before facing him alone. Each phase has unique mechanics: Phase 1 requires rotating groups to soak Unleashed Flame, Phase 2 involves freeing Arcing Lightning victims and dodging tornadoes, and Phase 3 demands avoiding ice lines and Dead Zone shields. In Phase 4, burn Iron Qon while managing raid-wide damage from Fist Smash and fiery tornadoes. Use Bloodlust in Phase 4 (or earlier in Heroic to kill adds). Heroic adds airborne Quilen casting extra abilities.
Preferred Classes:
Tanks: Strong active mitigation (e.g., Blood DKs, Brewmasters) to handle Impale stacks.
Healers: High raid healing (e.g., Resto Druids, Holy Paladins) for sustained AoE damage.
DPS: Ranged favored for mechanics (e.g., Hunters, Mages), but melee can perform well with positioning awareness.
Tips:
Phase 1 (Ro’shak):
Split raid into 3 groups (10-man) or 5 (25-man) to rotate Unleashed Flame stacks.
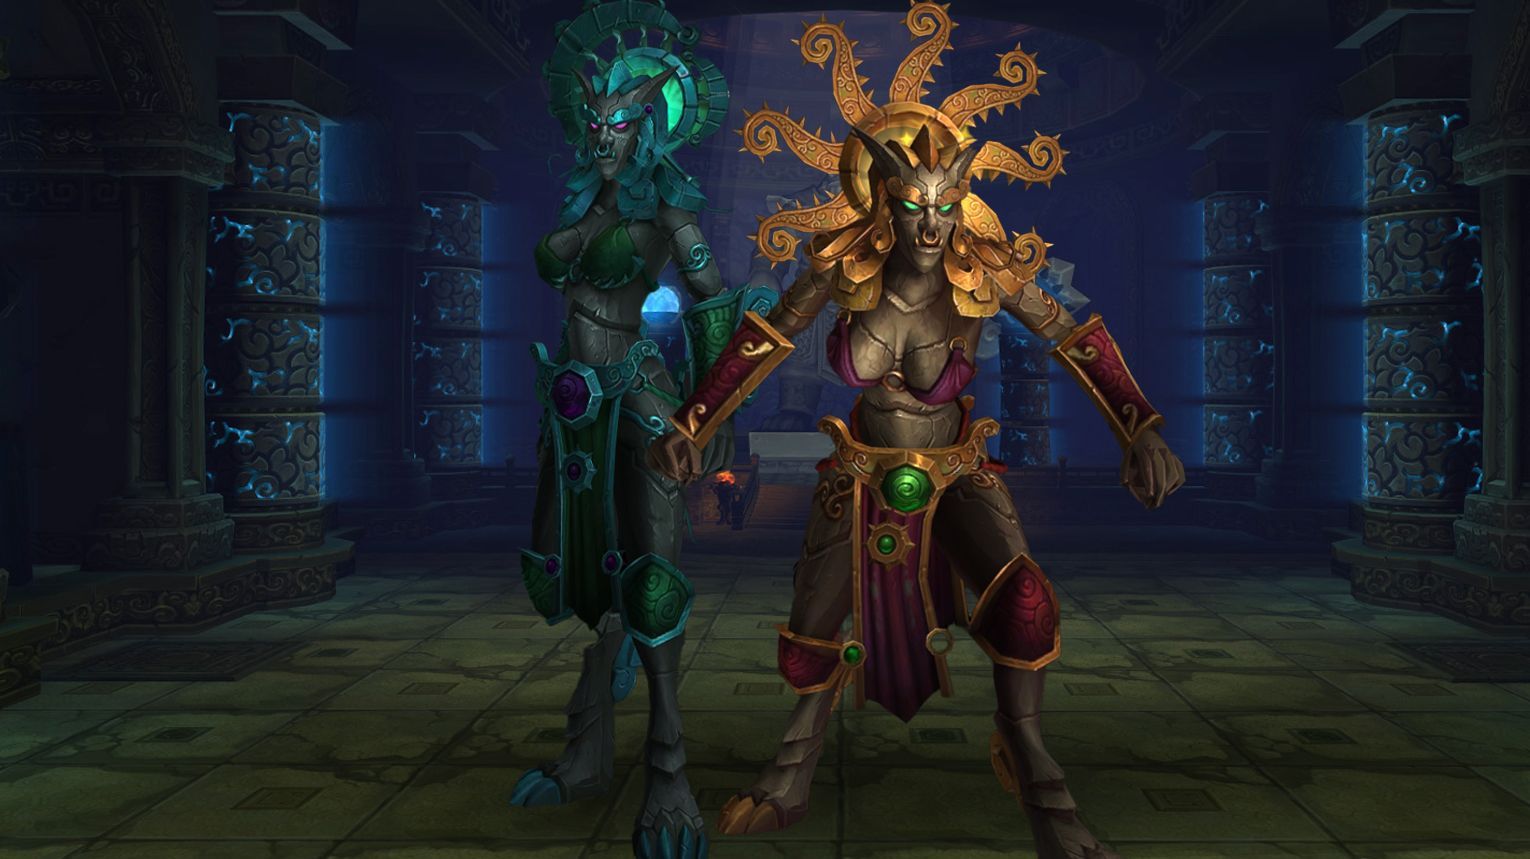
The Twin Empyreans (Lu’lin and Suen) alternate between Darkness (Lu’lin active) and Daylight (Suen active) phases, each lasting 3 minutes, before merging in Break of Dusk. Kill Suen first to avoid her lethal enrage in Phase 4. Key mechanics include avoiding sleep clouds, managing Suen’s fire stacks via Ice Comets, and dodging Lu’lin’s Tidal Force waves. Use Celestial buffs (e.g., Chi-Ji’s damage or Niuzao’s health boost) during high-pressure phases. Pop Bloodlust in Break of Dusk to burn Suen quickly.
Preferred Classes:
Tanks: Strong single-target mitigation (Beast of Nightmares in Darkness Phase).
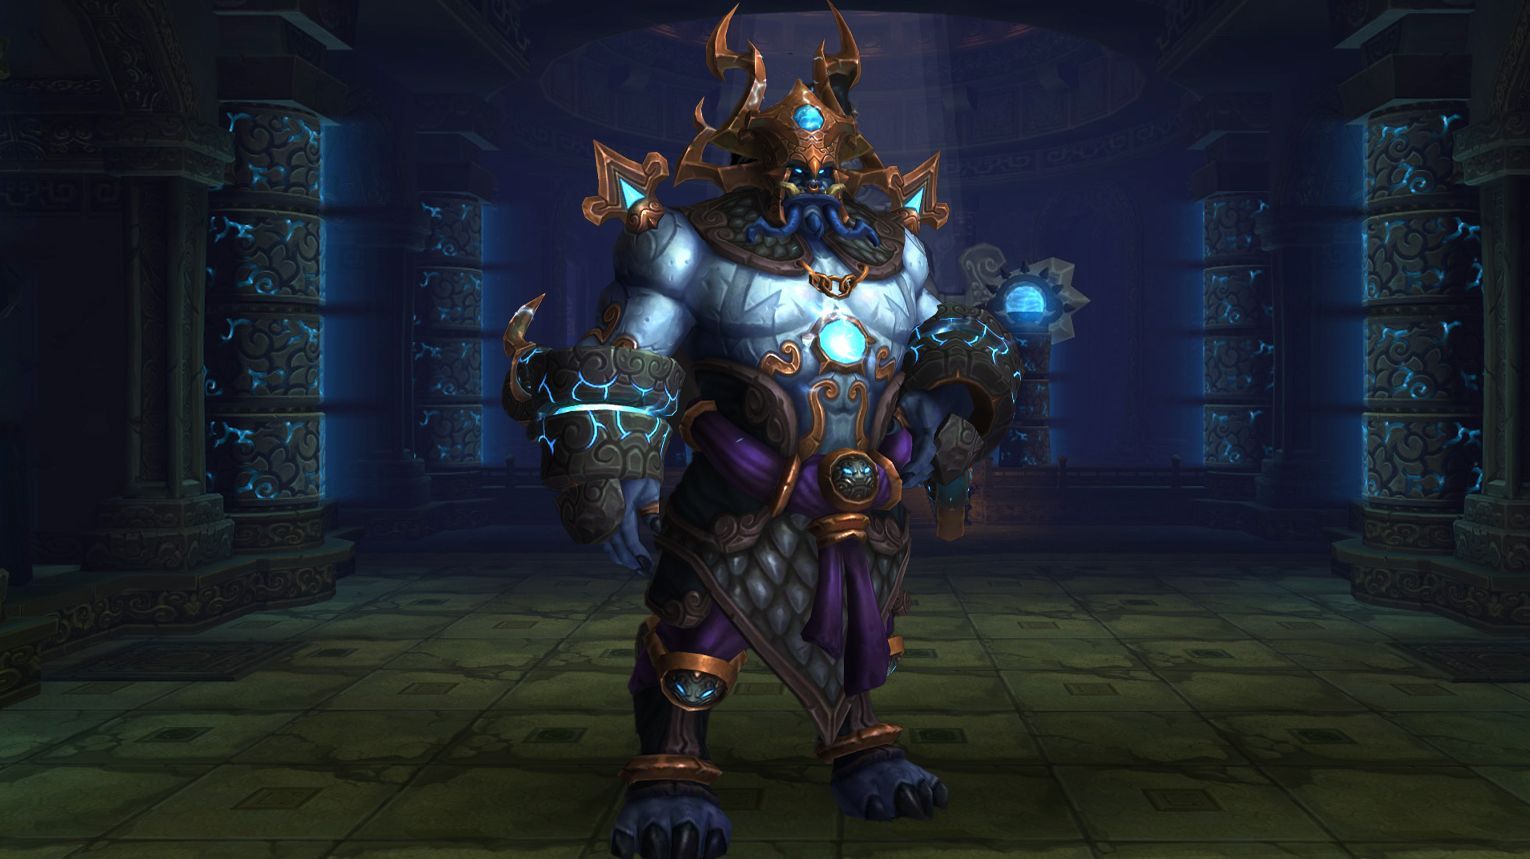
Lei Shen is a complex, multi-phase fight where positioning and conduit management are key. The boss gains abilities from four conduits (North, East, South, West), which level up if left unchecked. Phase transitions force the raid to handle all conduit mechanics at once. In later phases, two conduits are destroyed, limiting safe space. Use Bloodlust in Phase 3 to burn the boss before raid-wide damage overwhelms you.
Preferred Classes:
Tanks: High-mobility tanks (e.g., Brewmaster Monks for taunt + boss movement).
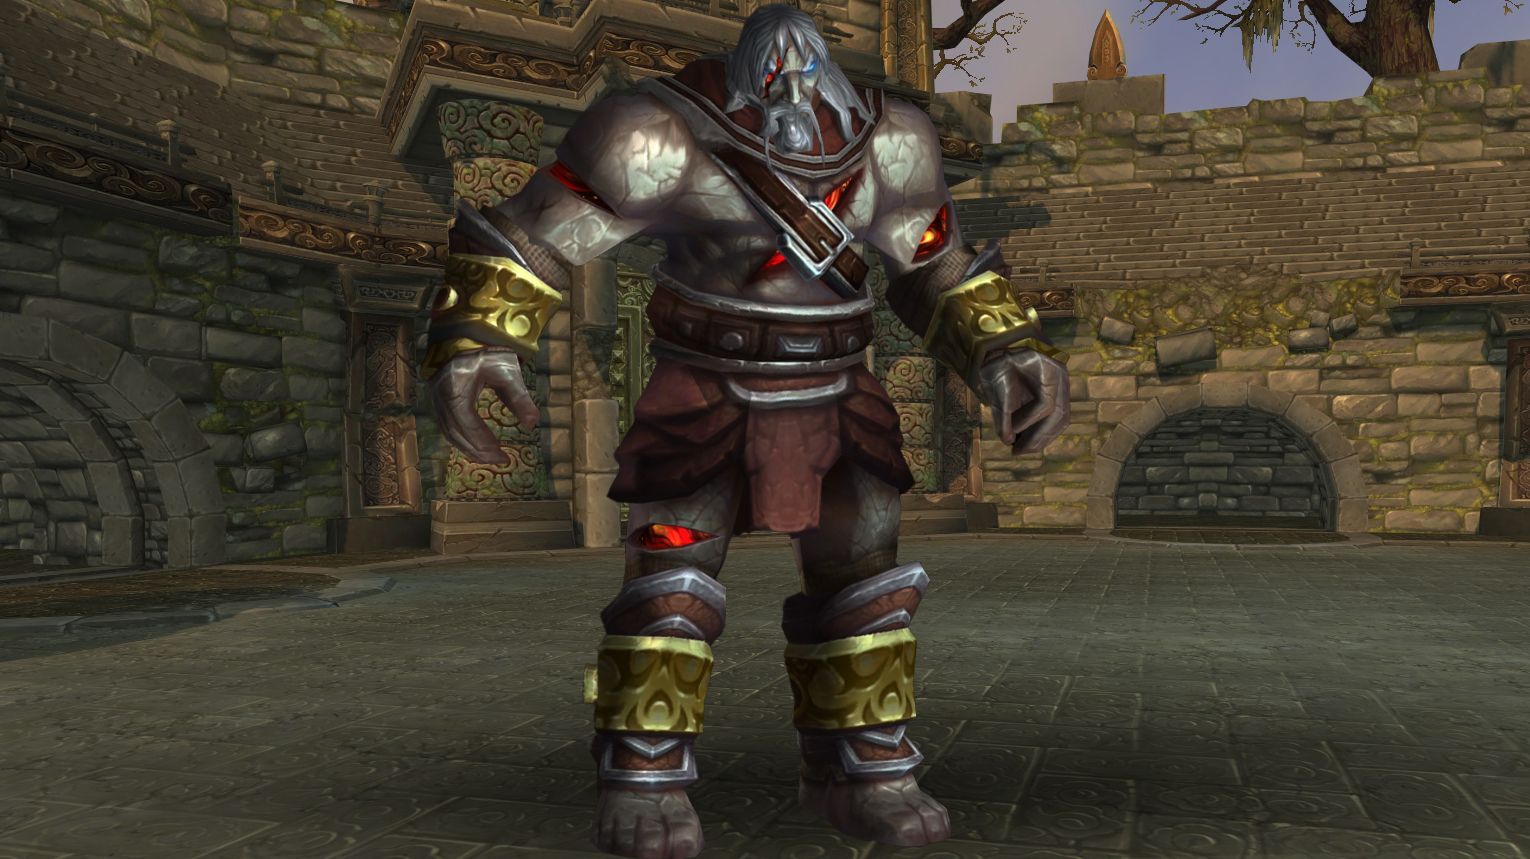
Ra-den is a hidden bonus boss in Throne of Thunder, unlocked after defeating Heroic Lei Shen. The fight revolves around managing two alternating phases: Anima (Shadow, requires stacking to split damage) and Vita (Nature, forces spreading to avoid chaining lightning). Tanks must use active mitigation for Fatal Strike, or they die instantly. Adds (Sanguine Horror/Crackling Stalker) must be killed quickly, and raid coordination is critical for Unstable Anima/Vita mechanics. The fight escalates in difficulty as Lingering Energies increases Ra-den’s damage over time—use Bloodlust early for add control or late for a burn phase.


 Tanks:
 DPS:
DPS:


 Healers:

 Tips:
Tips:


Comments: