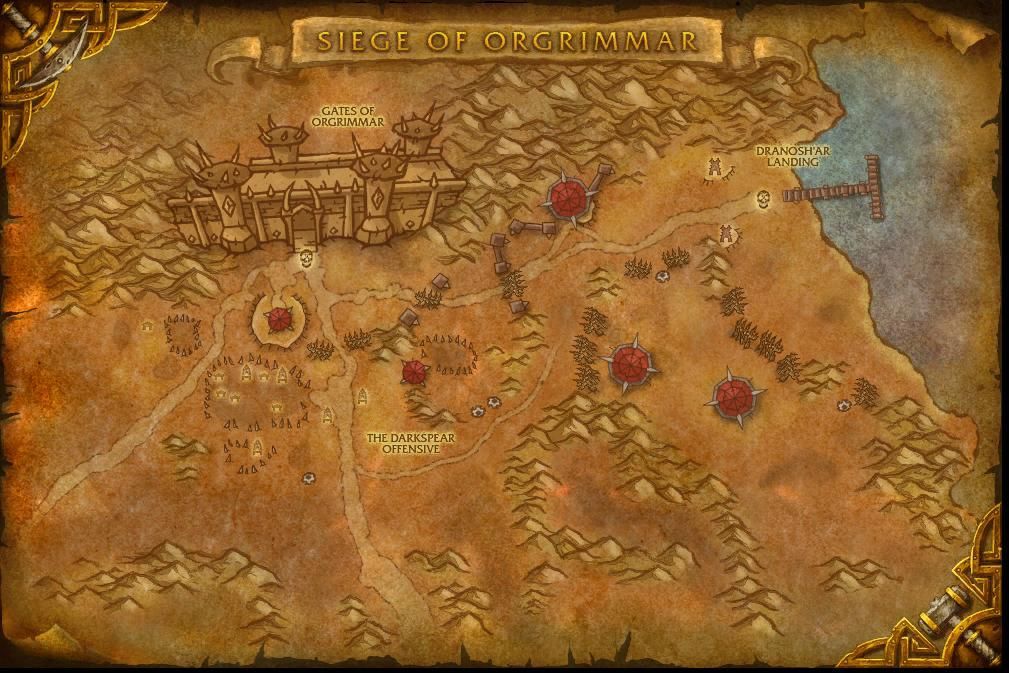
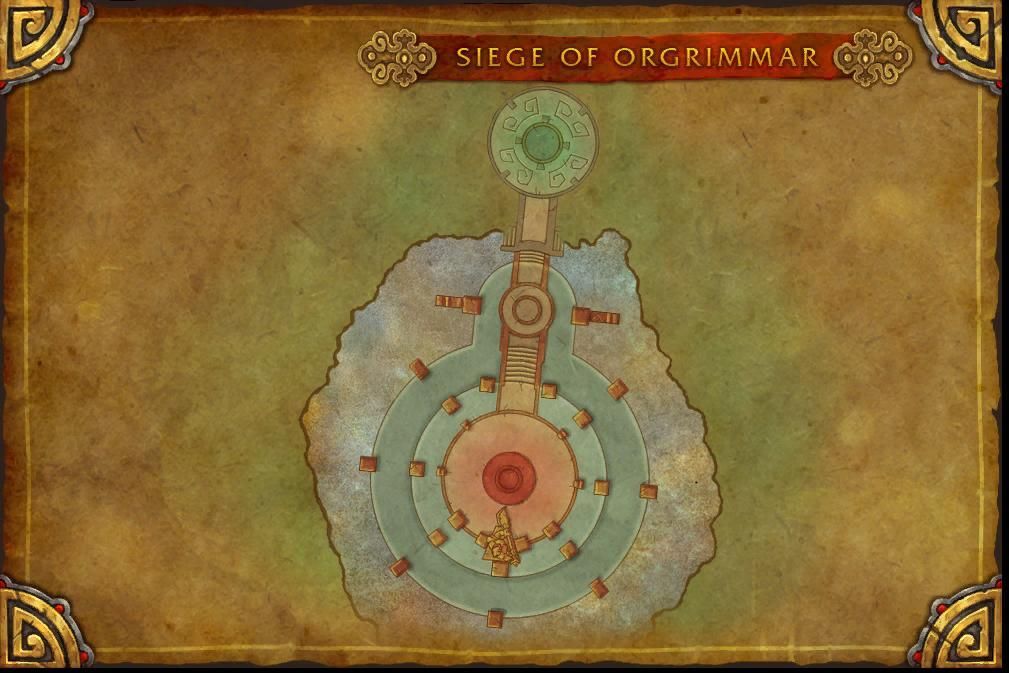
The Siege of Orgrimmar, the final raid of Mists of Pandaria, was released in Patch 5.4. It remains a great source of transmogs, mounts, and achievements in The War Within. This massive 14-boss raid takes you deep into Orgrimmar to face Garrosh Hellscream and his forces.
Legacy raids are fun (and Siege or Orgrimmar is not an exception), but nothing beats the thrill of top-end raiding. Our boost in WoW is the fastest way to get the best gear in the game right now. We work with top teams from both the EU and US, and they’ll carry you through the raid in 1–2 hours. New runs start every hour—jump in and enjoy the loot!
Siege of Orgrimmar is the big finish to World of Warcraft’s Mists of Pandaria expansion. Players fight their way into the Horde capital to stop the evil Warchief Garrosh Hellscream. This huge raid has 14 bosses, taking you from the edges of Orgrimmar to its core. You’ll face twisted sha creatures and Garrosh’s toughest fighters.
The battles are varied and memorable:
Start by fighting Immerseus, a water elemental that splits into smaller blobs you must recombine
Take on the Fallen Protectors, three rogue pandaren monks with deadly combo attacks
Battle the Sha of Pride in a fight where your own arrogance can wipe the raid
Storm Orgrimmar’s gates against Galakras, using anti-air turrets to bring down the proto-drake
Face General Nazgrim, who fights like a player warrior with stance changes
Survive Malkorok‘s brutal smash attacks in a blood-soaked arena
Finally confront Garrosh himself in a multi-phase battle where he wields the heart of an Old God
Each fight has unique mechanics that made them challenging when current, but now offer fun solo experiences with great rewards. Below we’ll break down all the bosses and what loot they drop.
Can You Solo Siege of Orgrimmar in The War Within?
In World of Warcraft: Retail (as of The War Within), it is possible to solo the Siege of Orgrimmar raid from Mists of Pandaria (MoP). Since the raid is from an expansion two or more expansions old, it benefits from legacy scaling, meaning your character will deal massively increased damage and take reduced damage.
Requirements:
Level 60+ (recommended 80 for maximum ease).
Normal/Heroic/Mythic difficulty available (Mythic is soloable but may have some mechanics to watch for).
Various transmog sets (especially the Prideful Gladiator and Kor’kron Dark Shaman sets).
Tips for Faster Clearing:
Use AoE abilities for trash.
Skip unnecessary trash where possible.
If you die, release and run back (no lockout issues in legacy raids).
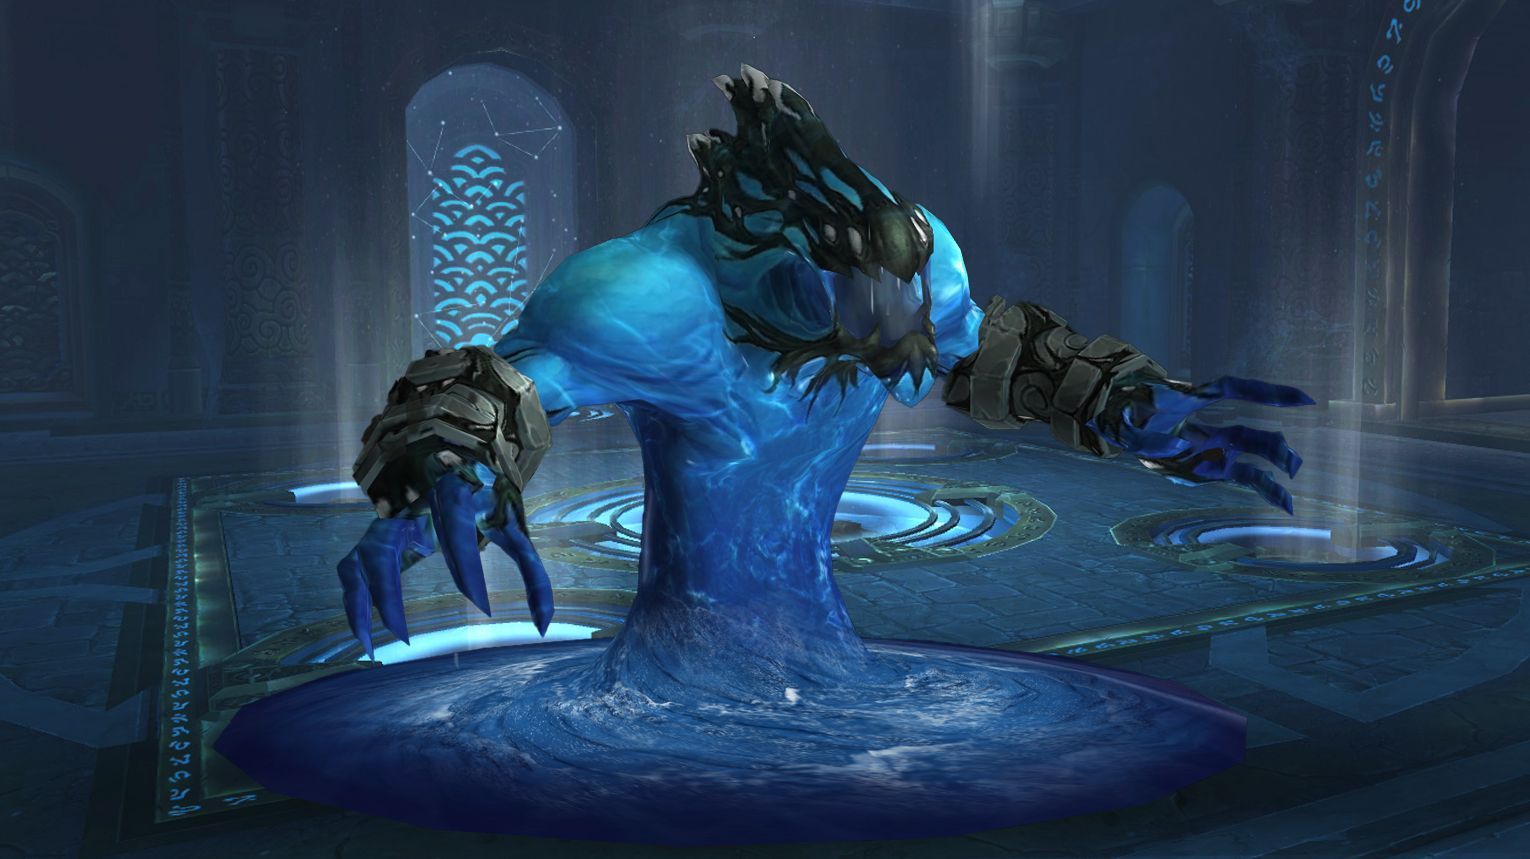
Immerseus
Immerseus alternates between two phases: a stationary Immerseus Phase (dodge void zones, tank-swap for Corrosive Blast) and a Split Phase where adds spawn—kill hostile Sha Puddles and heal friendly Contaminated Puddles to reduce his Corruption (100 → 0 to win). Spread the raid around the room to handle adds efficiently and avoid mechanics like Swirl’s spinning water jet. Use Bloodlust at the start for maximum uptime. Heroic adds Swelling Corruption (spawns adds per attack) and a growing Sha Pool (control by stepping in defensively).
Preferred Classes:
Healers: Strong AoE healers (e.g., Restoration Druids, Holy Priests) to top Contaminated Puddles.
DPS: Classes with strong burst/AoE (e.g., Frost Mages, Destruction Warlocks) to kill Sha Puddles quickly.
Tanks: Any tank works; ensure clean swaps for Corrosive Blast.
Heroic Note: Holy Paladins excel at grouping Congealed Sha adds via Righteous Fury.
Tips:
Positioning:
Spread raid evenly around the boss (5+ yards apart) to minimize Sha Bolt splash damage and void zone clutter.
Avoid standing in the center (knockback/damage from Seeping Sha).
Split Phase:
DPS should stand near dying Sha Puddles for +25% damage buff (stacks).
Healers should stand near fully healed Contaminated Puddles for +75% healing buff and mana restore.
Heroic:
Handle Swelling Corruption by DPSing in waves (2–3 debuff stacks max) to avoid overwhelming DoT damage.
Use defensive cooldowns to shrink the growing Sha Pool void zone.
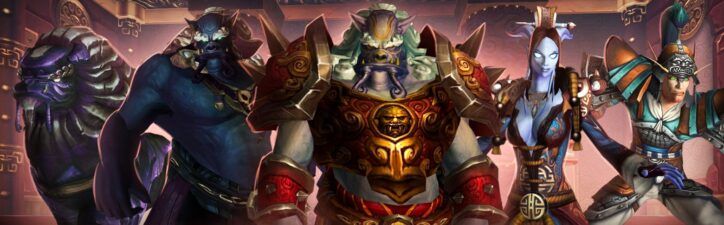
The Fallen Protectors encounter in Siege of Orgrimmar features three bosses—Rook Stonetoe, He Softfoot, and Sun Tenderheart—each with unique abilities. The central mechanic, Desperate Measures, triggers at 66% and 33% health, causing the boss to disappear and summon adds. These adds must be defeated to bring the boss back. All three bosses must be killed within a short window to prevent healing.
Preferred Classes:
Tanks: Warriors, Paladins, and Death Knights are preferred for their survivability and cooldowns.
Healers: Priests, Druids, and Shamans are beneficial for their versatile healing and utility.
DPS: Classes with strong AoE and single-target damage, such as Mages, Warlocks, and Rogues, are ideal.
Tips:
Positioning: Tanks should face Rook away from the raid and move He to avoid poison void zones.
Interrupts: Interrupt Sun’s Sha Sear and Embodied Gloom’s Corruption Shock.
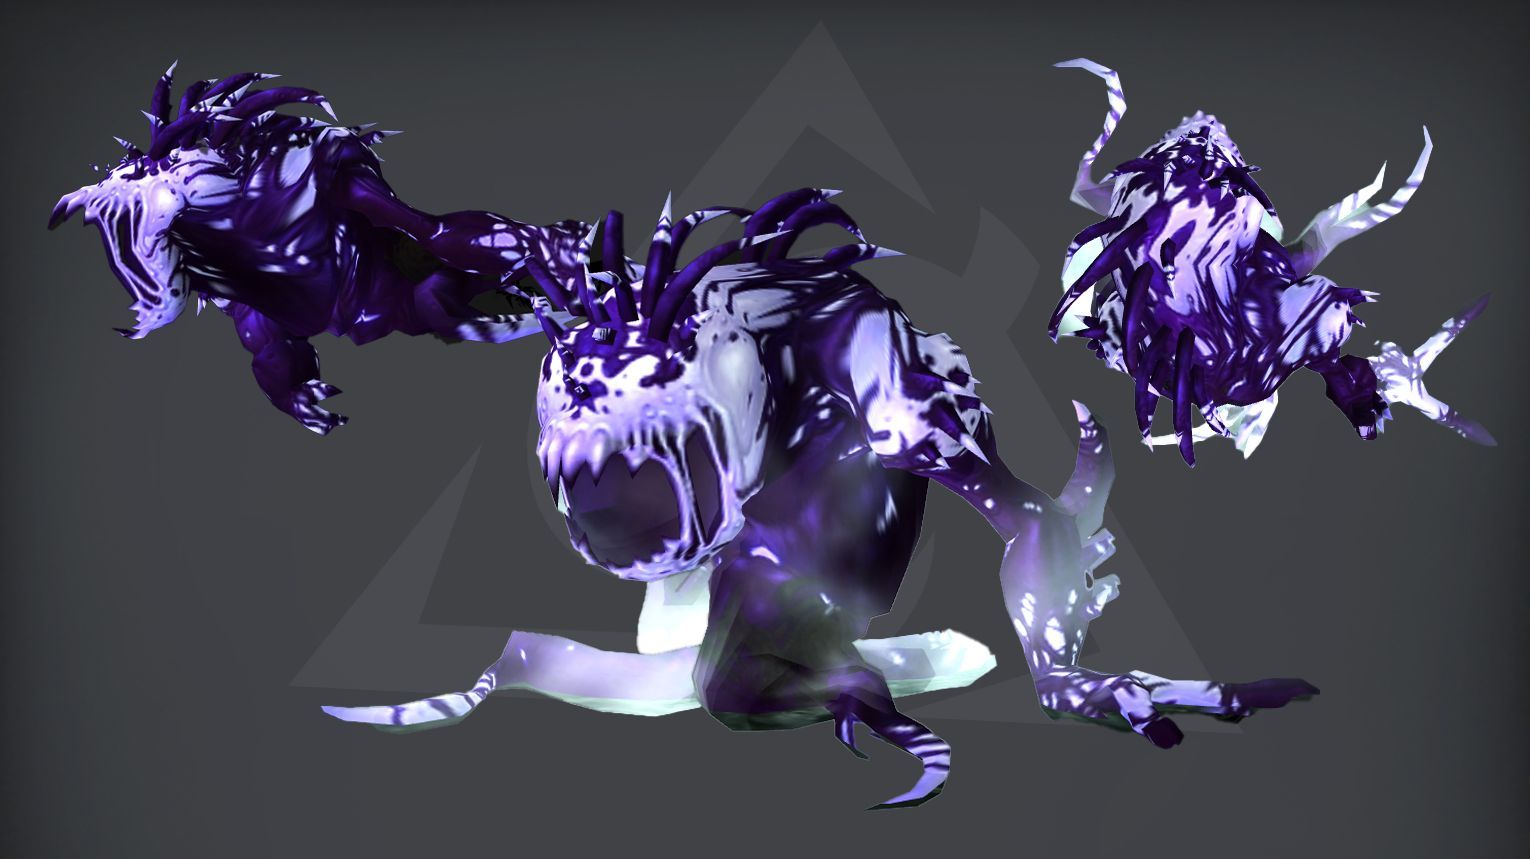
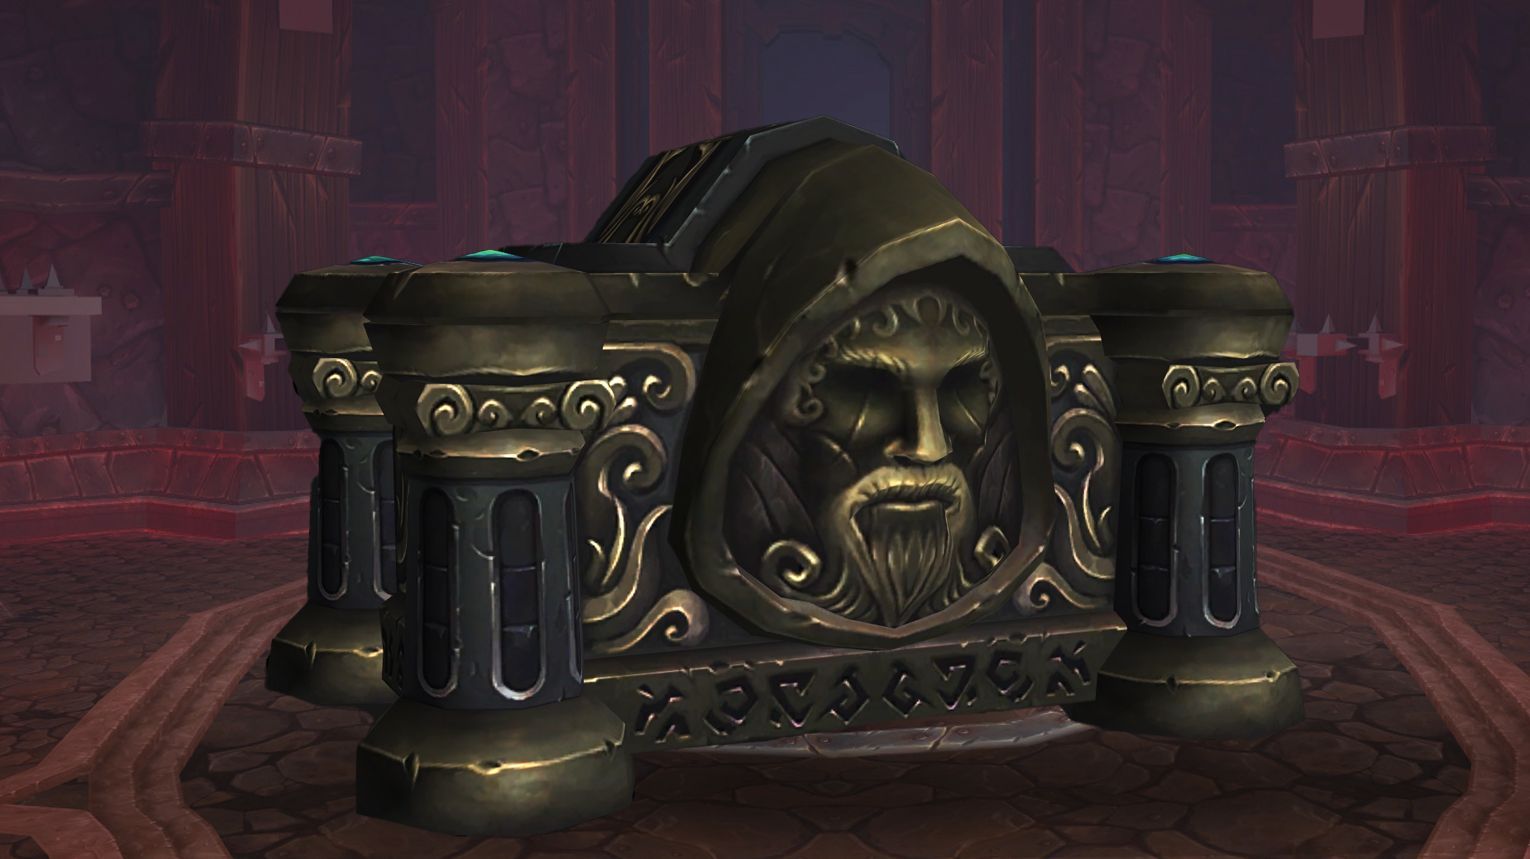
In the Norushen fight, your raid battles the Amalgam of Corruption while managing Corruption, a debuff that reduces effectiveness. Players enter a Test Realm (DPS kill adds, healers sustain NPCs, tanks survive) to purify themselves and regain full power. Key mechanics include dodging the Blind Hatred beam, intercepting Expel Corruption projectiles, and soaking Residual Corruption voids. Prioritize purifying DPS first, then tanks/healers, and use Bloodlust at 50% HP for a burn phase. Adds must die quickly—tunnel vision on the boss is deadly.
Preferred Classes:
DPS: High-burst classes (e.g., Mages, Warlocks, Hunters) to quickly kill adds and burn the boss.
Tanks: Strong active mitigation (e.g., Paladins, Warriors) to handle heavy hits from the Amalgam and adds.
The fight against the Sha of Pride in World of Warcraft is a single-phase encounter with an intense DPS burn stage when the boss reaches 30% health. Players have a Pride resource bar that fills up during the fight, affecting their abilities and causing negative effects when Swelling Pride is cast. The goal is to manage Pride levels to avoid mind control and defeat the boss before the raid is overwhelmed.
Preferred Classes:
All classes can contribute effectively, but certain specs may have advantages:
Tanks: Death Knights, Druids, Monks, Paladins, and Warriors for tank switches and add management.
Healers: Druids, Monks, Paladins, Priests, and Shamans for dispelling and raid healing.
DPS: All classes, with a focus on interrupts and burst damage for adds and the boss.
Tips:
Tank Switches: Tanks must switch when affected by Wounded Pride.
Add Management: Focus down Manifestations of Pride quickly and interrupt their spells.
Positioning: Stack behind the boss to maximize buffs and avoid prison damage.
Pride Management: Avoid gaining unnecessary Pride and dispel Mark of Arrogance carefully.
Swelling Pride: Handle the effects based on your Pride level to minimize damage and Pride gain.
Swelling Pride: Handle effects based on Pride level. Burn Phase: Use cooldowns at 30% health to finish the boss quickly.
Bloodlust/Drums:
After the Sha of Pride reaches 30% health. This phase is intense with high raid damage and a strict DPS requirement to finish the boss before the raid is overwhelmed by Pride.
Galakras is a two-phase fight in Siege of Orgrimmar. Phase 1 involves killing waves of adds and mini-bosses to capture two towers, then using their turrets simultaneously to force Galakras to land. Phase 2 is a DPS race—tanks must swap due to a stacking DoT, while the raid soaks fireballs to reduce raid-wide damage. Use Bloodlust/Drums at the start of Phase 2 to beat the escalating damage aura. Preferred classes include mobile tanks, strong AoE healers, and ranged DPS for turret control.
DPS Focus: Burn boss ASAP; ignore remaining adds unless lethal.
Bloodlust/Drums:
Optimal Timing: Start of Phase 2 (after Galakras lands). Phase 2 is a DPS race due to the escalating damage aura. Avoid using in Phase 1—adds are not the primary threat.
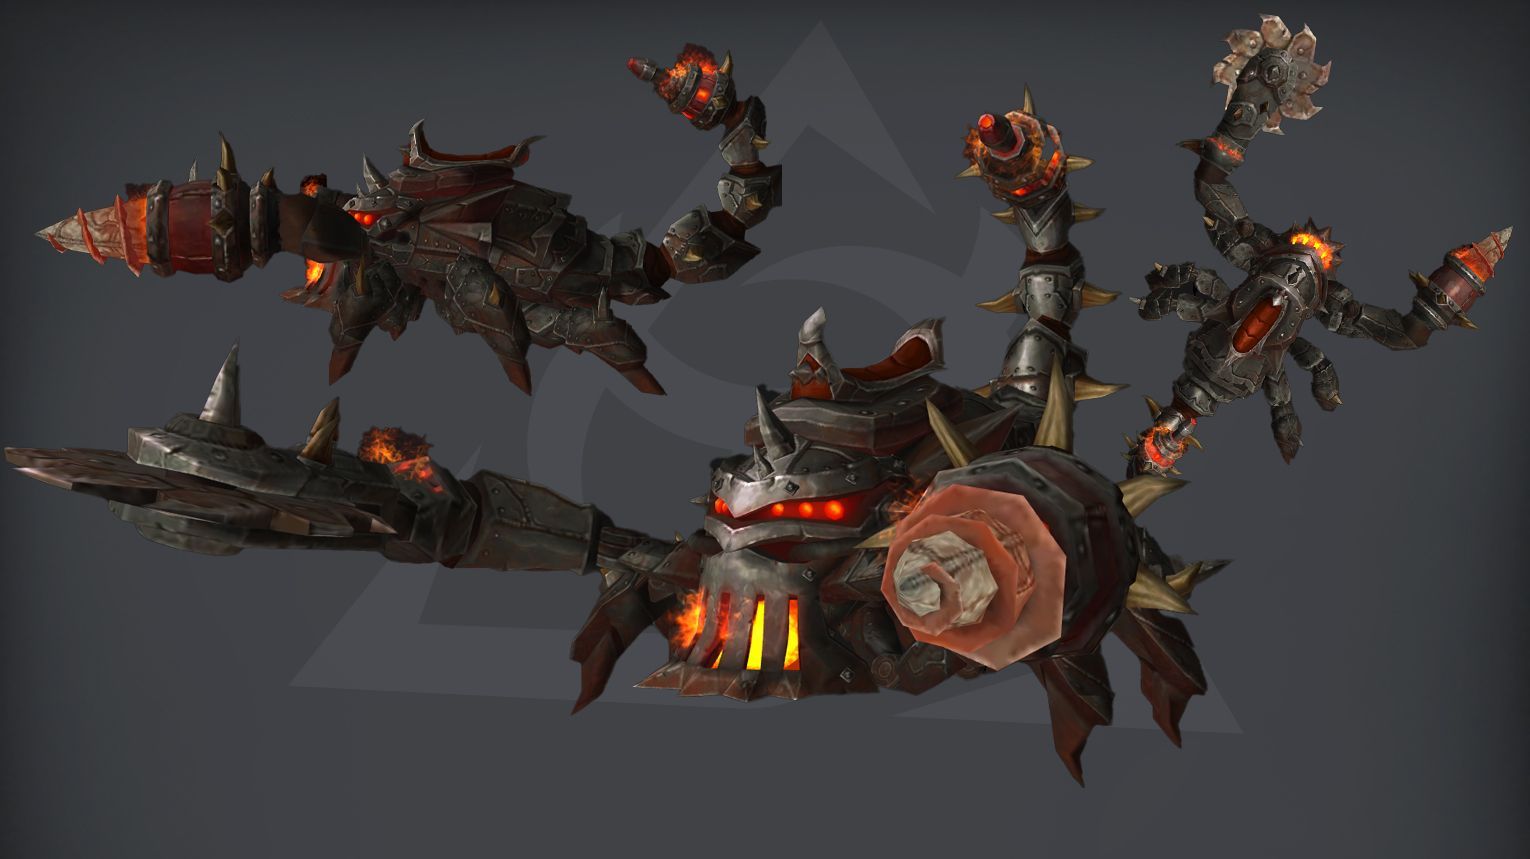
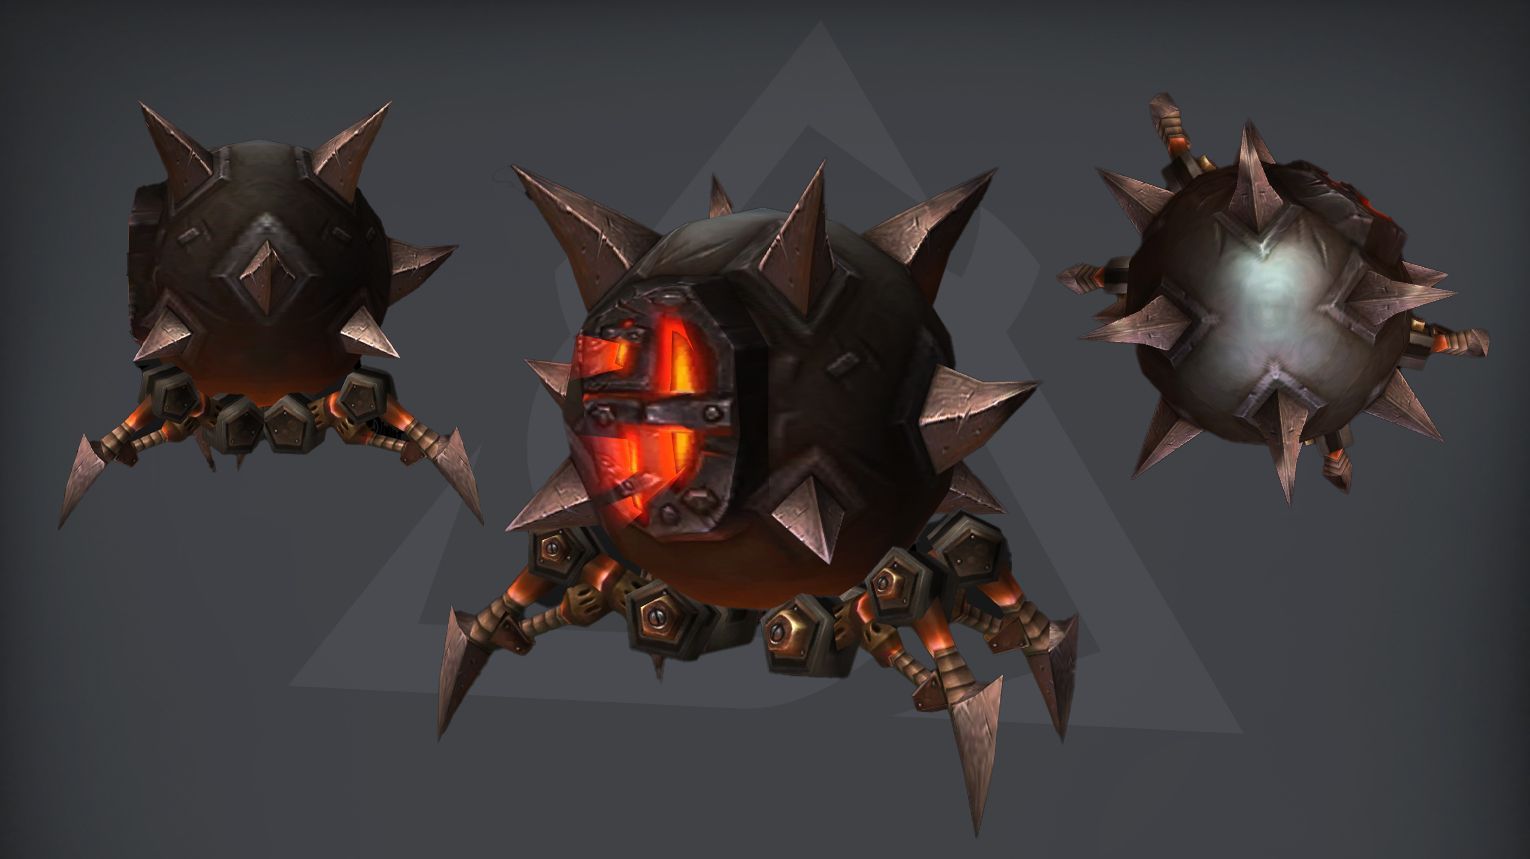
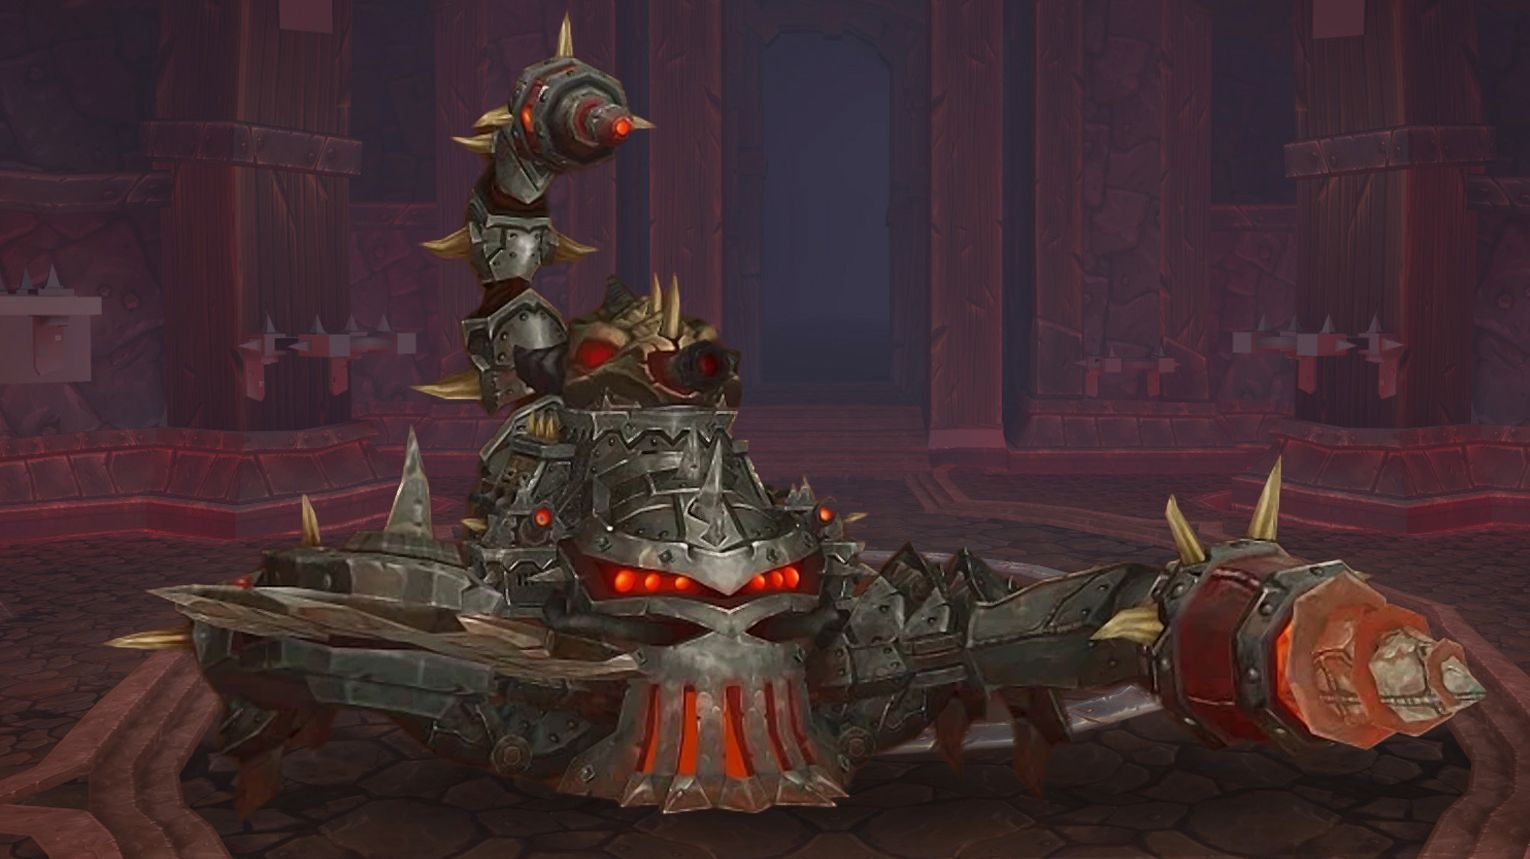
The Iron Juggernaut is a two-phase single-target boss in Siege of Orgrimmar. During the Assault Phase (2 min), tanks swap to handle Flame Vents, while the raid avoids Borer Drill spikes and detonates Crawler Mines. In the Siege Phase (1 min), the boss becomes stationary, knocks players back (Shock Pulse), and deals raid-wide damage—use cooldowns and kite Cutter Laser away from tar patches. Bloodlust on pull for maximum DPS. Heroic adds Ricochet sawblades and Mortar Barrage, countered by stacking at the edge during Siege Phase. Positioning is key to avoid knockbacks and mechanics.
Preferred Classes:
Tanks: High-mitigation classes (e.g., Blood DK, Protection Paladin) to handle Flame Vents stacks and mine detonation.
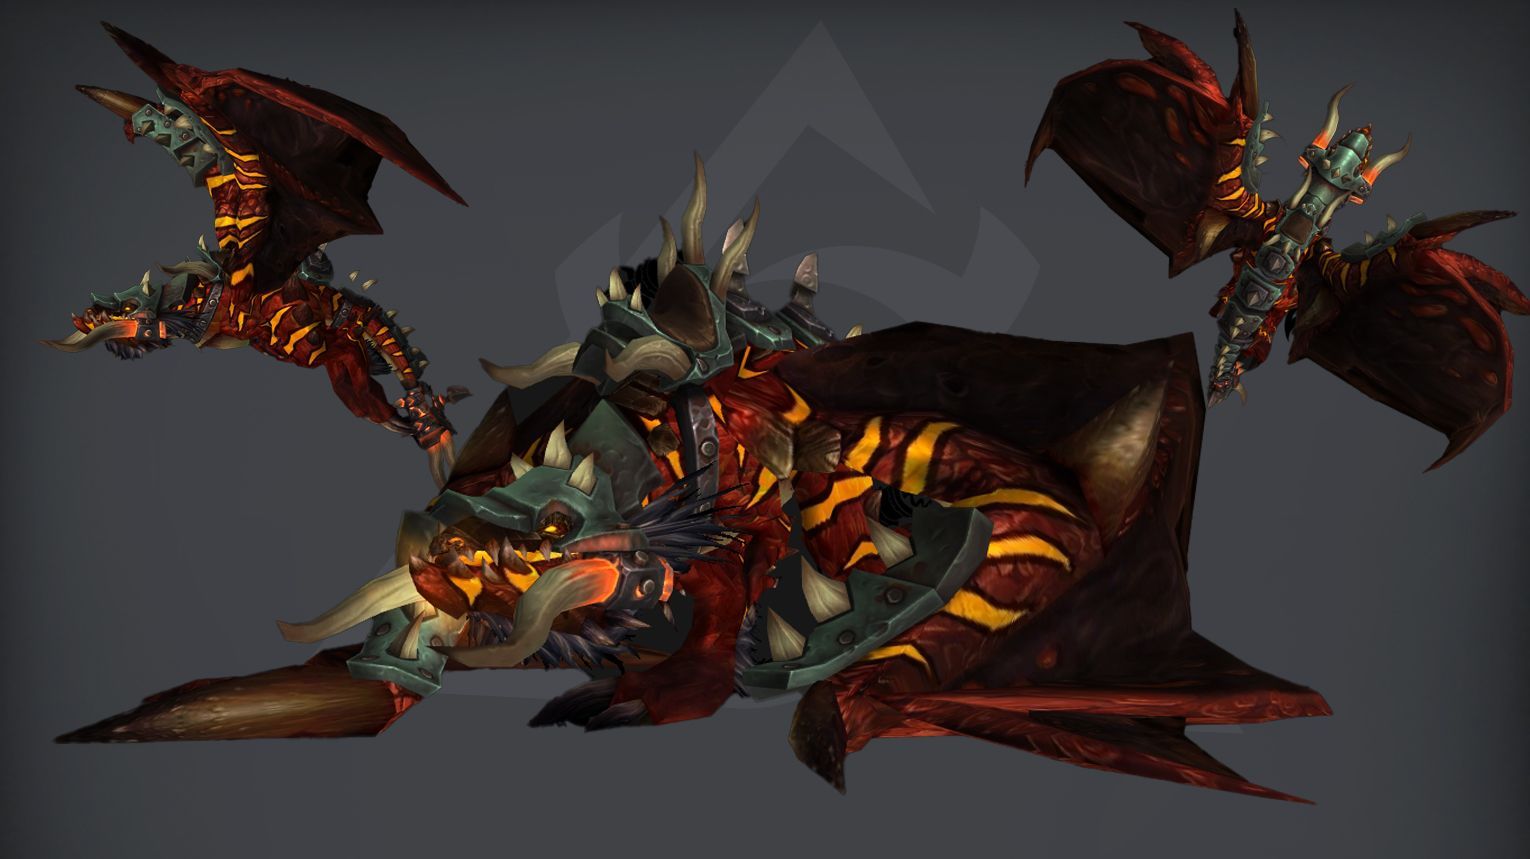
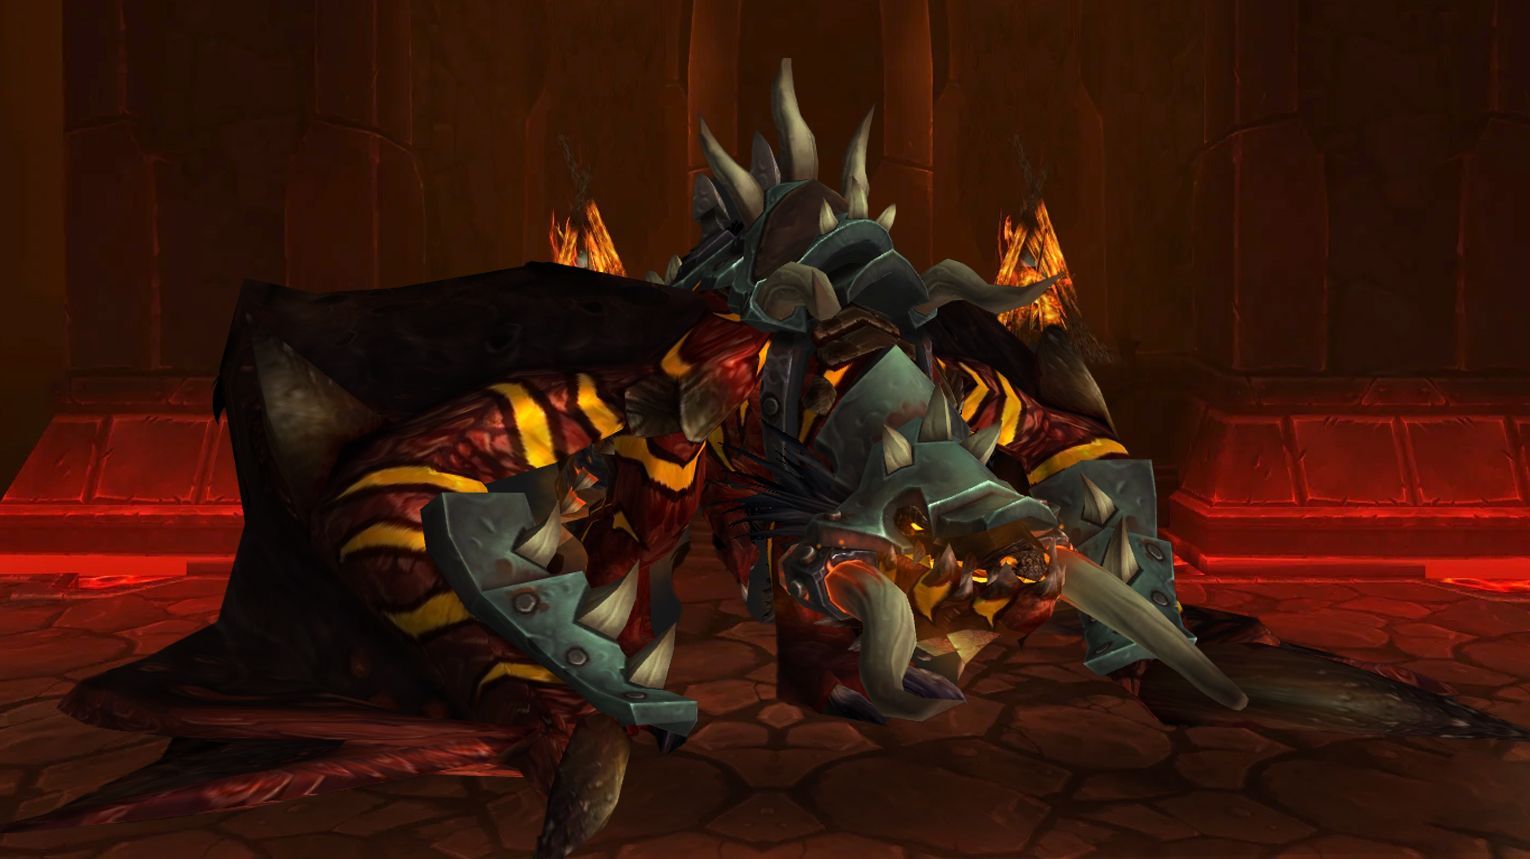
The Kor’kron Dark Shaman encounter in World of Warcraft features two bosses, Earthbreaker Haromm and Wavebinder Kardris, who share health and must be fought simultaneously. Initially, they are accompanied by their mounts, Darkfang and Bloodclaw, which have low health and are quickly defeated. The difficulty of the fight escalates as the bosses’ health decreases, with new abilities being unlocked at 85%, 65%, and 50% health. At 25% health, the bosses gain a buff that increases their damage and haste by 25%.
Preferred Classes:
Tanks: Brewmaster Monks are preferred for kiting Foul Slimes due to their ability to generate threat at range.
Healers: All healing specs are viable, but those with strong raid cooldowns are particularly useful.
DPS:
Ranged DPS is crucial for handling Foul Slimes and avoiding ground effects.
Sub-25% Health: Use defensive cooldowns to manage increased damage and spatial constraints.
Bloodlust/Drums:
The start of the fight is ideal for maximizing raid DPS with all cooldowns available, but the sub-25% phase may require the extra boost to overcome the increased difficulty.
General Nazgrim is a rage-driven boss in Siege of Orgrimmar with Warrior-like abilities. Control his Rage by avoiding mechanics (Aftershocks, Ravager) and not attacking during Defensive Stance. Prioritize killing adds—Warshamans (healers) and Arcweavers (casters) first—while interrupting key spells. Tanks must swap on Sundering Blow stacks and mitigate Execute in Heroic. Use Bloodlust during Berserker Stance (25% damage buff) or at 10% to burn the boss.
Preferred Classes:
Tanks: Warriors/ Paladins (strong mitigation for Execute in Heroic).
Healers: Priests/ Druids (strong AoE healing for War Song).
DPS:
High Priority: Hunters (Flare for Assassins), Rogues/ Monks (interrupts for Arcweavers/Warshamans).
Cleave/AoE: Warlocks/ DKs (for add waves).
Tips:
Rage Management:
Avoid hitting Nazgrim during Defensive Stance (except active tank).
Malkorok alternates between two phases: Might of the Kor’kron (2 minutes), where players rely on damage-absorption shields and dodge frontal attacks (Arcing Smash), and Blood Rage (20 seconds), where the raid stacks to split heavy damage while handling Displaced Energy debuffs. Tanks must swap due to Fatal Strike, and DPS/healers soak Imploding Energy voids. Use Bloodlust on pull to maximize DPS before Relentless Assault stacks escalate. On Heroic, clear Orbs of Corruption with immunities and kill Living Corruptions quickly. Positioning and shield management are key.
Preferred Classes:
Tanks: Strong active mitigation (e.g., Death Knight, Paladin) to handle Fatal Strike stacks and Blood Rage spikes.
Healers: High-output healers ( Disc Priest, Resto Shaman) to maintain shields during Ancient Miasma.
The Spoils of Pandaria is a unique raid encounter where teams split into two groups to clear adds from crates in Mogu and Mantid-themed quadrants. Each group must kill adds to fill an Energy bar (50 Energy), then pull levers to progress before timers expire. Prioritize Pandaren Crates for powerful buffs, manage crate sizes (Light/Stout/Massive) for efficient Energy gain, and handle quadrant-specific mechanics like Set to Blow (Mantid) or Stone Statues (Mogu). Use Bloodlust early for burst damage or save it for tight Heroic-mode phases. Coordination and add control are key—wipe risks include timers or unchecked mechanics like Unstable Sparks (Heroic).
Pandaren Crates: Open these first for raid-wide buffs:
Brewmaster Spirit: Tank damage buff.
Mistweaver Spirit: Healer proc
Windwalker Spirit: DPS proc.
Energy Management: Avoid over-pulling. Calculate crate sizes to hit 50 Energy efficiently (e.g., 2 Massive = 28 Energy, then supplement with Stout/Lightweight).
Heroic Mode:
Unstable Sparks spawn when crates are cleared. Assign ranged to nuke them immediately.
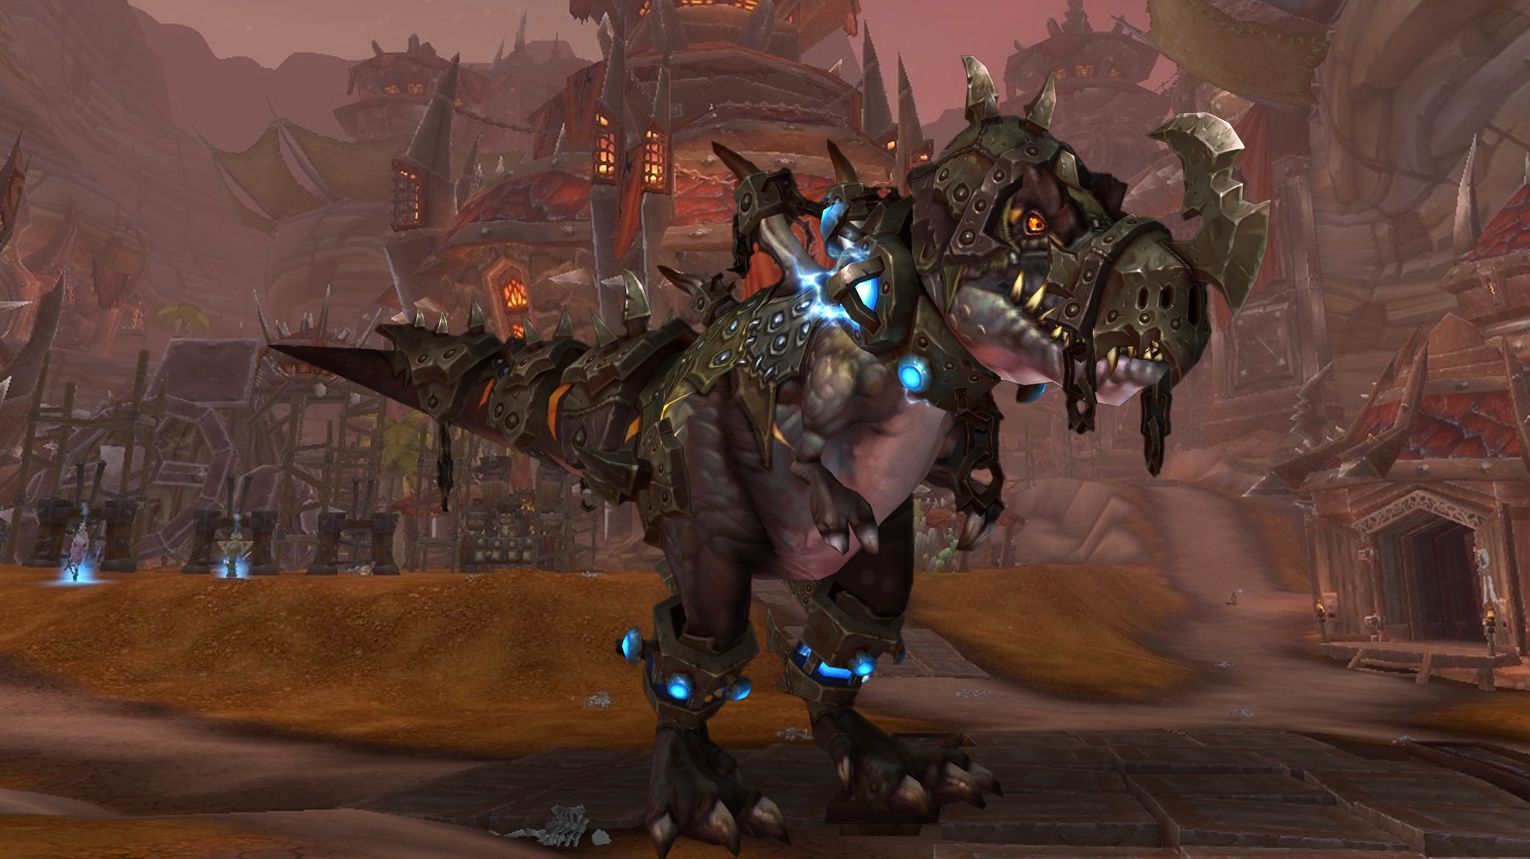
The fight against Thok the Bloodthirsty consists of two alternating phases. Phase One is the initial phase where the raid fights Thok, who uses various abilities. Phase Two is a transition phase where Thok fixates on random raid members, and the raid must free one of three friendly NPCs (Akolik, Gorai, and Montak). Each time an NPC is freed and killed by Thok, Phase One resumes with modified abilities. This cycle continues until all three NPCs are freed, at which point the raid will be stuck in Phase Two, leading to a wipe.
Preferred Classes:
The fight requires a balanced raid composition with tanks, healers, and DPS. Specific class advice can be found on forums, but generally, all classes and specs can contribute effectively. Tanks need to manage Thok‘s frontal cone attacks, healers must handle increasing raid-wide damage, and DPS must focus on killing Thok and handling adds during Phase Two.
Tips:
Tanks: Position Thok carefully to avoid his frontal and tail attacks. Perform tank switches to manage debuffs.
Healers: Be prepared for increasing raid damage and use cooldowns effectively. Avoid casting during Deafening Screech.
DPS: Focus on Thok during Phase One and switch to the Kor’kron Jailer during Phase Two. Kill ice tombs quickly if Gorai is freed. Everyone: Avoid being in front of or behind Thok. Kite Thok predictably during Phase Two.
Strategy:
Phase One: Stack the raid to the side of Thok, perform tank switches, and heal through increasing damage. Use defensive cooldowns to prolong Phase One.
Phase Two: Kite Thok between designated locations. Kill the Kor’kron Jailer quickly and free an NPC to end the phase.
Phase One Variations: Adapt to the abilities Thok gains based on the NPC freed. Akolik and Gorai phases allow stacking, while Montak phase requires spreading out due to fiery void zones.
Bloodlust/Drums:
At the start of the fight to maximize the benefit of all raid members having their cooldowns available.
Siegecrafter Blackfuse is a single-phase fight with adds spawning on conveyor belts. Kill one add per wave (prioritize Crawler Mines) to avoid empowered abilities, while tanks manage the boss and Automated Shredders separately. Avoid sawblades, dodge Shockwave Missiles, and kite Laser Turret beams. Use Bloodlust early for maximum DPS. In Heroic mode, Overcharged adds (like splitting mines or rotating fire rings) demand precise coordination.
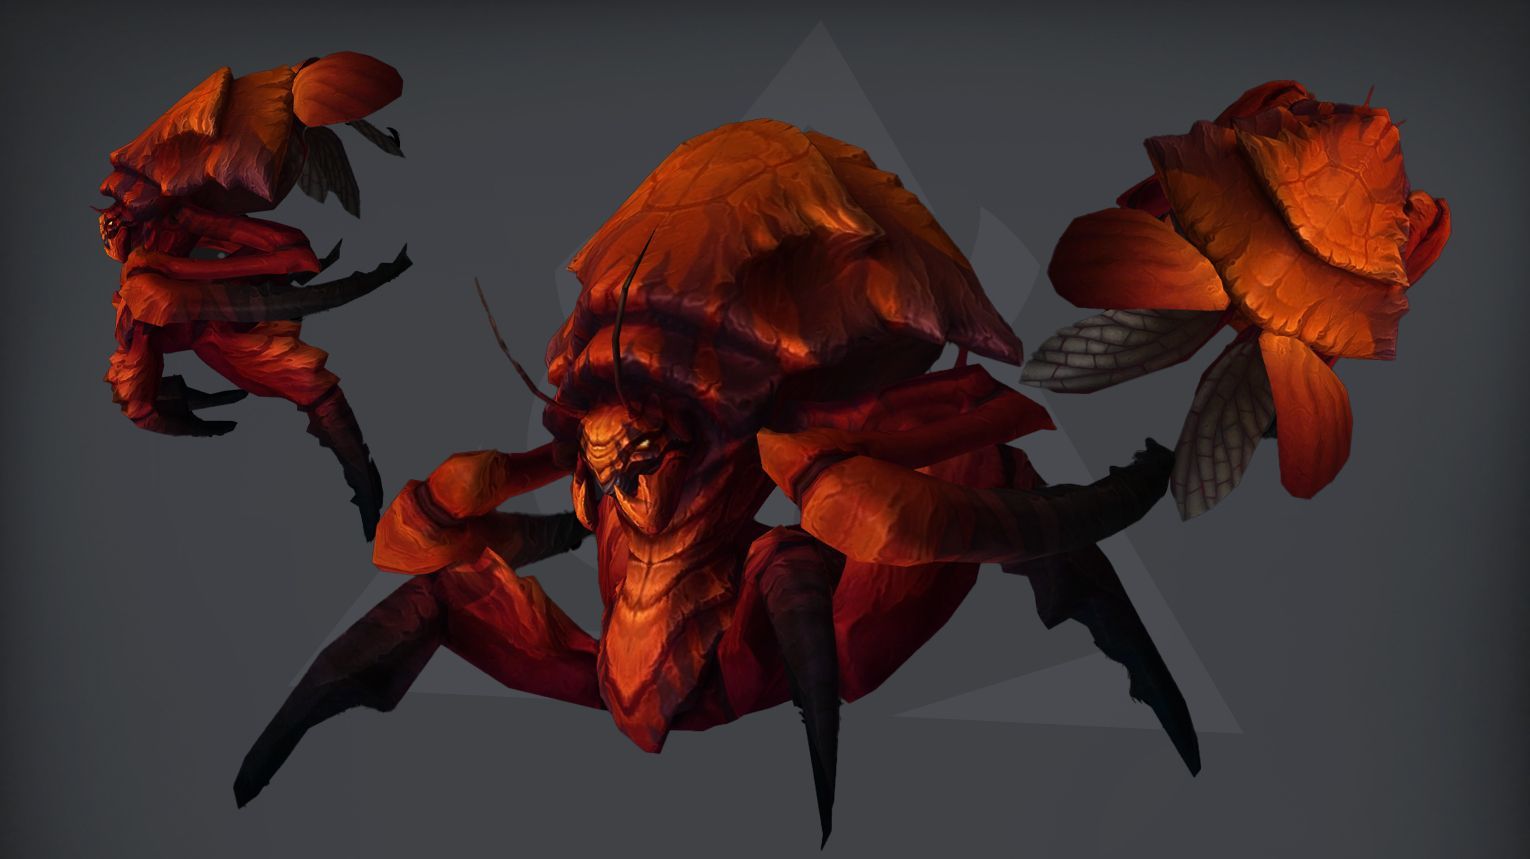
The Paragons of the Klaxxi is a 9-boss encounter where you fight 3 at a time, with a new one joining after each kill. Each dead Paragon grants a unique buff (e.g., healing orbs, damage boosts). Key mechanics include managing tank debuffs (Hewn, Injection), prioritizing adds (Bloods, Amber Parasites), and avoiding lethal abilities (Aim, Fiery Edge). Use Bloodlust early to burn the first Paragons fast. In Heroic, the fight escalates with new abilities like Rapid Fire and a strict kill order (Skeer → Rik’kal → Korven, etc.).
Preferred Classes:
Tanks: Strong active mitigation (e.g., Protection Paladin, Blood DK) to handle debuffs like Hewn/Genetic Alteration.
Healers: High burst healing (e.g., Discipline Priest, Restoration Shaman) for Diminish and Aim mechanics.
DPS: Prioritize classes with strong single-target/execute damage (e.g., Affliction Warlock, Assassination Rogue) and cleave for adds (e.g., Fury Warrior).
Garrosh Hellscream is a 4-phase fight in Siege of Orgrimmar. Phase 1 involves tanking Garrosh while managing adds (Warbringers, Wolf Riders) and dodging Iron Stars. Transition phases require killing adds in Y’Shaarj’s realm to limit his power. Phases 2/3 introduce empowered abilities (mind control, whirlwinds) and demand tight positioning. Use Bloodlust in Phase 3 (or Heroic Phase 4) to burn him down before mechanics overwhelm the raid. Heroic adds a Stormwind phase with Iron Star kiting and Malice soaking.
Open the Thrice-Locked Cage during the Thok the Bloodthirsty encounter on Normal difficulty or higher, and then allow its inhabitant to feast upon Thok’s corpse once you have defeated the encounter.
Transfer the Mark of Anguish to at least 5 unique players over a total of 200 yards or more during a single Desperate Measures phase, and then defeat the Fallen Protectors on Normal difficulty or higher.
Rescue a set of caged prisoners, a group of unwilling combat participants, and Ji Firepaw before defeating the Kor’kron Dark Shaman on Normal difficulty or higher.


 Healers: Strong AoE healers (e.g.,

 DPS: Classes with strong burst/AoE (e.g.,

 Tanks: Any tank works; ensure clean swaps for Corrosive Blast.
 Tips:
Tips:


Comments: