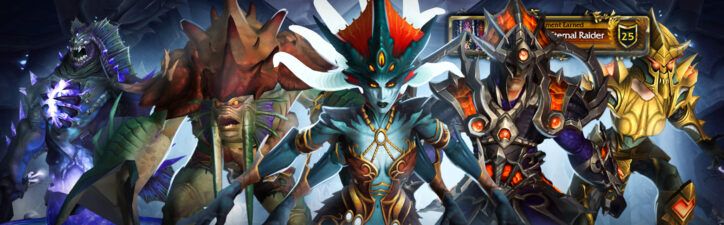
Ny’alotha, the final raid of World of Warcraft: Battle for Azeroth, was released on January 21 (NA) / January 22 (EU), 2020. It remains a popular source of transmogs, mounts, and collectibles for players. This ancient city, home to the Old God N’Zoth, features 12 bosses, including N’Zoth himself, with unique armor sets, weapons, and achievements to earn.
If you crave legendary Corruption-era gear, eldritch horror mounts, and exclusive N’Zoth rewards, our Ny’alotha carry service delivers the ultimate Battle for Azeroth raid experience. You’ll battle through the Black Empire with our top-tier raiders, who have mastered every sanity-draining encounter from Normal and Heroic to the mind-bending Mythic N’Zoth encounter.
This guide will help you get the best out of Ny’alotha in WoW Retail (The War Within), whether you’re collecting cosmetics or practicing solo play.
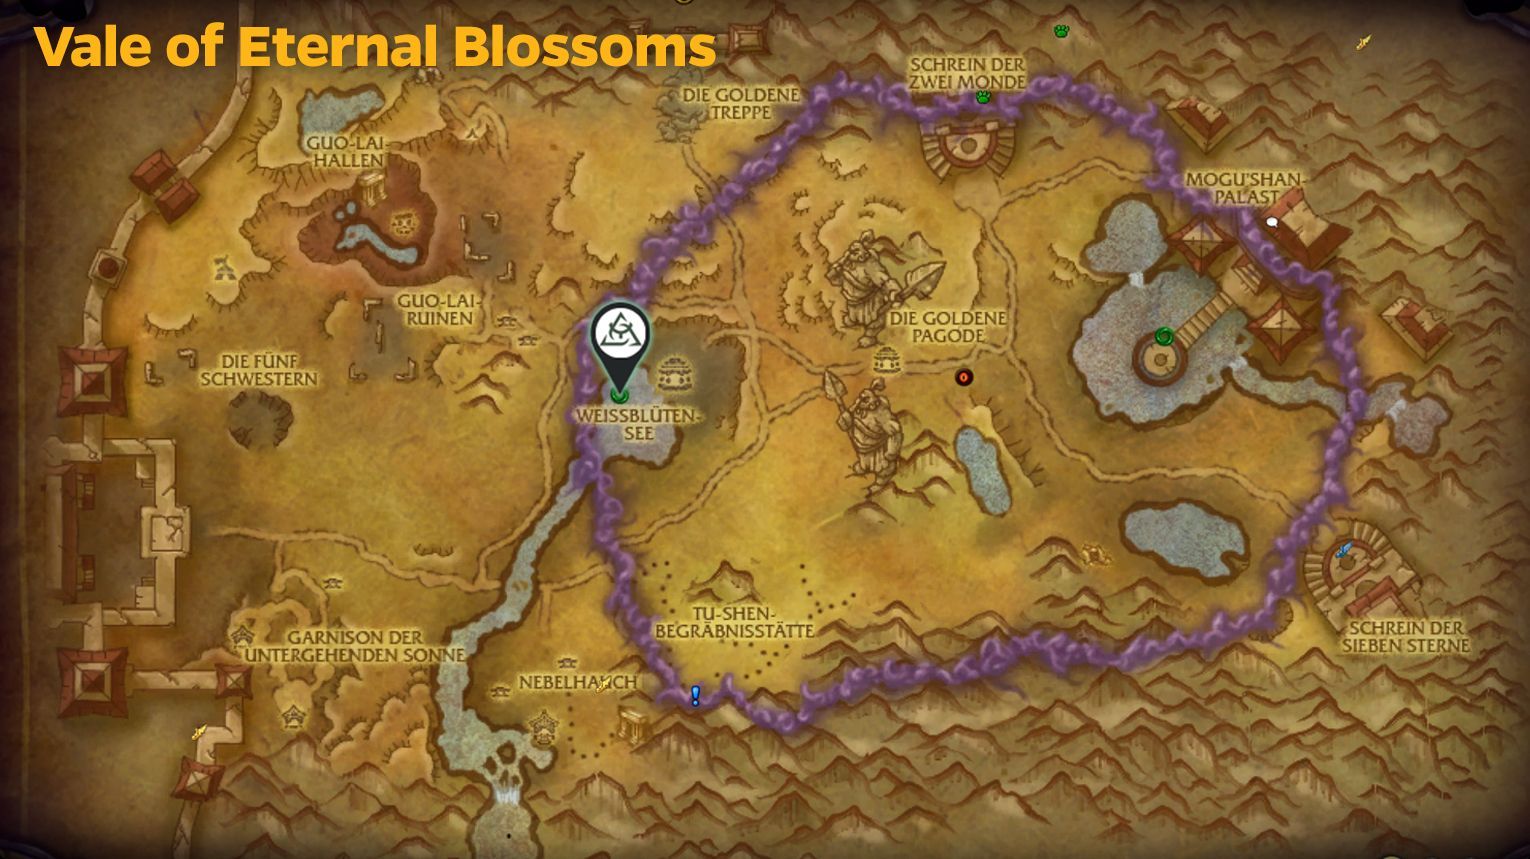
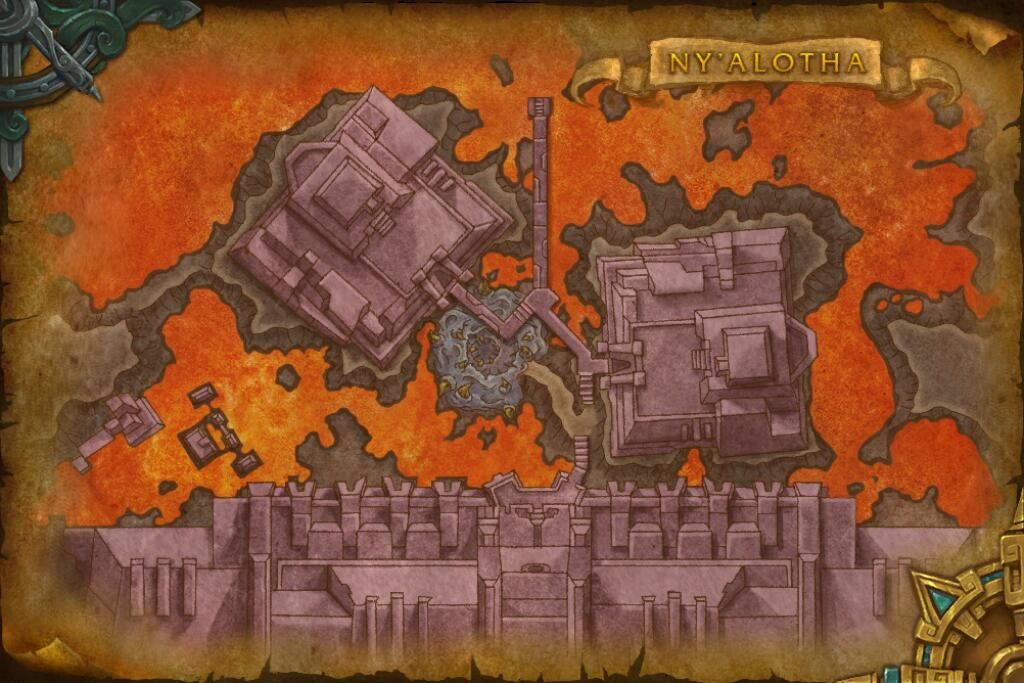
If Uldum is under attack, the entrance is at the upper level of the Vir’naal Dam in the central part of the zone. If Vale of Eternal Blossoms is under attack, the entrance is near Whitepetal Lake in the central area. Look for the obelisk icon on your map to find the exact location.
Once you reach the entrance, simply interact with it to enter Ny’alotha and begin your journey through the raid.
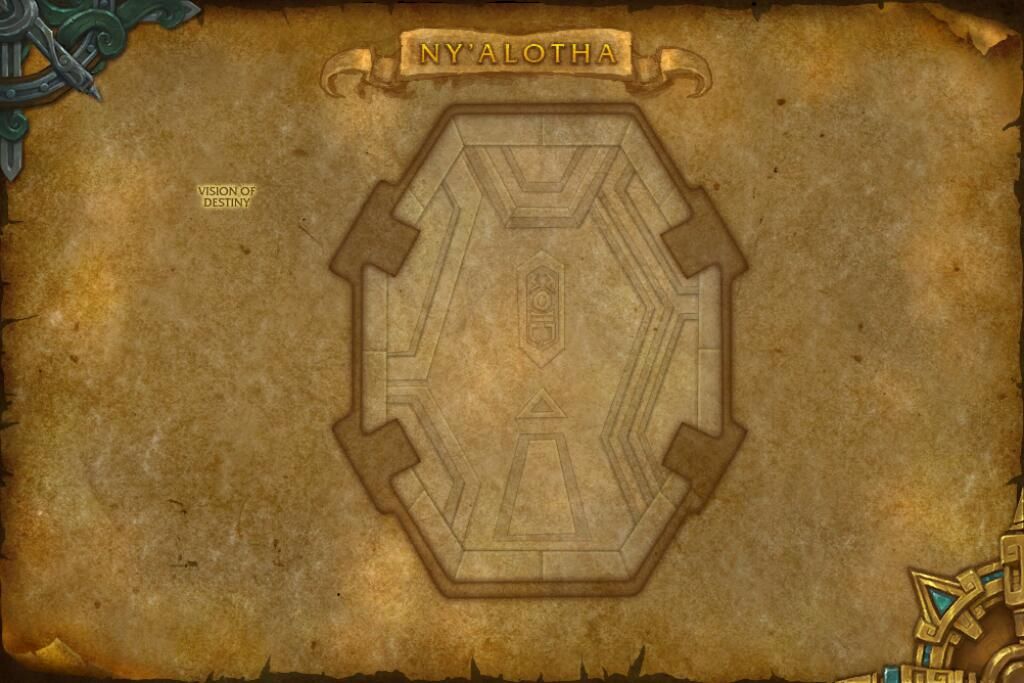
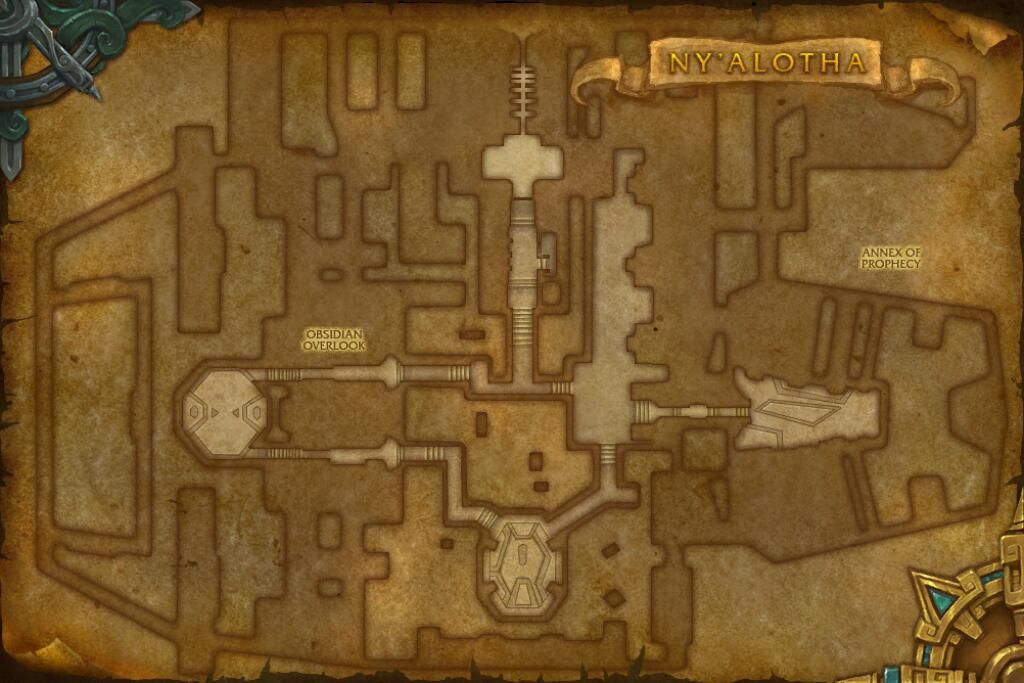
Inside, you’ll move through different sections as you fight your way to N’Zoth, the Corruptor.
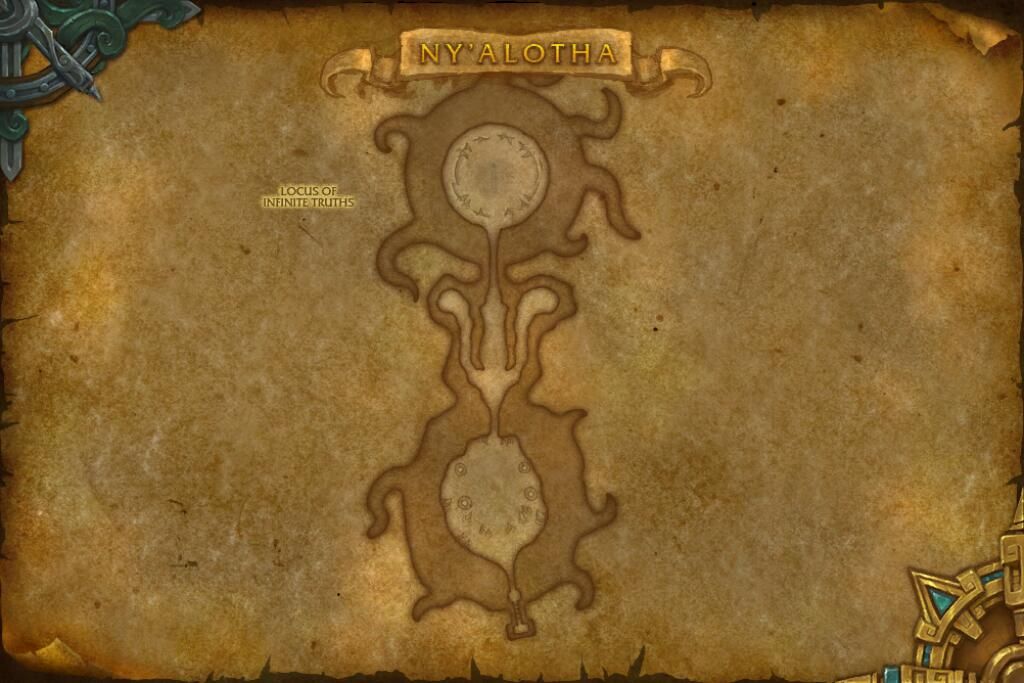
Ny’alotha has the following subregions:
Vision of Destiny,
Annex of Prophecy,
Ny’alotha,
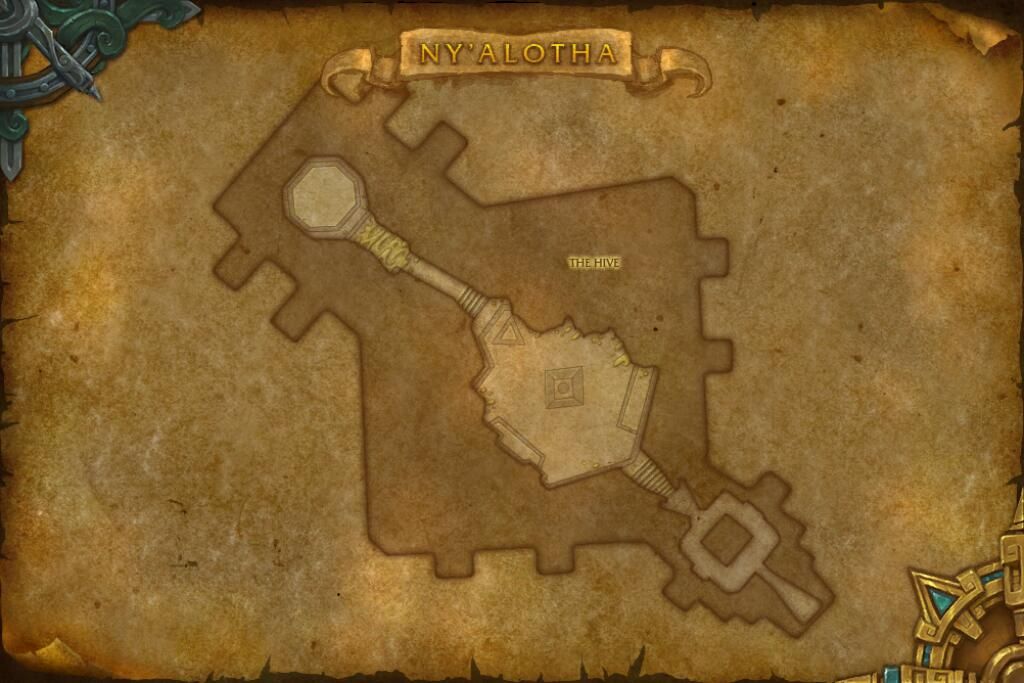
The Hive,
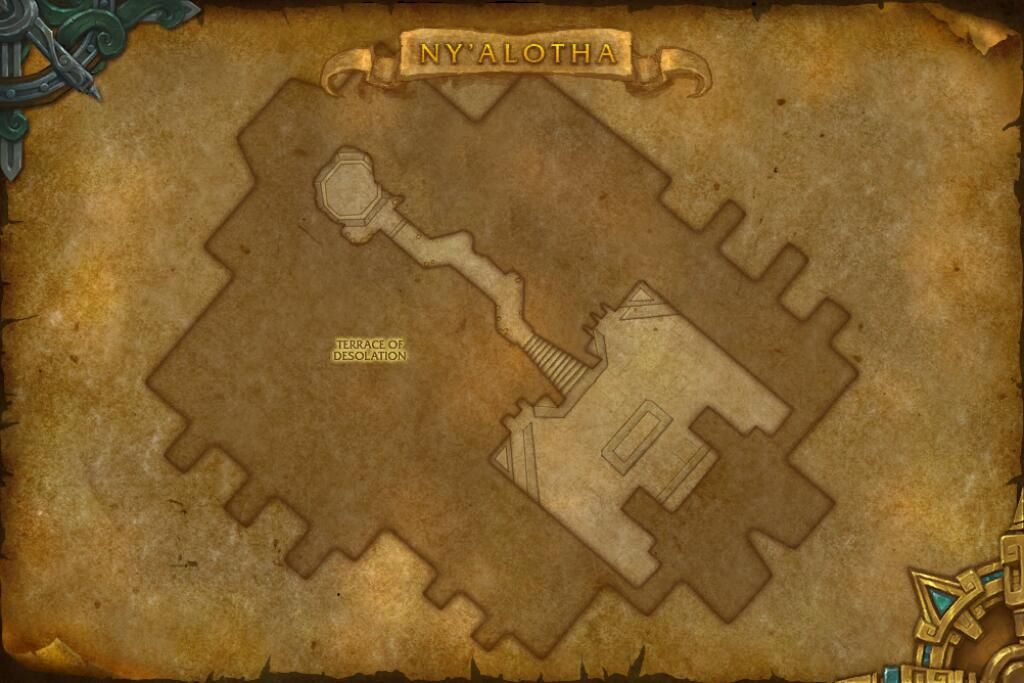
Terrace of Desolation,
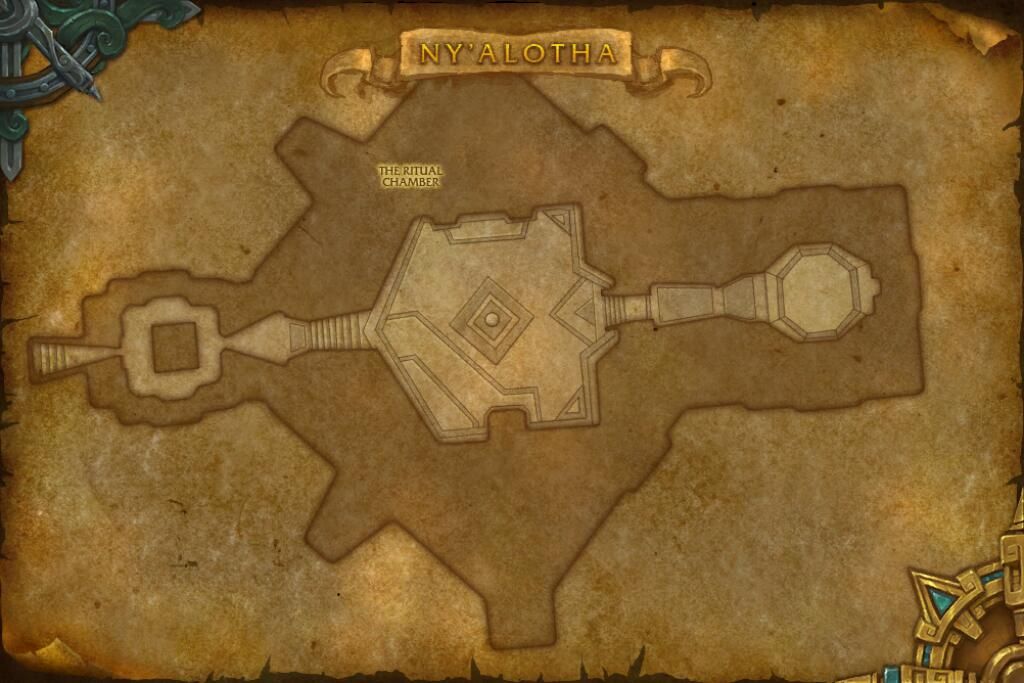
The Ritual Chamber,
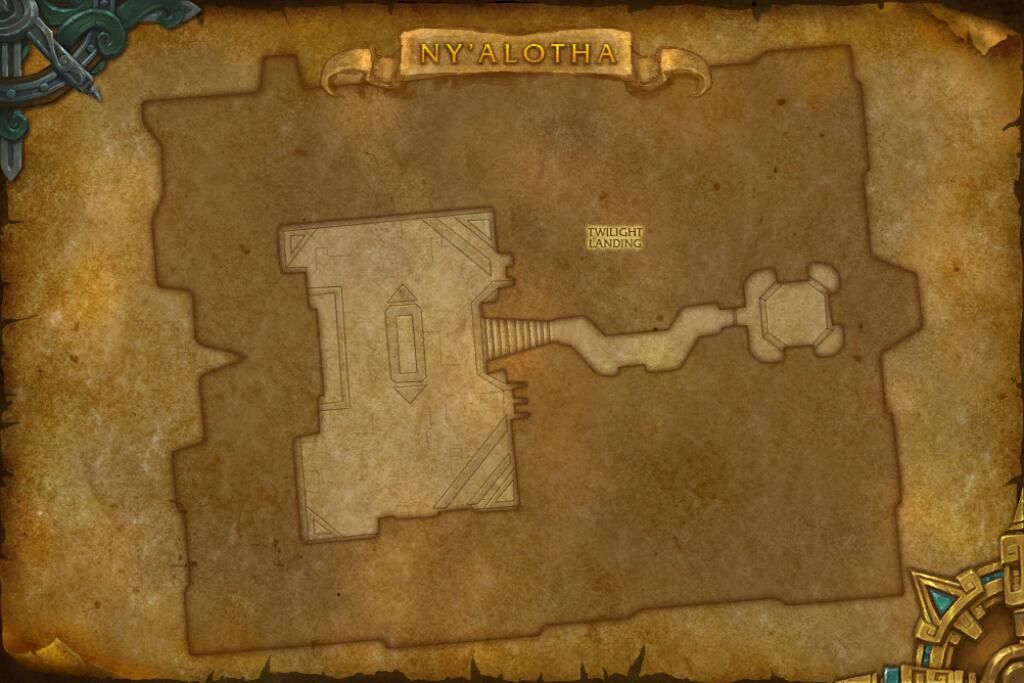
Twilight Landing,
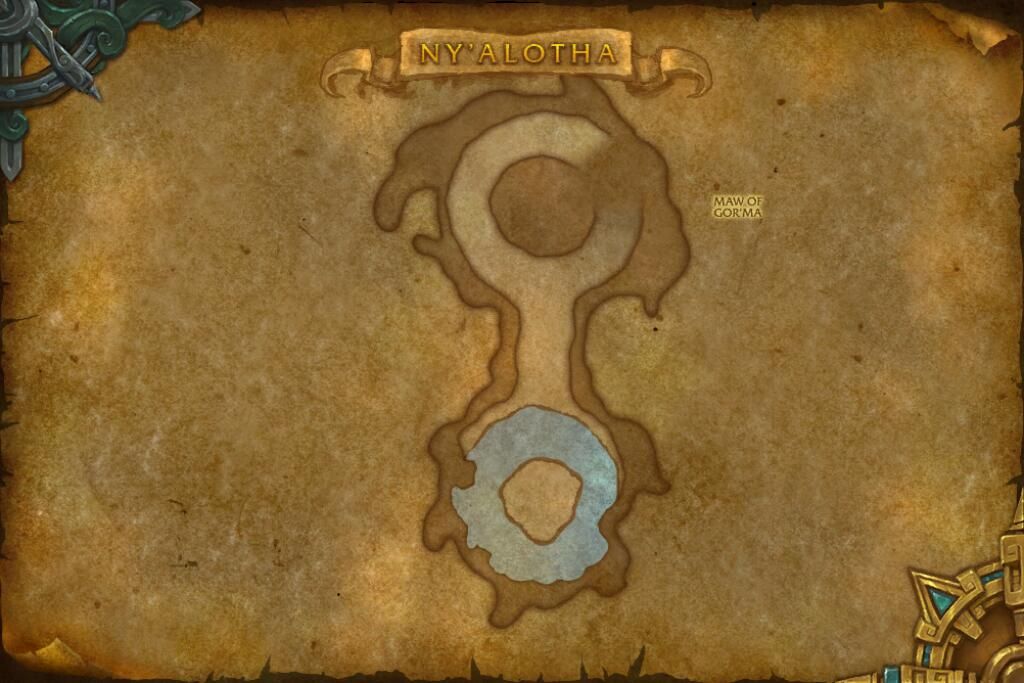
Maw of Gor’ma,
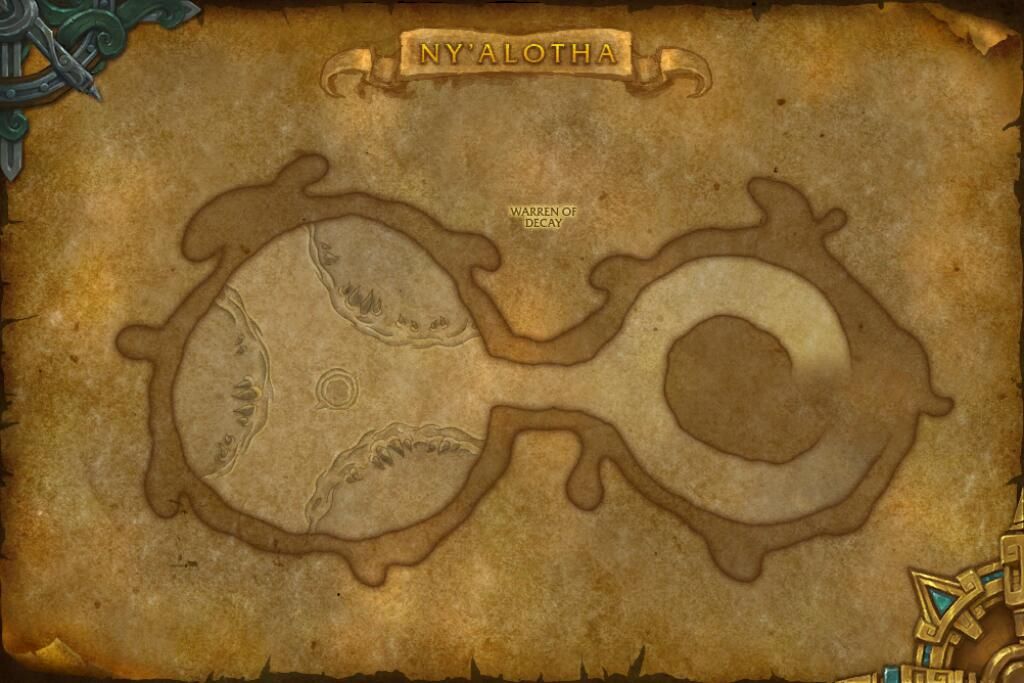
Warren of Decay,
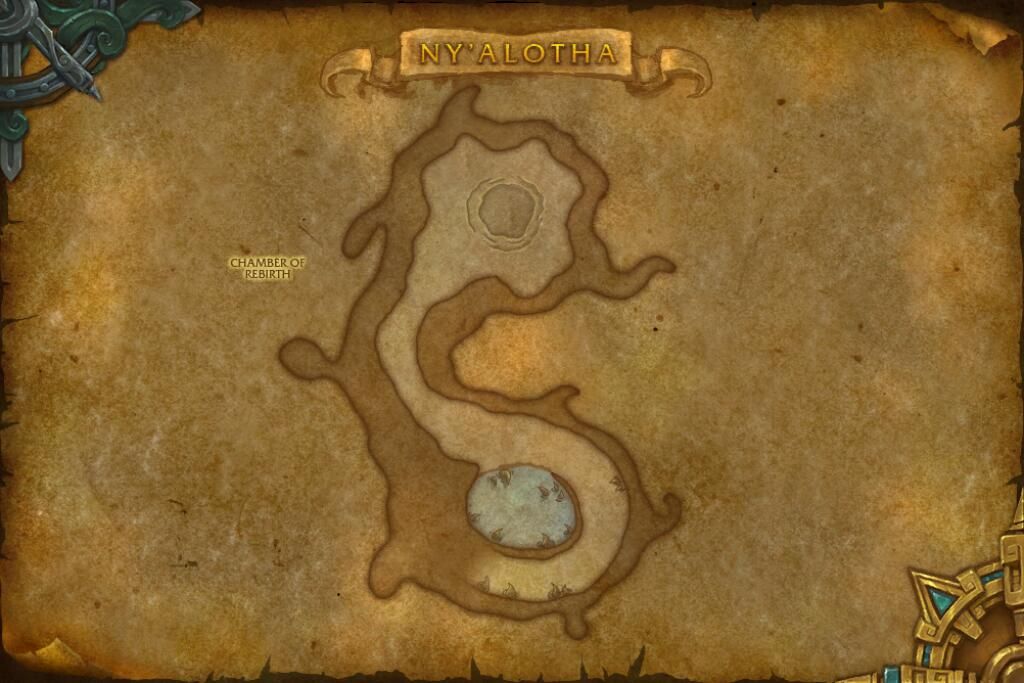
Chamber of Rebirth,
Locus of Infinite Truths.
Vision of Destiny
Annex of Prophecy
Ny’alotha
The Hive
Terrace of Desolation
The Ritual Chamber
Twilight Landing
Maw of Gor’ma
Warren of Decay
Chamber of Rebirth
Locus of Infinite Truths
Each section has its own challenges and bosses, which we’ll briefly overview below.
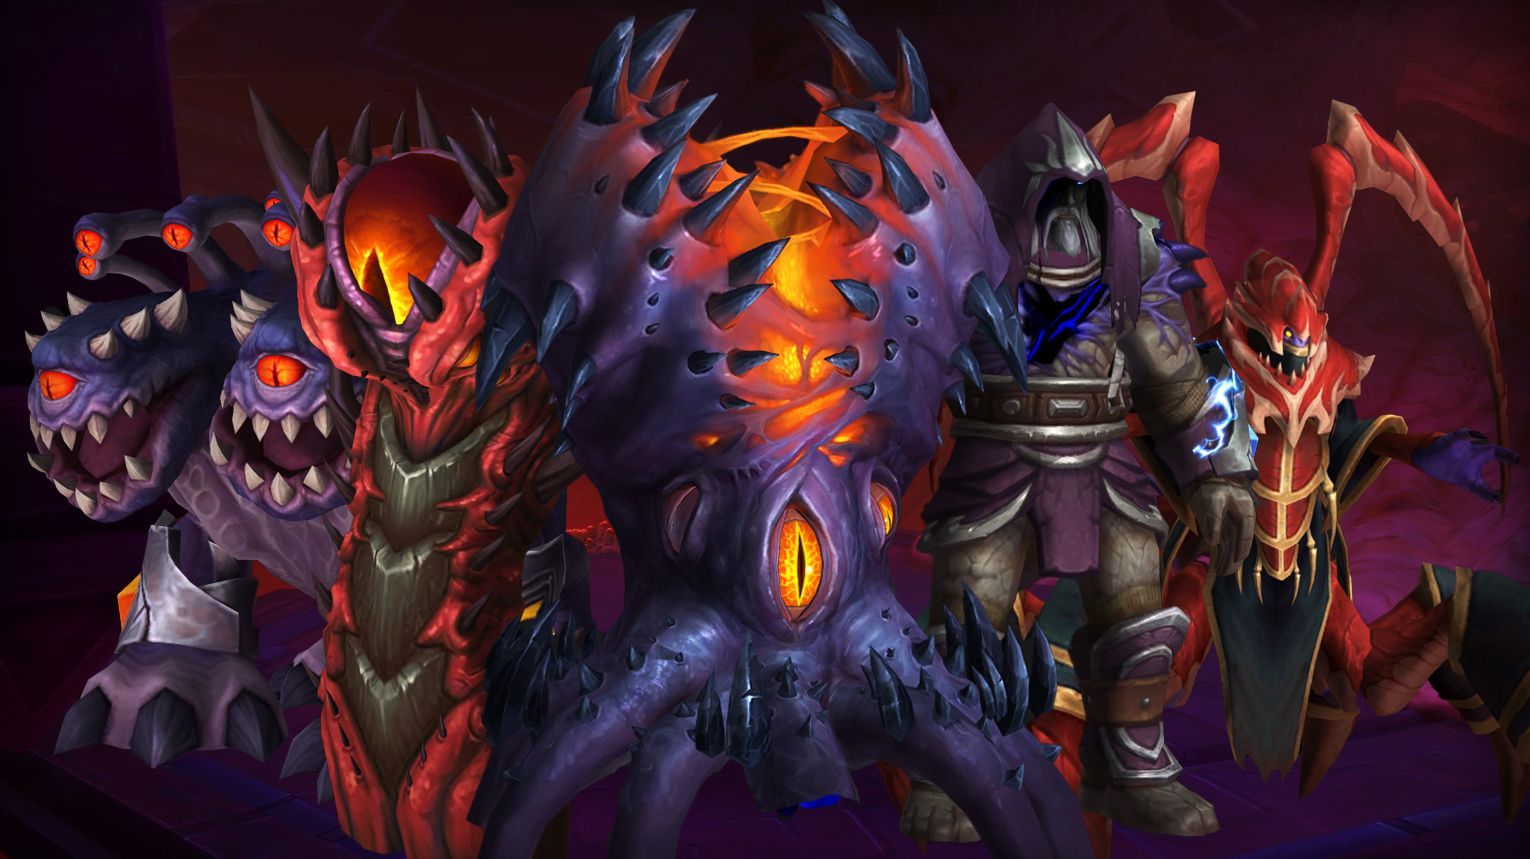
Ny’alotha, the Waking City is a dark, ancient city in World of Warcraft: Battle for Azeroth. Players face N’Zoth, the Corruptor, and his minions in a raid with 12 bosses. Each fight is themed around corruption and madness.
Some battles are strategic, like The Prophet Skitra, who uses illusions to confuse players. Others, like Ra-den, a corrupted titan keeper, are tests of raw damage. The final fight against N’Zoth happens in his throne room, where players must handle tricky mechanics and stop him from destroying Azeroth.
Here’s a breakdown of the raid bosses and the loot they drop.
Can You Solo Ny’alotha in The War Within?
Farming Ny’alotha solo in The War Within is a good way to get cool gear, mounts, pets, and achievements from the Battle for Azeroth expansion. Older raids are easier now because of better stats and gear, but some bosses in Ny’alotha still have tricky mechanics. This guide shows how to beat each boss, which classes work best, helpful strategies, and when to use Bloodlust or Drums of the Maelstrom.
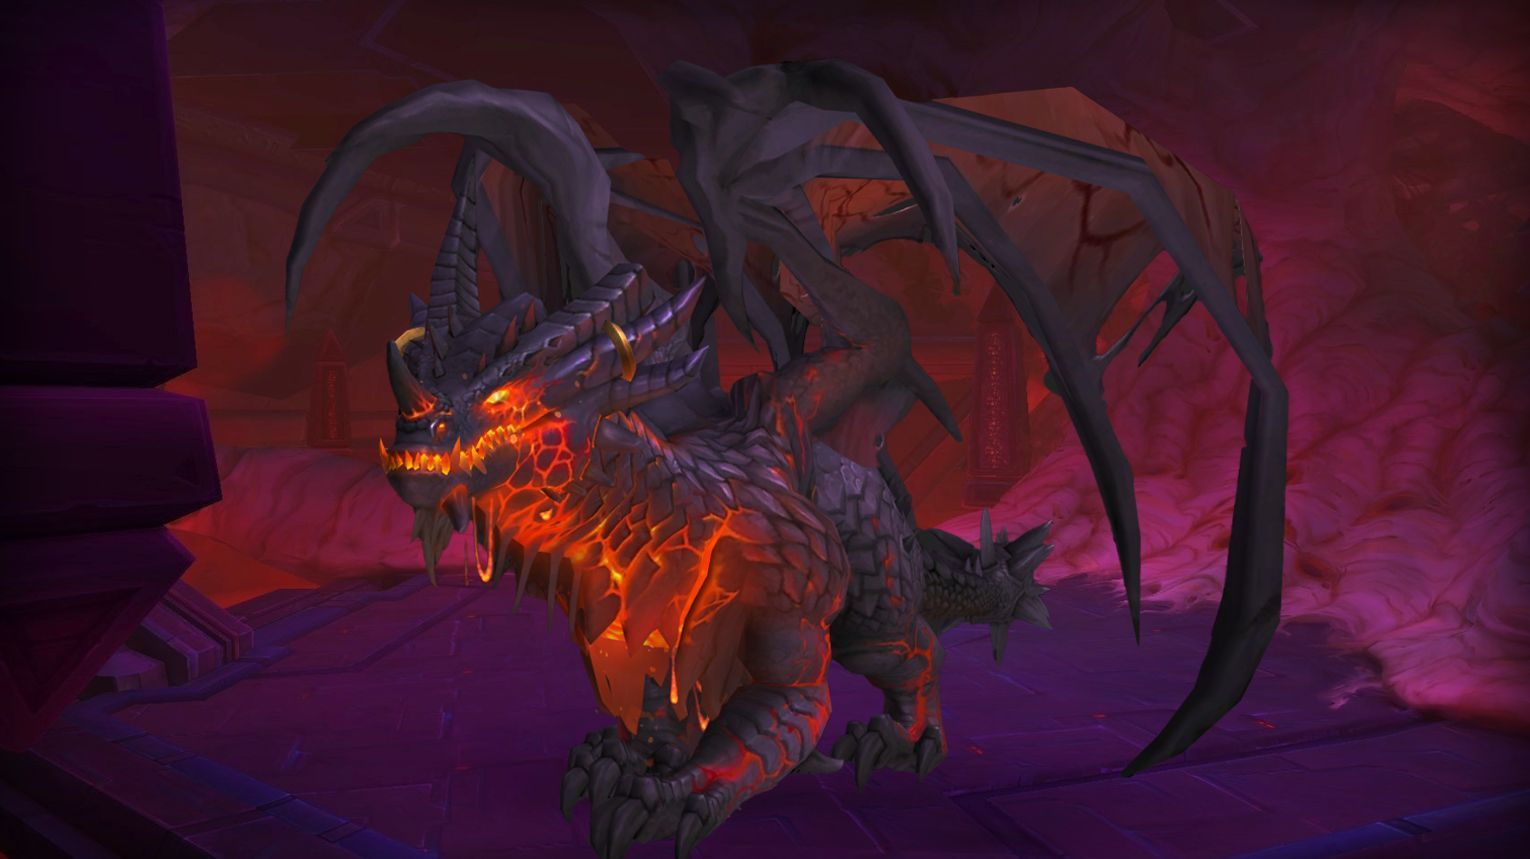
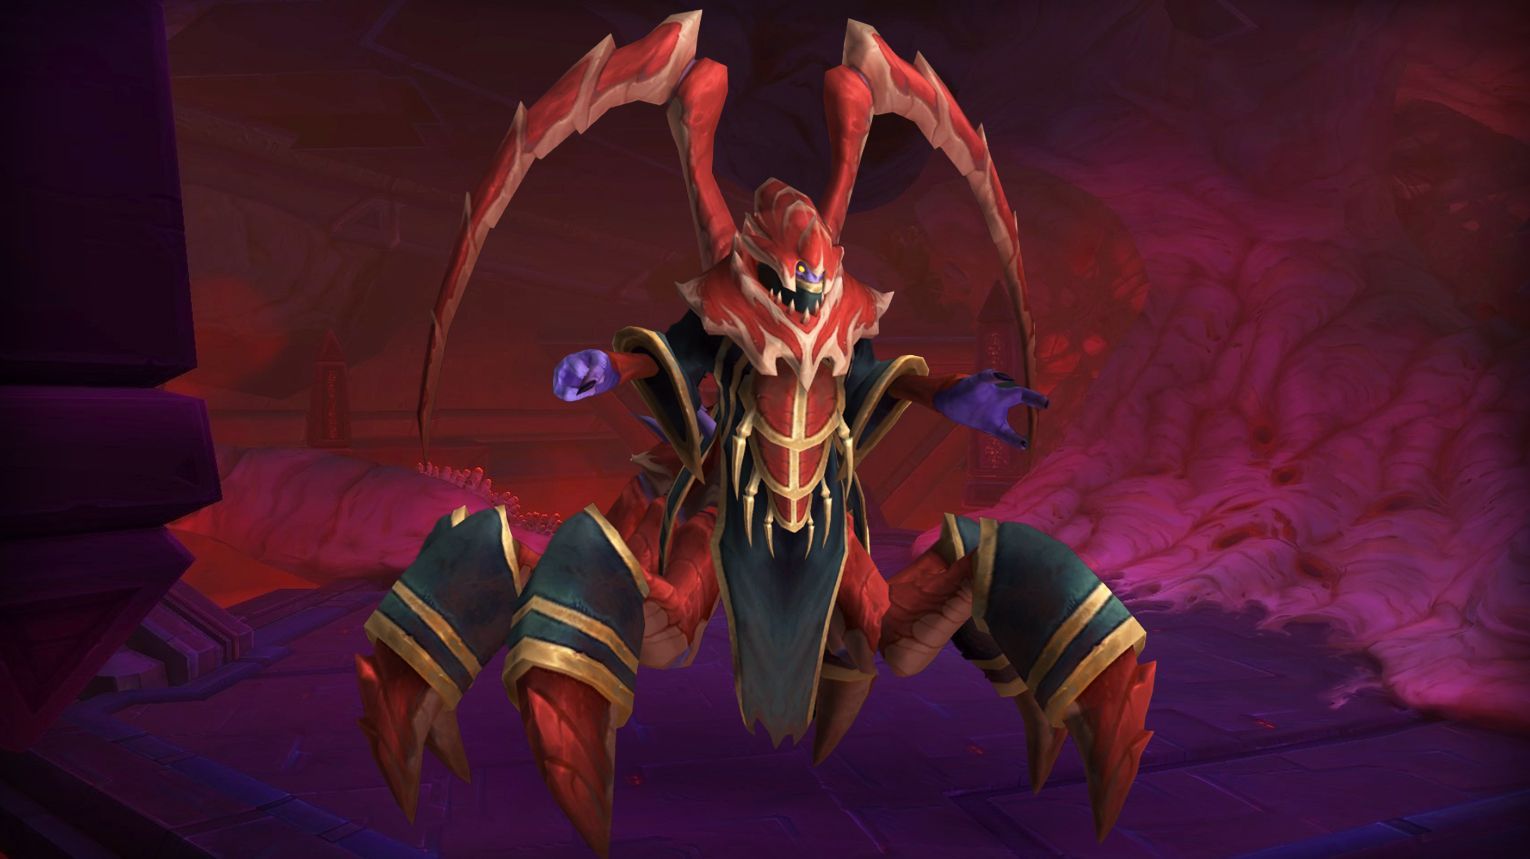
Wrathion
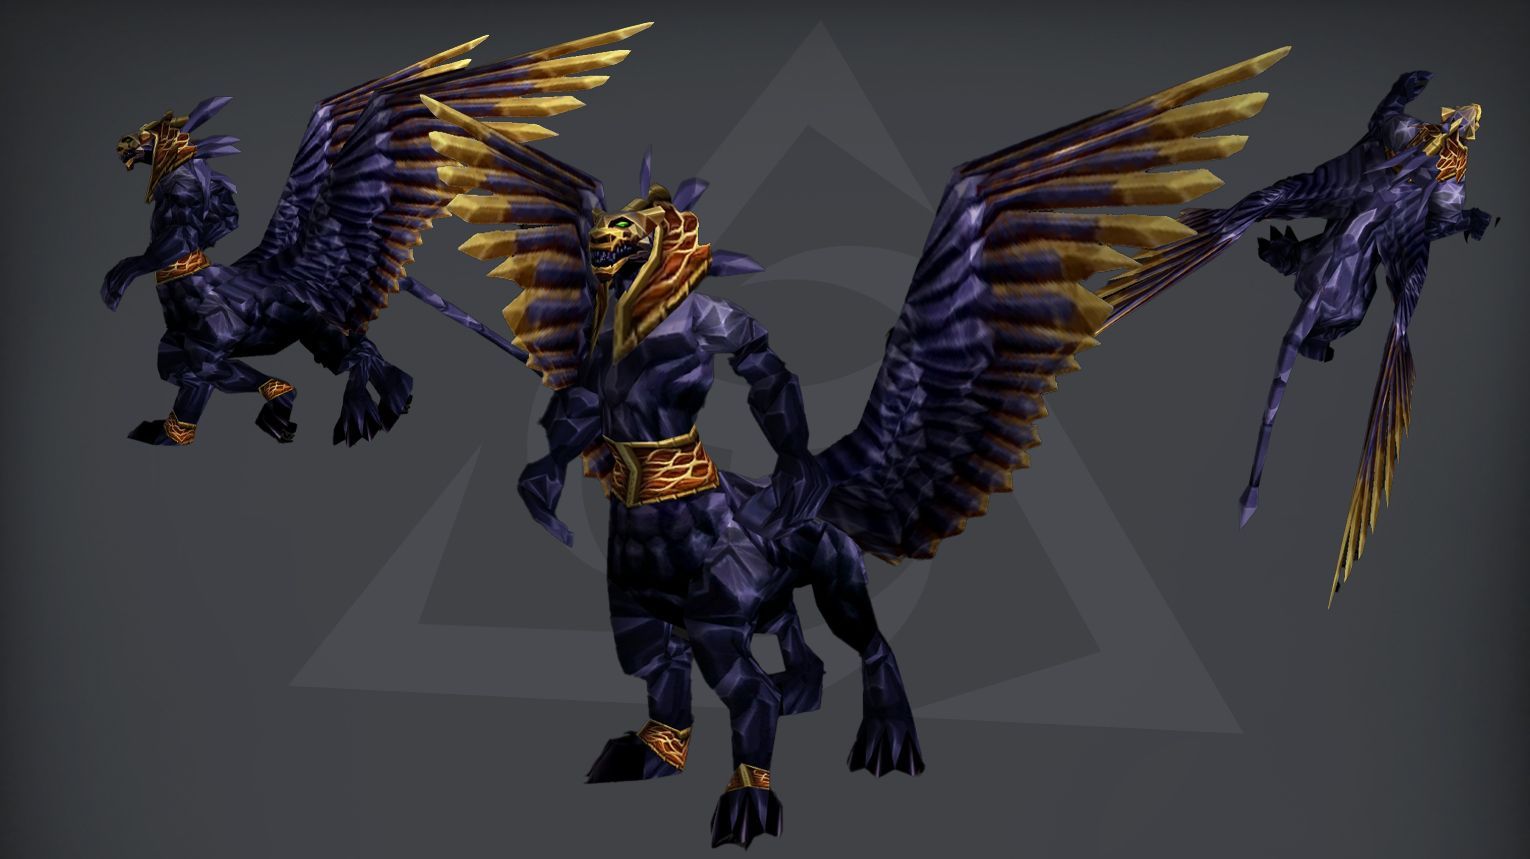
Wrathion, the Black Emperor is a two-phase boss in Ny’alotha. In Phase 1, tanks face him side-on to avoid Tail Swipe and Searing Breath, while players spread for Incineration and Gale Blast. During Burning Cataclysm, find the safe zone opposite Wrathion. In Phase 2, destroy Crackling Shards quickly, with 3 players soaking Scales of Wrathion to clear shards efficiently. Use Bloodlust/Drums in Phase 1 or Phase 2 for optimal DPS, and in Heroic, reveal and kill Ashwalker Assassins with AoE abilities.
Preferred Classes:
Tanks: Classes with strong mitigation and mobility (e.g., Protection Paladin, Blood DK).
Healers: Classes with strong raid-wide healing and dispels (e.g., Restoration Druid, Holy Priest).
DPS: High-mobility classes for soaking Scales of Wrathion and destroying Crackling Shards (e.g., Hunters, Rogues, Mages).
Utility: Classes with AoE stealth detection (e.g., Hunters with Flare) are valuable in Heroic difficulty.
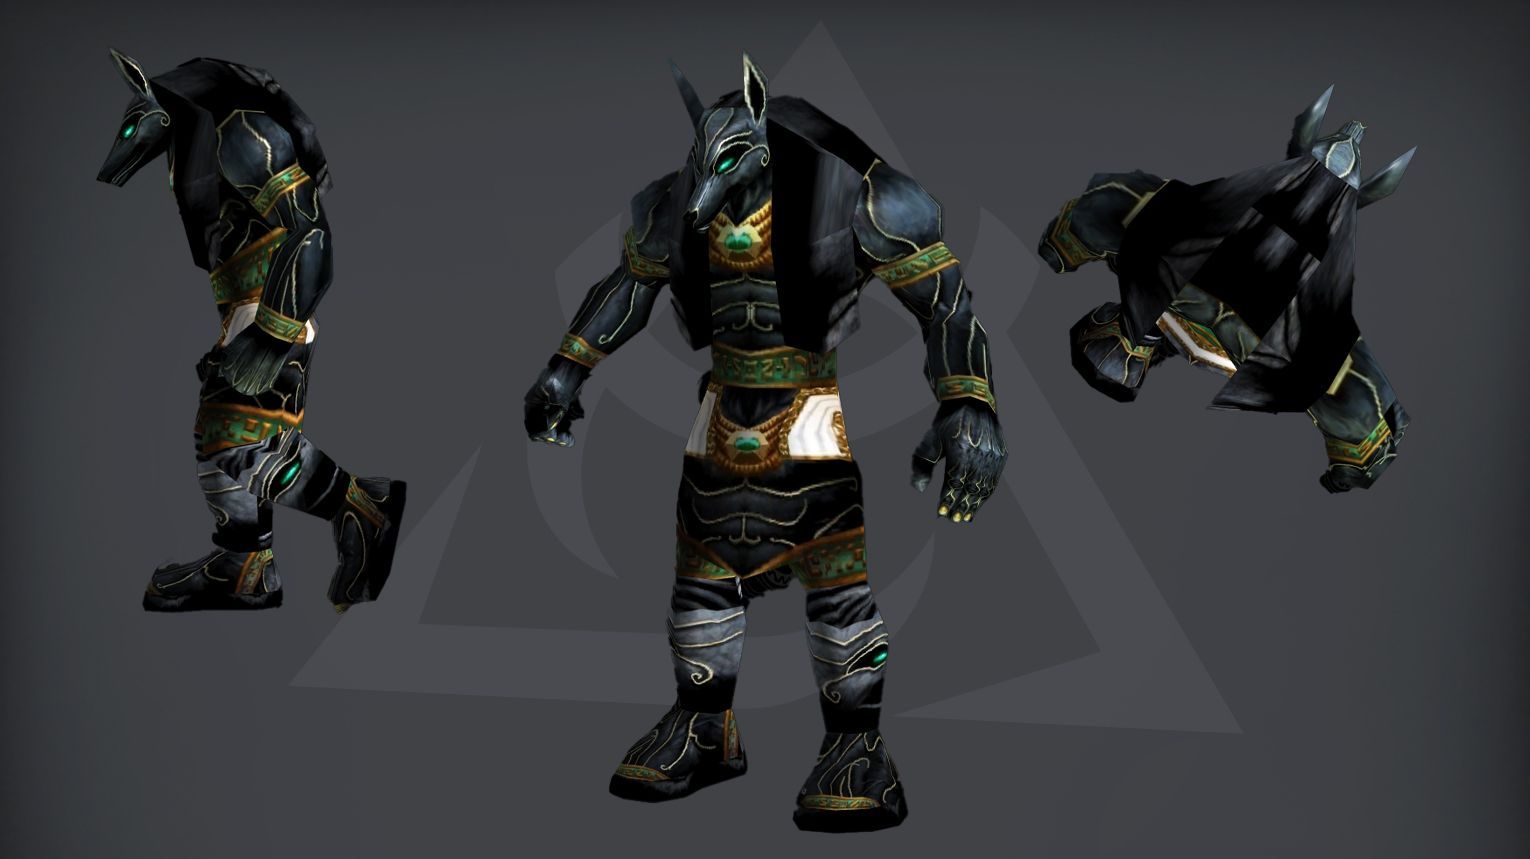
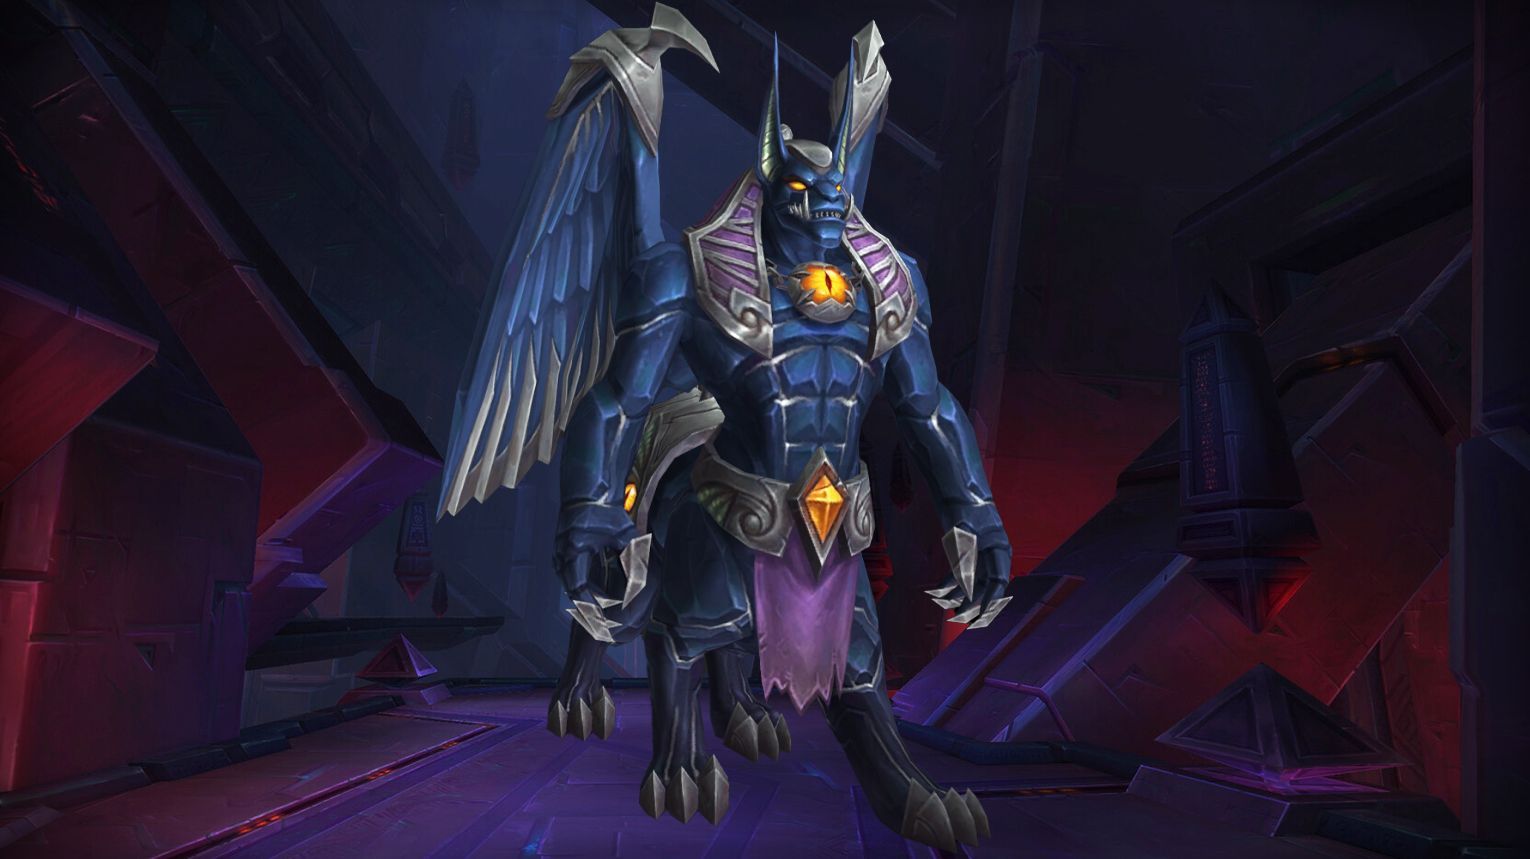
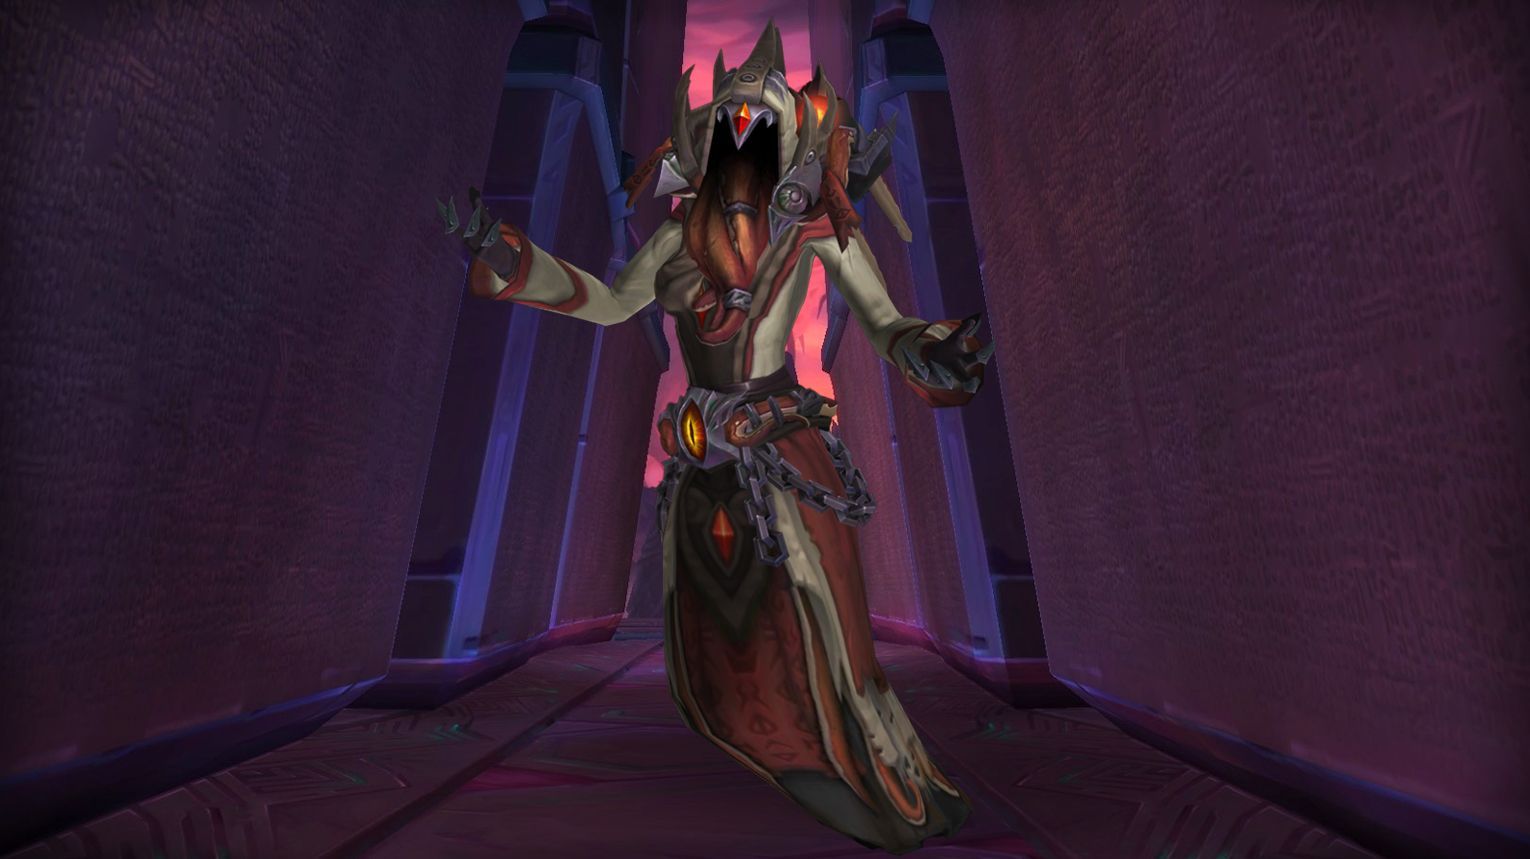
Maut is a two-phase boss in Ny’alotha, the Waking City, focusing on managing his mana. In Phase 1, players must handle mechanics like Devour Magic, Stygian Annihilation, and Dark Manifestation to slow his mana gain. Phase 2 requires burning through his mana shield while intercepting mana orbs to prevent him from regaining mana. Use Bloodlust/Drums at the start of Phase 2 for maximum DPS. Heroic adds Black Wings and Drain Essence, while Mythic introduces Ancient Curse, requiring players to stand in Devoured Abyss zones to remove it.
Preferred Classes:
Tanks: Tanks with strong mitigation and taunt-swapping capabilities (e.g., Protection Paladin, Blood Death Knight).
Healers: Healers with strong raid-wide healing and mana management (e.g., Restoration Druid, Holy Priest).
DPS: Mobile ranged DPS (e.g., Hunters, Mages) are ideal for intercepting mana orbs in Phase 2. Burst DPS is also valuable for breaking the mana shield quickly.
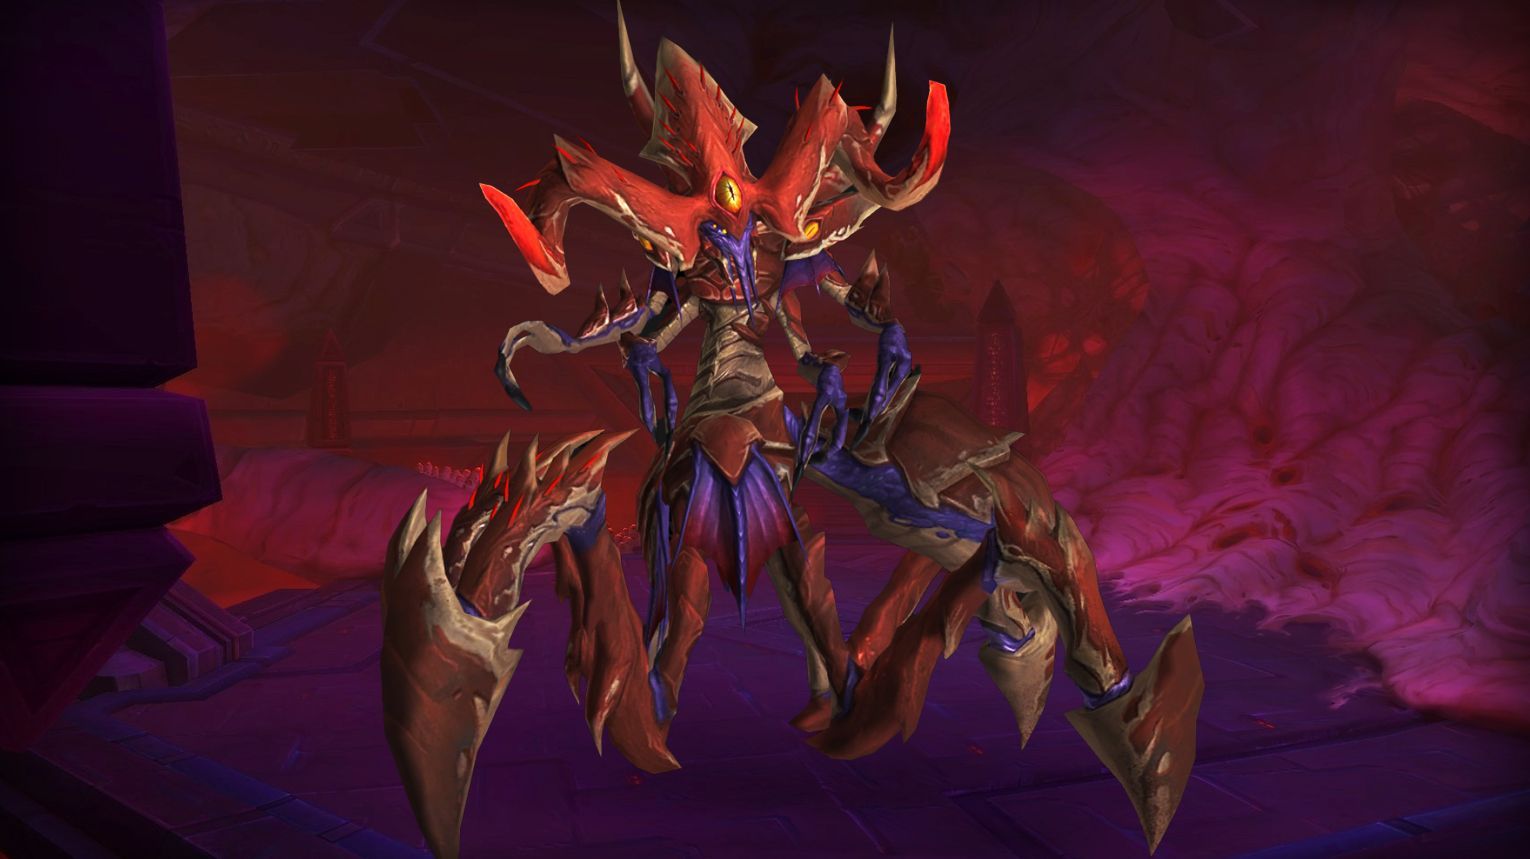
Prophet Skitra is a two-phase boss in Ny’alotha, the Waking City. In Phase One, manage tank swaps for Shadow Shock, stack to handle Shred Psycle adds, and avoid transitioning to Phase Two with active adds. In Phase Two, communicate to identify the correct illusion among clones, kill it quickly to minimize Dark Ritual stacks, and avoid triggering Mindquake by killing the wrong illusion. Use Bloodlust/Drums at the start or final phase for maximum DPS. Heroic adds Image of Absolution requiring crowd control, while Mythic introduces permanent debuffs demanding constant coordination.
Preferred Classes:
Tanks: Classes with strong defensive cooldowns and mobility (e.g., Protection Paladin, Blood DK).
Healers: Classes with strong AoE healing and raid cooldowns (e.g., Restoration Druid, Holy Priest).
DPS: Classes with strong single-target and cleave damage (e.g., Fire Mage, Affliction Warlock, Havoc Demon Hunter).
Utility: Classes with crowd control abilities (e.g., Hunter for freezing traps, Mage for roots) are valuable for handling adds in Heroic and Mythic difficulties.
Tips:
Phase One:
Stack on one side of the boss to manage Shred Psycle adds.
Tanks should taunt swap at 4-6 stacks of Shadow Shock.
Kill Shredded Psycle adds immediately after their Psychic Outburst cast.
Avoid transitioning to Phase Two with active adds.
Phase Two:
Communicate with players who have the opposite debuff (Clouded Mind or Twisted Mind) to identify the correct illusion.
Stack near the correct illusion for efficient healing.
Kill the correct illusion quickly to minimize Dark Ritual stacks.
Avoid killing the wrong illusion to prevent Mindquake damage.
Strategy:
Phase One:
Shadow Shock: Tanks must taunt swap to manage debuff stacks. Healers should spot-heal random players affected by the debuff.
Shred Psycle: The debuffed player should move 20 yards away from the raid stack. After the add spawns, the raid should stack again to mitigate Psychic Outburst damage. DPS should focus on killing the add quickly.
Image of Absolution (Heroic/Mythic): Use crowd control (e.g., Mass Entangling Roots) to immobilize adds until their immunity expires.
Phase Two:
Illusionary Projection: Use raid markers to identify the correct illusion. Players with opposite debuffs should communicate to find the shared illusion.
Dark Ritual: Minimize time in Phase Two to avoid stacking too many debuffs.
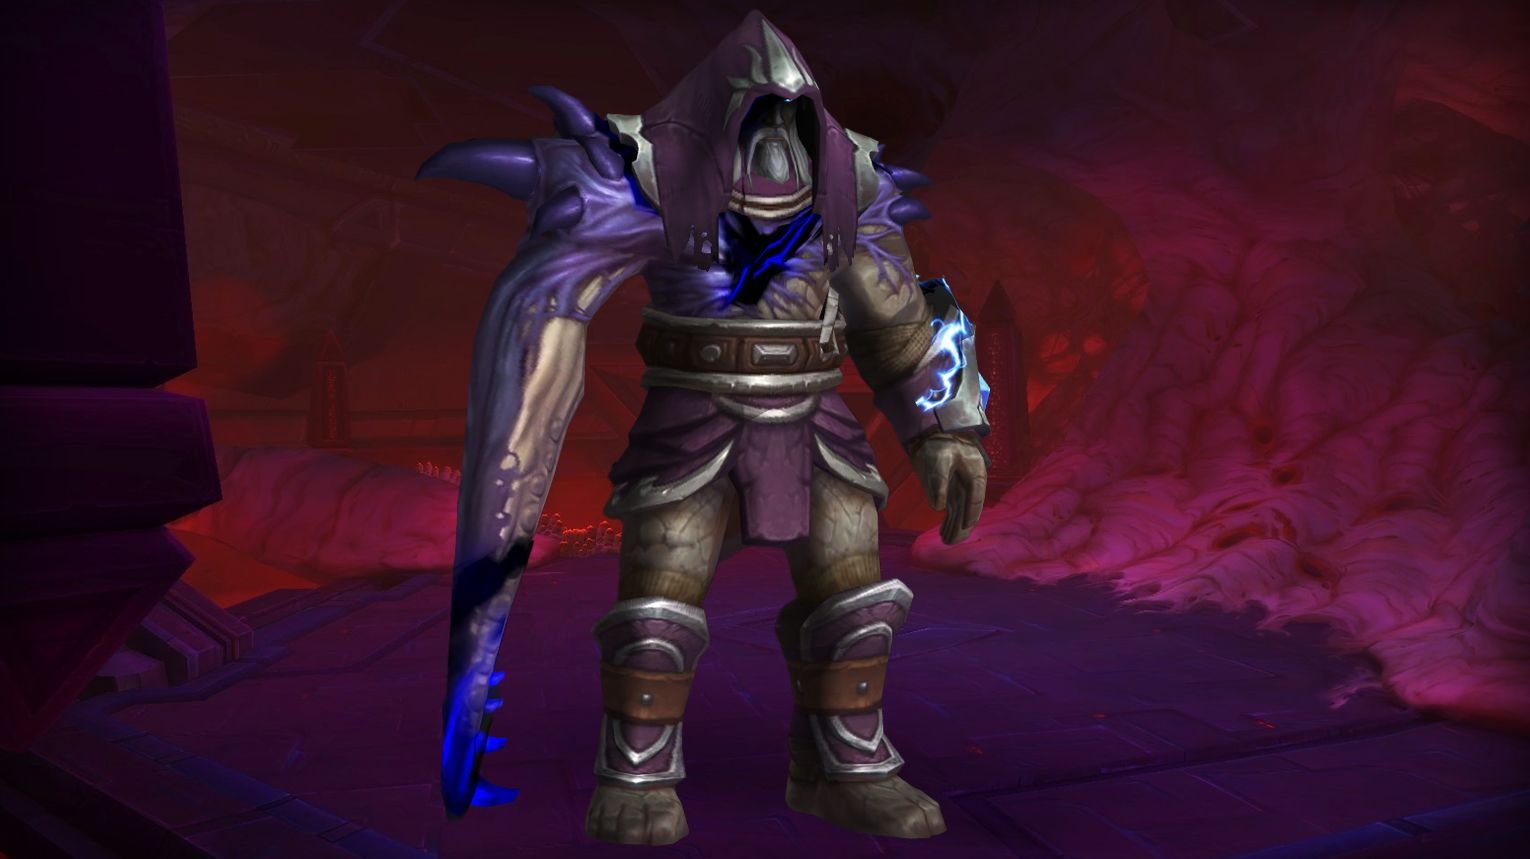
Dark Inquisitor Xanesh is a single-phase fight in Ny’alotha, focusing on Void Orb management. Three players must bounce the orb into a goal portal while the raid dodges Torment zones and Soul Flay shadows. Tanks must handle Abyssal Strike knockbacks and taunt swap to manage debuffs. On Heroic/Mythic, Ritual Obelisks and Imminent Doom add complexity to orb handling. Use Bloodlust/Drums early for maximum DPS, and assign roles (tanks, healers, orb handlers) in advance for a smooth kill.
Preferred Classes:
Tanks: Any tank class with good mobility and cooldowns to handle Abyssal Strike knockbacks.
Healers: Classes with strong AoE healing and mobility to handle raid-wide damage from Torment and Soul Flay.
DPS: Ranged DPS are preferred for better mobility and positioning during Torment and Void Orb mechanics. Melee DPS can work but must be cautious of Soul Flay and Torment zones.
Void Orb Handlers: Classes with high mobility (e.g., Hunters, Mages, Rogues) are ideal for redirecting the Void Orb.
Tips:
Torment Zones: Always move to safe zones between Torment explosions as a group.
Soul Flay: Move away from your shadow to reduce explosion damage. Use personal defensives if needed.
Void Orb: Avoid letting the orb touch walls, Queen Azshara, or Ritual Obelisks (Heroic/Mythic).
Tanks: Position carefully to avoid being knocked off the platform or into Azshara’s void barrier.
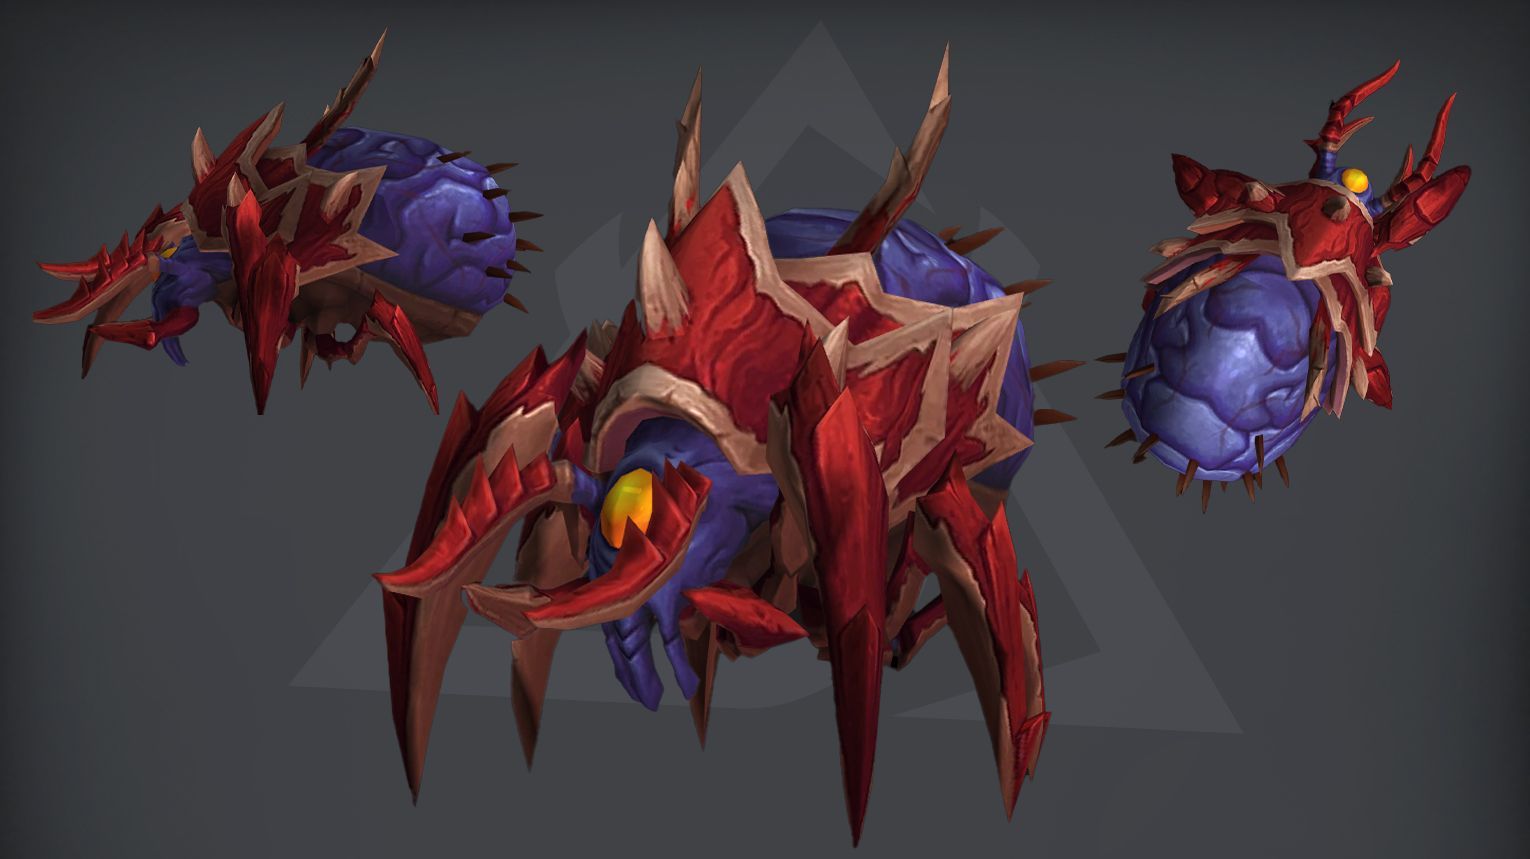
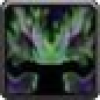
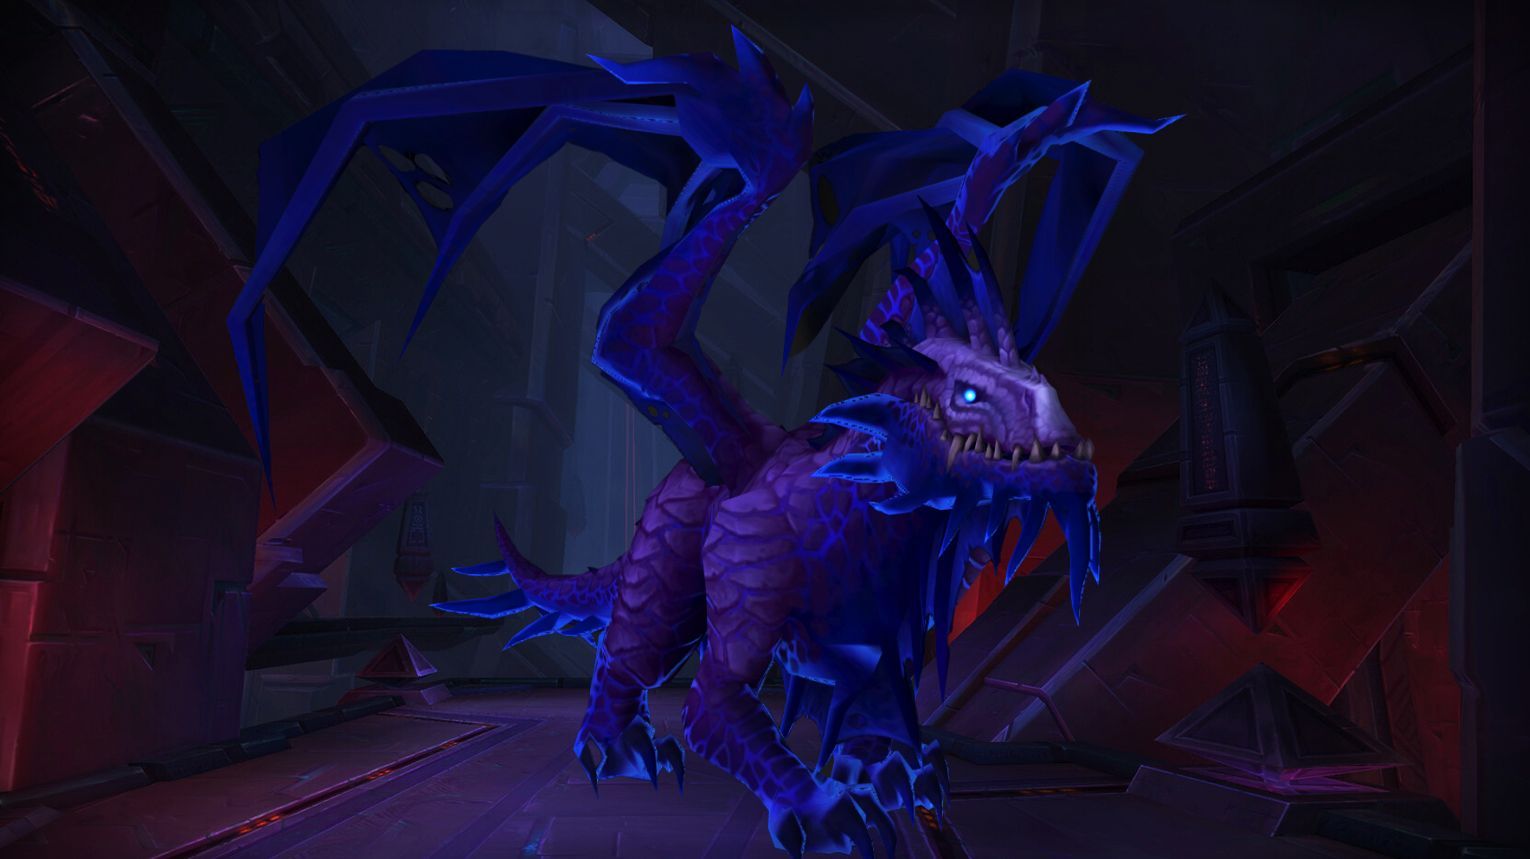
The Hivemind is a two-boss encounter in Ny’alotha where Tek’ris and Ka’zir alternate control of the Hivemind, requiring bosses to be positioned close (within 20 yards) or far apart (20+ yards) to avoid Shadow Veil. Adds like Lesser Aqir and Aqir Darters spawn frequently and must be prioritized, especially when empowered by Void Infusion or Regeneration. Key mechanics include interrupting Mind-Numbing Nova, spreading for Echoing Void, and dodging Acidic Aqir rolls. Both bosses must die within 10 seconds to prevent Dark Reconstitution. Use Bloodlust/Drums during the final burn phase for optimal DPS.
Preferred Classes:
Tanks: Classes with strong mobility and survivability (e.g., Demon Hunter, Paladin).
Healers: Classes with strong AoE healing and cooldowns (e.g., Restoration Shaman, Holy Paladin).
DPS: Classes with strong AoE/Cleave damage and interrupts (e.g., Demon Hunter, Warlock, Mage, Rogue).
Utility: Classes with crowd control (e.g., Druid roots, Monk paralysis) and mass grips (e.g., Death Knight).
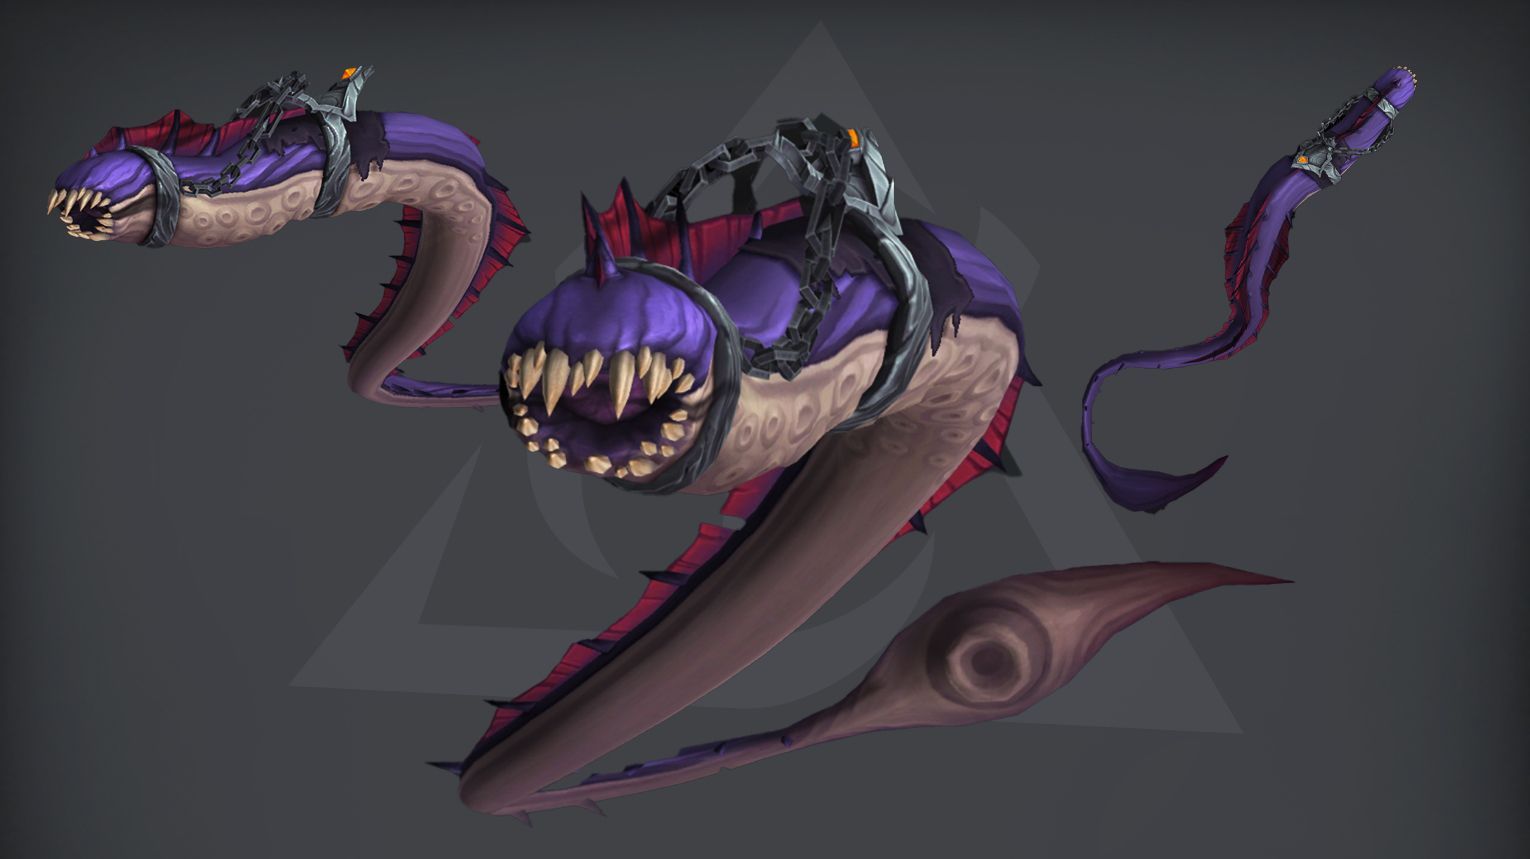
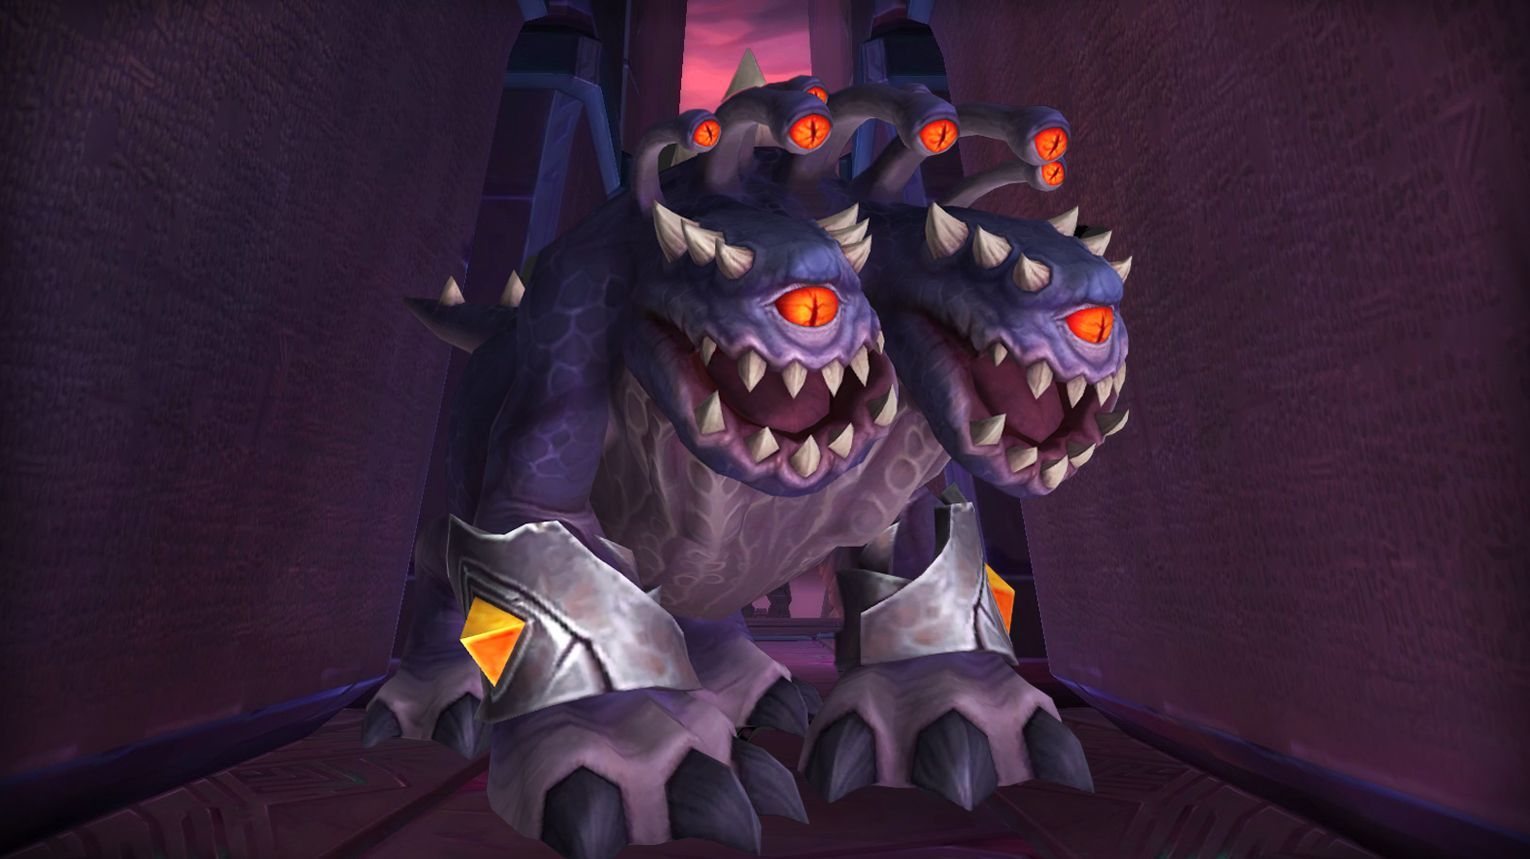
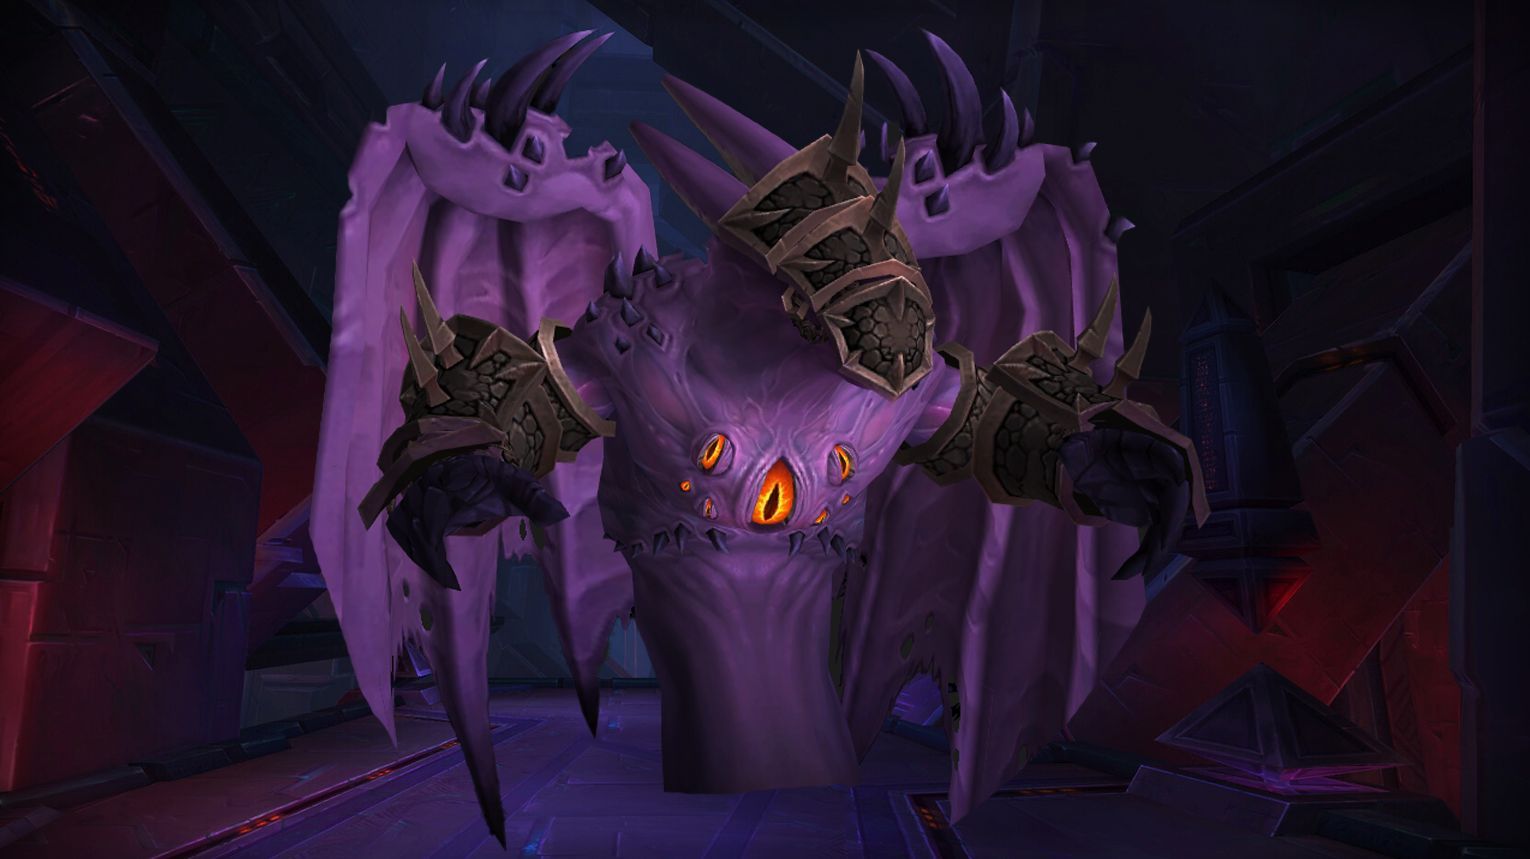
Drest’agath is a single-phase boss fight in Ny’alotha where players battle waves of tentacle adds while managing Aberrant Regeneration, a healing mechanic countered by collecting Void Infused Ichor orbs from dead adds. Key mechanics include Volatile Seed (tank swap and add damage boost), Void Glare (dodgeable beam), and Throes of Agony (raid-wide damage triggered by killing adds). Tanks must handle taunt swaps and position adds for Volatile Seed explosions, while DPS prioritize killing adds and collecting orbs. Healers focus on raid-wide healing and dispelling Mutterings of Insanity. Use Bloodlust early during orb uptime for maximum boss damage.
Preferred Classes:
Tanks: Classes with strong defensive cooldowns and mobility (e.g., Protection Paladin, Blood Death Knight) to handle Volatile Seed and Void Grip.
Healers: Classes with strong raid-wide healing and dispels (e.g., Restoration Druid, Holy Priest) to manage Throes of Agony and Mutterings of Insanity.
DPS:
Melee: High burst damage classes (e.g., Rogue, Warrior) to focus on Tentacle of Drest’agath.
Ranged: Classes with strong AoE and mobility (e.g., Mage, Hunter) to handle Maw of Drest’agath and Eye of Drest’agath.
Tips:
Void Infused Ichor: Always kill adds in a wave before picking up orbs to maximize uptime on the debuff.
Volatile Seed: Tanks should stand near adds when the debuff is about to expire to increase damage taken by the adds.
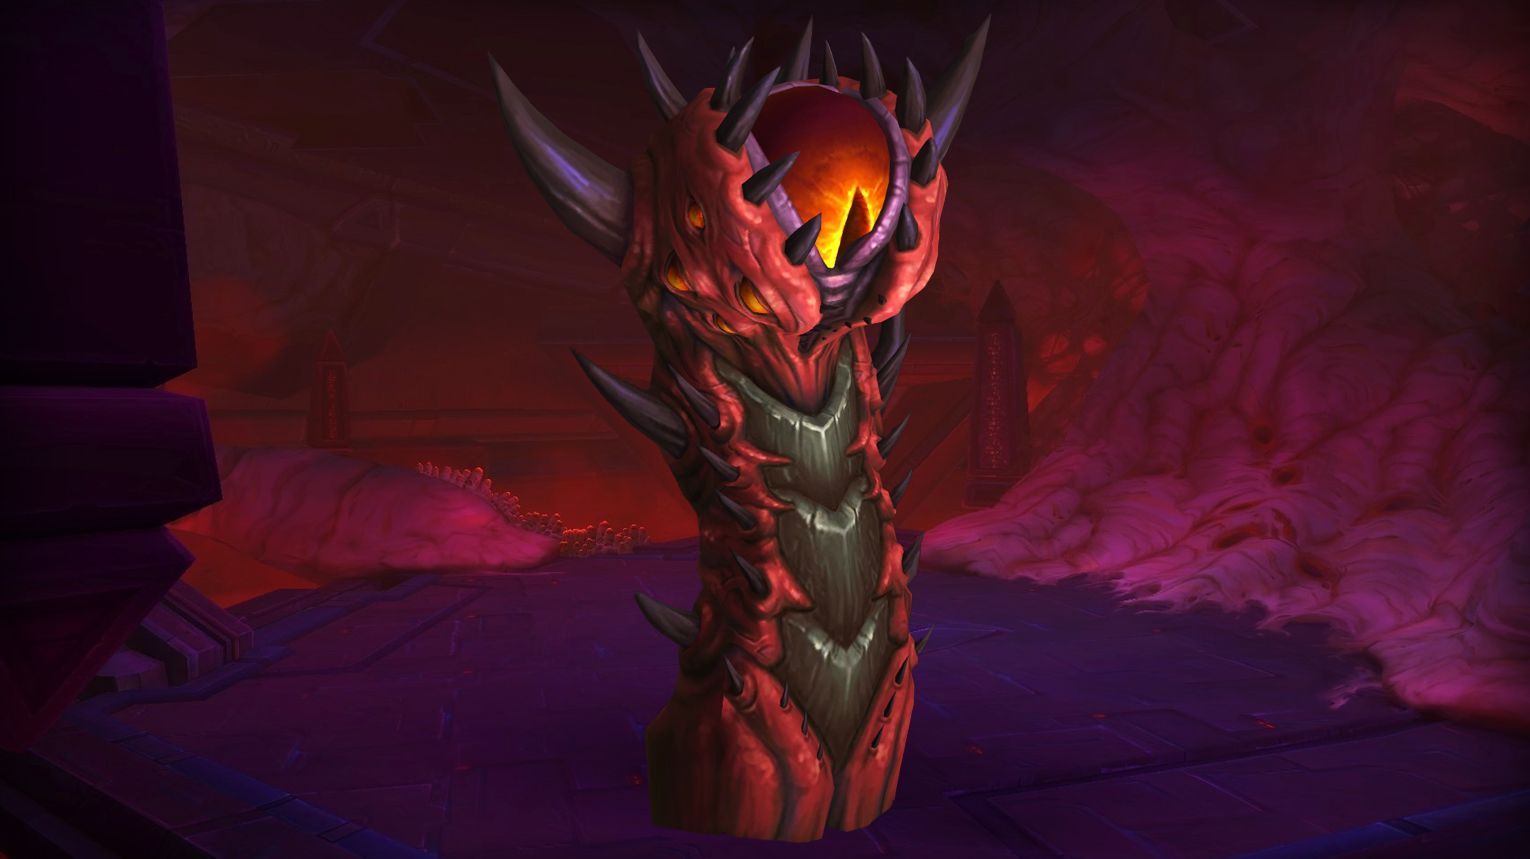
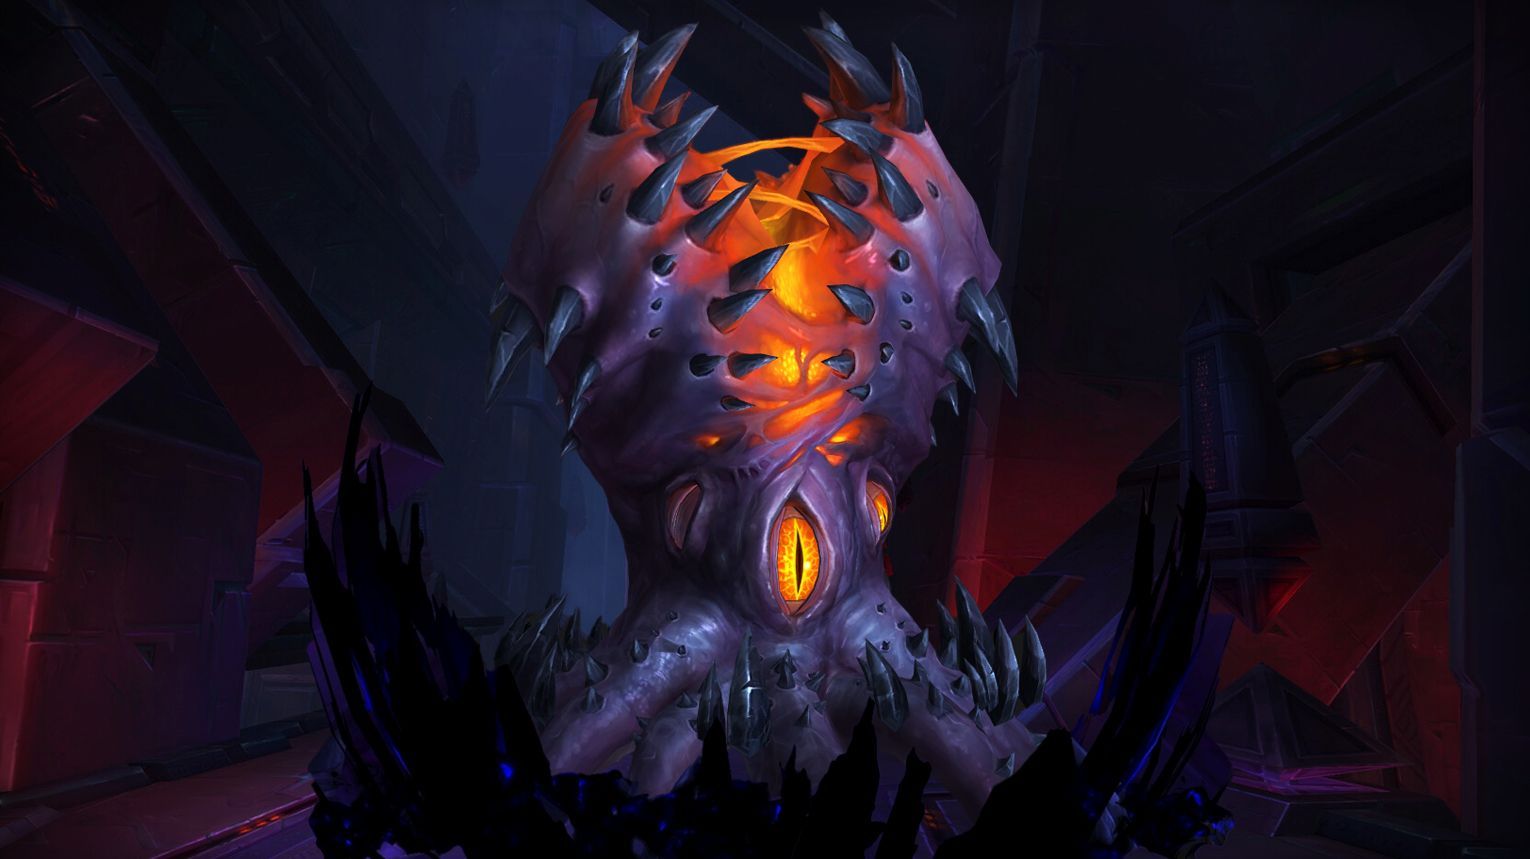
Il’gynoth, Corruption Reborn is a two-phase boss in Ny’alotha. In Phase One, tanks avoid Eye of N’Zoth beams while DPS/healers kite Corruptor’s Gaze to the edges. Phase Two involves killing one of three Organs of Corruption while interrupting Pumping Blood and managing Cursed Blood debuffs and Blood of Ny’alotha adds. Repeat phases until all organs are dead, then burn Il’gynoth in the final phase using Bloodlust/Drums. On Heroic/Mythic, handle additional mechanics like Touch of the Corruptor and Clotted Corruption adds.
Preferred Classes:
Tanks: Protection Paladins (for strong interrupts and utility).
Healers: Shamans (for interrupts and dispels), Priests (for mass dispels).
DPS: Classes with strong AoE and cleave (e.g., Warlocks, Mages, Demon Hunters) to handle Blood of Ny’alotha adds.
Interrupters: Classes with short cooldown interrupts (e.g., Rogues, Shamans, Monks, Death Knights).
Tips:
Phase One
Tanks: Position Il’gynoth to avoid Eye of N’Zoth beams hitting the raid. Taunt swap after every 2 beams to manage debuff stacks.
Ra-den the Despoiled is a two-phase boss in Ny’alotha, alternating between Void Empowered and Vita Empowered states in Phase 1, requiring the raid to handle unique mechanics for each. In Phase 2 (at 40% health), the fight becomes a DPS race to defeat him before Lingering Energies stacks overwhelm the raid. Key mechanics include taunt swaps for tanks, alternating orb kills to prevent enrage, and managing debuffs like Unstable Void and Unstable Vita. Use Bloodlust/Drums in Phase 2 for maximum damage output. On Mythic, the fight becomes significantly harder with Nightmare Empowered, forcing the raid to handle both empowerments and two adds simultaneously.
Preferred Classes:
Tanks: Classes with strong mitigation and self-healing (e.g., Protection Paladin, Blood Death Knight).
Healers: Classes with strong raid-wide healing and dispels (e.g., Holy Paladin, Restoration Shaman).
DPS: Classes with strong single-target and cleave damage (e.g., Fire Mage, Affliction Warlock, Havoc Demon Hunter).
Tips:
Phase 1
Nullifying Strike: Tanks must taunt swap after each cast to avoid stacking debuffs.
Essence Orbs: Alternate between killing Essence of Vita and Essence of Void to prevent the boss from gaining Overwhelming Rage.
Recommended to kill Vita first for easier mechanics.
The Carapace of N’Zoth is a three-phase encounter in Ny’alotha, focusing on Sanity management to avoid being charmed into a Servant of N’Zoth. In Phase 1, fight tentacles and adds while using Wrathion to restore Sanity. Phase 2 involves clearing paths of Synthesis Growths and dodging Occipital Blast. Phase 3 is a final burn phase with Insanity Bombs, Thrashing Tentacles, and limited Sanity restoration. Use Bloodlust/Drums in Phase 3 for a quick kill, and prioritize breaking Adaptive Membranes for Sanity orbs.
Preferred Classes:
Tanks: High survivability and cooldown management (e.g., Protection Paladin, Blood DK).
N’Zoth, the Corruptor is a three-phase fight where players must manage Sanity to avoid becoming a Servant of N’Zoth. In Phase 1, defeat Psychus in the Mind Realm by stacking Synaptic Shock debuffs. Phase 2 involves fighting tentacles while alternating raid groups into the Mind Realm. Phase 3 is a race to kill N’Zoth while managing Evoke Anguish pools, Stupefying Glare beams, and Thought Harvesters. Use Bloodlust/Drums in Phase 3 for maximum damage, and prioritize Sanity management and mechanics like Paranoia and Harvest Thoughts throughout the fight.
Preferred Classes:
Tanks: Classes with strong defensive cooldowns to handle Mindwrack and Void Lash.
Healers: Strong AoE healers to manage raid-wide damage and Sanity loss.
DPS: Classes with strong single-target and cleave damage for Psychus, Basher Tentacles, and Thought Harvesters.
Utility: Classes with immunities (e.g., Rogues, Mages) are valuable for soaking Harvest Thoughts.
Tips:
Sanity Management:
Use Azeroth’s Radiance to restore Sanity before critical mechanics (e.g., Mindgate or low Sanity in Phase 3).
Avoid standing in Anguish pools or failing Paranoia mechanics.
Phase 1 (Mind Realm):
Drag Psychus to Exposed Synapses to stack Synaptic Shock.
Avoid Creeping Anguish zones and stay spread to minimize Probe Mind damage.
Kill Dark Inquisitor Xanesh after safely eliminating a Void Orb with less than 3 seconds remaining on Voidwoken 3 times on Normal difficulty or higher.


 Tanks: Classes with strong mitigation and mobility (e.g.,

 Healers: Classes with strong raid-wide healing and dispels (e.g.,

 DPS: High-mobility classes for soaking Scales of Wrathion and destroying Crackling Shards (e.g.,


 Tips:
Tips:


Comments: