Azshara’s Eternal Palace, a raid introduced in World of Warcraft: Battle for Azeroth, launched on the 9th of July, 2019. This underwater-themed PvE instance is worth farming because of amazing transmogs, mounts, and collectibles that remain valuable in WoW Retail.
AEP (located in Nazjatar) has 8 bosses, with Queen Azshara as the last encounter, dropping unique weapons, armor sets, and achievements.
If you’re seeking best-in-slot Benthic gear, legendary aquatic mounts, and Queen Azshara’s most coveted rewards, our Eternal Palace carry service is your key to conquering this breathtaking Battle for Azeroth raid. You’ll navigate the naga-infested depths with our elite raid team, who have perfected every encounter from Normal and Heroic to the punishing Mythic Queen Azshara fight.
Whether you’re farming AEP for cosmetics, want to check the loot table, or to find out if it’s possible to solo this BFA raid, this guide will help you make the most of Azshara’s Eternal Palace runs in WoW Retail.
Eternal Palace Entrance and Subregions
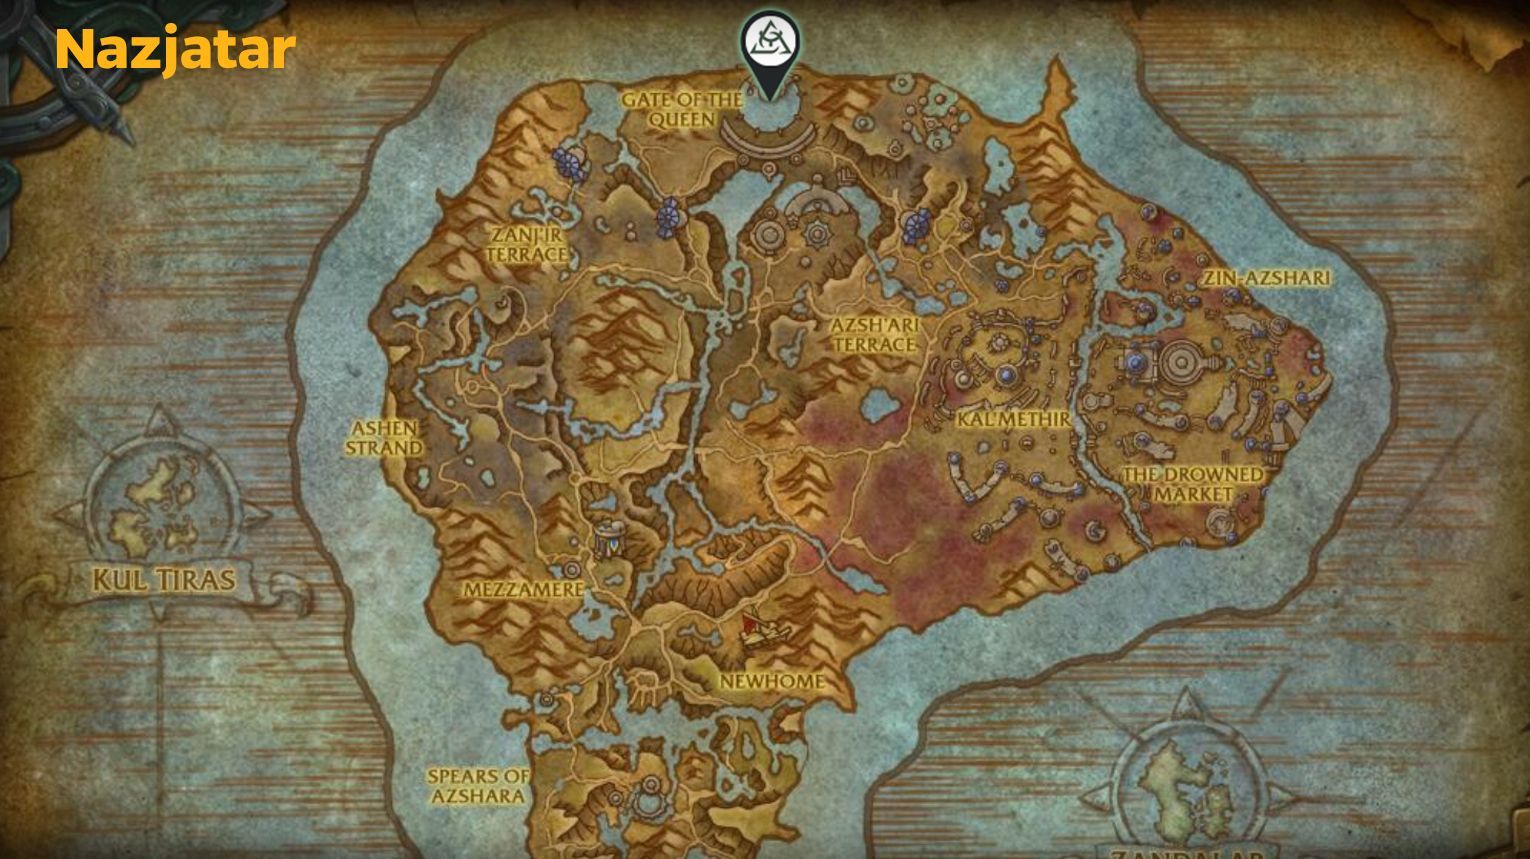
Azshara’s Eternal Palace is located in the Nazjatar zone in World of Warcraft: Battle for Azeroth. To reach it, travel to Nazjatar, which can be accessed via the portal in your faction’s capital city (Boralus for Alliance or Dazar’alor for Horde). Once in Nazjatar, head to the Gate of the Queen area at coordinates 50.21 10.97.
The entrance to Azshara’s Eternal Palace is through a large whirlpool in front of Queen Azshara’s statue. Simply swim into the whirlpool, and a cinematic will transport you to the raid entrance.
Inside, you’ll move through different underwater-themed subregions as you fight your way to Queen Azshara.
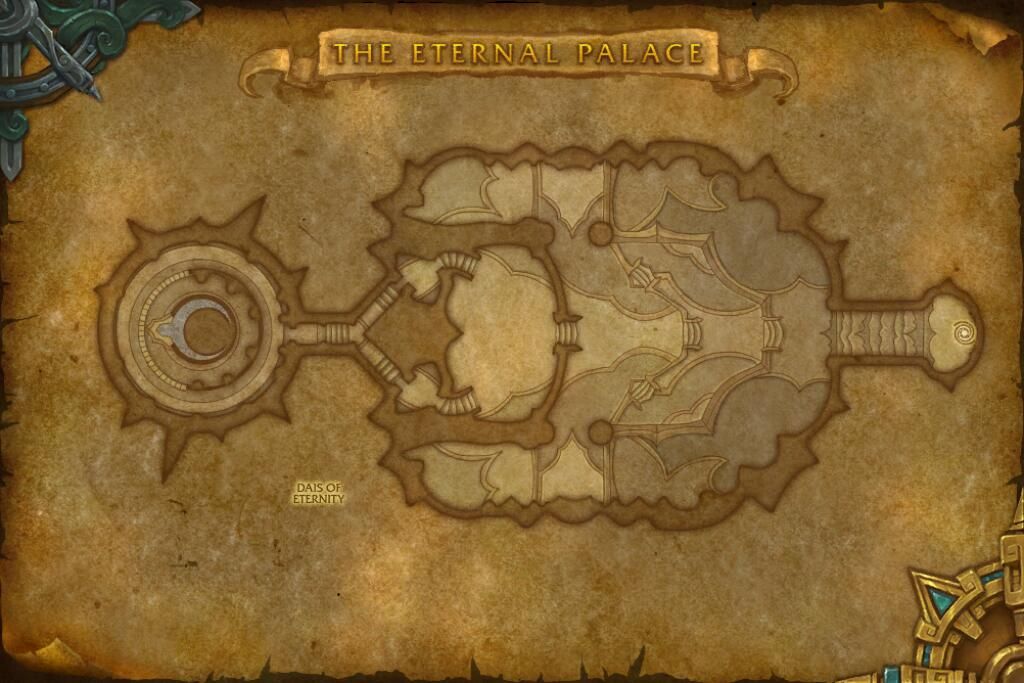
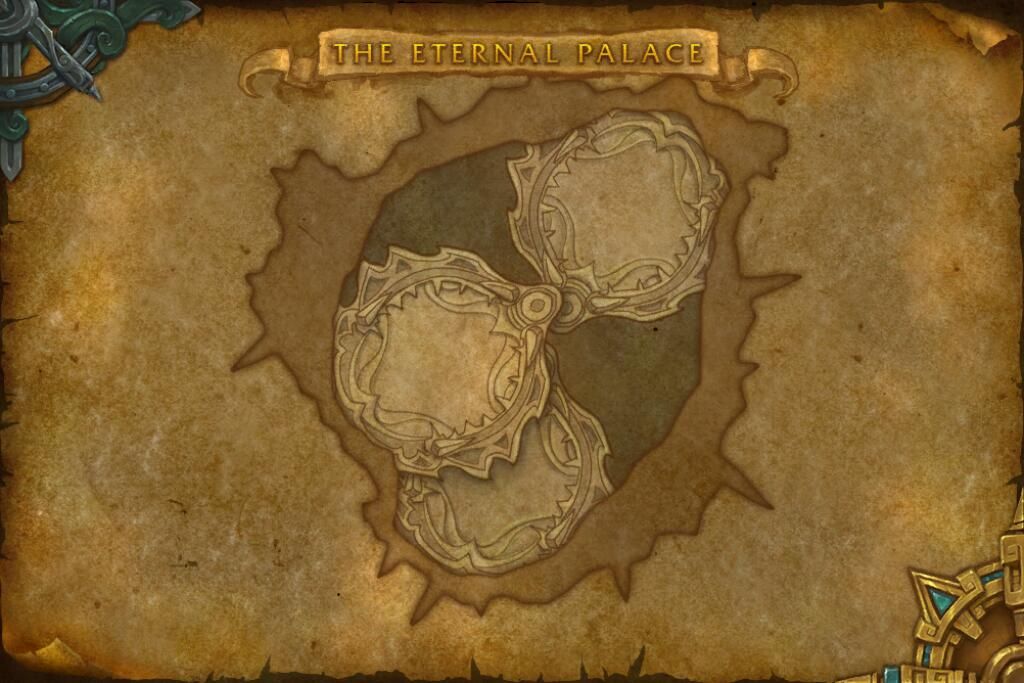
Azshara’s Eternal Palace has the following subregions (check the gallery below):
Dais of Eternity,
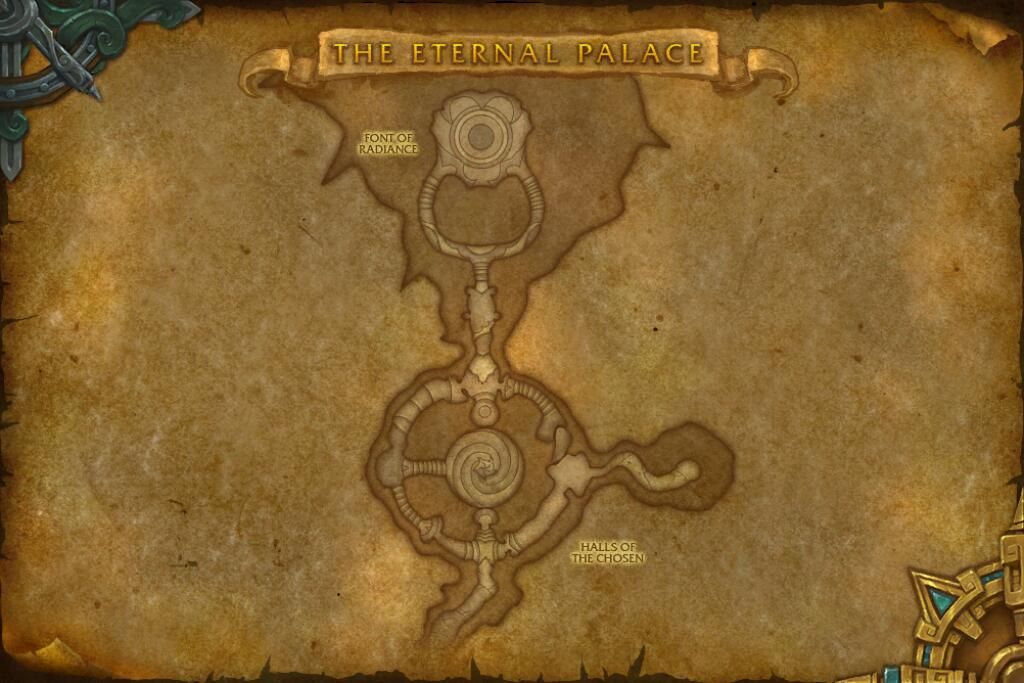
Halls of the Chosen,
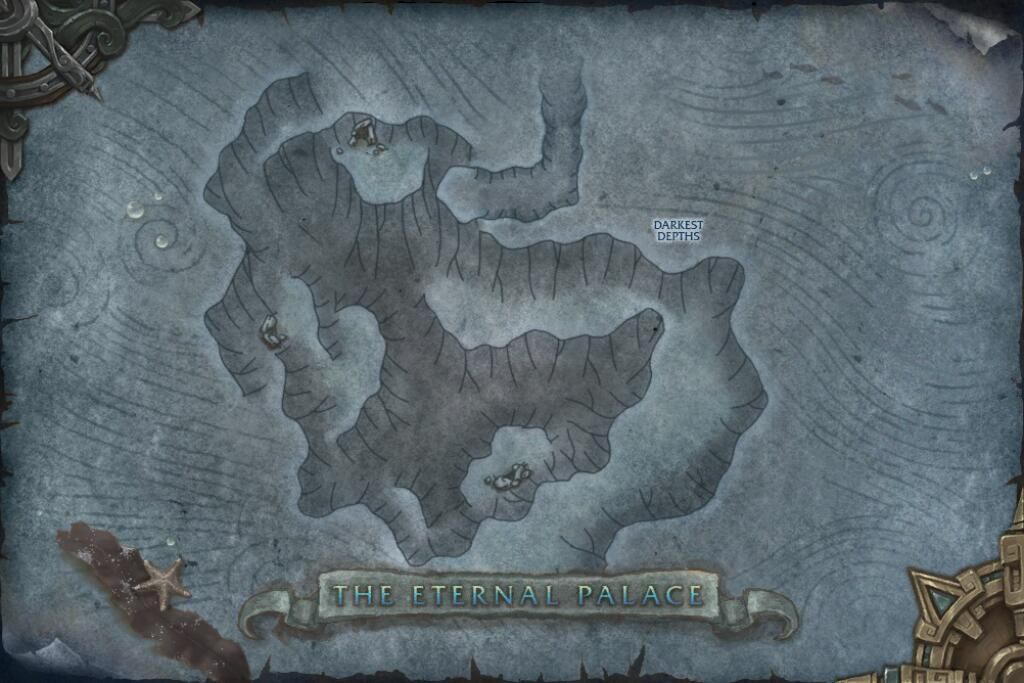
Darkest Depths,
The Traverse,
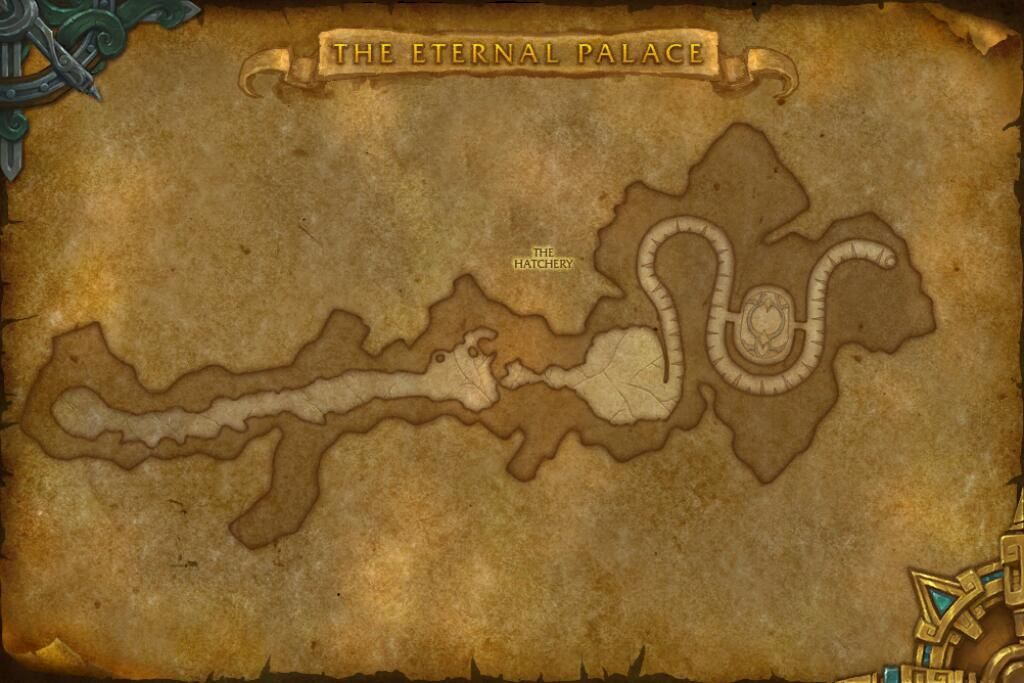
The Hatchery,
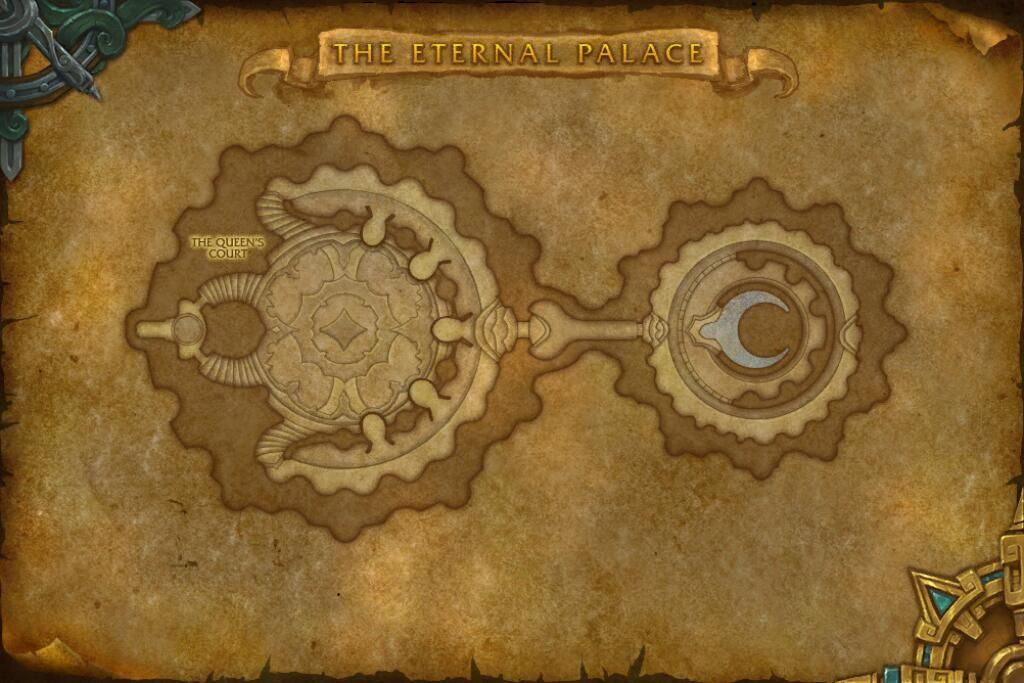
The Queen’s Court,
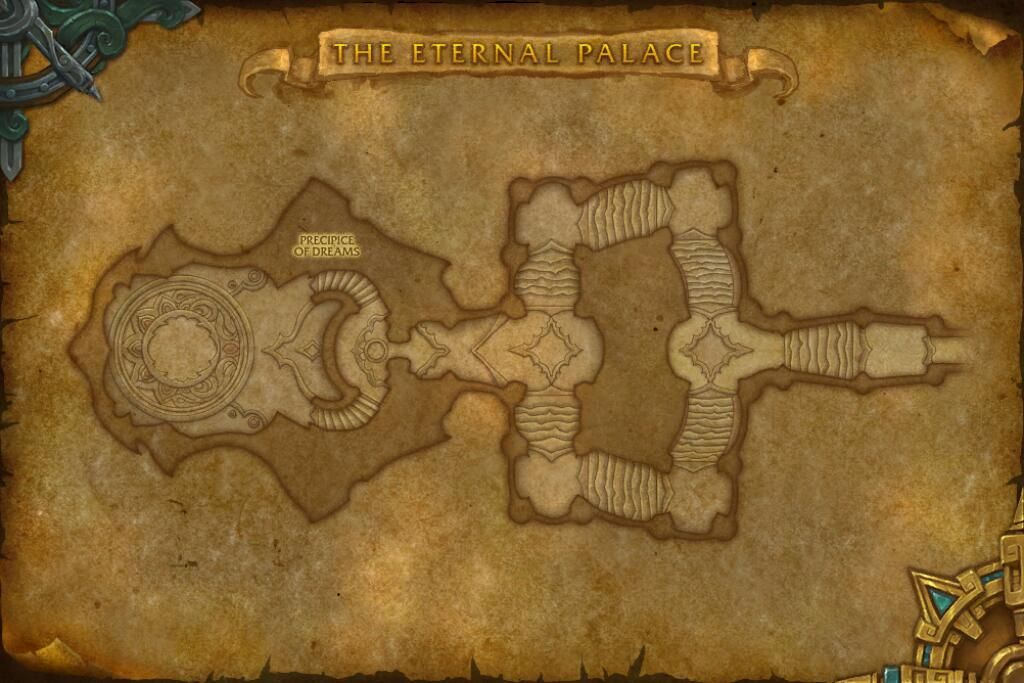
Precipice of Dreams,
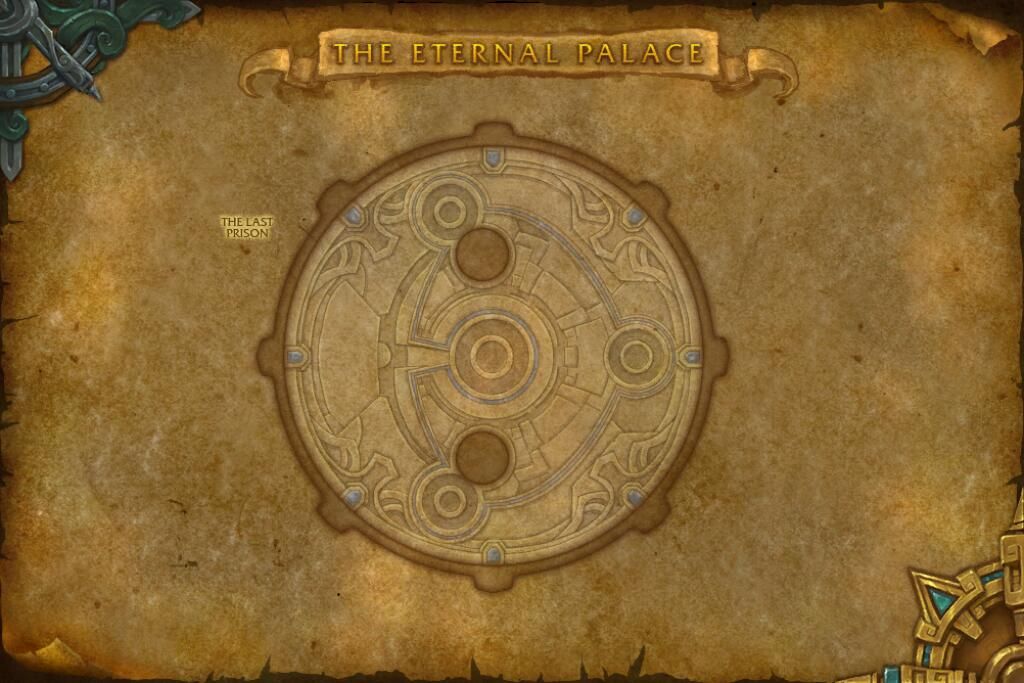
The Last Prison.
Dais of Eternity
Halls of the Chosen
Darkest Depths
The Traverse
The Hatchery
The Queen’s Court
Precipice of Dreams
The Last Prison
Each section has its own challenges and bosses, which we’ll briefly overview below.
Azshara’s Eternal Palace is a thrilling underwater raid in World of Warcraft: Battle for Azeroth. Players face Queen Azshara and her naga army in Nazjatar. The raid has eight bosses, each highlighting the dangers of the deep sea. From Abyssal Commander Sivara, the naga leader, to the giant Blackwater Behemoth, every fight is unique. Battles vary from coordinated efforts like The Queen’s Court to intense clashes against Orgozoa. The final showdown with Queen Azshara in her throne room is epic, requiring players to overcome her powerful magic.
Below, we’ll review the boss fights in Azshara’s Eternal Palace and their rewards.
Can You Solo Eternal Palace in The War Within?
Soloing Azshara’s Eternal Palace in World of Warcraft: The War Within is possible, but some bosses have mechanics that make it more challenging than other Battle for Azeroth raids. While higher ilvl gear makes most fights easier, a few EP encounters still require specific strategies to avoid mechanics that could wipe a solo player.
Factors That Affect Soloing AEP:
Item Level: The higher your item level, the easier the fights. Players with The War Within gear will find most bosses simple.
Class & Spec: Self-healing classes like Blood Death Knights, Guardian Druids, and Protection Paladins have an advantage, but high DPS classes can still brute-force many mechanics.
Easy to Solo AEP Bosses:
Abyssal Commander Sivara – Straightforward DPS fight. Avoid pools and burn the boss quickly.
Radiance of Azshara – Mostly a DPS race. Avoid the knockbacks and use defensives if needed.
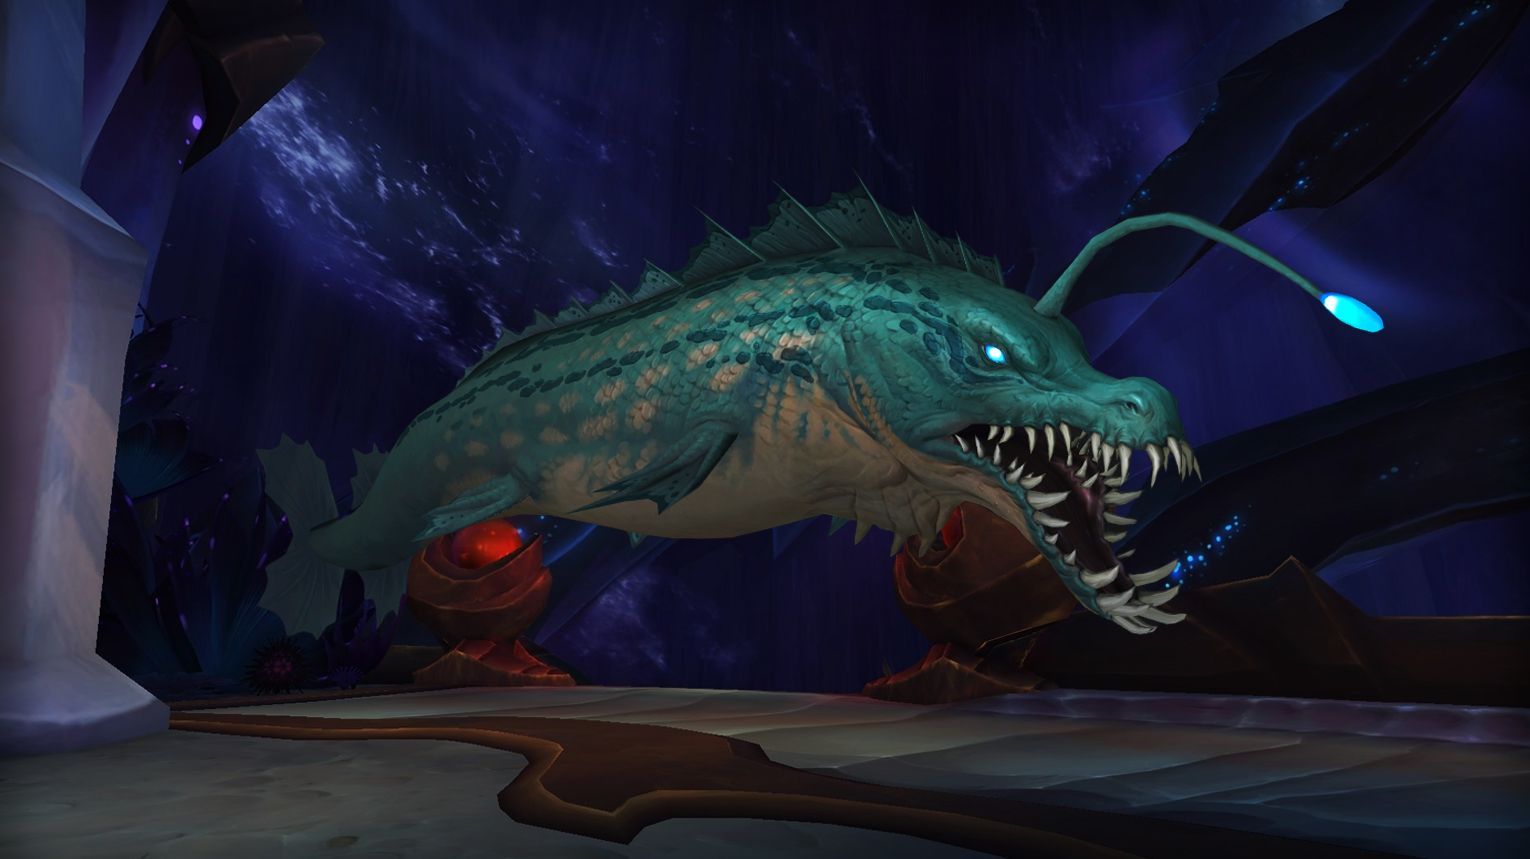
Blackwater Behemoth – Manage breathing underwater, but otherwise, it’s just a simple DPS fight.
Medium Difficulty AEP Bosses:
Lady Ashvane – Has a hard damage check due to her shield mechanic. If you don’t break it fast enough, she heals back up.
Orgozoa – Spawns many adds that can overwhelm you if not killed quickly.
The Queen’s Court – Has an enrage mechanic that increases damage over time. If DPS is too low, this could become a problem.
The Hardest AEP Bosses:
Za’qul, Harbinger of Ny’alotha – Phases can be tricky. The Delirium Realm can cause issues since solo players might not clear it fast enough.
Queen Azshara – The final boss is the biggest challenge. She has multiple mechanics requiring interrupts, positioning, and high burst damage.
Conclusion: Is Eternal Palace Soloable?
LFR/Normal: Easily soloable with The War Within gear.
Heroic: Mostly soloable, but Queen Azshara can be tough.
Mythic:May be difficult for newbies due to mechanics like Za’qul’s phasing and Azshara’s coordination-heavy fight.
If you’re farming Azshara’s Eternal Palace for transmog or achievements, most of the raid is easily soloable, but you may wipe multiple times before you finally manage to defeat Queen Azshara.
The Blackwater Behemoth in Azshara’s Eternal Palace is a water-based encounter where players must manage Bioluminescence (gained from Pufferfish or tank debuffs) to counter the Darkest Depths healing reduction. Avoid open water to prevent Gaze from Below, spread 5+ yards to dodge Bioelectric Feelers, and mitigate Shock Pulse by staying 25-35 yards from the boss. During platform transitions, use Slipstreams to chase the boss, avoid Darkwater Jellyfish, and interrupt Cavitation. On Mythic, handle Piercing Barb by splitting damage with 5-6 players. Use Bloodlust/Drums on the final platform for maximum efficiency.
Preferred Classes:
Tanks: Classes with strong self-sustain and mobility (e.g., Blood DK, Guardian Druid).
Healers: Healers with strong shields and AoE healing (e.g., Discipline Priest, Restoration Shaman).
DPS: Ranged DPS preferred for easier spread mechanics. Melee DPS must manage Bioelectric Feelers carefully.
Tips:
Oxygen-Rich Membrane: Interact with it before the fight for underwater breathing and increased swim speed.
Radiance of Azshara is a two-phase boss in Azshara’s Eternal Palace. In Phase One, avoid water, manage Tide Fist with tank swaps, dodge Arcanadoes, and handle Arcane Bomb by moving to low-traffic areas for dispels. In Phase Two, focus on the Stormwraith, interrupt Focus Power, position to avoid Gale Buffet knockbacks, and cleave Stormlings while interrupting their casts. Use Bloodlust/Drums in Phase Two for a quick Stormwraith burn. On Mythic, split the raid into two groups to handle dual Stormwraiths and coordinate debuff management.
Preferred Classes:
Tanks: Classes with strong mitigation and taunt swaps (e.g., Protection Paladin, Blood DK).
Healers: Classes with strong dispels and AoE healing (e.g., Holy Priest, Restoration Druid).
DPS: Classes with strong cleave, interrupts, and crowd control (e.g., Demon Hunter, Mage, Rogue).
Tips:
Phase One:
Avoid standing in the water around the boss or platform to prevent Radiant Fury.
Tanks must taunt swap after each Tide Fist to manage the physical damage debuff.
Spread loosely on one side of the platform to minimize movement from Arcanado Burst.
Players with Arcane Bomb should move to low-traffic areas and wait for dispels.
Healers should dispel Arcane Bomb carefully to avoid overlapping stuns.
Phase Two:
Move quickly to the Stormwraith and trigger Squall Traps only if necessary.
Interrupt Focus Power to prevent the Stormwraith from gaining a 500% damage buff.
Position the Stormwraith near the edge of the safe zone to avoid knockbacks from Gale Buffet.
Interrupt and crowd control Stormlings to mitigate their Chain Lightning casts.
The Queen’s Court in Azshara’s Eternal Palace is a two-boss encounter (Silivaz the Zealous and Pashmar the Fanatical) with a single phase. The raid must keep the bosses 21+ yards apart to avoid Separation of Power and defeat them within 15 seconds of each other to prevent Desperate Measures. Queen Azshara enacts decrees every 30-60 seconds, forcing players to adapt by spreading, moving, or avoiding repeated abilities. Key mechanics include soaking Form Ranks zones, splitting Frenetic Charge damage, and staggering Potent Spark explosions. Use Bloodlust/Drums early for maximum damage, and prioritize multi-DoT classes like Shadow Priests and Warlocks for optimal performance.
Preferred Classes:
Multi-DoT Classes: Shadow Priests, Balance Druids, Warlocks, and Elemental Shamans excel due to the need to damage both bosses simultaneously.
Ranged DPS: Focus on Pashmar, as melee DPS will primarily attack Silivaz.
Healers with Raid-Wide Damage Reduction: Discipline Priests and Holy Paladins are highly recommended for their strong cooldowns.
Tips:
Boss Positioning: Keep Silivaz in the center and Pashmar at the edge, maintaining at least 21 yards between them to avoid Separation of Power.
Damage Balance: Ensure both bosses are brought to 1 HP within 15 seconds of each other to prevent Desperate Measures.
Decrees: Follow Queen Azshara’s decrees strictly to avoid penalties. These include spreading out, moving frequently, and avoiding repeated ability usage.
Za’qul is the seventh boss in Azshara’s Eternal Palace, a mechanically complex encounter with four phases. The fight involves navigating multiple realms (Standard, Fear, Delirium) and dealing with unique mechanics in each phase. The boss has high raid-wide damage, requiring strong coordination, positioning, and dispel management.
Preferred Classes:
Tanks: Classes with strong survivability and mobility (e.g., Protection Paladin, Blood DK).
Healers: Classes with strong raid-wide cooldowns and dispels (e.g., Discipline Priest, Holy Paladin, Restoration Shaman).
DPS: Classes with high burst damage, self-healing, and survivability (e.g., Rogues, Shadow Priests, Warlocks, Hunters).
Tips:
General Tips:
Avoid the Dark Beyond void at the edges of the room.
Tanks must stay within 12 yards of each other to minimize Mind Tether damage.
Dodge Crushing Grasp tentacles to avoid being knocked into the void.
Stagger Dread dispels to prevent raid-wide one-shots.
Queen Azshara is a 4-phase boss fight in Azshara’s Eternal Palace, centered around managing Ancient Wards to prevent raid-wiping Catastrophic Failure. Key mechanics include soaking Arcane Orbs, handling Beckon mind control, and managing Drained Soul stacks from energizing wards. Phase 1 focuses on killing mini-bosses Aethanel and Cyranus, while Phase 2 introduces Ward of Power and mind control mechanics. Phase 3 adds Tidemistresses with Crystalline Shields, and Phase 4 requires baiting Nether Portals, avoiding Piercing Gaze, and staggering Overload charges. Use Bloodlust/Drums in Phase 4 for a strong DPS push to finish the fight.


 Tanks: Any tank class with strong mitigation and mobility to handle Crushing Reverberation and Frostvenom Tipped.
 Healers: Healers with strong AoE healing capabilities (e.g.,

 DPS: Ranged DPS are preferred for easier positioning during Overwhelming Barrage and Frostshock Bolts. Melee DPS must be careful with Crushing Reverberation and Overflow placement.
 Tips:
Tips:


Comments: