
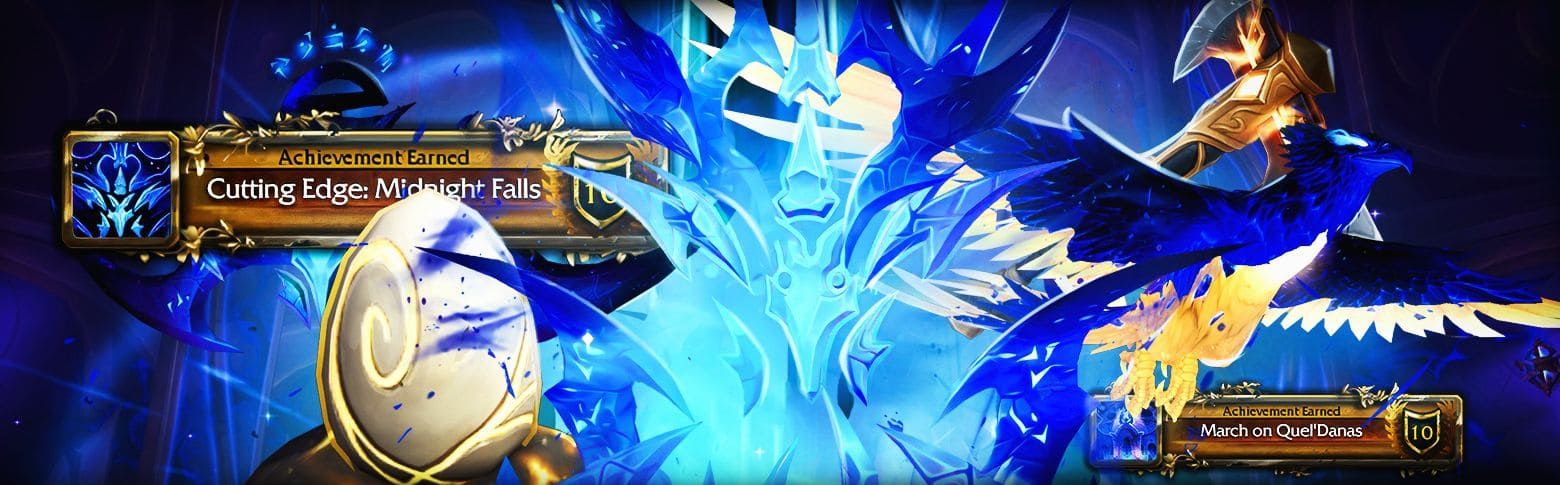
If you’ve been keeping an eye on Midnight Season 1, you already know that March on Quel’Danas is one of the first big tests for raiders. It’s short (only two bosses), but don’t let that fool you. Both encounters pack a punch, and with the right strategy (and a little luck), you’ll walk away with some seriously good loot.

- March on Quel’Danas Overview
- Location & Entrance
- Collectibles & Rewards
- Bosses Overview
- Belo’ren, Child of Al’ar
- Midnight Falls
- Achievements List
- Final Thoughts

March on Quel’Danas Overview
Where: Isle of Quel’Danas
Bosses: 2
Level Required: 90
Difficulties: Story Mode, Raid Finder, Normal, Heroic, Mythic
The raid is set on the sun‑drenched but now‑troubled Isle of Quel’Danas, right in the heart of the Sunwell’s influence. The first boss, Belo’ren, is a freshly hatched phoenix who’s been corrupted by Void energy — so you’ll be juggling both holy and shadow mechanics from the get‑go. The second, Midnight Falls, is a far more sinister encounter that’ll test your coordination and patience.
Both fights drop gear that’s essential for early‑season progression, and Midnight Falls also gives you a Chiming Void Curio, which you can trade in for any tier piece you want.

- Week of March 31: Normal, Heroic, Mythic
- Week of April 7: Raid Finder, Story Mode
Make sure you’ve got your item level up to snuff: Raid Finder requires a minimum of 220.
Raid Location & Entrance
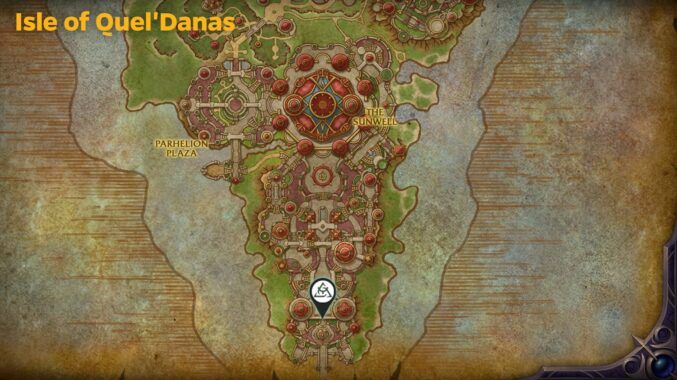
The March on Quel’Danas raid is found on the southern part of the Isle of Quel’Danas. If you’ve spent any time in The Burning Crusade, you’ll remember this place — it’s where the Sunwell Plateau sits.
Quick coordinates:
/way #2424 52.6 87.5 – the raid entrance
You can get there quickly by using the portal to the Timeways in Silvermoon City (if you’ve unlocked it) or by taking a flight path from the mainland. The entrance itself is hard to miss — it’s marked by a shimmering portal guarded by a few extra mobs.
Collectibles & Rewards
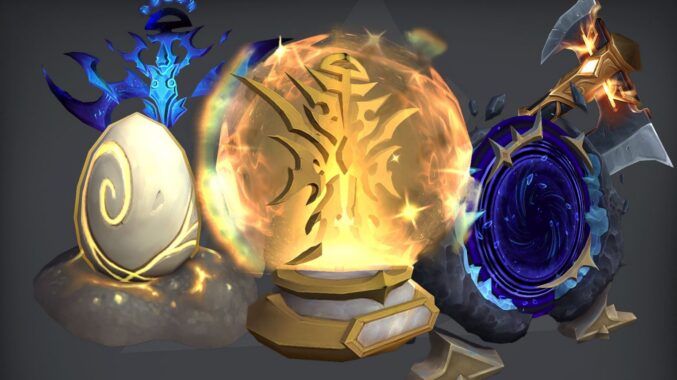
While there’s no raid‑wide mount this time (at least not yet), the loot is still worth the trip.
You’ll find:
- Tier set tokens from the final boss (via the Chiming Void Curio)
- Unique housing decor drops (rumor has it Belo’ren can drop a Phoenix Ash Brazier, and Midnight Falls has a Void‑Touched Sunwell Pedestal)
- A handful of trinkets and weapons that’ll serve you well through the first part of the season
Here’s the item level breakdown for each difficulty:
| Difficulty | Belo’ren (Boss 1) | Midnight Falls (Boss 2) | Crest Dropped |
| LFR | 240 | 243 | Veteran Dawncrest |
| Normal | 253 | 256 | Champion Dawncrest |
| Heroic | 266 | 269 | Hero Dawncrest |
| Mythic | 279 | 282 | Myth Dawncrest |
March on Quel’Danas Bosses Overview
Only two bosses stand between you and that sweet loot, but each one demands a different approach.
Belo’ren, Child of Al’ar – A void‑irradiated phoenix that juggles Light and Shadow feathers, and if you don’t handle his rebirth mechanic, you’ll be fighting him twice.
Midnight Falls – A shadow‑infused… something (the lore is still a little fuzzy) that drops a tier token and hits like a truck with its dark‑phase transitions.
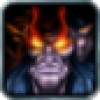
Belo’ren, Child of Al’ar
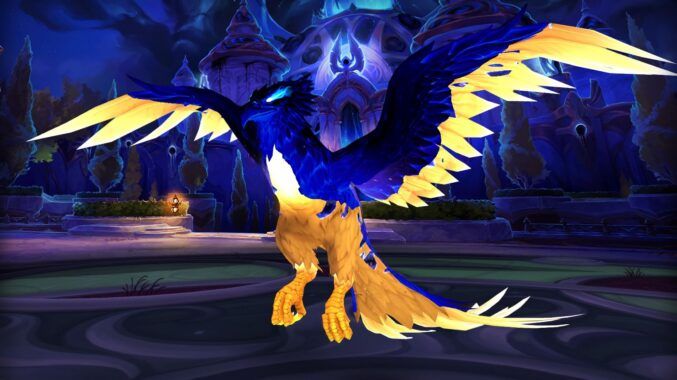
This is the opening act. Belo’ren looks like a majestic phoenix, but the Void has twisted him. He’s confused, freshly hatched, and sees you as the intruder. The fight is all about managing two opposing magic types and making sure his rebirth doesn’t turn into a second phase you didn’t sign up for.

- Light Feather / Void Feather – These land on random players. Light Feather absorbs Holy damage; Void Feather absorbs Shadow damage. You want the correct feather for incoming damage, so positioning and awareness matter.
- Light Dive / Void Dive – Belo’ren picks a spot and dives, dealing damage split among everyone in the area. Stack up for these to spread the pain.
- Guardian’s Edict – A tank ability: if it fails to hit a target, Belo’ren gets a damage buff. So, tanks, keep him pointed at you.
- Light Edict / Void Edict – These apply a debuff that increases damage taken from the respective magic type. Tanks will need to swap accordingly.
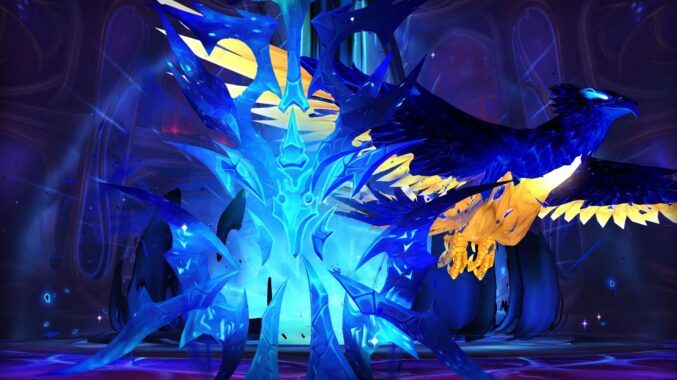
- Incubation of Flames – When Belo’ren hits 0%, he drops into an egg and fills the room with fire. You have to damage the egg to reduce his Immortal Flame stack; if it’s not reduced enough, he casts Rebirth and comes back at partial health.

 Tanks: High mobility to handle the Edicts and reposition for dives.
 Healers: Strong AoE healing for the split‑damage dives and the fire during incubation.
 DPS: Ranged have an easier time with feather management, but melee can manage if they’re quick. Burst damage is key when the egg phase starts.
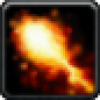
![]() Tips:
Tips:
- Feather management: If you get the wrong feather, you’ll take extra damage from the opposite type. Pay attention to which dive is coming — it’s telegraphed by the colour of the swirl on the ground.
- Stack for dives: Don’t be a hero; group up when you see the dive marker. The damage is split, so more people in the circle = less damage per person.
- Tank swap: Light Edict / Void Edict stack a debuff. Swap at 2–3 stacks to keep your tank alive.
- Egg phase: When Belo’ren turns into an egg, all damage you deal reduces the Immortal Flame counter. Pop cooldowns here — if you leave it too high, he’ll rebirth and you’ll have to do the whole fight again.
- Stage 1 (The Phoenix Flies):
- Tanks: keep Belo’ren facing you, swap after Edict stacks.
- Raid: spread out initially, then stack for each dive.
- Healers: watch for the feather‑mismatched players — they’ll need extra love.
- Transition (Egg Phase):
- Priority: As soon as the egg spawns, the whole raid piles on.
- Dodge: Use Bloodlust / Heroism here if you have it; reducing Immortal Flame quickly is the priority.
- Avoid standing in the fire patches (they hurt).
- If he rebirths – don’t panic. He comes back with less health than the first time, but the mechanics repeat. Just handle feathers and dives again, and finish him off.

- Best use: During the first egg phase. Bursting the egg down prevents a prolonged fight.
- Alternative: If your group’s DPS is solid and you want to skip the egg phase entirely, you can save it for a sub‑30% burn, but the egg is the safer bet.
Normal
- Forgiving feather mechanic (mistakes are survivable)
- Moderate damage from Light Dive / Void Dive
- Egg phase does not require perfect DPS
- Rebirth is manageable and not fight-ending
Heroic
- Stricter feather management (wrong type becomes dangerous)
- Higher damage during dive mechanics
- Tank debuffs (Light Edict / Void Edict) require proper swaps
- Egg phase becomes a DPS check (rebirth should be avoided)
Mythic
- Wrong feather usage is heavily punished (near one-shots)
- Frequent mechanic overlap (dives + edicts)
- Limited safe positioning space
- Egg phase is critical — failing to reduce Immortal Flame can lead to a wipe or a prolonged fight

| Type of Armor | Item | Loot type |
| Cloth | Echoing Void Mantle | Shoulder |
| Whisper-Inscribed Sash | Waist | |
| Leather | Radiant Clutchtender’s Jerkin | Chest |
| Darkstrider Treads | Feet | |
| Eternal Flame Scaleguards | Legs | |
| Plate | Emberborn Grasps | Hands |
| Accessories | Sin’dorei Band of Hope | Ring |
| Any | The Eternal Egg | Trinket |
| Radiant Plume / Umbral Plume | Trinkets | |
| Thalassian Dawnguard | Shield | |
| Belo’melorn, the Shattered Talon | Dagger | |
| Belo’ren’s Swift Talon | Dagger |
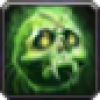
Midnight Falls
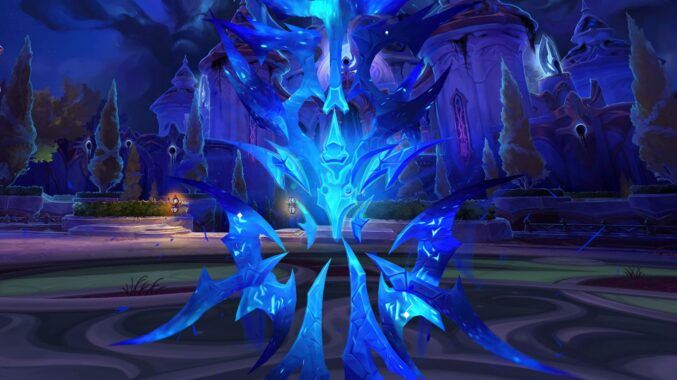
The namesake of the raid, Midnight Falls, is a shadowy construct (or perhaps a corrupted night elf?) that serves as the final barrier before the Sunwell. The fight is a brutal two‑phase affair, shifting between intense light and crushing darkness.
- Falling Midnight – The boss leaps to a random player, leaving a pool of shadow that persists and expands if not soaked quickly.
- Shattered Radiance – A frontal cone that deals heavy Holy damage and applies a healing absorption shield.
- Void‑Lashed Chains – Tethers two players together; if they move more than 15 yards apart, both take massive Shadow damage.
- Duskfall – At 100 energy, Midnight Falls summons a wave of darkness across the room. Players must stand in designated light wells (dropped by adds) to avoid being instantly killed.
- Embrace of the Void – A hard enrage at 20% health; the boss deals 30% more damage and attacks faster until dead.
- Tanks: Classes with strong physical mitigation and mobility to reposition after Shattered Radiance.
- DPS: Burst AoE for the adds that spawn during Duskfall, plus strong single‑target for the final burn.
- Healers: Need to handle heavy raid‑wide damage during Duskfall and dispel the healing absorption from Shattered Radiance.
![]() Tips:
Tips:
- Soak the shadow pools: Falling Midnight creates puddles that grow quickly. Have someone (preferably a tank or a durable DPS) stand in them to shrink them.
- Chains: If you get chained, stay close to your partner. Call out if you need to move.
- Light wells: During Duskfall, adds drop little pools of light. The raid must be in those pools when the wave hits, or it’s a wipe. Spread out to cover the room.
- Final phase: At 20%, pop all defensives and nuke. Healers, save your big cooldowns for this part.
Phase 1 (100% – 60%)
- Tanks: position Midnight Falls away from the raid to avoid cleaving the group with Shattered Radiance. Swap when tank debuff stacks get high.
- Raid: spread out to minimize splash damage from Falling Midnight, but be ready to stack for the soak when puddles appear.
- Healers: dispel the healing absorption from Shattered Radiance quickly, or your tank will die.
Duskfall (every 100 energy)
- Adds spawn; kill them as fast as you can. They drop light wells.
- The raid must be inside a light well when the wave reaches them. If you’re not, you’re dead.
- Communicate which wells you’re taking to avoid overcrowding (wells can only hold so many people before they expire).
Phase 2 (60% – 20%)
- Same mechanics, but now Falling Midnight leaves more pools, and Duskfall happens more often.
- Use movement abilities to stay ahead of the expanding darkness.
Burn Phase (20% – 0%)
- The boss enrages. Pop Bloodlust / Heroism if you haven’t already, and burn everything.
- Tanks rotate cooldowns; healers use their biggest raid‑wide heals.
- Option 1: At the start of the fight to push through the first Duskfall quickly.
- Option 2: During the final 20% burn, when the boss is enraged and you need to finish him before the raid collapses.
- Most groups save it for the final phase because the healing requirements get insane.
Normal
- Slower expansion of shadow pools (Falling Midnight)
- Duskfall is forgiving with more reaction time
- Chains are manageable even with minor mistakes
- Final phase is relatively stable
Heroic
- Faster spread of shadow pools
- More frequent Duskfall events
- Chains require proper positioning and awareness
- Increased raid-wide damage
Mythic
- Rapid buildup of shadow zones, heavily restricting space
- Frequent mechanic overlap (chains + puddles + Duskfall)
- Limited light wells require precise coordination
- Final phase (20%) is a heavy DPS and healing check
| Type of Armor | Item | Loot type |
| Cloth | Robes of Endless Oblivion | Chest |
| Leather | Mask of Darkest Intent | Helm |
| Oblivion Guise | Helm | |
| Plate | Extinction Guards | Legs |
| Any | Amulet of the Abyssal Hymn | Neck |
| Eye of Midnight | Ring | |
| Light of the Cosmic Crescendo | Trinket | |
| Shadow of the Empyrean Requiem | Trinket | |
| Lightless Lament | Warglaives | |
| Alah’endal, the Dawnsong | Axe | |
| Brazier of the Dissonant Dirge | Staff |
Tier Token Exchange:
After defeating Midnight Falls, you’ll receive a Chiming Void Curio. Take it to Kirana, the vendor standing to the right of the raid entrance (just past the portal). She’ll trade it for any tier set piece you’re missing.
March on Quel’Danas Achievements List
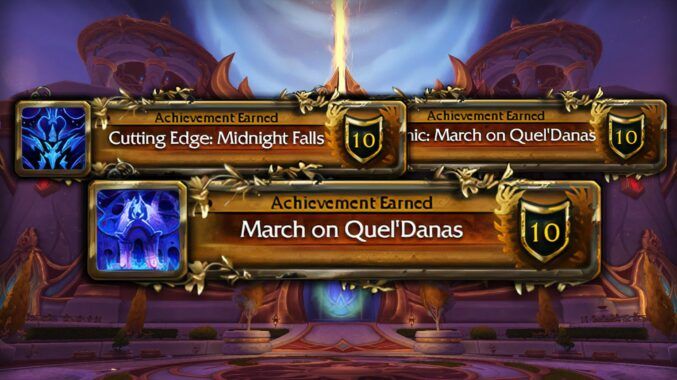
| Achievement | Requirement |
| March on Quel’Danas | Defeat both bosses on any difficulty. |
| Heroic: March on Quel’Danas | Defeat both bosses on Heroic difficulty or higher. |
| Mythic: March on Quel’Danas | Defeat both bosses on Mythic difficulty. |
| Ahead of the Curve: Midnight Falls | Defeat Midnight Falls on Heroic or higher before the next raid tier launches. |
| Cutting Edge: Midnight Falls | Defeat Midnight Falls on Mythic difficulty before the next raid tier. |
| Puddle Jumper | Defeat Midnight Falls without any Falling Midnight pool reaching maximum size. |
| Nothing to See Here | Get consumed by the Devouring Host. |
| Mythic: Midnight Falls | Defeat Midnight Falls on Mythic difficulty. |
| Mythic: Belo’ren, Child of Al’ar | Defeat Belo’ren, Child of Al’ar on Mythic difficulty. |
| All the Things She Said | Defeat Midnight Falls after returning 12 Memories of Alleria back to L’ura on Normal difficulty or higher. |
| Eggsistential Crisis | Defeat Belo’ren, Child of Al’ar after infusing the Sunwell Egg with Light and Void magic on Normal difficulty or higher. |
Final Thoughts
March on Quel’Danas is a great introduction to Midnight raiding. Two bosses, each with a clear identity and satisfying mechanics, and the loot is more than enough to get you ready for whatever comes next in Season 1.
If you’re looking to clear it fast or just want to avoid the chaos of pugging — our March on Quel’Danas boost service is the way to go. We’ll get you through on your chosen difficulty, with all the loot and achievements you’re after, and zero frustration.
Good luck, and may your feathers be light and your shadows brief!


Comments: