The Darkness in the Light is an Exotic mission in Destiny 2 that begins in Gambit and is still available in The Final Shape. This quest involves multiple steps (explained below), including defeating Taken bosses, completing the Corrupted strike, and achieving specific goals in Gambit matches.
- Malfeasance Overview;
- Step 1: Acquiring the Seething Heart;
- Step 2: City of Secrets;
- Step 3: The Corrupted;
- Step 4: Business As Usual;
- Step 5: Lights Out;
- Step 6: Claiming Malfeasance;
- Step 7: Dark Weapon Core;
- Video guide.
- Getting Malfeasance Catalyst (Bonus)
Darkness in the Light Reward: Malfeasance Exotic
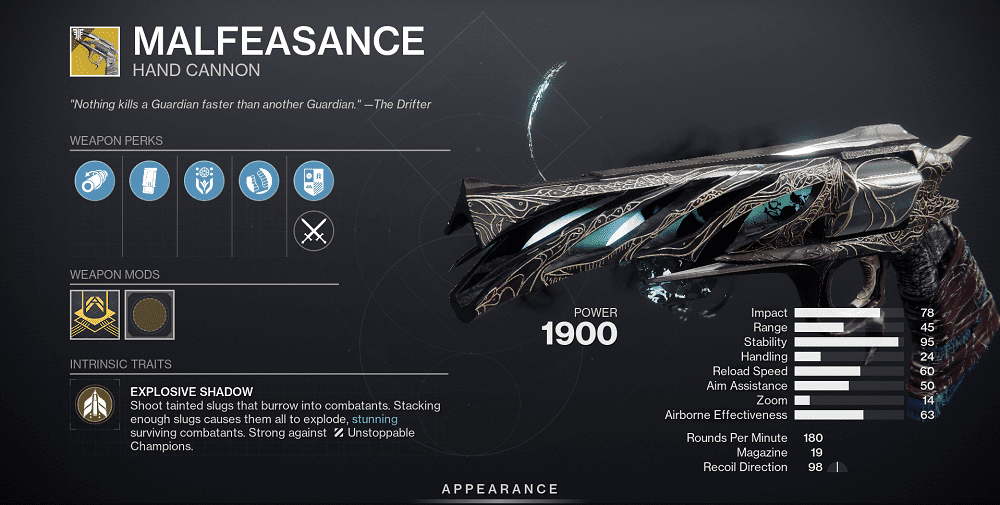
Malfeasance is a Precision (180 RPM) Kinetic Exotic Hand Cannon introduced in the Forsaken expansion and remains a strong option in PvE for The Final Shape. This weapon stands out thanks to its unique perks:
- Explosive Shadow: Fires tainted slugs that burrow into enemies and explode after stacking five shots, making it highly effective against groups and even Unstoppable Champions.
- Taken Predator: Provides bonus damage against Taken enemies and Gambit invaders, making it a meta in Gambit or encounters with heavy Taken presence.
When paired with the Lucky Pants Hunter Exotic, Malfeasance becomes a devastating burst-damage weapon, rivaling some of the strongest primary options in the game. Its Catalyst further enhances its effectiveness, adding the Vorpal Weapon perk (bonus damage against bosses and vehicles) and +20 range, improving its utility in both PvE and Gambit.
- Great for Gambit: Bonus damage against invaders and easy-to-use mechanics make it a go-to weapon.
- Utility Against Champions: Explosive Shadow is great for crowd control, while Vorpal Weapon boosts boss damage.
- Synergy with Lucky Pants: Hunters can unlock massive damage potential with this combination, giving it a unique edge.
Summing up, it’s a must-have weapon in a loadout of players who frequently engage in Gambit or Taken-heavy activities.
Step 1: The Seething Heart

The quest begins with a Gambit activity. To get started, you must face the Ascendant Primeval Servitor, a special Primeval boss that spawns randomly during Gambit matches. When this boss appears, your team needs to defeat it to earn the Seething Heart. Winning the match after the Servitor’s defeat is crucial; otherwise, you’ll have to try again in another Gambit game.
Once you’ve acquired the Seething Heart, head to the Tower and speak with The Drifter. He will officially kick off the main questline for Malfeasance.
Step 2: City of Secrets
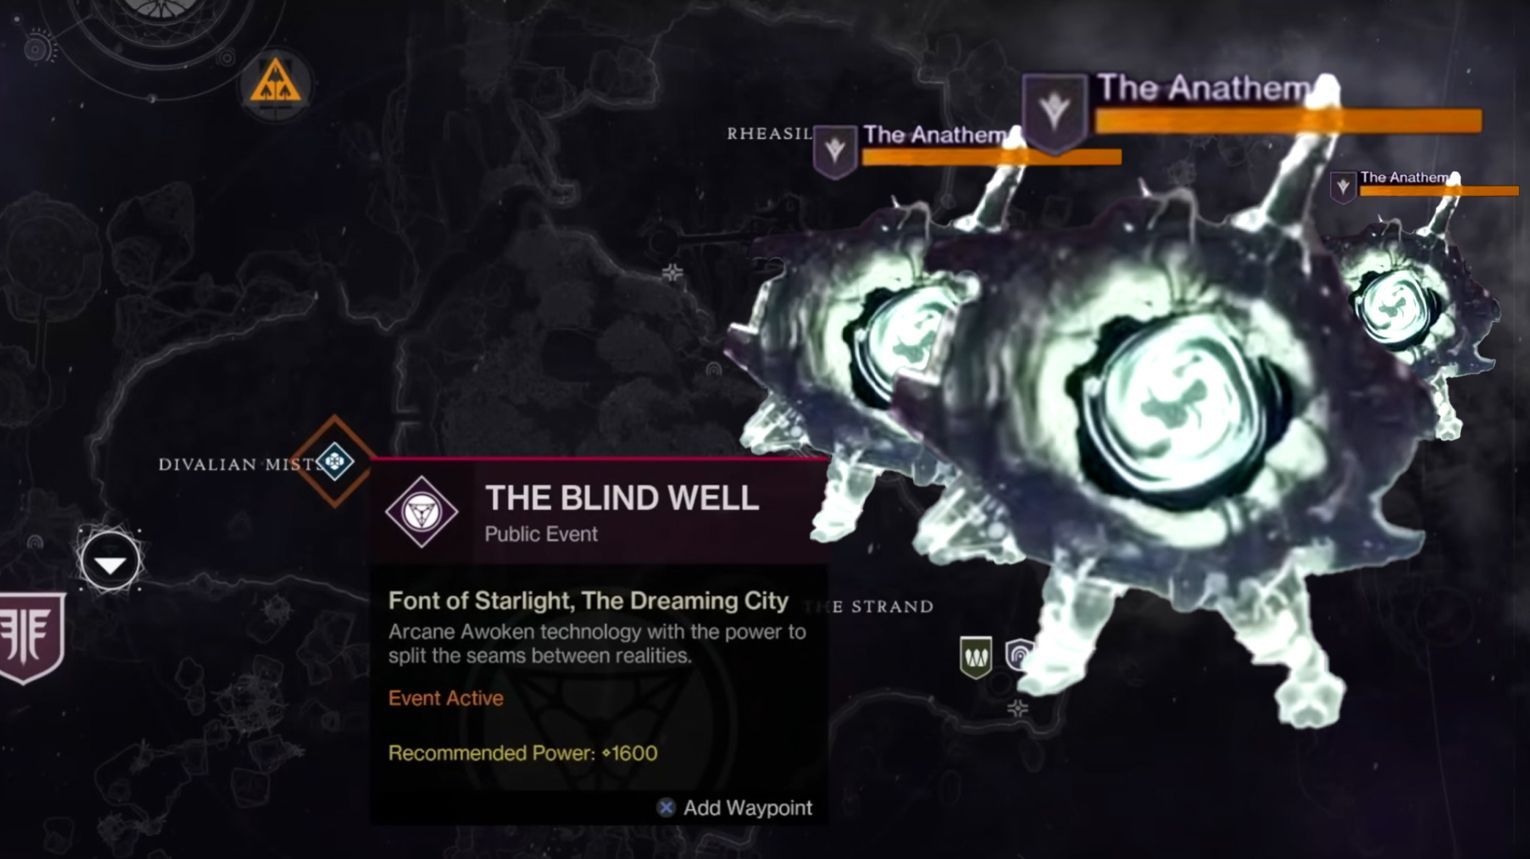
The next task sends you to the Dreaming City, where you need to defeat 25 Taken bosses or minibosses. These are enemies with yellow health bars, typically found in specific activities. A few recommended places to complete this step efficiently include:
- Blind Well: Participate in Tier 2 or higher runs, which spawn Taken minibosses in the later phases.
- Lost Sectors: Areas like Bay of Drowned Wishes often contain multiple Taken bosses.
- Shattered Throne Dungeon: The Labyrinth Architects miniboss can be farmed repeatedly by dying and respawning near its location.
Step 3: The Corrupted Strike

After defeating the Taken bosses, you’ll need to complete a special version of The Corrupted strike. The mission involves fighting through Taken forces and dealing with challenging mechanics, especially during the elevator encounter and final boss.
For the elevator section, use Arc and Void resistance mods to survive the heavy damage. At the final boss, positioning is key—use cover effectively to avoid being knocked off the platform. Having a Fireteam is highly recommended for this step to make the process smoother and more manageable.
Step 4: Depleted Weapon Core
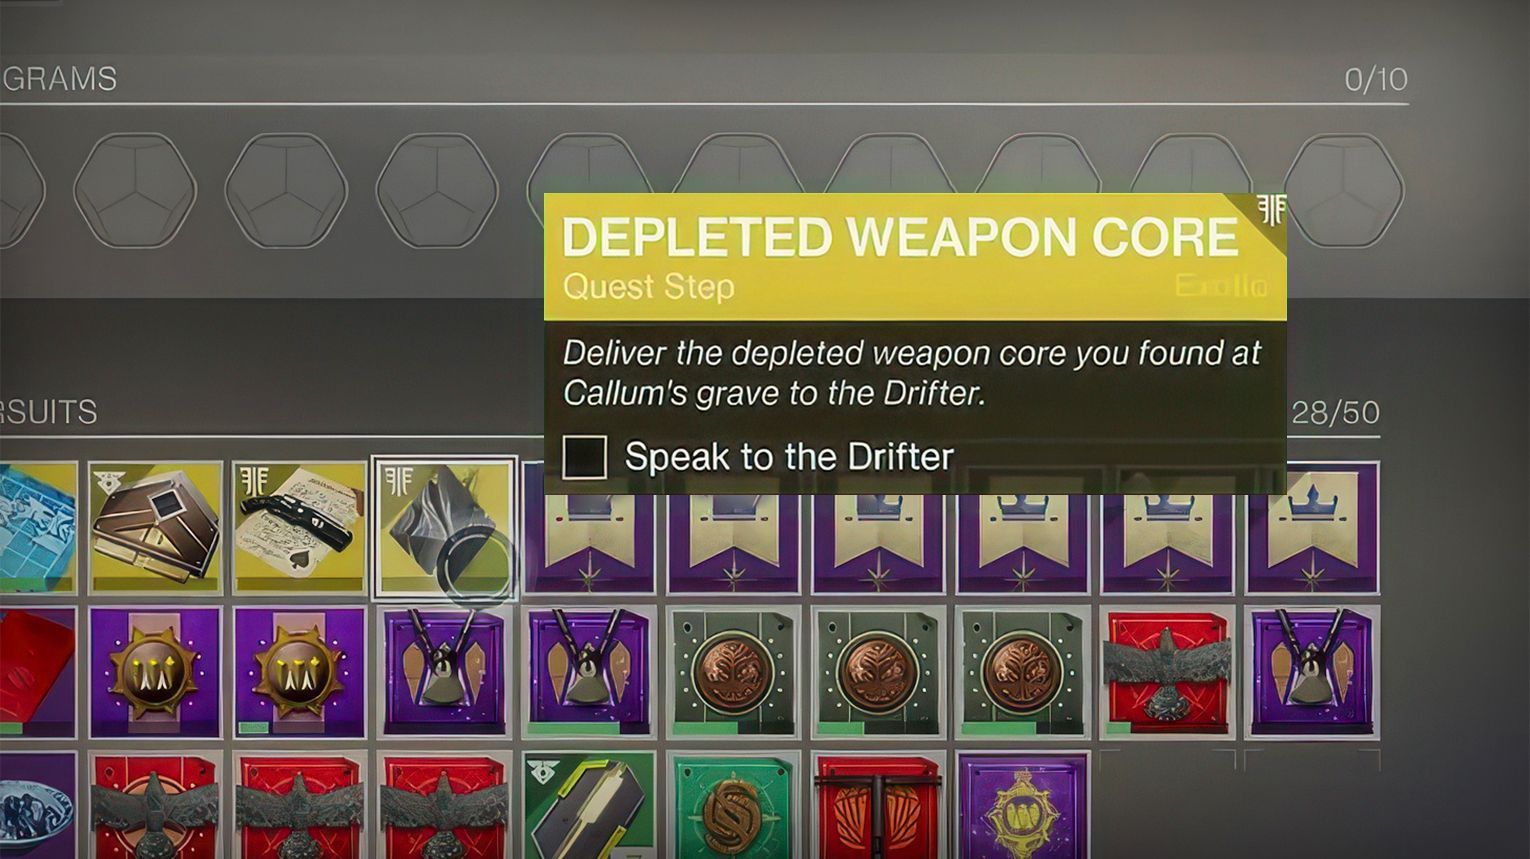
Once The Corrupted strike is complete, you’ll receive a Depleted Weapon Core. Your next task is to return this core to The Drifter in the Tower. This step doesn’t involve any extra combat but serves as a transition to the next phase of the quest.
Step 5: Business as Usual
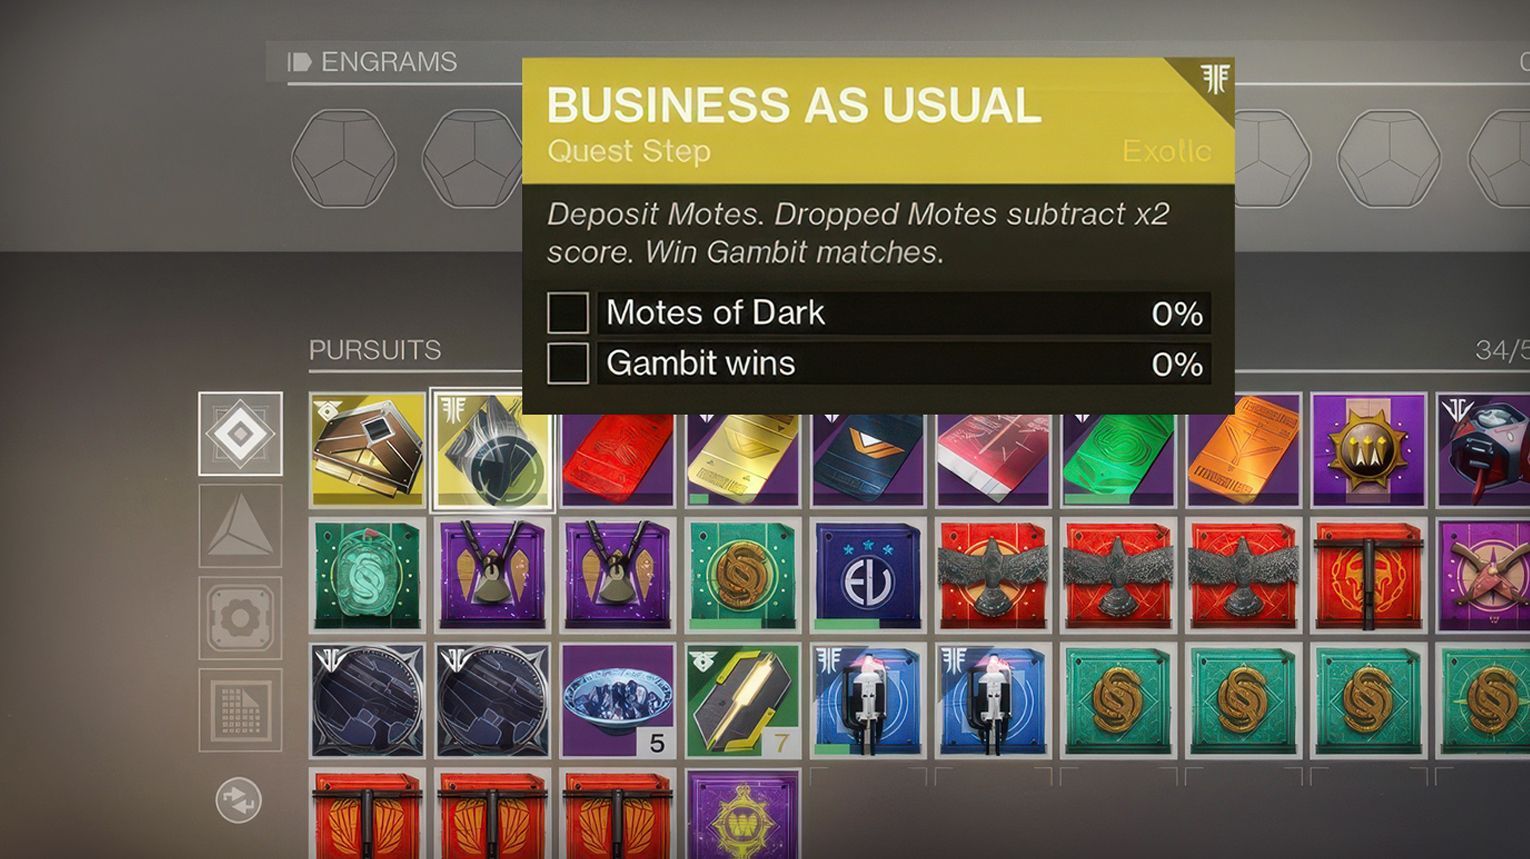
In this step, it’s time to dive back into Gambit. You must complete two objectives simultaneously:
- Deposit 400 Motes. Be cautious, as every lost Mote subtracts double the value from your total.
- Win 10 Gambit matches.
To minimize setbacks, deposit Motes regularly instead of carrying a large amount. This step can be completed more efficiently by playing with a coordinated team that prioritizes protecting teammates who are holding Motes. Communication is key here, as invaders can easily disrupt your progress.
Step 6: Lights Out
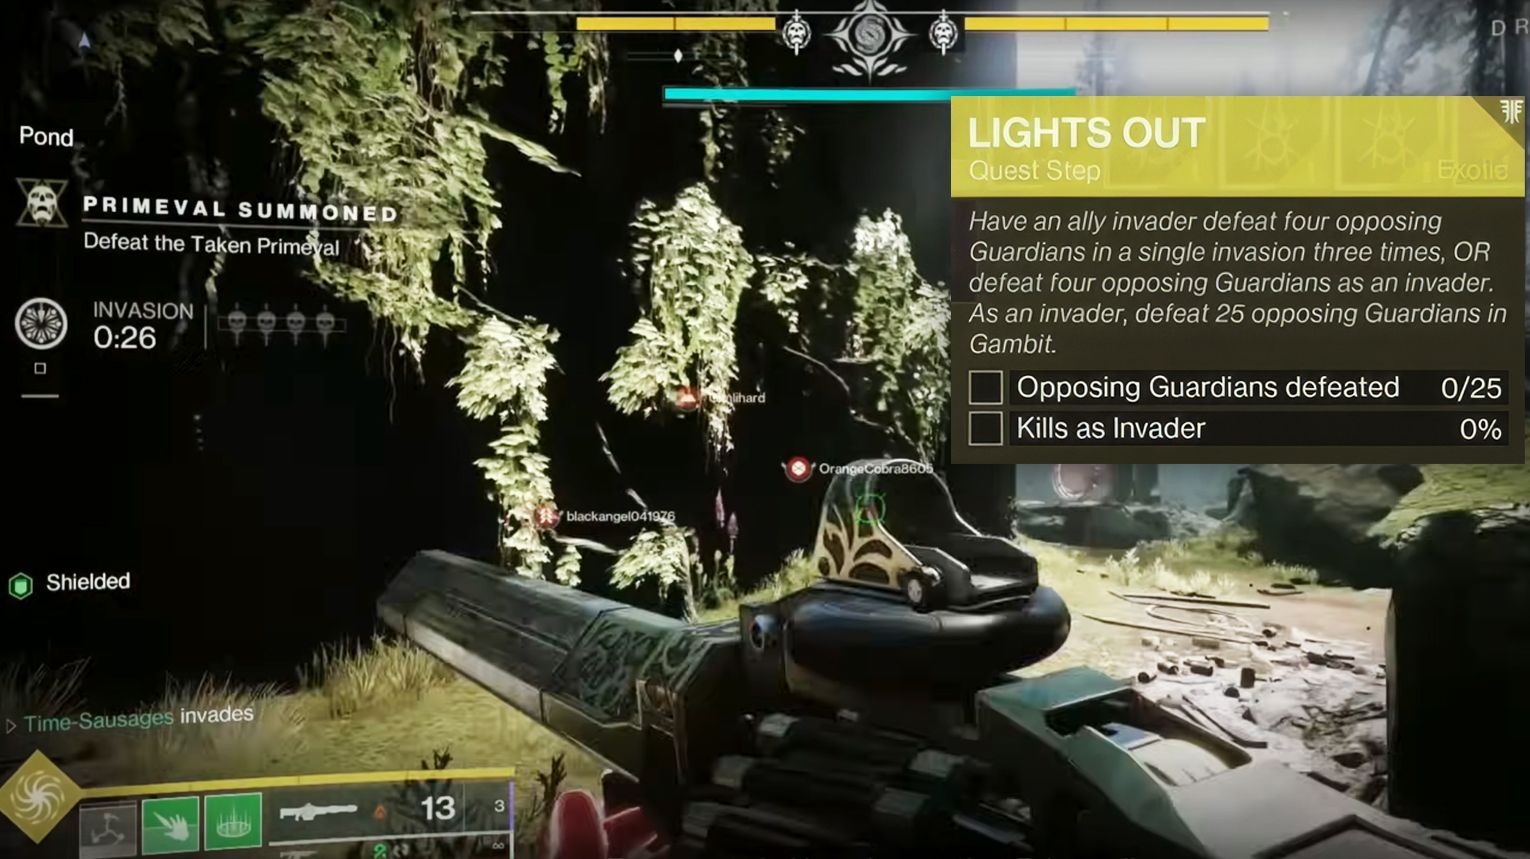
This is arguably the most challenging part of the quest. You need to achieve two goals in Gambit:
- Defeat 25 opposing Guardians as an invader.
- Wipe the entire enemy team (4 players) in a single invasion three times, or have allies do it for you.
For the first goal, focus on heavy-hitting weapons like Gjallarhorn, Xenophage, or Leviathan’s Breath. A well-timed Super can also help clear multiple Guardians. The second goal requires precise timing and teamwork. If you’re not comfortable invading, consider playing with friends who can achieve the team wipe requirement.
Be patient, as this step might take several matches. Success depends on finding the right opportunities to invade and execute your strategy effectively.
Step 7: Dark Weapon Core
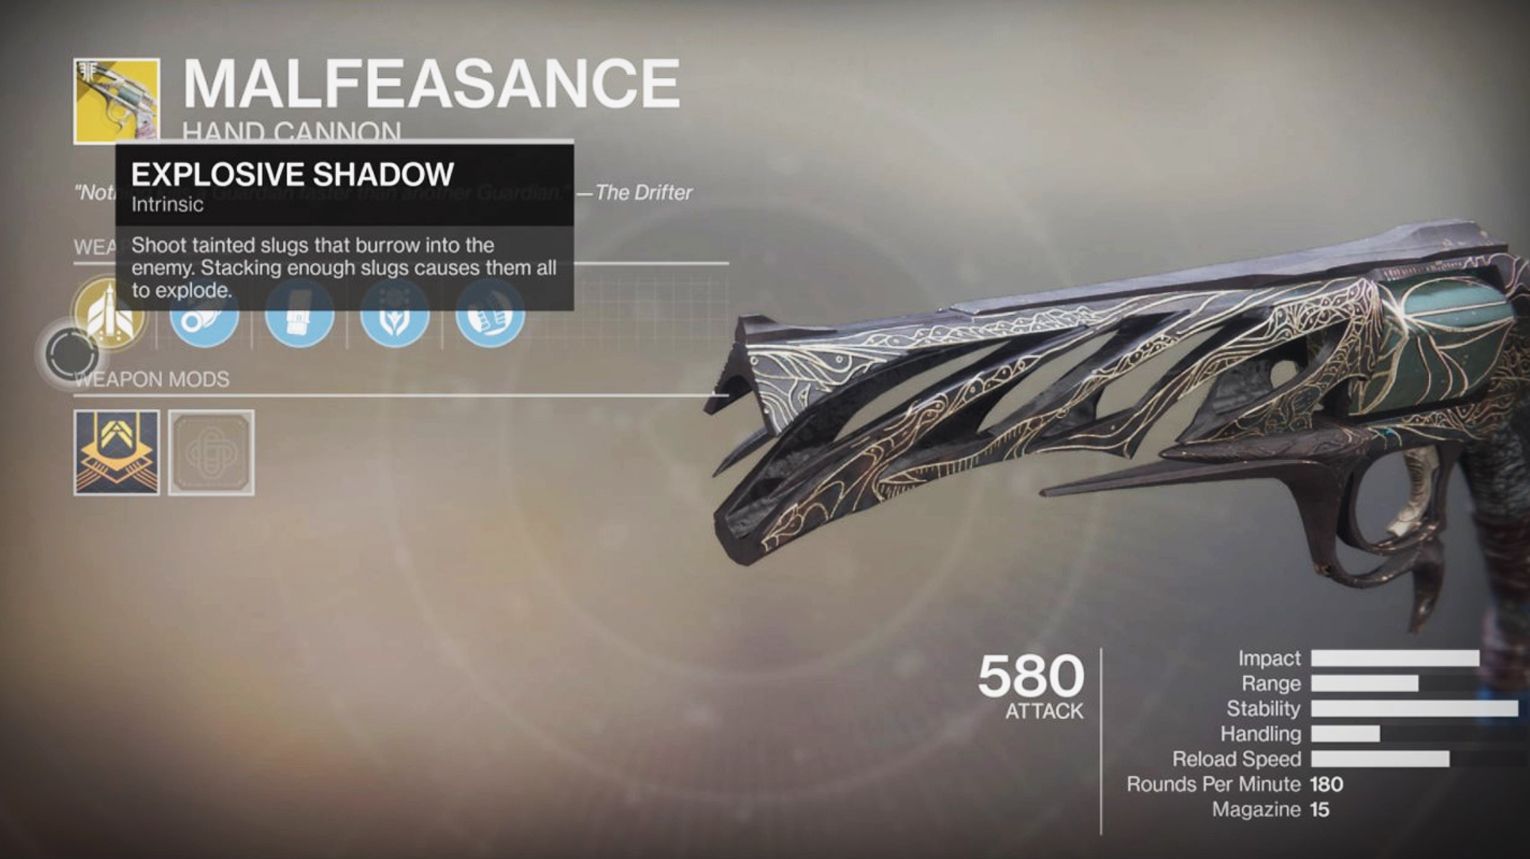
With all previous objectives completed, return to The Drifter one final time. He will reward you with the Malfeasance hand cannon. This marks the end of the main questline, but there’s more to enhance the weapon if you’re interested.
Malfeasance Catalyst

The Malfeasance Catalyst drops randomly from any ritual activity. This includes:
- Vanguard Strikes
- Crucible Matches
- Gambit Matches
There is no guaranteed drop, so you may need to complete several activities before it appears. Competitive Crucible matches have a slightly increased drop rate, making them a good option if you’re looking to farm it faster.
After obtaining the Catalyst, you’ll need to complete its progression by getting 700 kills with Malfeasance. Any activity where you can quickly kill multiple enemies works well for this grind.
Popular farming spots include:
- Shuro Chi checkpoint in the Last Wish Raid.
- The Grasp of Avarice dungeon, especially its opening encounter with respawning enemies.
- Public events or high-density enemy areas like Lost Sectors.
What Does the Malfeasance Catalyst Do?
When you apply the Malfeasance Catalyst, it provides the following benefits:
- +20 Range: Increases the weapon’s effective range, allowing you to deal damage from farther distances with better precision.
- Vorpal Weapon Perk: Adds bonus damage to bosses, vehicles, and Guardians in their Super, making it especially useful for high-damage phases and PvE activities like Nightfalls and Raids.
These upgrades make Malfeasance more versatile and effective in both PvE and Gambit.
Check this detailed video guide if you still have any questions:


Comments: