
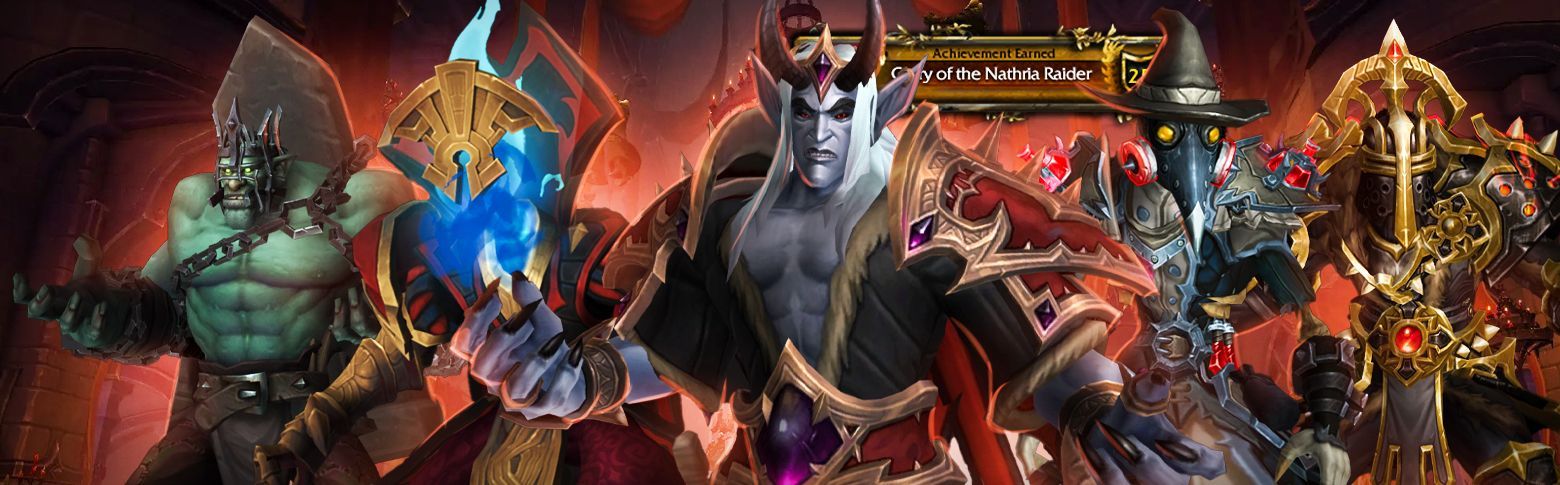
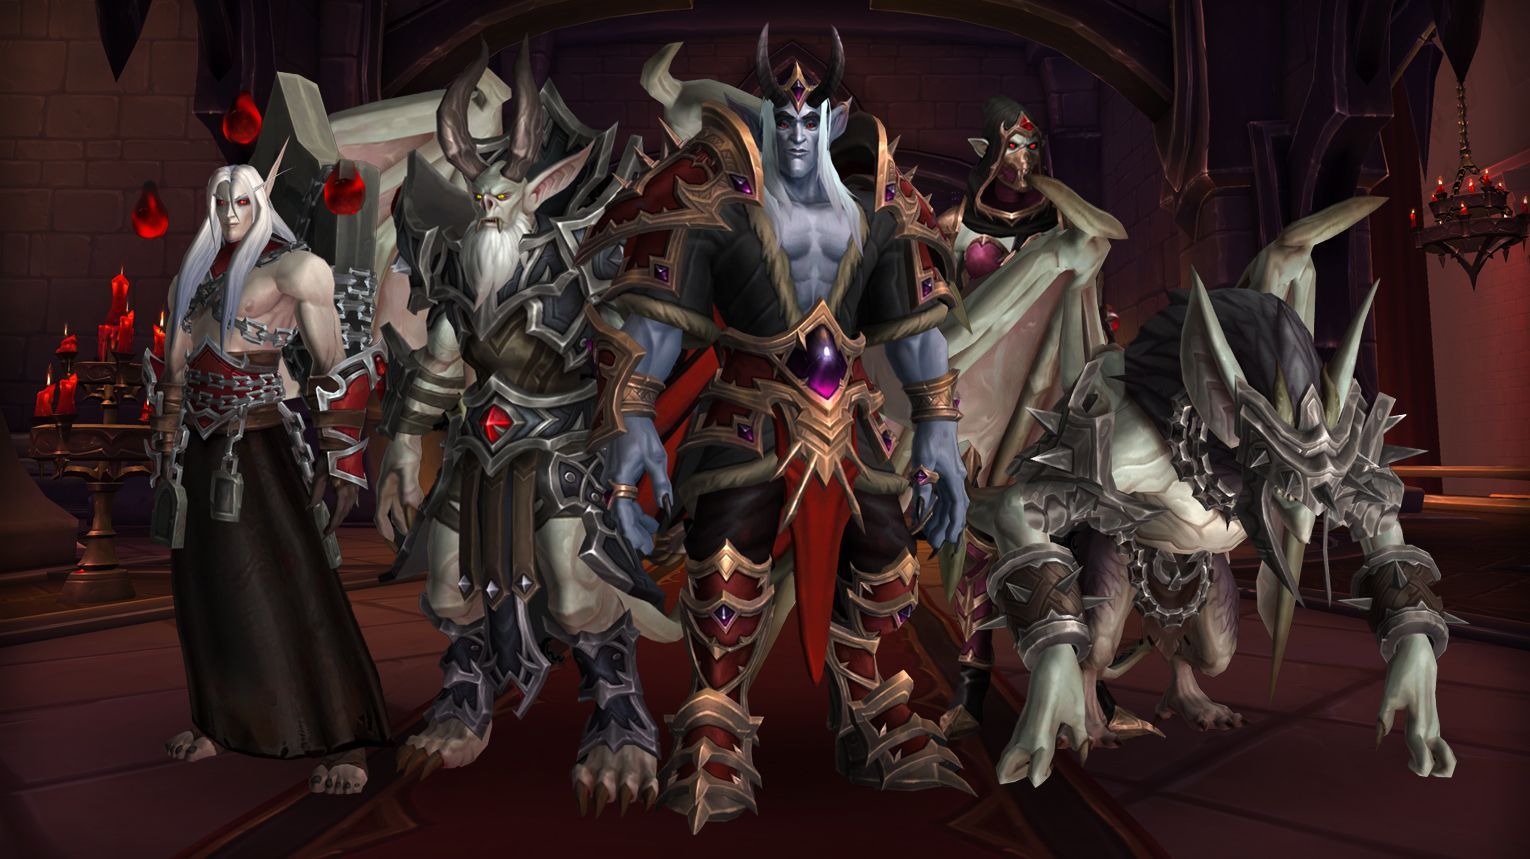
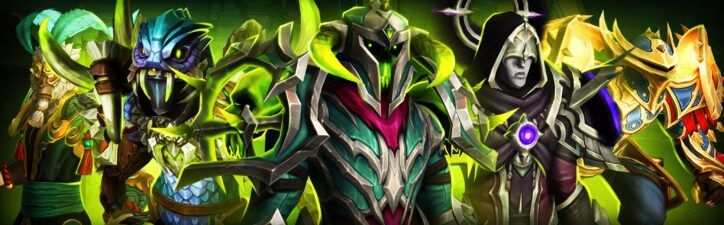
Castle Nathria, the first raid of World of Warcraft: Shadowlands, was released on the 8th of December, 2020. It remains a valuable source of transmogs, mounts, and collectibles in The War Within. This gothic stronghold in Revendreth features ten bosses, including Sire Denathrius, with unique armor sets, weapons, and achievements to earn.

- Castle Nathria location
- Bosses and their rewards
- Available mounts, weapons, and transmogs
- Achievements you can earn
- Can you solo Castle Nathria?
If you seek legendary Shadowlands loot, vampiric transmog sets, and exclusive Sire Denathrius rewards, our Castle Nathria carry service offers a flawless raid experience. You’ll storm the opulent halls of Revendreth with our elite raiders, who have mastered every encounter from Normal and Heroic to the punishing Mythic Sire Denathrius fight.

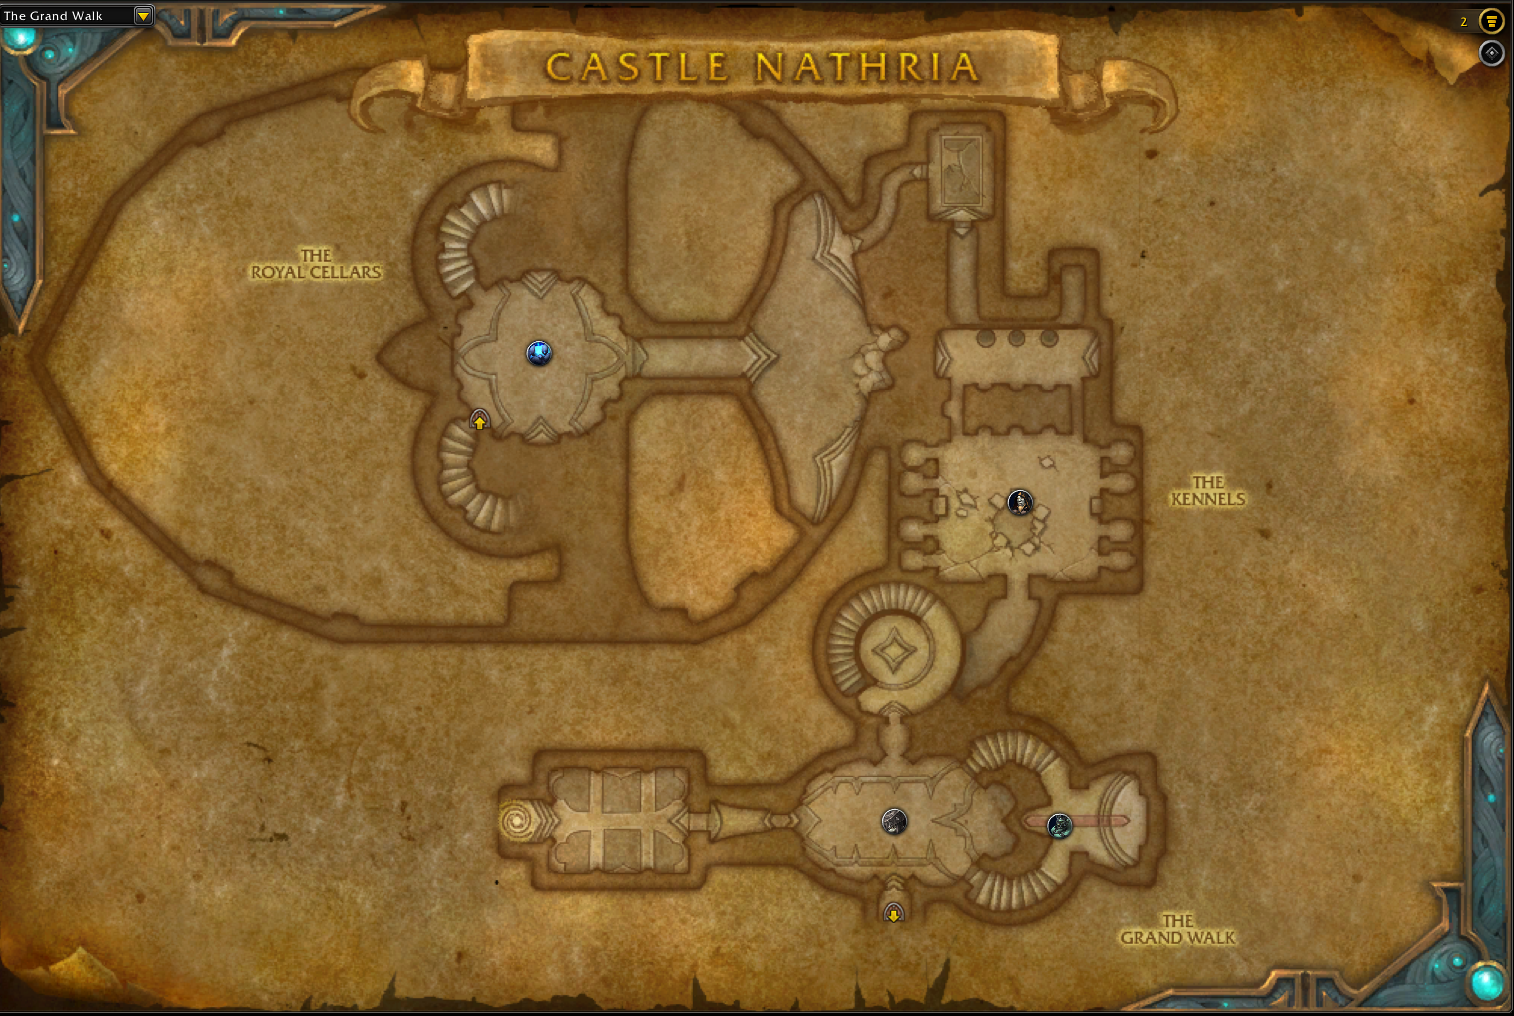
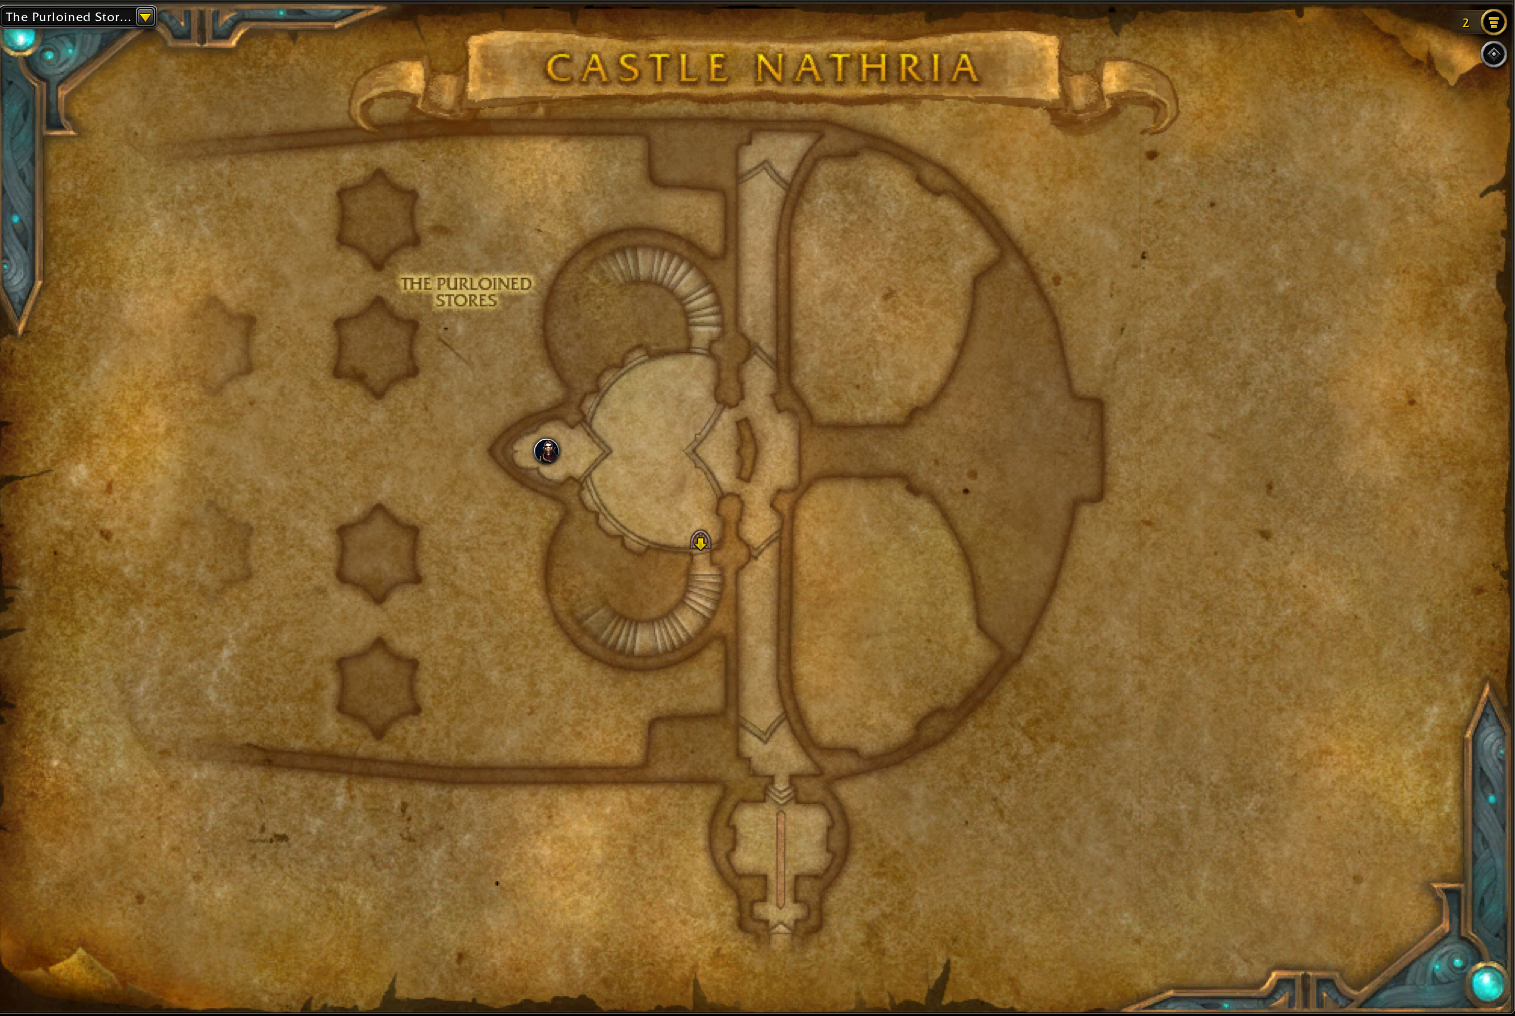
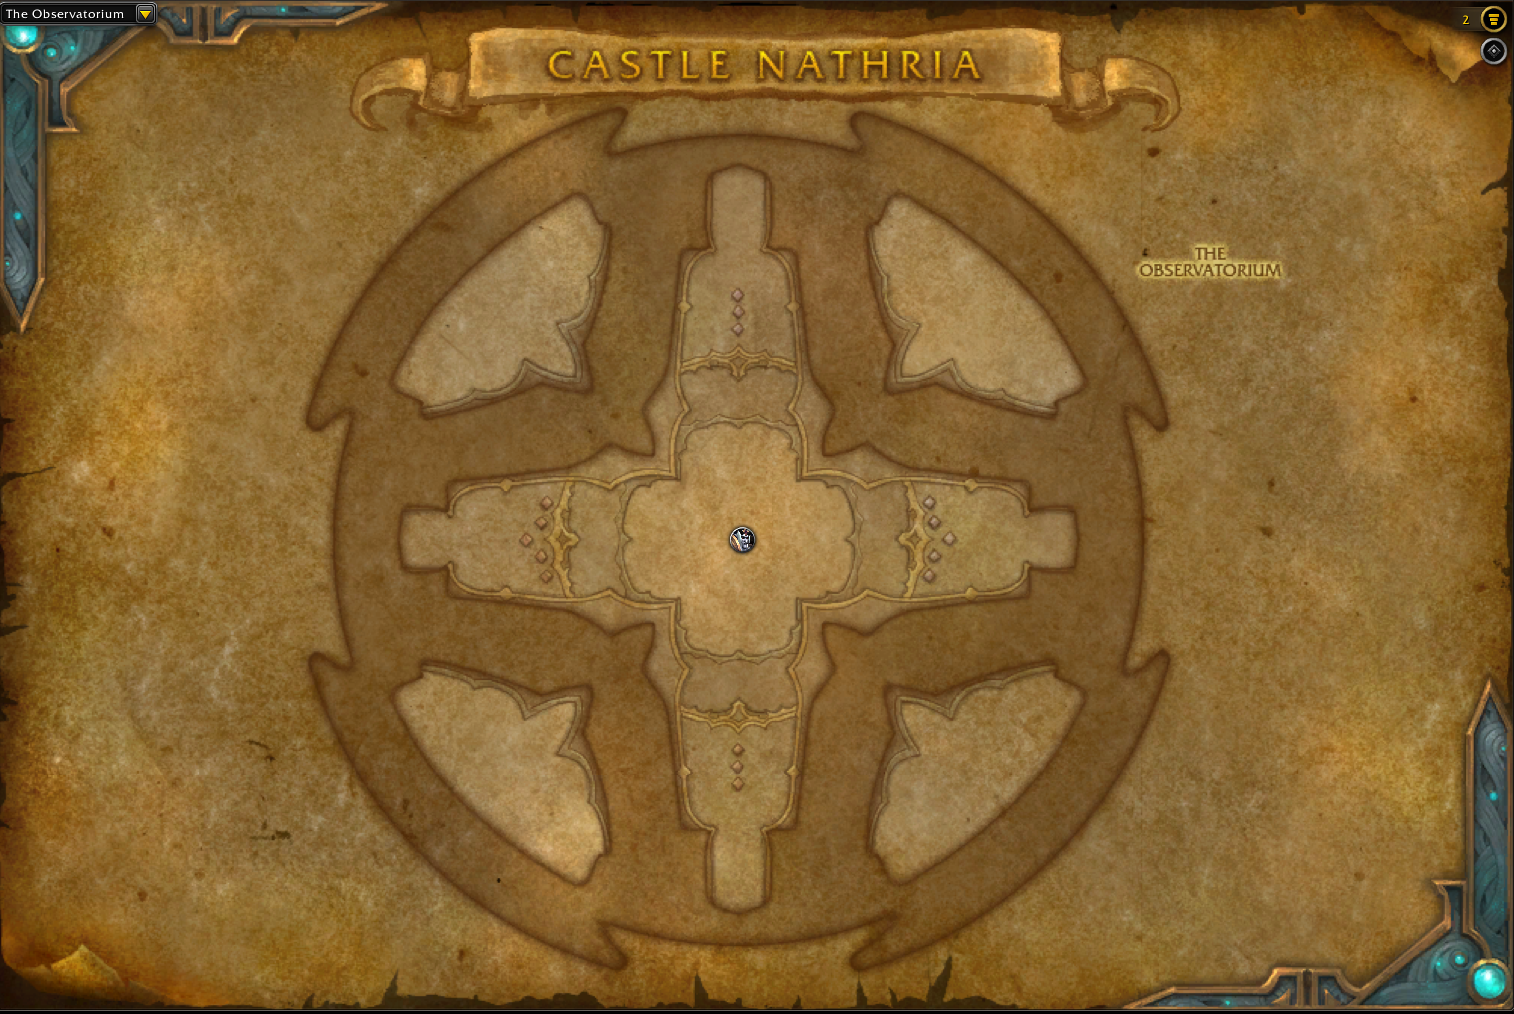
Castle Nathria Entrance and Subregions
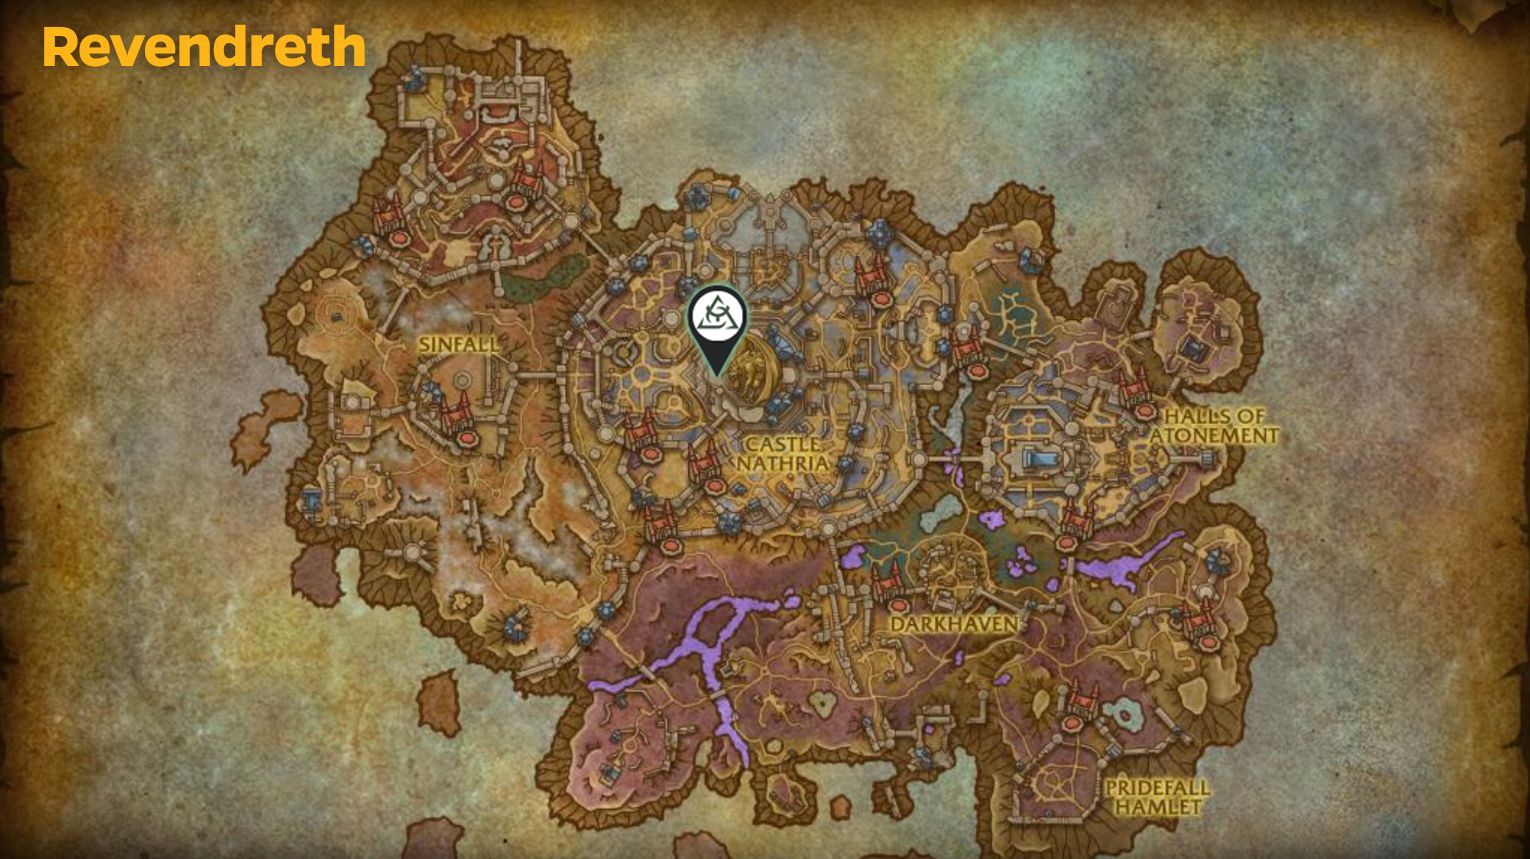
Castle Nathria is located in the Revendreth zone in World of Warcraft: Shadowlands. To reach it, you should travel to Revendreth, which can be accessed via Oribos, the central hub of the Shadowlands. There, take the Charred Ramparts flight path and head toward the giant castle in the distance.
The entrance to Castle Nathria is at 46.5, 41.5, just past a broken section of the wall. Follow the path, watch out for enemies, and you’ll reach the main gates. Once at the entrance, simply walk through the massive doors to enter the raid and begin the encounter exploration.
Inside, you’ll move through different subregions as you fight your way to Sire Denathrius.

- The Grand Walk,
- The Kennels,
- The Royal Cellars,
- The Purloined Stores,
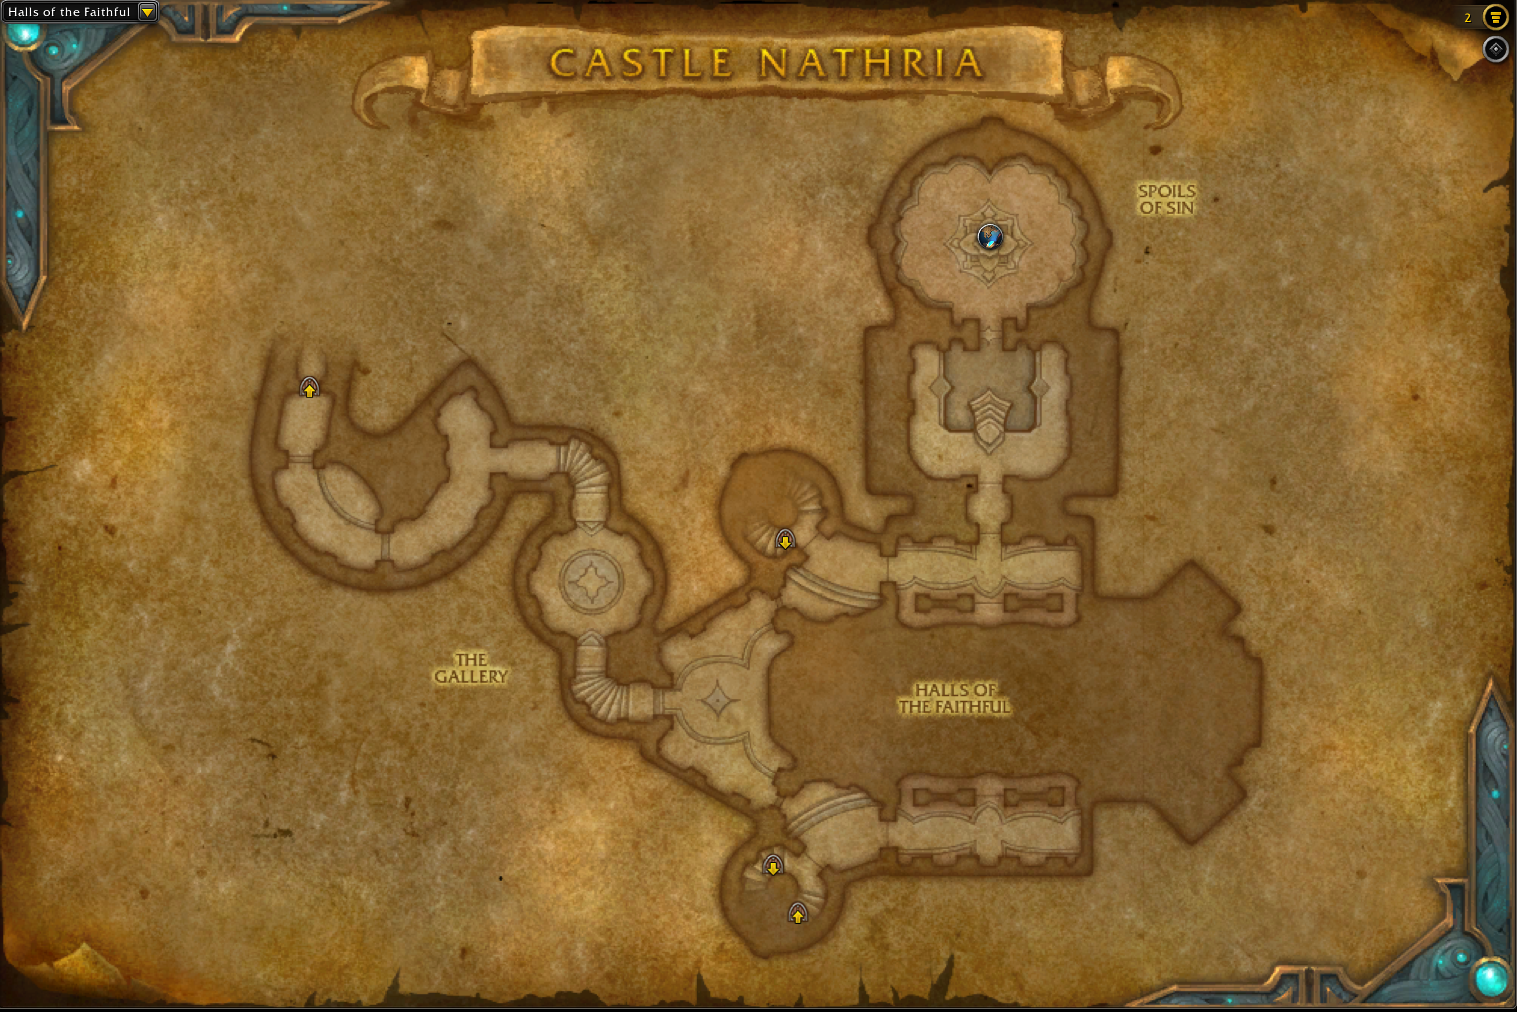
- The Gallery,
- Halls of the Faithful,
- Spoils of Sin,
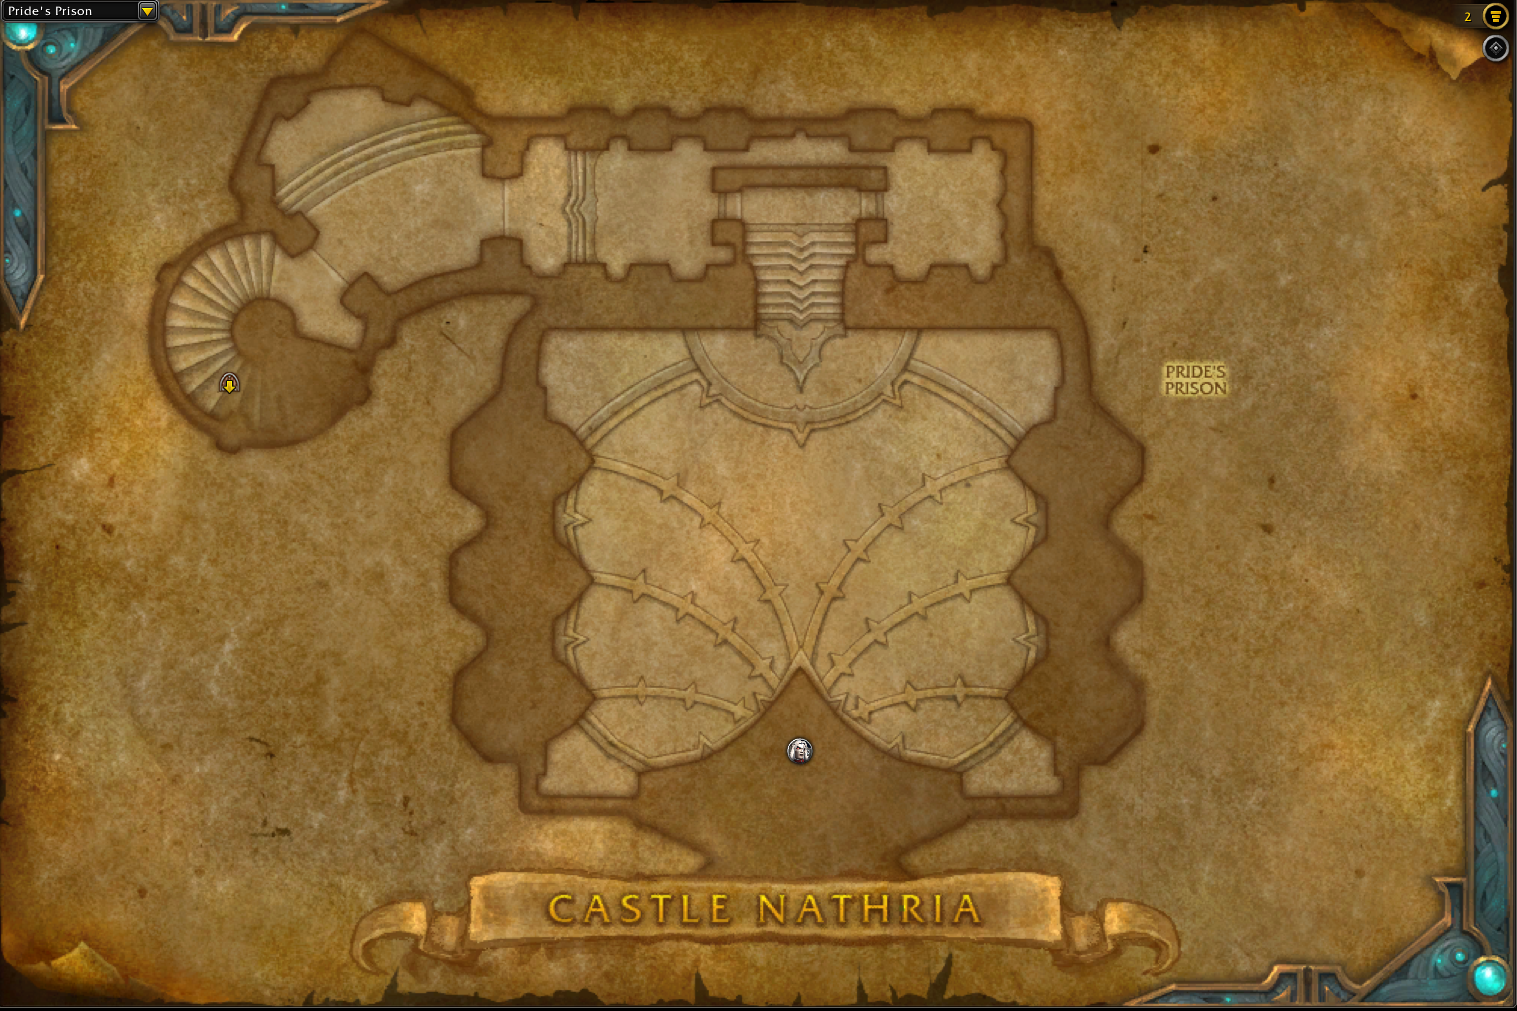
- Pride’s Prison,
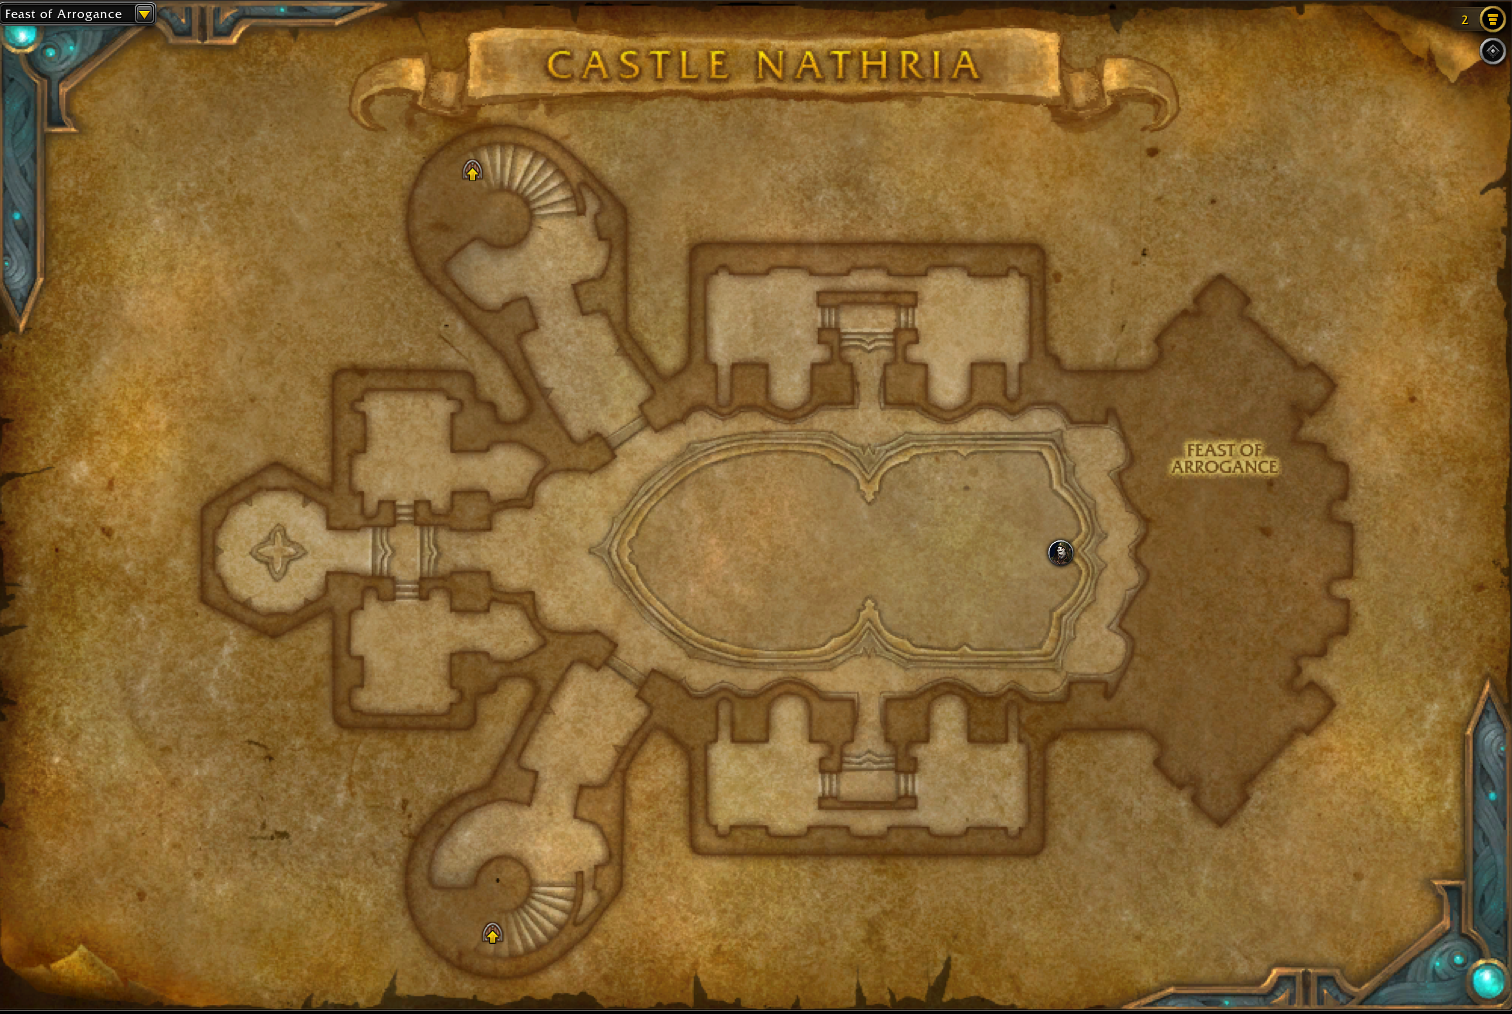
- Feast of Arrogance,
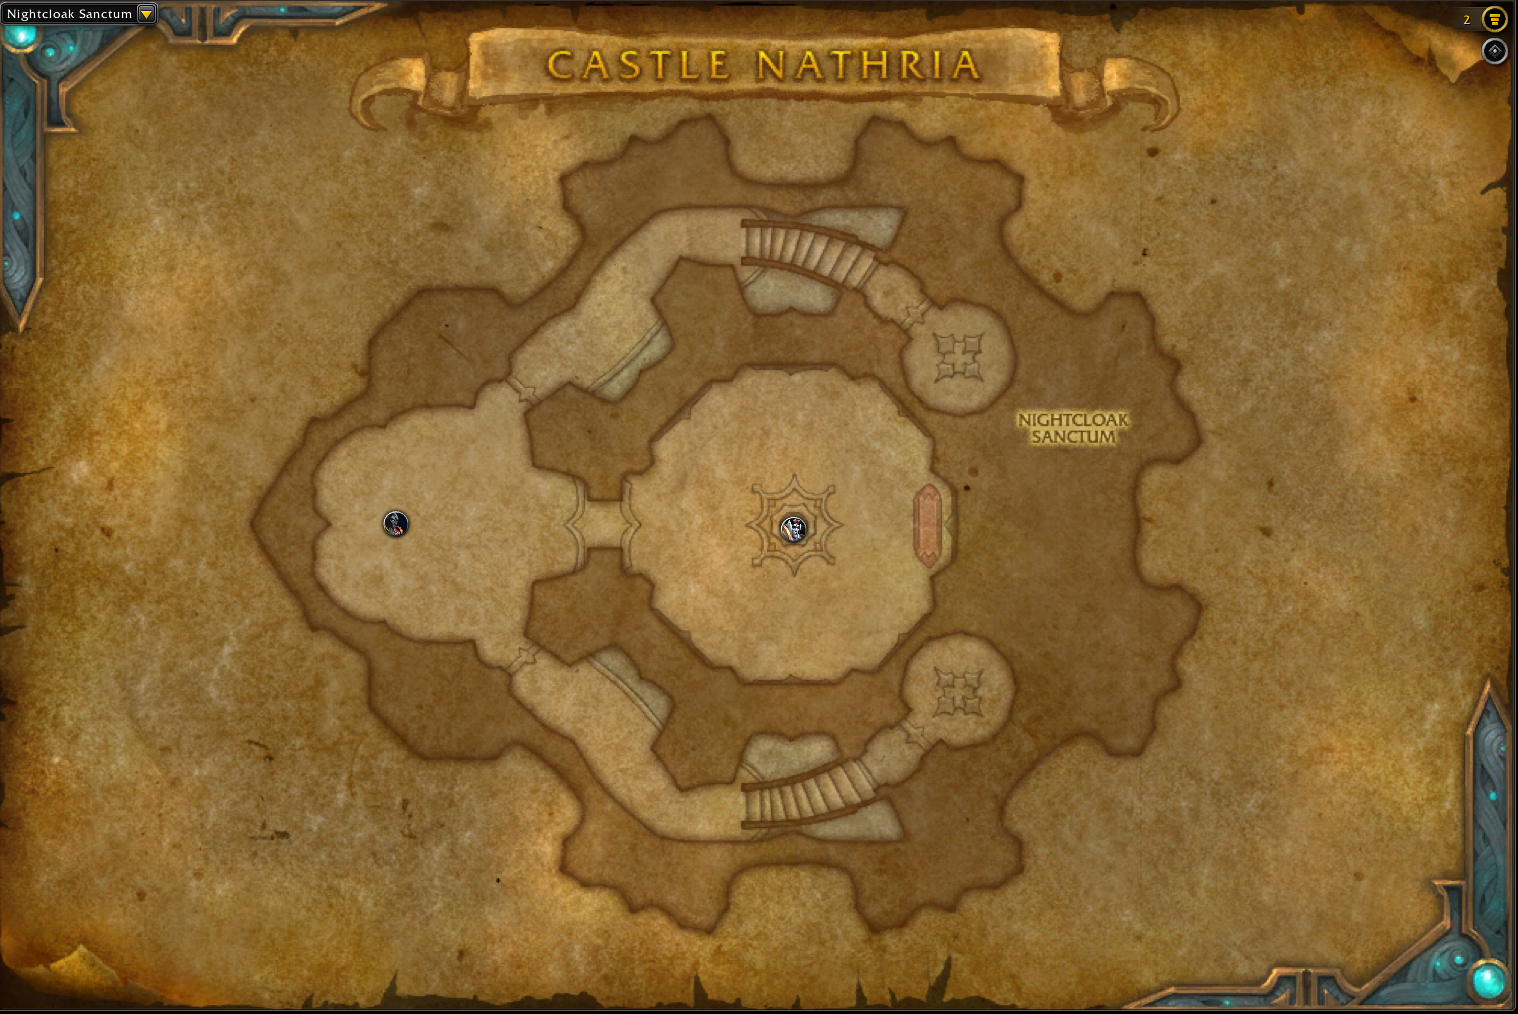
- Nightcloak Sanctum,
- and The Observatorium.
Each section has its challenges and bosses which we’ll briefly overview below.
Castle Nathria Collectibles: Mounts, Pets, Transmogs
| Collectible | Source (% drop rate) | Obtainable / Not Obtainable |
| Castle Nathria Tier Sets | ||
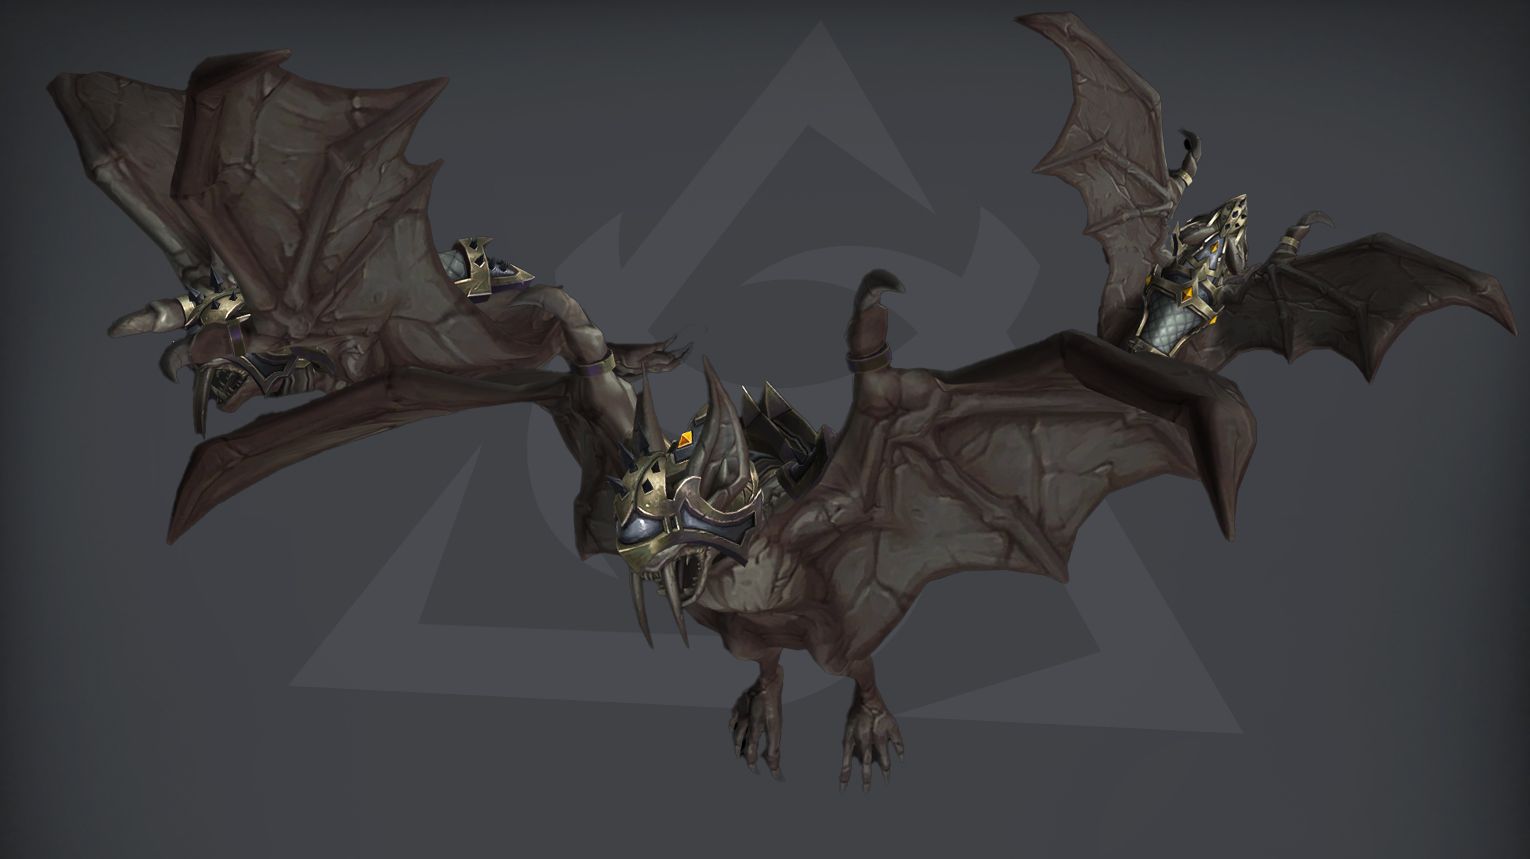
| Rampart Screecher | Glory of the Nathria Raider | Yes |
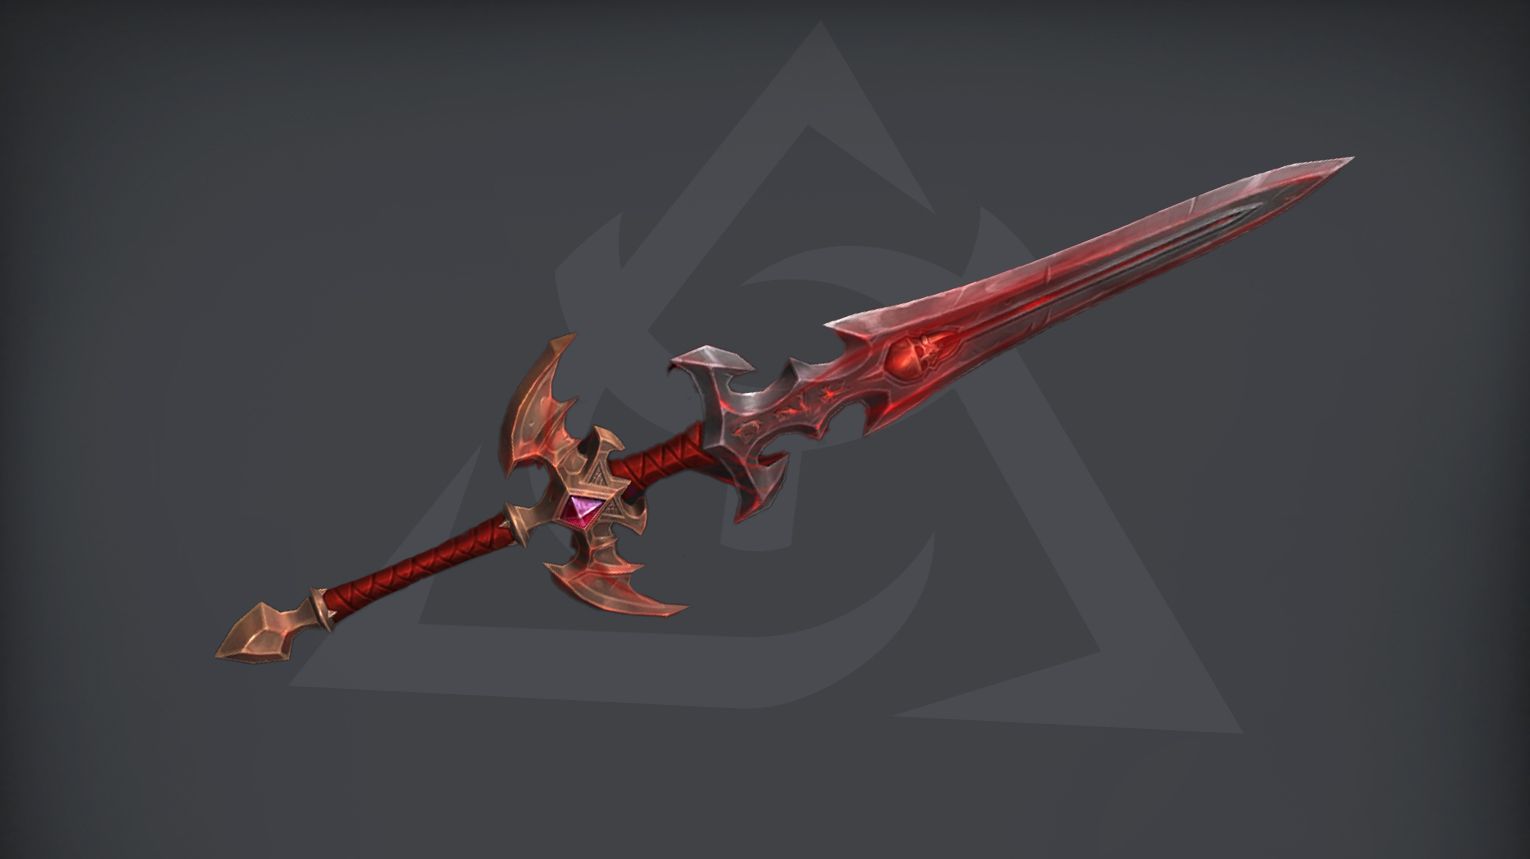
| Pommel Jewel of Remornia | Sire Denathrius (4%) | Yes |
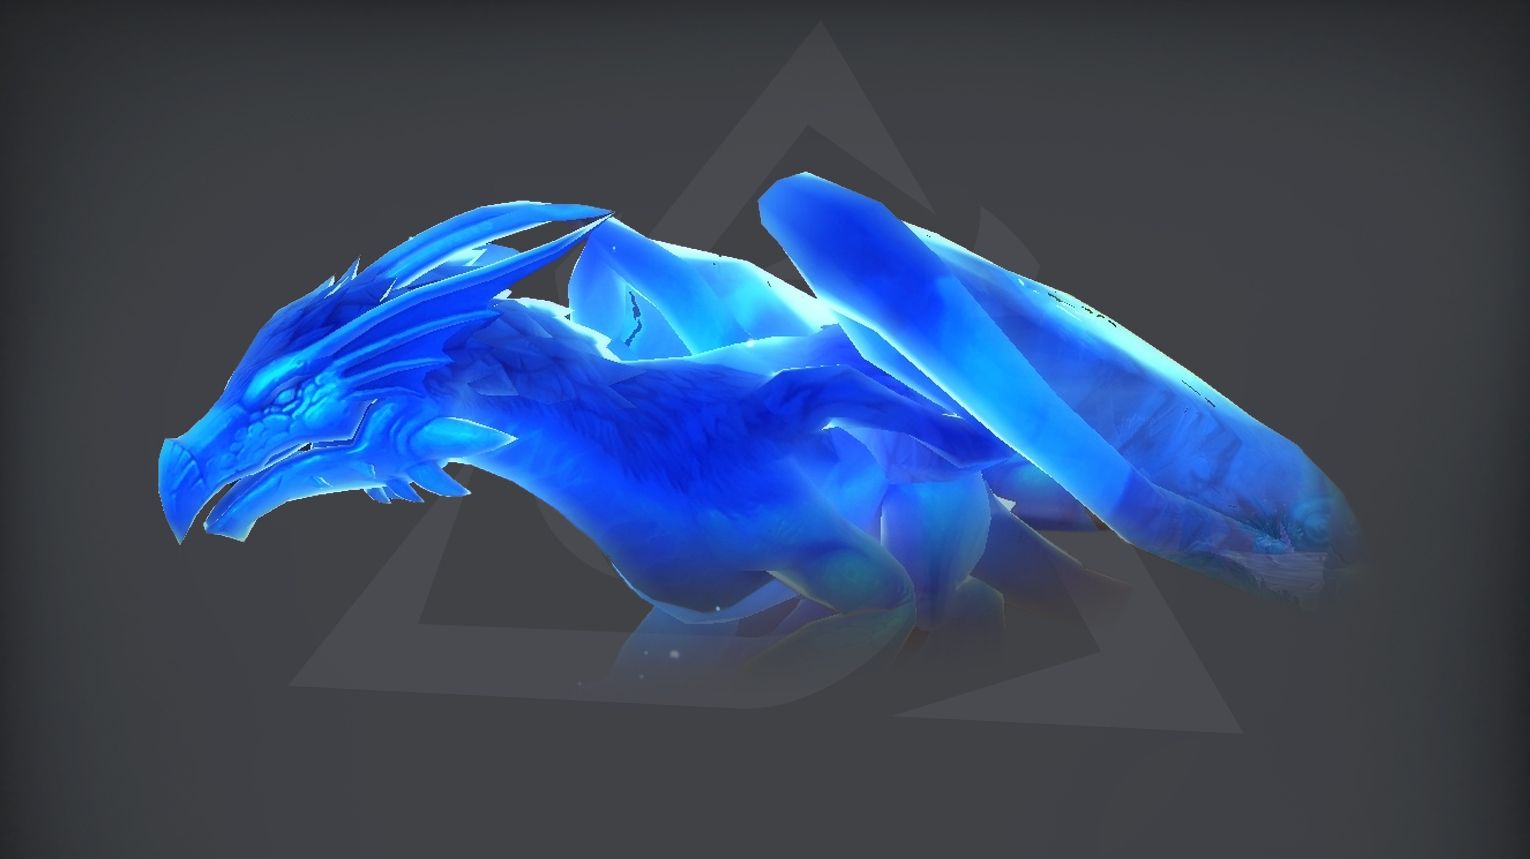
| Veilwing Soul | Sire Denathrius (3%) | Yes |
Castle Nathria Bosses Overview
Castle Nathria is a gothic-style raid in World of Warcraft: Shadowlands, where players face Sire Denathrius and his forces in Revendreth. The raid has ten bosses, each tied to the dark themes of the zone, from Shriekwing, a blind beast that hunts by sound, to Sludgefist, a massive brute that smashes everything in his path. Encounters range from strategic fights like the Council of Blood, which plays out like a deadly ballroom dance, to intense damage checks against Stone Legion Generals. The final battle against Sire Denathrius is a cinematic showdown in his throne room, where players must survive his deadly magic and defeat him before he escapes.
Can You Solo Castle Nathria in The War Within?
Farming Castle Nathria solo in The War Within is a great way to get transmog sets, mounts, pets, and achievements from Shadowlands. While soloing older raids has become easier due to stat scaling and gear improvements, some bosses in Castle Nathria still have mechanics that can cause problems. This guide explains how to solo each boss, with recommended classes, strategy tips, and the best time to use Bloodlust or Drums of Deathly Ferocity.
Shriekwing: Tactics and Loot Table
Shriekwing is a two-phase boss in Castle Nathria, fought in a dark, echo-filled chamber. In the first phase, players must avoid Shriekwing’s devastating sonic attacks, like Echolocation, which reveals players and forces them to hide behind pillars. The boss also uses Exsanguinating Bite, a high-damage ability that requires quick healing. In the second phase, Shriekwing becomes more aggressive, using Bloodlight and Wave of Blood to deal heavy area damage. The fight emphasizes positioning, awareness, and teamwork to avoid deadly mechanics while managing the boss’s increasing aggression.

![]() Tips: Shriekwing’s echolocation forces you to keep moving. In Phase 2, the boss becomes immune, so positioning is key to avoiding blind spots.
Tips: Shriekwing’s echolocation forces you to keep moving. In Phase 2, the boss becomes immune, so positioning is key to avoiding blind spots.


| Type of Armor | Item | Loot type |
| Cloth | Slippers of the Forgotten Heretic | Feet |
| Leather | Chiropteran Leggings | Legs |
| Double-Chained Utility Belt | Waist | |
| Plate | Errant Crusader’s Greaves | Feet |
| Any | Skulker’s Wing | Trinket |
| Cowled Batwing Cloak | Cloak |
Huntsman Altimor: Tactics and Loot Table
Huntsman Altimor is a three-phase boss in Castle Nathria, where he fights alongside three beasts—Margore, Bargast, and Hecutis—each with different mechanics. Sinseeker deals heavy damage and must be avoided, while Bargast summons shades that need to be controlled. Hecutis gains stacks of Crushing Stone, forcing players to move carefully to prevent massive damage. The key to this fight is managing each beast’s mechanics while keeping up with the increasing pressure from Altimor’s attacks.
![]() Tips: The fight has three phases, each featuring a different pet. The main issue is Sinseeker, which does heavy damage.
Tips: The fight has three phases, each featuring a different pet. The main issue is Sinseeker, which does heavy damage.
| Type of Armor | Item | Loot type |
| Cloth | Grim Pursuant’s Maille | Wrist |
| Leather | Spell-Woven Tourniquet | Waist |
| Master Huntsman’s Bandolier | Chest | |
| Plate | Hellhound Cuffs | Wrist |
| Any | Charm of Eternal Winter | Amulet |
| Bargast’s Leash | Trinket |
Hungering Destroyer: Tactics and Loot Table
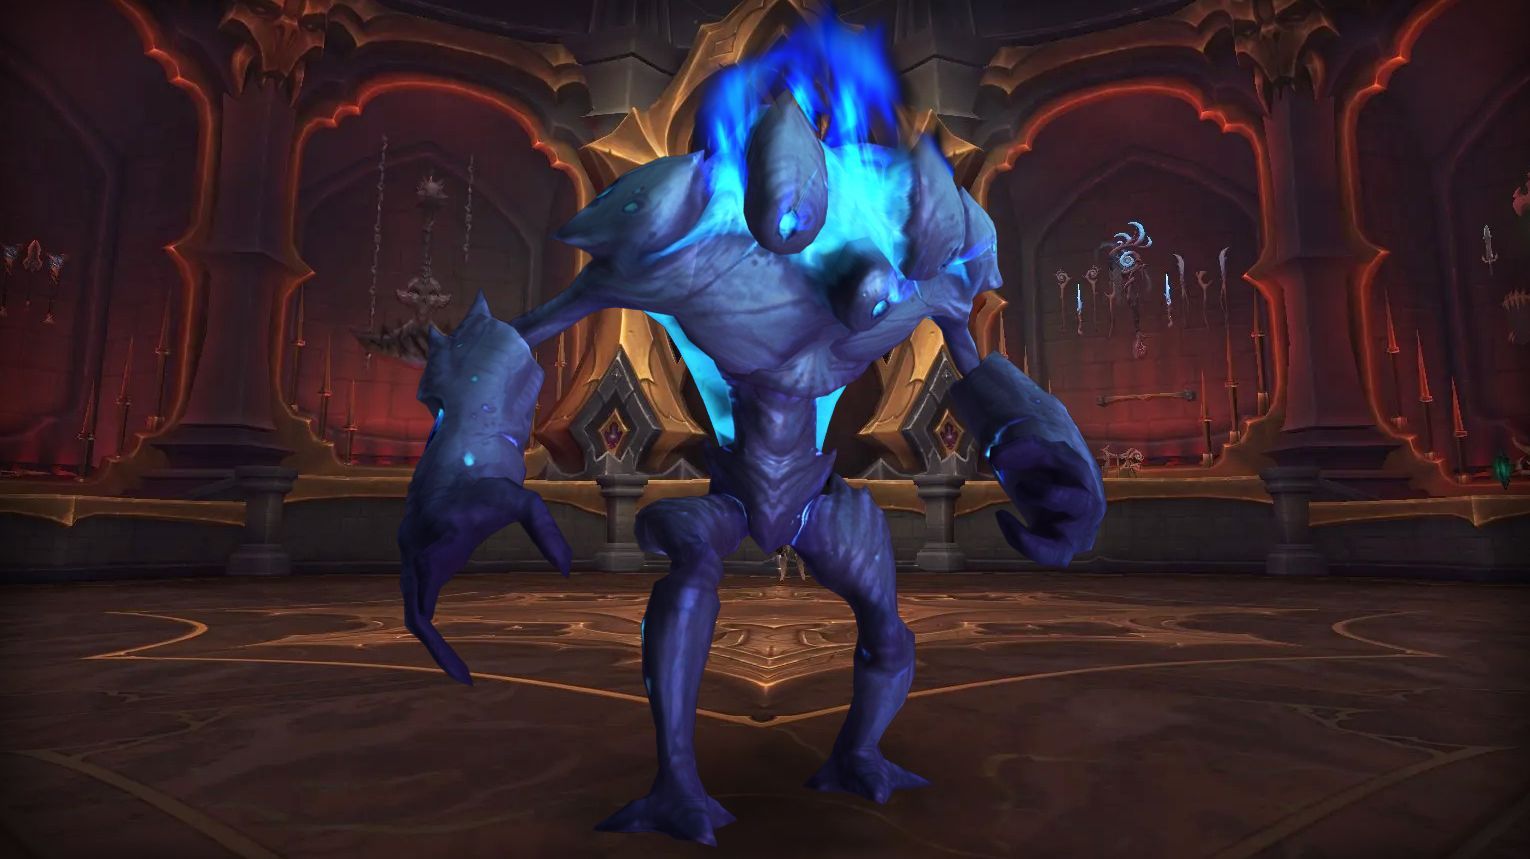
Hungering Destroyer in Castle Nathria is all about survival. The boss drains life from players while blocking healing with Gluttonous Miasma, so shields and absorbs are the only way to stay alive. Volatile Ejection targets random players with a high-damage blast, forcing them to spread out fast. If the fight drags on, the boss becomes harder to handle, making strong DPS and smart positioning the key to winning.
![]() Tips: The boss applies Gluttonous Miasma, preventing healing but allowing shields and absorbs.
Tips: The boss applies Gluttonous Miasma, preventing healing but allowing shields and absorbs.
| Type of Armor | Item | Loot type |
| Cloth | Cinch of Infinite Tightness | Waist |
| Leather | Miasma-Lacquered Jerkin | Chest |
| Volatile Shadestitch Legguards | Legs | |
| Consumptive Chainmail Carapace | Chest | |
| Helm of Insatiable Appetite | Head | |
| Plate | Endlessly Gluttonous Greaves | Legs |
| Epaulets of Overwhelming Force | Shoulder | |
| Any | Consumptive Infusion | Trinket |
| Gluttonous Spike | Trinket |
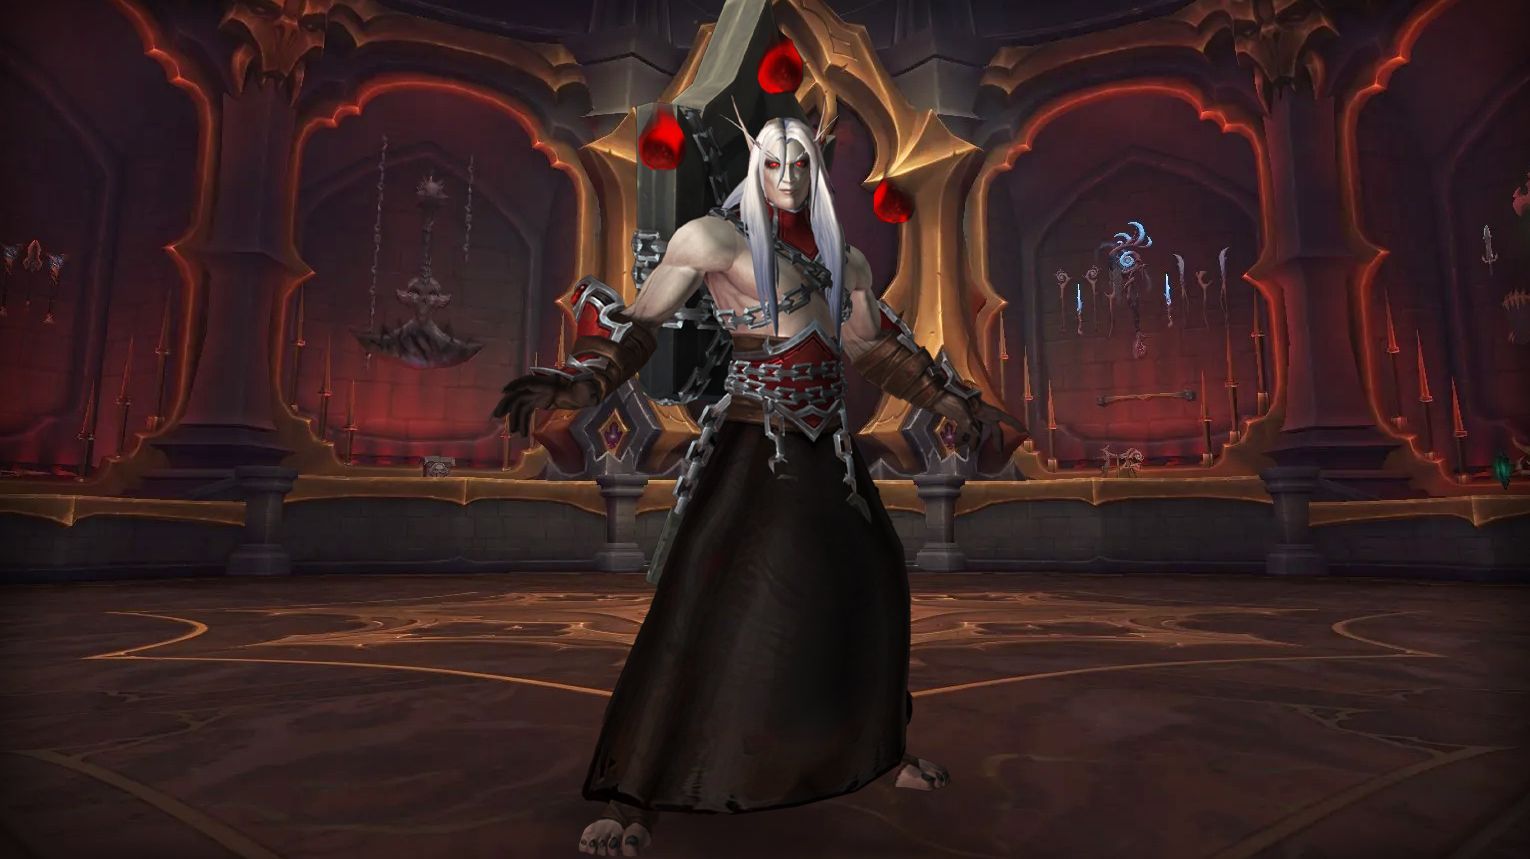
Lady Inerva Darkvein: Tactics and Loot Table
Lady Inerva Darkvein in Castle Nathria is a fight about managing her anima containers. Her abilities grow stronger during the fight. Players must control the containers to slow her power gain while dealing with mechanics like Expose Desires, which increases damage taken, and Change of Heart, which forces movement. Fast damage and good coordination are key to ending the fight before it becomes overwhelming.
![]() Tips: Expose Desires stacks can become overwhelming, so this is a DPS race.
Tips: Expose Desires stacks can become overwhelming, so this is a DPS race.
| Type of Armor | Item | Loot type |
| Cloth | Confidant’s Favored Cap | Head |
| Leather | Gloves of Phantom Shadows | Hands |
| Memento-Laden Cuisses | Legs | |
| Plate | Binding of Warped Desires | Waist |
| Any | Ritualist’s Treasured Ring | Ring |
| Memory of Past Sins | Trinket |
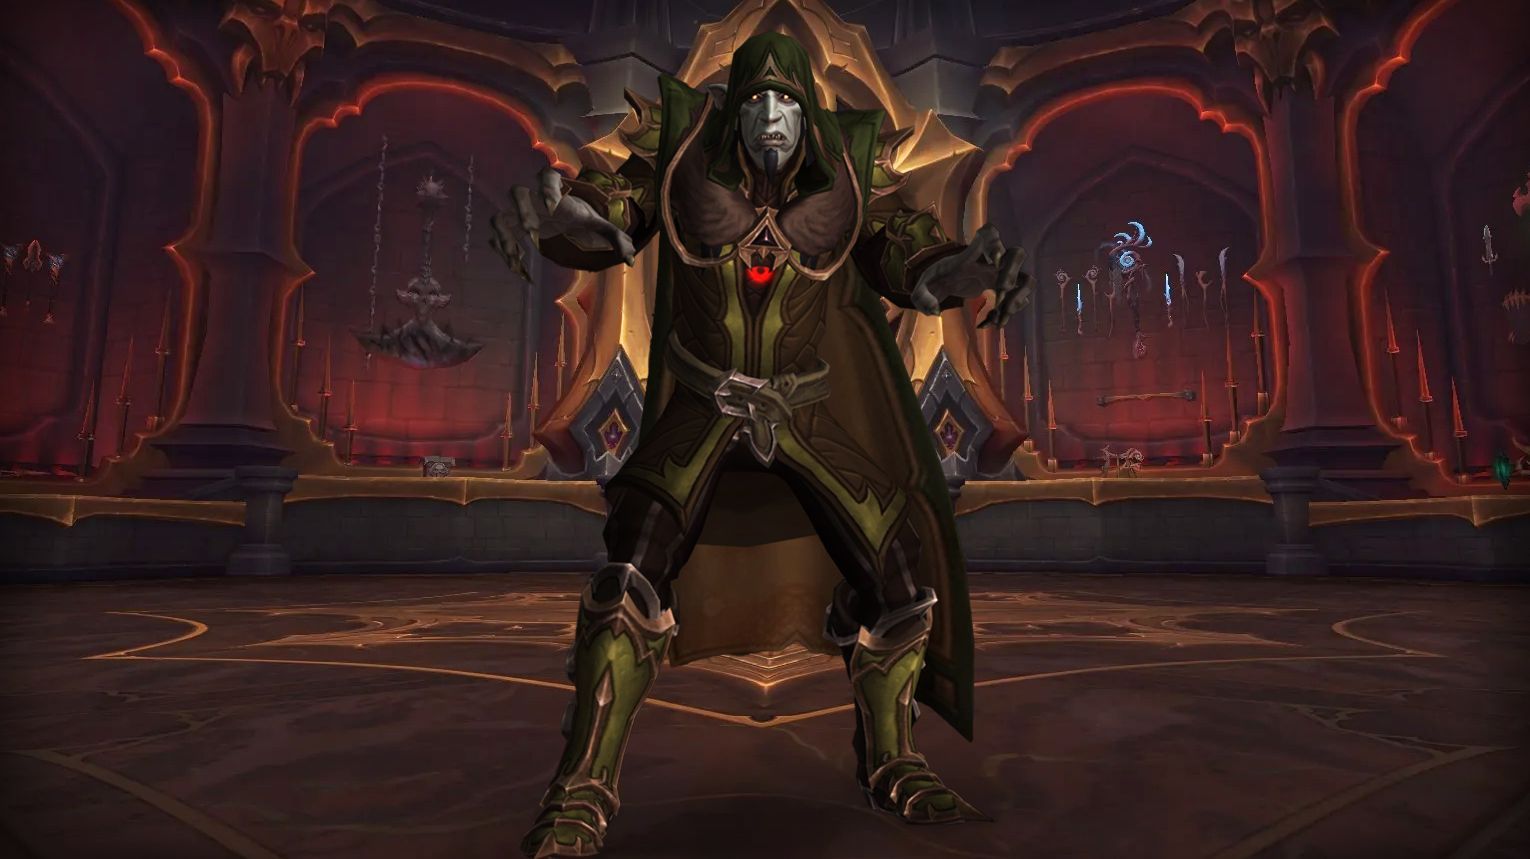
Artificer Xy’Mox: Tactics and Loot Table
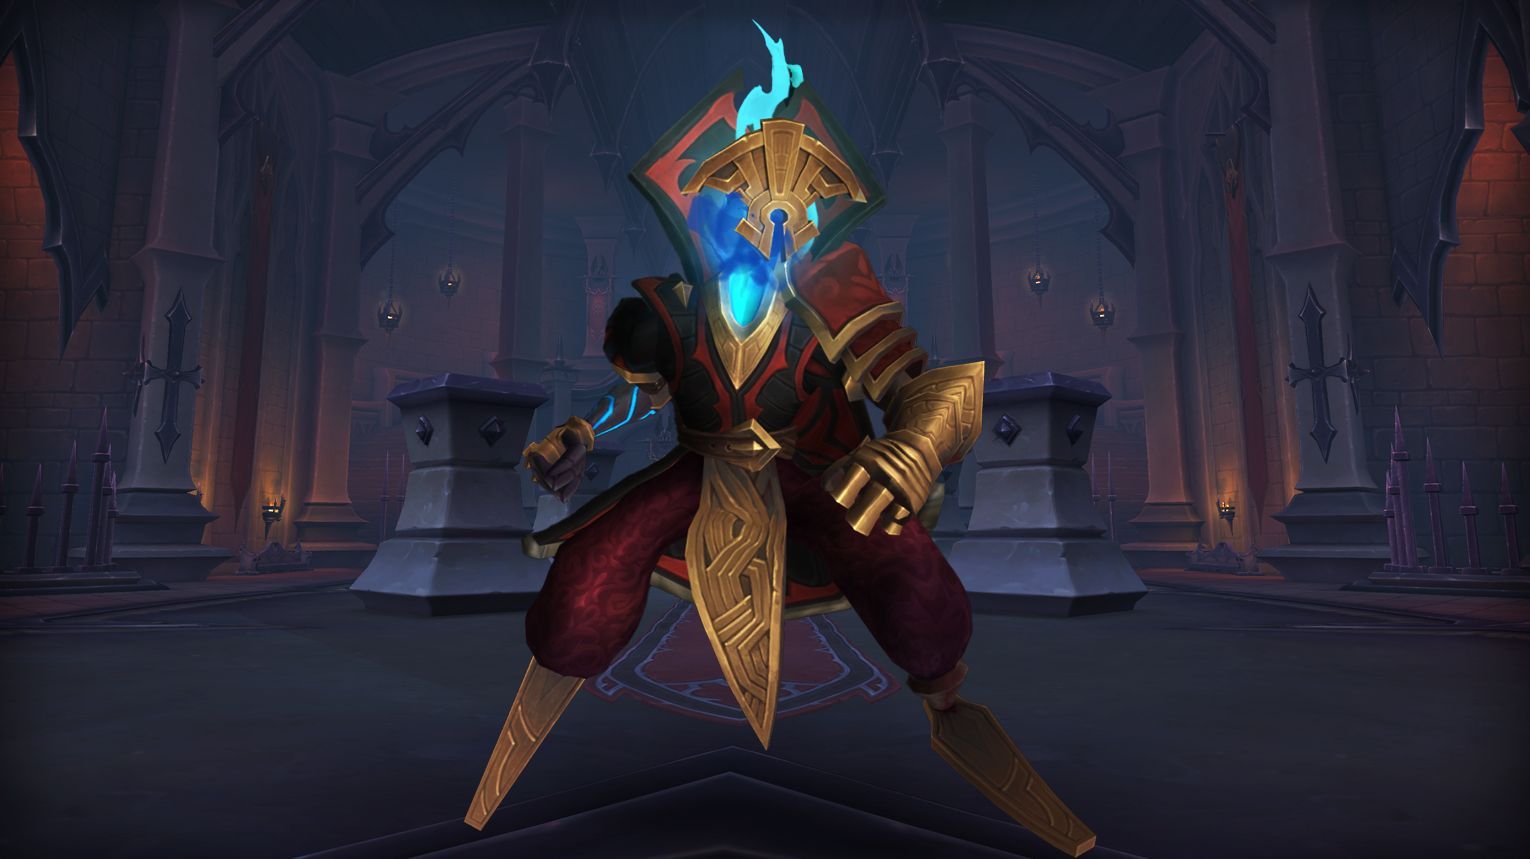
Artificer Xy’mox in Castle Nathria is a teleporting boss with deadly mechanics. Players must handle Dimensional Tears to move across the room while dodging traps and avoiding Glyph of Destruction, which explodes after a short delay. As the fight progresses, more mechanics like Stasis Trap and Wormholes make movement even more important. Quick reactions and good positioning are key to surviving this encounter.
![]() Tips: Possession will instantly kill you if a spirit touches you.
Tips: Possession will instantly kill you if a spirit touches you.
| Type of Armor | Item | Loot type |
| Cloth | Shadewarped Sash | Waist |
| Leather | Precisely Calibrated Chronometer | Wrist |
| Greaves of Enigmatic Energies | Legs | |
| Plate | Breastplate of Cautious Calculation | Chest |
| Any | Portable Pocket Dimension | Bag |
| Hyperlight Band | Ring | |
| Glyph of Assimilation | Trinket |
Sun King’s Salvation (Kael’thas): Tactics and Loot Table
Sun King’s Salvation in Castle Nathria is a unique encounter focused on healing Kael’thas Sunstrider instead of directly fighting a boss. Players must defeat waves of enemies while using Essence Fonts and buffs from Soul Infusers to restore his health. Managing adds efficiently and keeping up healing output is key to progressing the fight. If Kael’thas isn’t healed fast enough, the encounter becomes overwhelming.
![]() Tips: Healing Kael’thas is required to progress the fight.
Tips: Healing Kael’thas is required to progress the fight.
| Type of Armor | Item | Loot type |
| Cloth | High Torturer’s Smock | Chest |
| Leather | Bleakwing Assassin’s Grips | Hands |
| Bangles of Errant Pride | Wrist | |
| Plate | Stoic Guardsman’s Belt | Waist |
| Any | Mantle of Manifest Sins | Cloak |
| Soul Igniter | Trinket | |
| Splintered Heart of Al’ar | Trinket | |
| Tuft of Smoldering Plumage | Trinket |
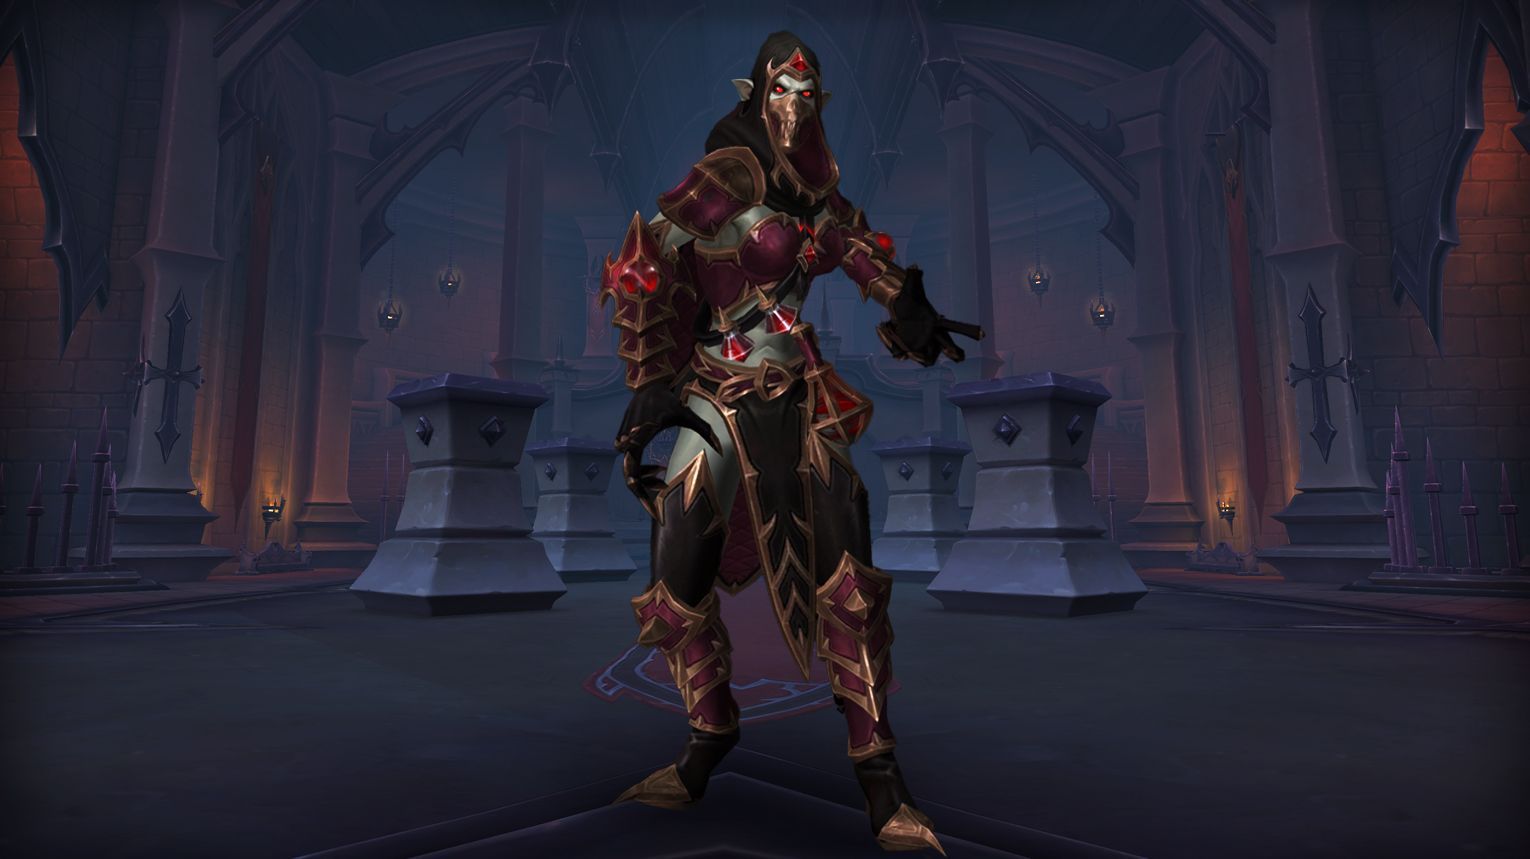
The Council of Blood: Tactics and Loot Table
The Council of Blood is a three-boss encounter with a unique twist—a deadly dance mechanic. Players face Baroness Frieda, Lord Stavros, and Castellan Niklaus, each with different abilities. The fight requires coordinated target priority, as killing one boss empowers the others. The highlight is the Danse Macabre, where players must follow movement patterns to avoid instant death.
![]() Tips: Avoid the Danse Macabre mechanic, as failure results in instant death.
Tips: Avoid the Danse Macabre mechanic, as failure results in instant death.
| Type of Armor | Item | Loot type |
| Cloth | Courtier’s Costume Trousers | Legs |
| Sparkling Glass Slippers | Feet | |
| Leather | Corset of the Deft Duelist | Chest |
| Enchanted Toe-Tappers | Feet | |
| Castellan’s Chainlink Grips | Hands | |
| Plate | Stoneguard Attendant’s Boots | Feet |
| Any | Noble’s Birthstone Pendant | Amulet |
| Macabre Sheet Music | Trinket |
Sludgefist: Tactics and Loot Table
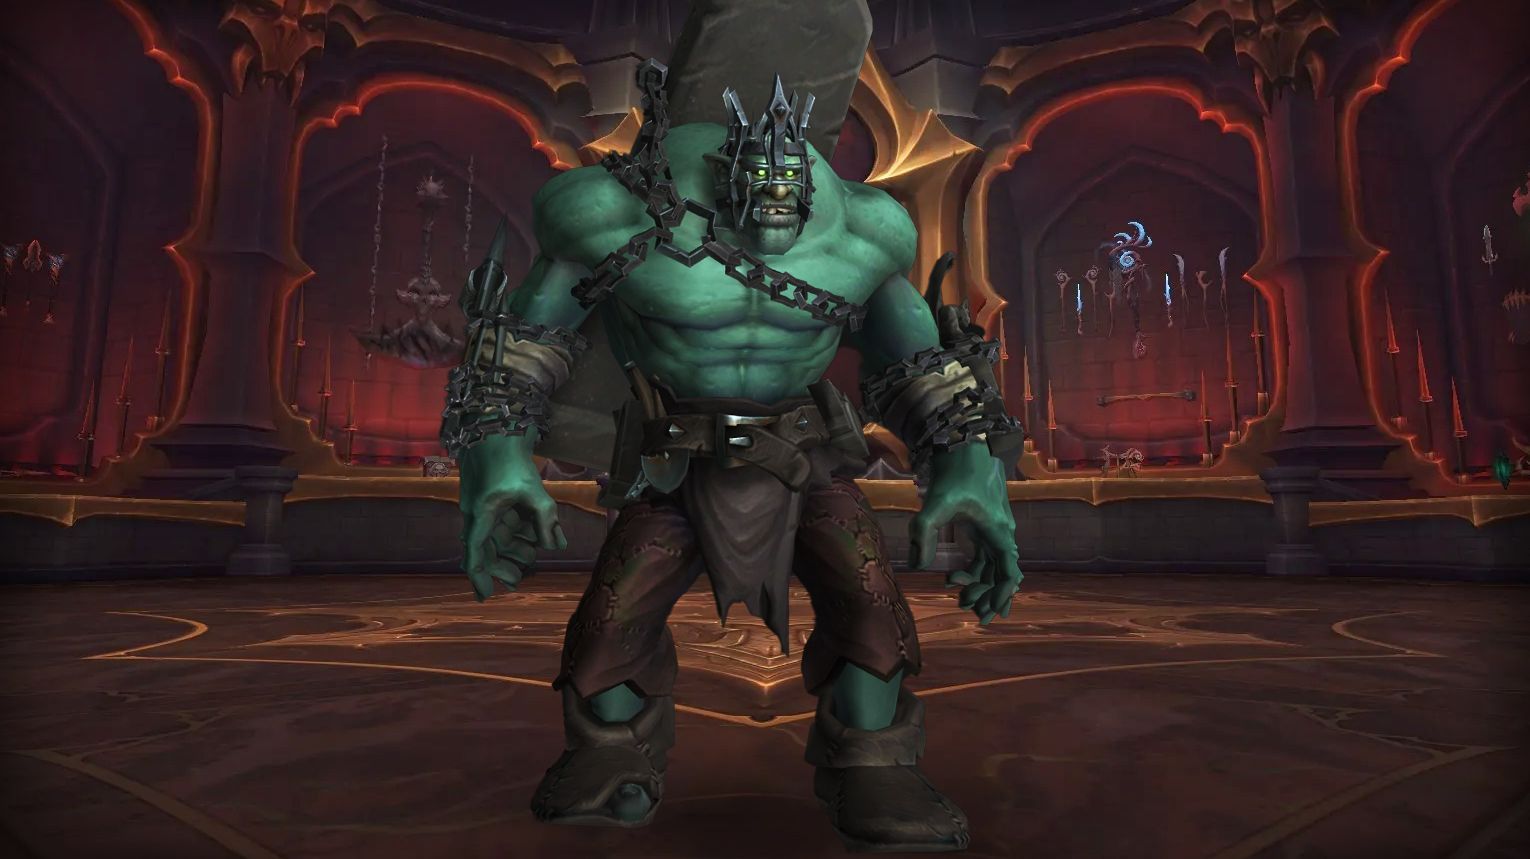
Sludgefist is a high-damage boss fight where positioning is key. He chains players together, forcing movement coordination, and charges into pillars, which stun him and increase his damage taken. If pillars are destroyed too soon, the raid will wipe. His Destructive Stomp can also break pillars, so spacing is important. The boss fight requires a good burst damage windows and dodging mechanics to avoid fatal hits.
![]() Tips: Keep Sludgefist away from pillars until you’re ready to use them for Heedless Charge.
Tips: Keep Sludgefist away from pillars until you’re ready to use them for Heedless Charge.
| Type of Armor | Item | Loot type |
| Cloth | Impossibly Oversized Mitts | Hands |
| Leggings of Lethal Reverberations | Legs | |
| Leather | Heedless Pugilist’s Harness | Waist |
| Load-Bearing Belt | Waist | |
| Stoneclas Stompers | Feet | |
| Plate | Colossal Plate Gauntlets | Hands |
| Rampaging Giant’s Chestplate | Chest | |
| Any | Hateful Chain | Trinket |
Stone Legion Generals: Tactics and Loot Table
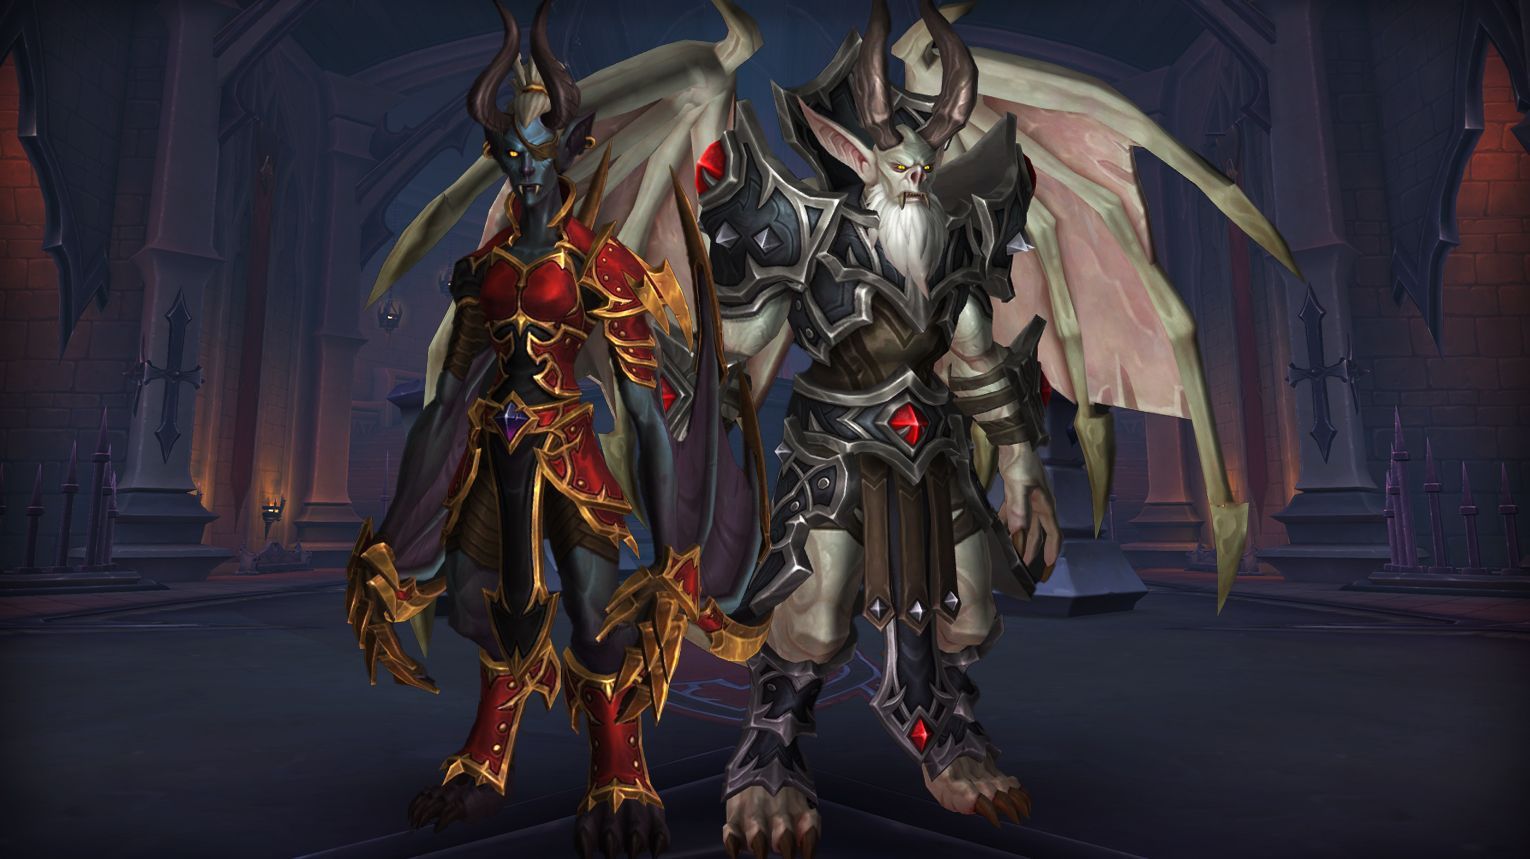
Stone Legion Generals is a two-phase fight, featuring General Kaal and General Grashaal. Players must handle overlapping mechanics, including Crystallize, which stuns and removes bleeds, and Reverberating Eruption, which creates damaging pools. During transition phases, collecting Anima Orbs is key to helping Prince Renathal. On higher difficulties, Goliaths spawn and must be dealt with.
![]() Tips: Crystalize stuns and removes bleeds, so be mindful of positioning.
Tips: Crystalize stuns and removes bleeds, so be mindful of positioning.
| Type of Armor | Item | Loot type |
| Cloth | Robes of the Cursed Commando | Chest |
| Leather | Wicked Flanker’s Gorget | Shoulder |
| Oathsworn Soldier’s Gauntlets | Hands | |
| Plate | Ceremonial Parade Legguards | Legs |
| Any | Crest of the Legionnaire General | Cloak |
| Stone Legion Heraldry | Trinket |
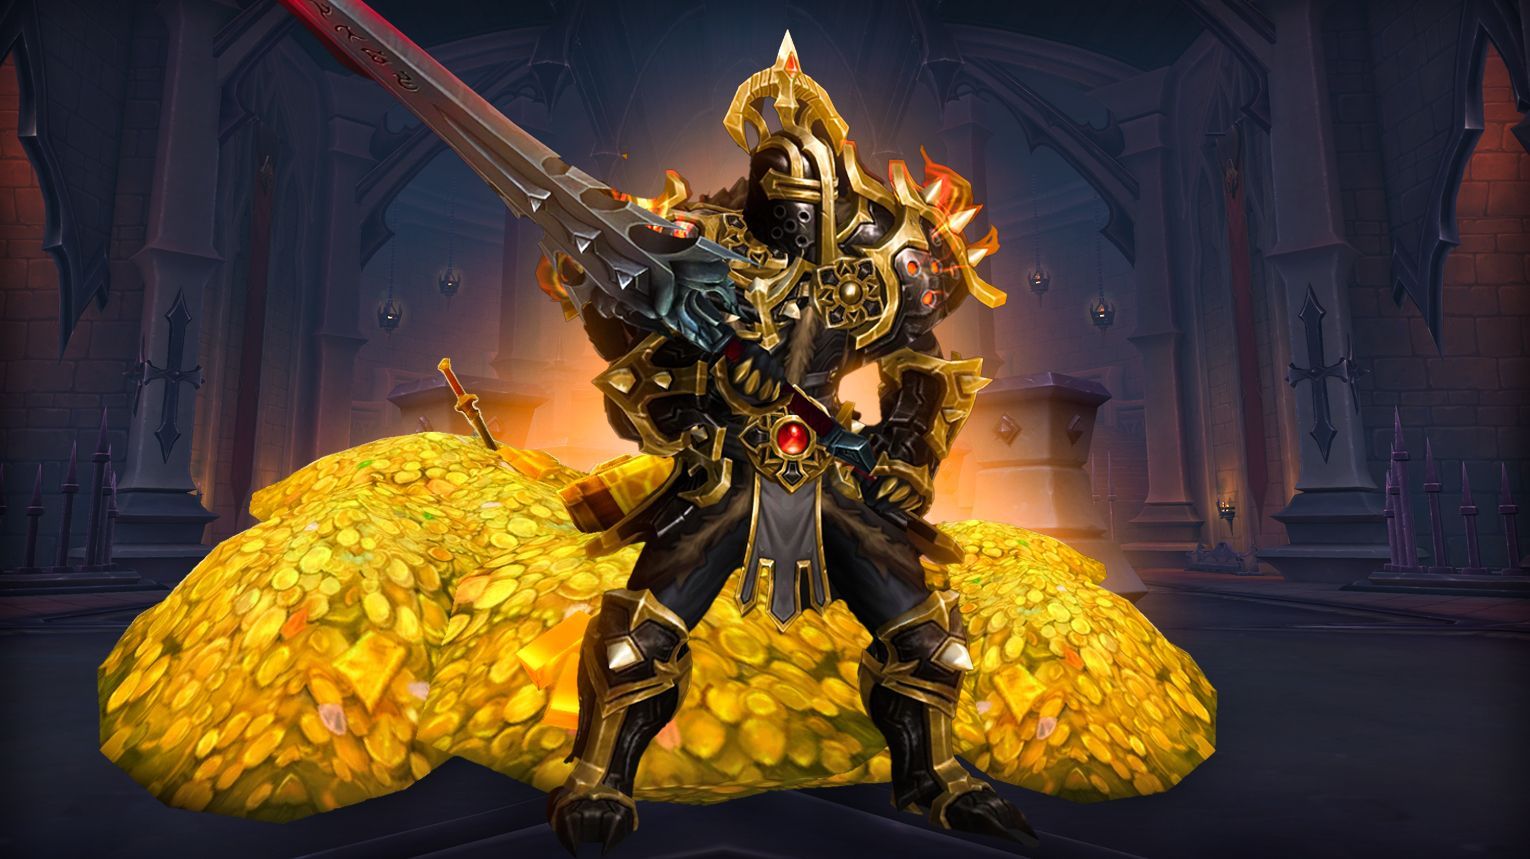
Sire Denathrius: Tactics and Loot Table
Sire Denathrius is the last boss in Castle Nathria, and the fight takes place in his throne room. At first, players need to clear their Burden of Sin stacks before he traps them in a mirror realm. Later, he starts using deadly slashes and filling the room with magic that deals heavy damage. In the final phase, he calls in Cabalists for support while his attacks get stronger. Players have to move carefully, deal damage fast, and survive his hardest hits to win.
![]() Tips: Burden of Sin needs to be reduced before pushing the boss to 70%, or you will struggle with March of the Penitent.
Tips: Burden of Sin needs to be reduced before pushing the boss to 70%, or you will struggle with March of the Penitent.
| Type of Armor | Item | Loot type |
| Cloth | Shawl of the Penitent | Shoulder |
| Leather | Sadist’s Sinister Mask | Head |
| Pauldrons of Fatal Finality | Shoulder | |
| Plate | Diadem of Imperious Desire | Head |
| Any | Most Regal Signet of Sire Denathrius | Ring |
| Cabalist’s Hymnal | Trinket | |
| Dreadfire Vessel | Trinket | |
| Manabound Mirror | Trinket | |
| Sanguine Vintage | Trinket | |
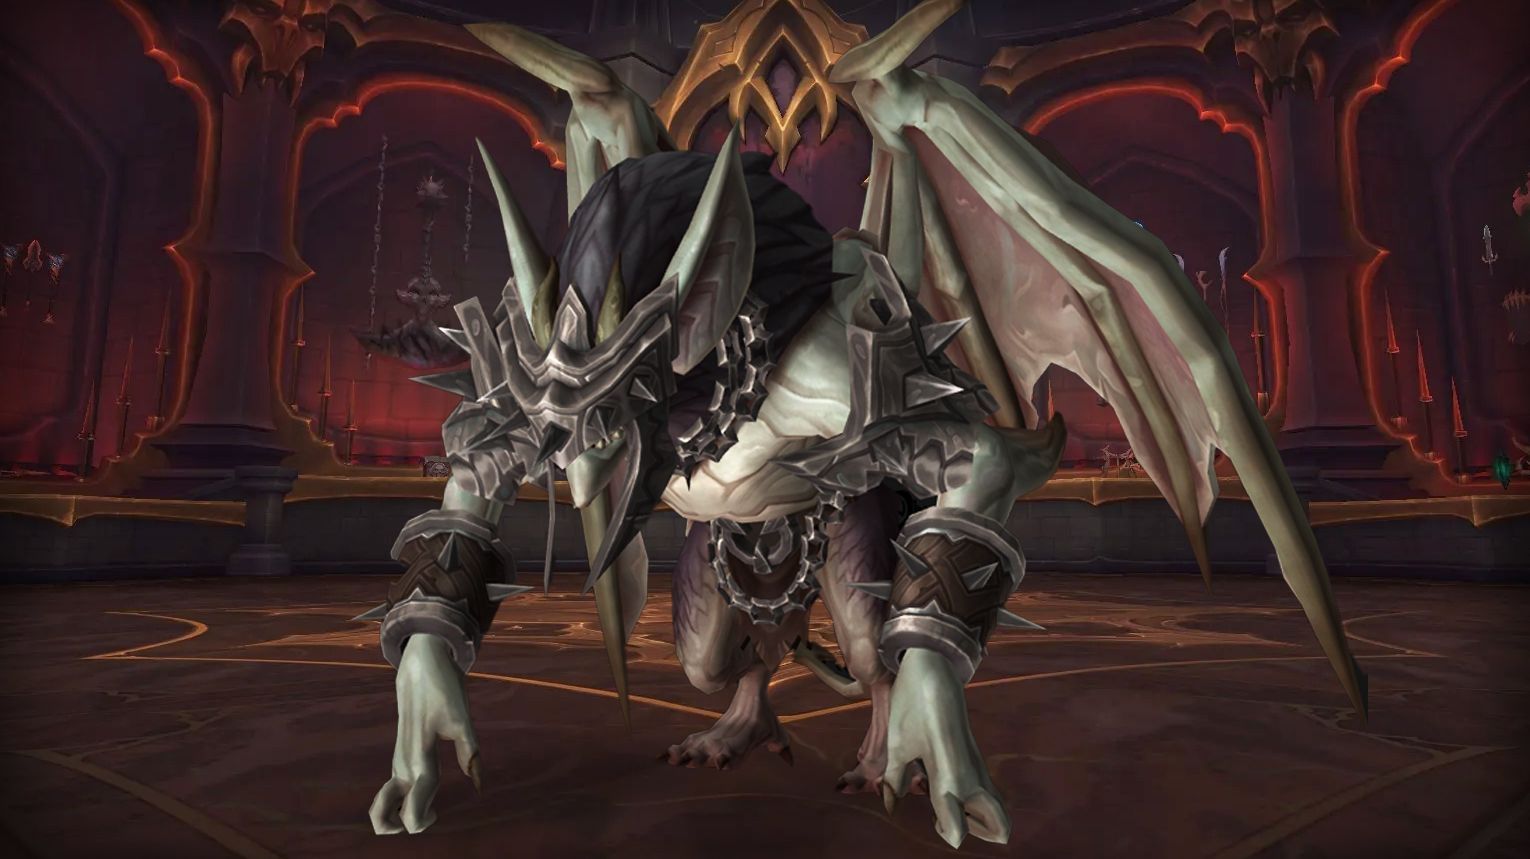
| Veilwing Soul | Night Fae Soulshift Shape | |
| Pommel Jewel of Remornia | Battle Pet |
Castle Nathria Achievements List
| Achievement | Requirement |
| Castle Nathria | Complete all bosses on any difficulty. |
| Castle Nathria Guild Run | Defeat all bosses on Normal difficulty or higher while in a guild group. |
| Heroic: Castle Nathria | Kill all bosses on Heroic difficulty. |
| Heroic: Castle Nathria Guild Run | Defeat all bosses on Heroic difficulty while in a guild group. |
| Mythic: Castle Nathria | Complete all bosses on Mythic difficulty. |
| Mythic: Artificer Xy’mox | Defeat Artificer Xy’mox on Mythic difficulty. |
| Mythic: Hungering Destroyer | Kill the Hungering Destroyer on Mythic difficulty. |
| Mythic: Huntsman Altimor | Defeat Huntsman Altimor on Mythic difficulty. |
| Mythic: Lady Inerva Darkvein | Kill Lady Inerva Darkvein on Mythic difficulty. |
| Mythic: Shriekwing | Slay Shriekwing on Mythic difficulty. |
| Mythic: Sludgefist | Defeat Sludgefist on Mythic difficulty. |
| Mythic: Stone Legion Generals | Kill the Stone Legion Generals on Mythic difficulty. |
| Mythic: Sun King’s Salvation | Slay Sun King’s Salvation on Mythic difficulty. |
| Mythic: The Council of Blood | Defeat The Council of Blood on Mythic difficulty. |
| Ahead of the Curve: Sire Denathrius | Kill Sire Denathrius on Heroic difficulty or higher, before the release of the next raid tier. |
| Cutting Edge: Sire Denathrius | Slay Sire Denathrius on Mythic difficulty, before the release of the next raid tier. |
| Mythic: Sire Denathrius | Defeat Sire Denathrius on Mythic difficulty. |
| Mythic: Sire Denathrius Guild Run | Kill Sire Denathrius on Mythic Difficutly while in a guild group. |
| Hall of Fame: Sire Denathrius (Alliance) | Among the first 100 Alliance guilds worldwide to defeat Sire Denathrius on Mythic difficulty. |
| Hall of Fame: Sire Denathrius (Horde) | Be among the first 100 Horde guilds worldwide to defeat Sire Denathrius on Mythic difficulty. |
| Blind as a Bat | Defeat Shriekwing after she kills six Sneaky Servitors on Normal difficulty or higher. |
| Burning Bright | Redeem Kael’thas after lighting all four of the room’s braziers on Normal difficulty or higher. |
| Clear Conscience | Kill Sire Denathrius after removing Burden of Sin from all players before March of the Penitent is cast on Normal difficulty or higher. |
| Dirtflap’s Revenge | Slay Sludgefist after he collides with pillars in Dirtflap’s preferred order on Normal difficulty or higher. |
| Feed the Beast | Defeat the Hungering Destroyer after draining all of the large anima canisters with Volatile Ejection on Normal difficulty or higher. |
| Private Stock | Kill Artificer Xy’mox after returning loose Maldraxxus, Ardenweald, and Maw Anima to their display cases on Normal difficulty or higher. |
| Taking Care of Business | Slay Huntsman Altimor after walking Margore, Bargast, and Hecutis to the corners of The Kennels on Normal difficulty or higher. |
| Glory of the Nathria Raider | Complete 10x raid achievements. |

Comments: